2014 BMW 640I CONVERTIBLE display
[x] Cancel search: displayPage 32 of 243

Renaming profiles1."Settings"2."Profiles"
The current profile is selected.3.Open "Options".4."Rename current profile"
Resetting profiles The settings of the active profile are reset to
their default values.
1."Settings"2."Profiles"
The current profile is selected.3.Open "Options".4."Reset current profile"
Importing profiles
Existing settings and contacts are overwritten
with the imported profile.
1."Settings"2."Profiles"3."Import profile"4.BMW Online: "BMW Online"
USB interface, refer to page 169: "USB
device"
Exporting profiles
Most settings of the active profile and the
saved contacts can be exported.
This can be helpful for securing and retrieving
personal settings, before delivering the vehicle
to a workshop for example.
1."Settings"2."Profiles"3."Export profile"4.BMW Online: "BMW Online"
USB interface, refer to page 169: "USB
device"Using the guest profile
The guest profile can be used to make individ‐
ual settings without affecting the three Per‐
sonal Profiles.
This can be useful for drivers who are using
the vehicle temporarily and do not have their
own profile.1."Settings"2."Profiles"
The current profile is selected.3.Open "Guest".4.Create the settings.
Note: the guest profile cannot be renamed.
Display profile list during start
The profile list can be displayed during each
start for selecting the desired profile.
1."Settings"2."Profiles"3.Open "Options".4."Display user list at startup"
Personal Profile settings
The following functions and settings can be
stored in a profile.
▷Collision warning: warning time.▷Exterior mirror position.▷CD/Multimedia: audio source listened to
last.▷Unlocking/locking of the vehicle: settings.▷Driving Dynamics Control: sport program.▷Driver's seat position: automatic retrieval
after unlocking.▷Programmable memory buttons: assign‐
ment.▷Head-up Display: selection, brightness,
position and rotation of the display.▷Headlamp courtesy delay feature: time set‐
ting.Seite 32ControlsOpening and closing32
Online Edition for Part no. 01 40 2 910 721 - VI/13
Page 33 of 243
▷Tone: tone settings.▷Automatic climate control: settings.▷Steering wheel position.▷Navigation: map views, route criteria, voice
output on/off.▷Night Vision with pedestrian detection.▷Intelligent Safety: individual settings.▷Park Distance Control PDC: adjusting the
signal tone volume.▷Radio: stored stations, station listened to
last, special settings.▷Rearview camera: selection of functions
and type of display.▷Side View: selection of the display type.▷Language on the Control Display.▷Lane departure warning: last setting, on/
off.▷Active Blind Spot Detection: last setting,
on/off.▷Daytime running lights: current setting.▷Triple turn signal activation.▷Locking the vehicle: after a brief period or
after starting to drive.
Central locking system
The concept The central locking system becomes active
when the driver's door is closed.
The system simultaneously engages and re‐
leases the locks on the following:
▷Doors.▷Compartment in the center armrest.▷Trunk lid.▷Fuel filler flap.
Operating from the outside
▷Via the remote control.▷Via the driver's door lock.▷Via the door handles.▷Via the button in the trunk lid.
The following takes place simultaneously
when locking/unlocking the vehicle via the re‐
mote control:
▷Depending on how the vehicle is equipped,
the theft protection is activated/deacti‐
vated. Theft protection prevents the doors
from being unlocked using the lock but‐
tons or the door opener.▷The welcome lamps, interior lamps and
courtesy lamps are switched on and off.▷The alarm system, refer to page 40, is
armed or disarmed.
Operating from the inside
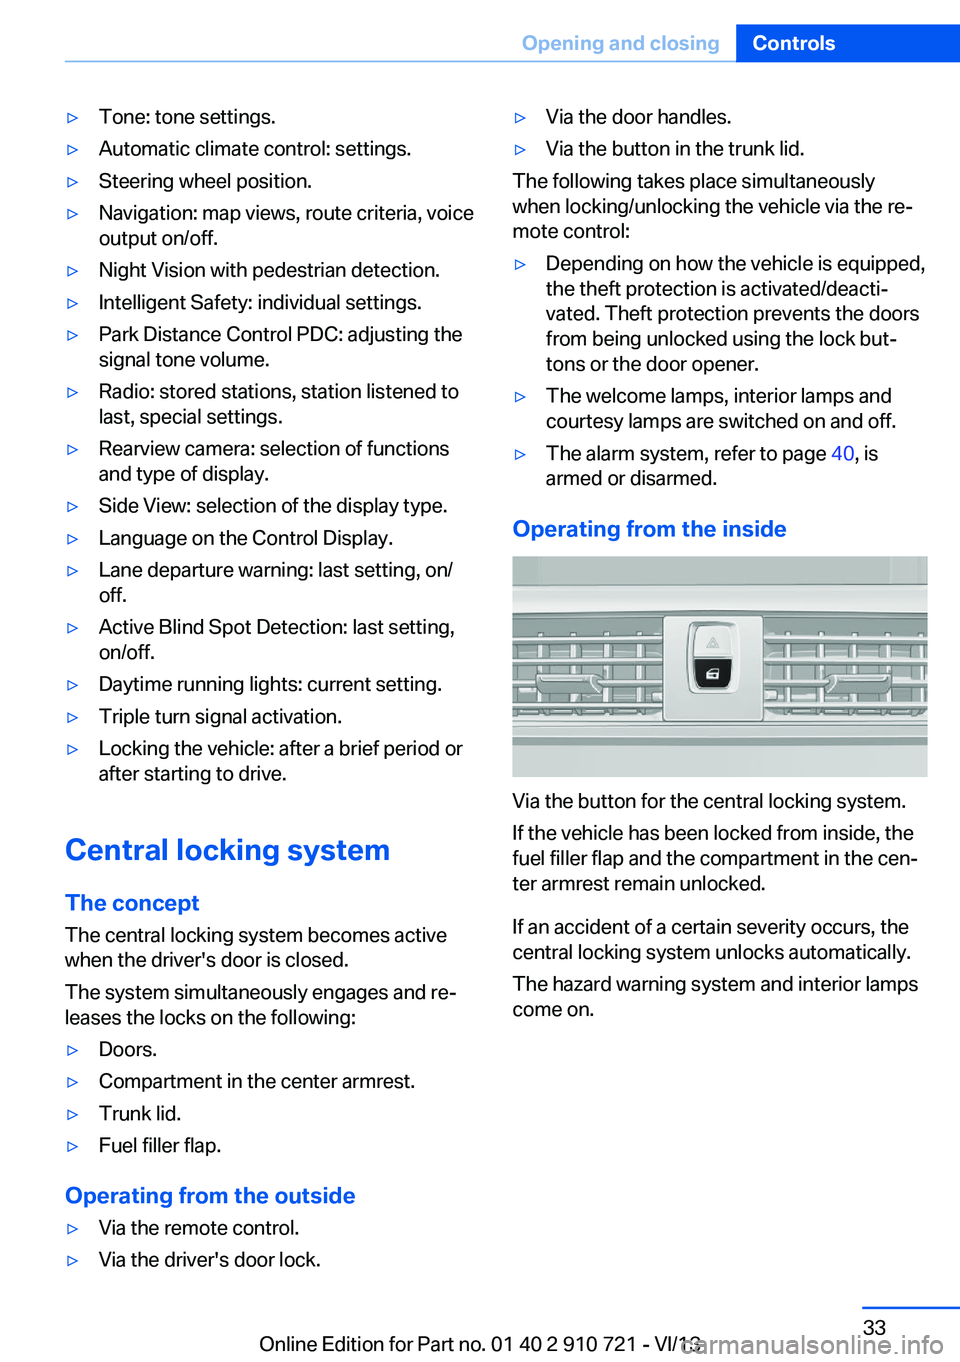
Via the button for the central locking system.
If the vehicle has been locked from inside, the
fuel filler flap and the compartment in the cen‐
ter armrest remain unlocked.
If an accident of a certain severity occurs, the
central locking system unlocks automatically.
The hazard warning system and interior lamps
come on.
Seite 33Opening and closingControls33
Online Edition for Part no. 01 40 2 910 721 - VI/13
Page 35 of 243

Panic mode
You can trigger the alarm system if you find
yourself in a dangerous situation.
Press the button on the remote con‐
trol for at least 3 seconds.
To switch off the alarm: press any button.
Switching on the headlamp courtesy
delay feature
Briefly press the button on the remote
control.
The duration can be set in the Control Display.
Opening the trunk lid Press the button on the remote con‐
trol for approx. 1 second.
The trunk lid opens, regardless of whether it
was previously locked or unlocked.
In some vehicle equipment variants, the trunk
lid can only be opened using the remote con‐
trol if the vehicle has been unlocked.
Do not place the remote control in the
cargo area
Take the remote control with you and do not
leave it in the cargo area; otherwise, the re‐
mote control is locked inside the vehicle when
the trunk lid is closed.◀
The trunk lid is locked again as soon as it is
pushed closed.
Malfunction
If the vehicle can no longer be locked or un‐
locked with the remote control, the battery
may be discharged or there may be interfer‐
ence from external sources such as mobile
phones, metal objects, overhead power lines,
transmission towers, etc.
If this occurs, lock or unlock the driver's door at
the door lock using the integrated key.For US owners only
The transmitter and receiver units comply with
part 15 of the FCC/Federal Communication
Commission regulations. Operation is gov‐
erned by the following:
FCC ID:▷LX8766S.▷LX8766E.▷LX8CAS.▷LX8CAS2.▷MYTCAS4.
Compliance statement:
This device complies with part 15 of the FCC
Rules. Operation is subject to the following
two conditions:
▷This device may not cause harmful inter‐
ference, and▷this device must accept any interference
received, including interference that may
cause undesired operation.
Any unauthorized modifications or changes to
these devices could void the user's authority to
operate this equipment.
Using the door lock
General information
Locking from the outside
Do not lock the vehicle from the outside
if there are people in it, as the vehicle cannot
be unlocked from inside without special knowl‐
edge.◀
Seite 35Opening and closingControls35
Online Edition for Part no. 01 40 2 910 721 - VI/13
Page 44 of 243
▷Always open or close the convertible top
completely. Convertible top and
convertible top well storage cover are
locked in the final positions. Driving with
the convertible tope or convertible top well
storage cover unlocked can result in dam‐
age.▷Do not reach into the convertible top
mechanism during the opening and closing
operation. Keep children away from the
opening path of the convertible top, other‐
wise, there is a risk of injury.▷When the convertible top is opened during
driving, be alert to traffic; otherwise, it may
result in an accident. If possible, do not
move the convertible top while driving in
reverse because rearward vision is se‐
verely impaired while the convertible top is
in motion. During windy conditions, do not
operate the convertible top while driving.
Do not drive faster than 30 mph/50 km/h;
otherwise, vehicle damage may occur.▷Do not attach any roof carrier systems;
otherwise, an accident may occur.◀
Functional requirements
The ignition or radio ready state must be
switched on.
It is not possible to start the engine and oper‐
ate the convertible top simultaneously. When
the engine is started, the convertible top
movement is briefly interrupted.
Under the following conditions, the convertible
top movement cannot be moved and a Check
Control message is displayed.
▷Cargo area partition is flipped up.▷Trunk lid is open.▷External temperature is too low.▷Vehicle system too low.▷Convertible top drive is overheating.▷Movement of the convertible top not al‐
lowed because of national regulations.▷Vehicle speed is too high.Before opening and closing▷Follow the safety instructions for the
convertible top.▷Make sure that the cargo area partition in
the cargo area is folded down.▷Make sure that the cargo does not push
against the cargo area partition from be‐
low.▷Make sure that the trunk lid is closed.
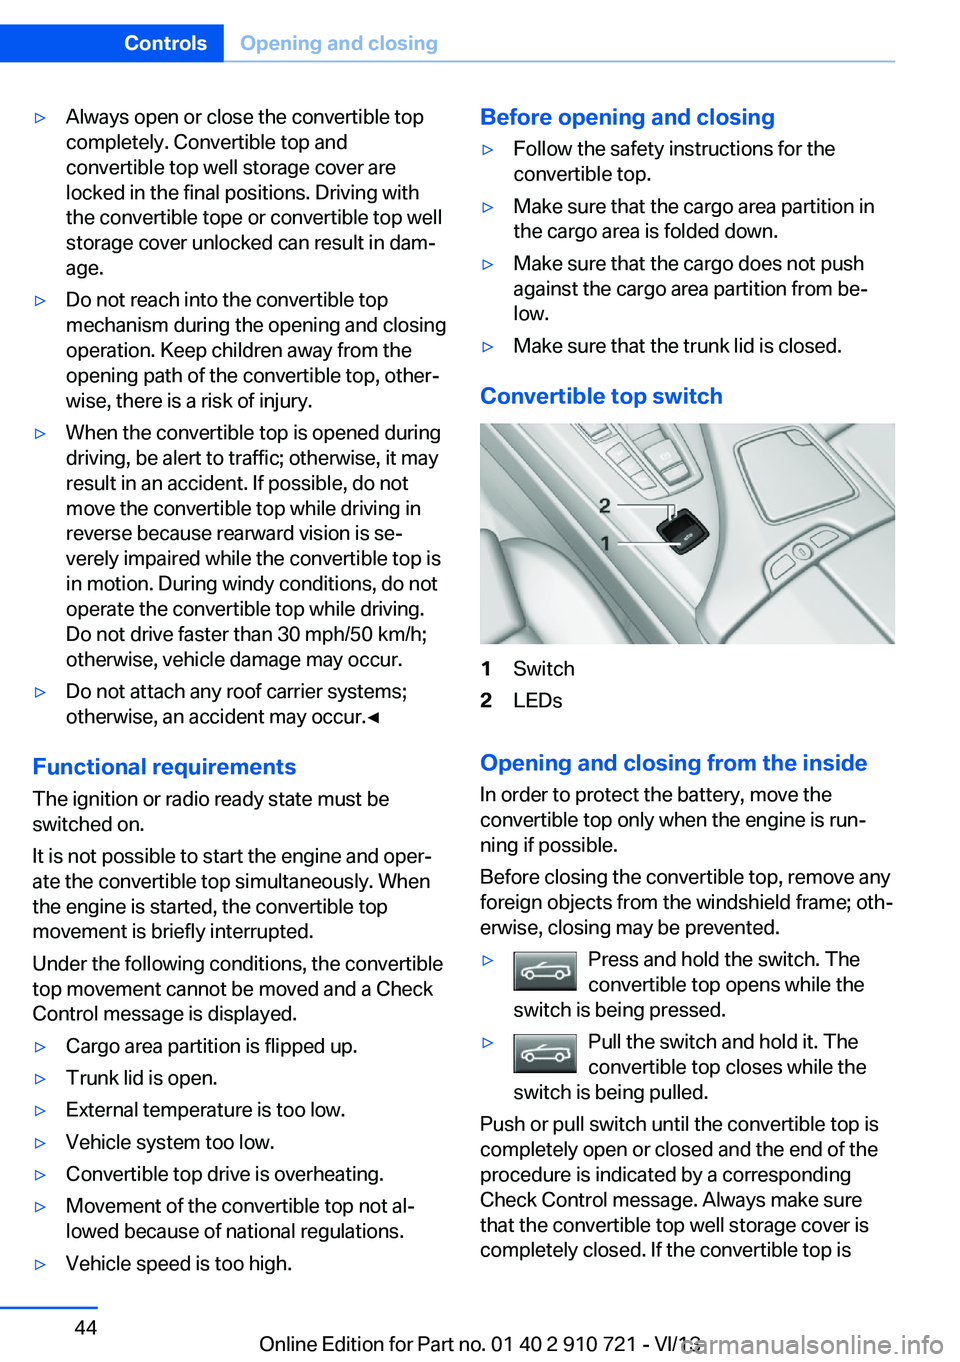
Convertible top switch
1Switch2LEDs
Opening and closing from the inside
In order to protect the battery, move the
convertible top only when the engine is run‐
ning if possible.
Before closing the convertible top, remove any
foreign objects from the windshield frame; oth‐
erwise, closing may be prevented.
▷Press and hold the switch. The
convertible top opens while the
switch is being pressed.▷Pull the switch and hold it. The
convertible top closes while the
switch is being pulled.
Push or pull switch until the convertible top is
completely open or closed and the end of the
procedure is indicated by a corresponding
Check Control message. Always make sure
that the convertible top well storage cover is
completely closed. If the convertible top is
Seite 44ControlsOpening and closing44
Online Edition for Part no. 01 40 2 910 721 - VI/13
Page 45 of 243
completely open or closed, convertible top and
convertible top well storage cover are latched.
The side windows and the rear window go
down when the convertible top control switch
is pulled or pushed.
LEDs▷Left LED lights up green: convertible top is
opened or closed. If the operation is com‐
pleted, the LED goes out and a corre‐
sponding Check Control message is dis‐
played.▷Right LED flashes red after the switch is
released: operating sequence has not yet
concluded.▷Right LED comes on red when the switch
is pressed: cargo area partition is flipped
up, trunk lid is not closed or there is a mal‐
function. Convertible top cannot be moved.
In addition to the red LED, a check control
message is displayed.
Interruption Always open/close the convertible top
completely
A convertible top that is not opened or closed
completely is not locked and represents a haz‐
ard.◀
The convertible top movement is interrupted if
the switch is released. The sequence can be
continued in the desired direction using the
switch.
If there is a longer interruption, convertible top
and convertible top well storage cover remain
approx. 10 minutes in the current position be‐
fore they slowly go down. The convertible top
and the convertible top well storage cover are
not locked. Operate switch again until the
convertible operation is terminated.
Convenient operation from outside
When equipped with Comfort Access the
convertible top can also be operated from out‐
side:▷Convenient opening with remote opera‐
tion, refer to page 34.▷Convenient closing with the remote con‐
trol, refer to page 34.
Cargo area partition
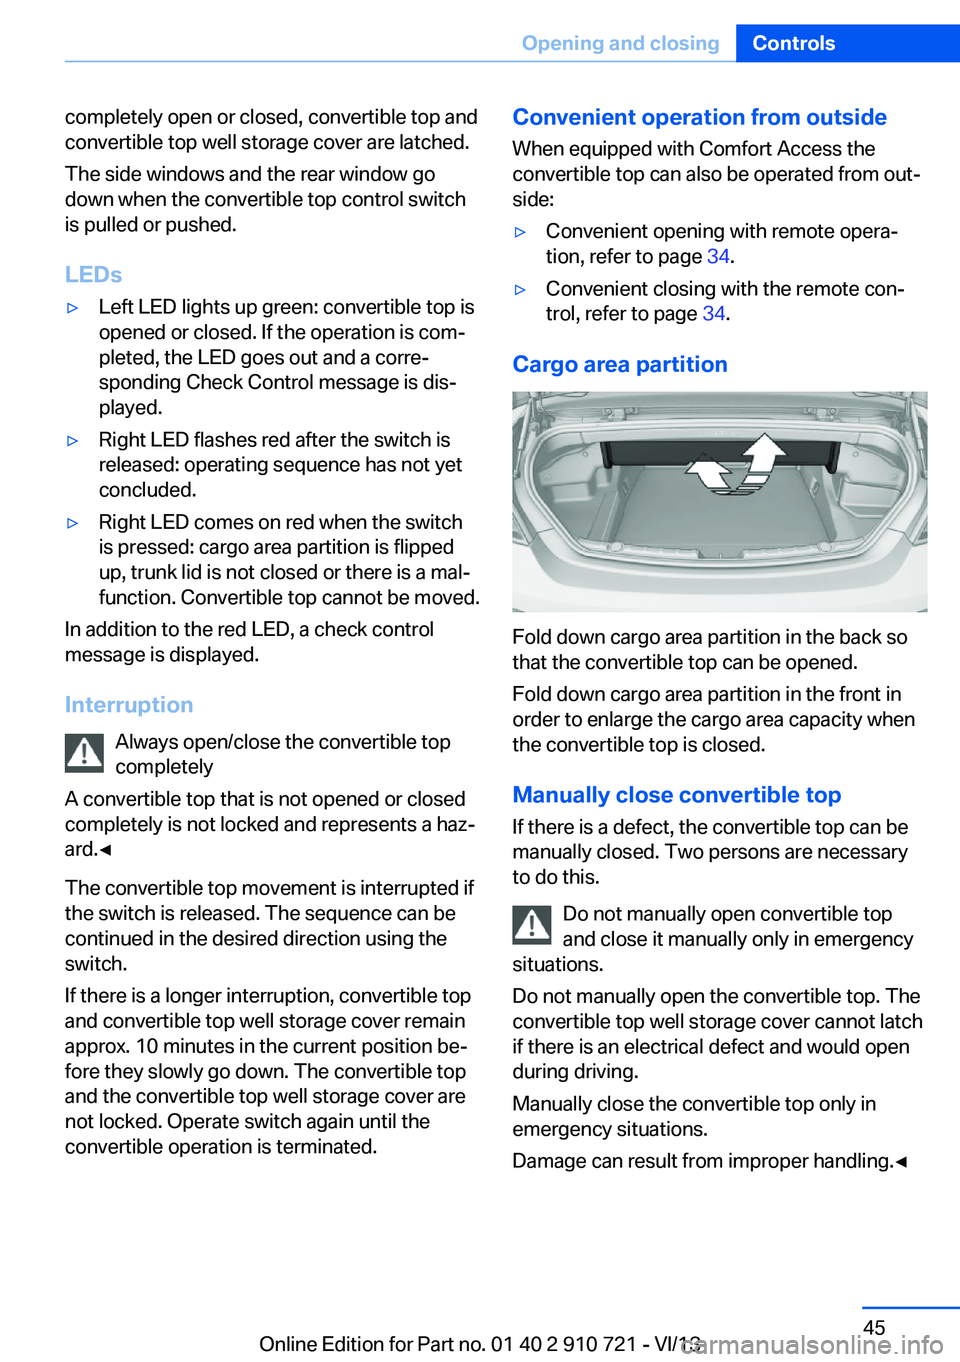
Fold down cargo area partition in the back so
that the convertible top can be opened.
Fold down cargo area partition in the front in
order to enlarge the cargo area capacity when
the convertible top is closed.
Manually close convertible top
If there is a defect, the convertible top can be
manually closed. Two persons are necessary
to do this.
Do not manually open convertible top
and close it manually only in emergency
situations.
Do not manually open the convertible top. The
convertible top well storage cover cannot latch
if there is an electrical defect and would open
during driving.
Manually close the convertible top only in
emergency situations.
Damage can result from improper handling.◀
Seite 45Opening and closingControls45
Online Edition for Part no. 01 40 2 910 721 - VI/13
Page 65 of 243

The radio ready state is switched on.3.Set the parking brake.
Automatic Engine Start/Stop
Function
The concept The Auto Start/Stop function helps save fuel.
The system switches off the engine during a
stop, e.g., in a traffic congestion or at traffic
lights. The ignition remains switched on. The
engine starts again automatically for driving
off.
Certain vehicle components may experience
additional wear as a result of this system.
Automatic mode
The Auto Start/Stop function is operational af‐
ter each engine start.
This function is activated at speeds faster than
about 3 mph, approx. 5 km/h.
Engine stop
The engine is switched off automatically dur‐
ing a stop under the following conditions:
Automatic transmission:
▷The selector lever is in transmission posi‐
tion D.▷The brake pedal remains pressed while the
vehicle is stationary or the vehicle is held
by Automatic Hold.▷The driver's seat belt is buckled or the driv‐
er's door is closed.
The air volume of the air conditioner is reduced
when the engine is switched off.
Displays in the instrument cluster The display indicates that the
automatic engine start-stop
function is ready for an auto‐
matic engine start.
The display indicates that the
conditions for an automatic en‐
gine stop have not been satis‐
fied.
Note
The engine is not switched off automatically in
the following situations:▷External temperature too low.▷The external temperature is high and auto‐
matic climate control is running.▷The passenger compartment has not yet
been heated or cooled to the required
level.▷The engine is not yet at operating temper‐
ature.▷The wheels are at a sharp angle or the
steering wheel is being turned.▷After driving in reverse.▷Fogging of the windows when the auto‐
matic climate control is switched on.▷Vehicle battery is heavily discharged.▷The engine compartment lid is unlocked.▷HDC Hill Descent Control is activated.▷The parking assistant is activated.▷Stop-and-go traffic.▷The transmission selector lever is in posi‐
tion N or M/S.▷Use of fuel with high ethanol content.
Starting the engine
The engine starts automatically under the fol‐
lowing conditions:
▷Automatic transmission:
By releasing the brake pedal.
When Automatic Hold is activated: press
the accelerator.
After the engine starts, accelerate as usual.
Seite 65DrivingControls65
Online Edition for Part no. 01 40 2 910 721 - VI/13
Page 67 of 243
Malfunction
The Auto Start/Stop function no longer
switches of the engine automatically. A Check
Control message is displayed. It is possible to
continue driving. Have the system checked.
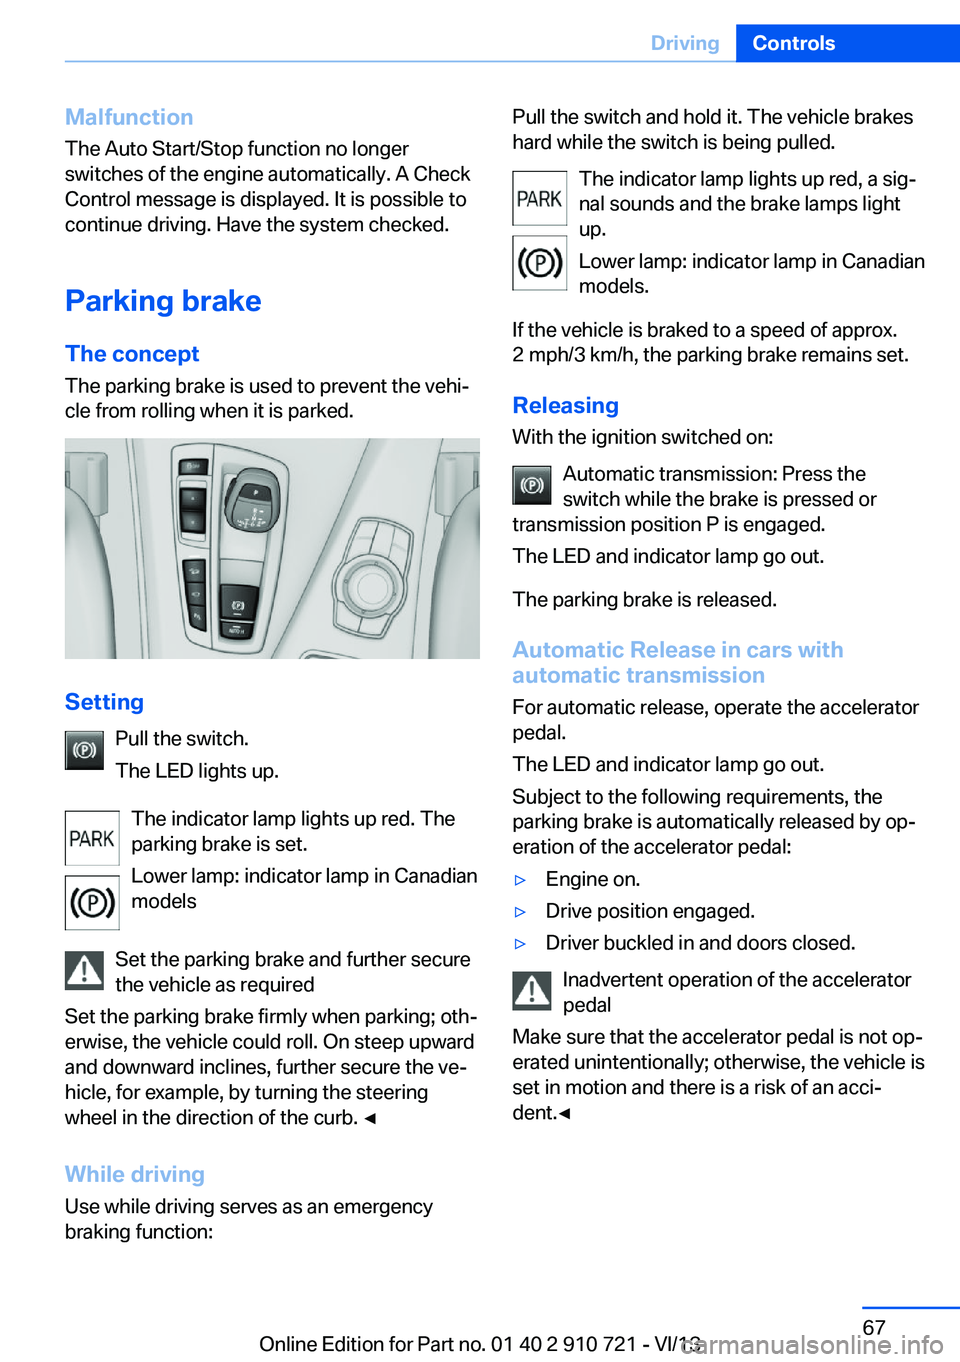
Parking brake The conceptThe parking brake is used to prevent the vehi‐
cle from rolling when it is parked.
Setting
Pull the switch.
The LED lights up.
The indicator lamp lights up red. The
parking brake is set.
Lower lamp: indicator lamp in Canadian
models
Set the parking brake and further secure
the vehicle as required
Set the parking brake firmly when parking; oth‐
erwise, the vehicle could roll. On steep upward
and downward inclines, further secure the ve‐
hicle, for example, by turning the steering
wheel in the direction of the curb. ◀
While driving
Use while driving serves as an emergency
braking function:
Pull the switch and hold it. The vehicle brakes
hard while the switch is being pulled.
The indicator lamp lights up red, a sig‐
nal sounds and the brake lamps light
up.
Lower lamp: indicator lamp in Canadian
models.
If the vehicle is braked to a speed of approx.
2 mph/3 km/h, the parking brake remains set.
Releasing
With the ignition switched on:
Automatic transmission: Press the
switch while the brake is pressed or
transmission position P is engaged.
The LED and indicator lamp go out.
The parking brake is released.
Automatic Release in cars with
automatic transmission
For automatic release, operate the accelerator
pedal.
The LED and indicator lamp go out.
Subject to the following requirements, the
parking brake is automatically released by op‐
eration of the accelerator pedal:▷Engine on.▷Drive position engaged.▷Driver buckled in and doors closed.
Inadvertent operation of the accelerator
pedal
Make sure that the accelerator pedal is not op‐
erated unintentionally; otherwise, the vehicle is
set in motion and there is a risk of an acci‐
dent.◀
Seite 67DrivingControls67
Online Edition for Part no. 01 40 2 910 721 - VI/13
Page 74 of 243
Sport program and manual mode
Activating the sport program
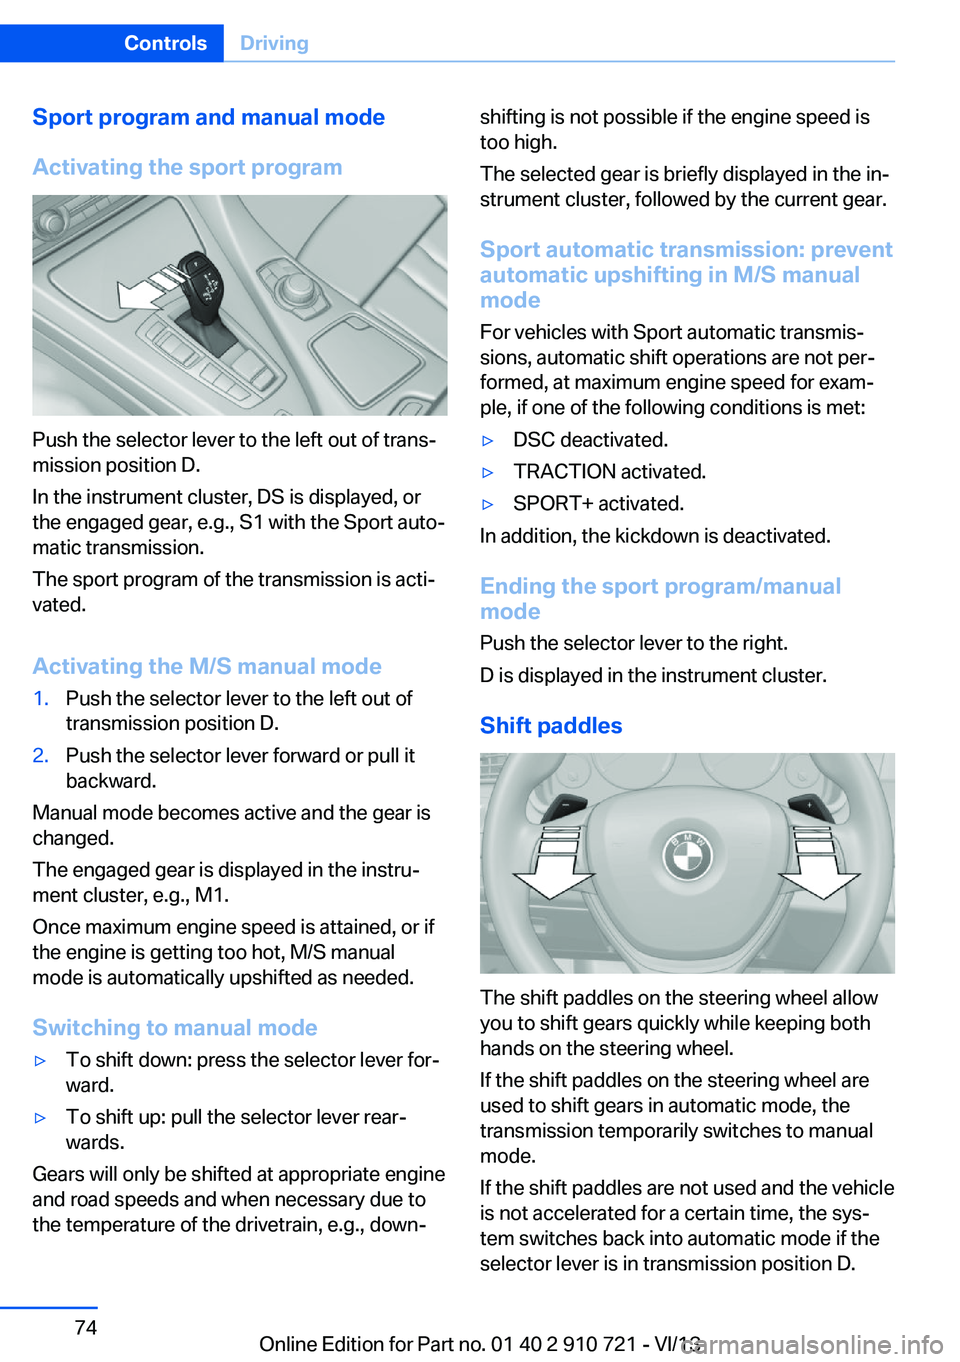
Push the selector lever to the left out of trans‐
mission position D.
In the instrument cluster, DS is displayed, or
the engaged gear, e.g., S1 with the Sport auto‐
matic transmission.
The sport program of the transmission is acti‐
vated.
Activating the M/S manual mode
1.Push the selector lever to the left out of
transmission position D.2.Push the selector lever forward or pull it
backward.
Manual mode becomes active and the gear is
changed.
The engaged gear is displayed in the instru‐
ment cluster, e.g., M1.
Once maximum engine speed is attained, or if
the engine is getting too hot, M/S manual
mode is automatically upshifted as needed.
Switching to manual mode
▷To shift down: press the selector lever for‐
ward.▷To shift up: pull the selector lever rear‐
wards.
Gears will only be shifted at appropriate engine
and road speeds and when necessary due to
the temperature of the drivetrain, e.g., down‐
shifting is not possible if the engine speed is
too high.
The selected gear is briefly displayed in the in‐
strument cluster, followed by the current gear.
Sport automatic transmission: prevent
automatic upshifting in M/S manual
mode
For vehicles with Sport automatic transmis‐
sions, automatic shift operations are not per‐
formed, at maximum engine speed for exam‐
ple, if one of the following conditions is met:▷DSC deactivated.▷TRACTION activated.▷SPORT+ activated.
In addition, the kickdown is deactivated.
Ending the sport program/manual
mode
Push the selector lever to the right.
D is displayed in the instrument cluster.
Shift paddles
The shift paddles on the steering wheel allow
you to shift gears quickly while keeping both
hands on the steering wheel.
If the shift paddles on the steering wheel are
used to shift gears in automatic mode, the
transmission temporarily switches to manual
mode.
If the shift paddles are not used and the vehicle
is not accelerated for a certain time, the sys‐
tem switches back into automatic mode if the
selector lever is in transmission position D.
Seite 74ControlsDriving74
Online Edition for Part no. 01 40 2 910 721 - VI/13