2014 BMW 6 SERIES GRAN COUPE driver door
[x] Cancel search: driver doorPage 38 of 253
Opening and closingVehicle features and options
This chapter describes all standard, country-
specific and optional features offered with the
series. It also describes features that are not
necessarily available in your car, e. g., due to
the selected options or country versions. This
also applies to safety-related functions and
systems.
Remote control/key
General information The vehicle is supplied with two remote con‐
trols with integrated key.
Every remote control holds a replaceable bat‐
tery.
You may set the key functions depending on
the optional features and country-specific ver‐
sion. For Settings, refer to page 42.
The vehicle stores personal settings for every
remote control. Personal Profile, refer to
page 35.
The remote controls hold information on re‐
quired maintenance. Service data in the re‐
mote control, refer to page 215.
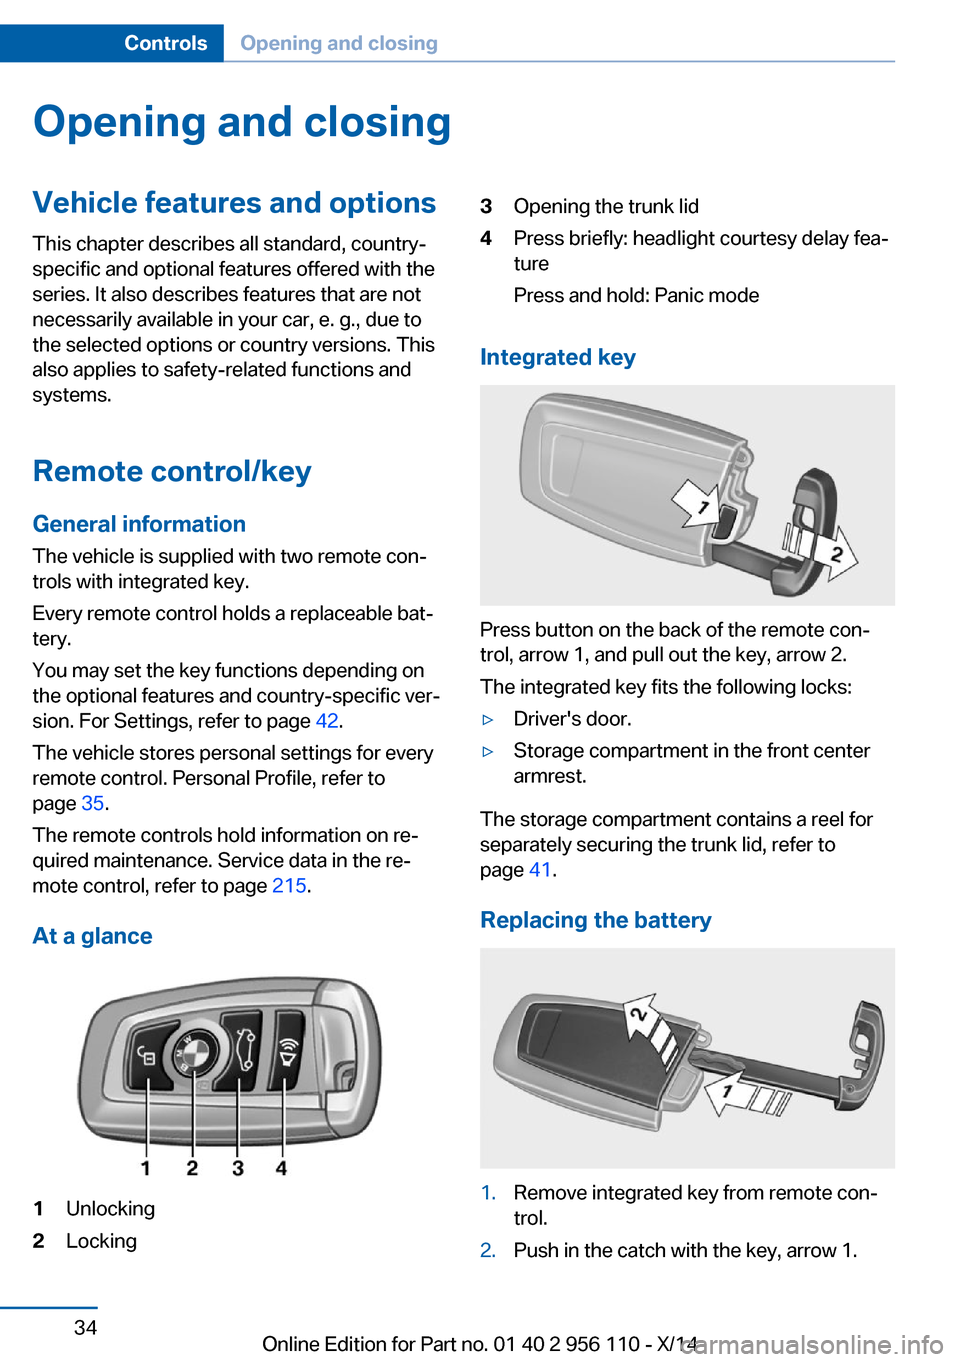
At a glance1Unlocking2Locking3Opening the trunk lid4Press briefly: headlight courtesy delay fea‐
ture
Press and hold: Panic mode
Integrated key
Press button on the back of the remote con‐
trol, arrow 1, and pull out the key, arrow 2.
The integrated key fits the following locks:
▷Driver's door.▷Storage compartment in the front center
armrest.
The storage compartment contains a reel for
separately securing the trunk lid, refer to
page 41.
Replacing the battery
1.Remove integrated key from remote con‐
trol.2.Push in the catch with the key, arrow 1.Seite 34ControlsOpening and closing34
Online Edition for Part no. 01 40 2 956 110 - X/14
Page 41 of 253
Existing settings and contacts are overwritten
with the imported profile.1."Settings"2."Profiles"3."Import profile"4.BMW Online: "BMW Online"
USB interface: "USB device"
Using the guest profile
The guest profile is for individual settings that
are saved in none of the three personal pro‐
files.
This can be useful for drivers who are using
the vehicle temporarily and do not have their
own profile.
1."Settings"2."Profiles"3."Guest"
The guest profile cannot be renamed. It is not
assigned to the current remote control.
Display profile list during start
The profile list can be displayed during each
start to select the desired profile.
1."Settings"2."Profiles"3."Options"4."Display user list at startup"
Using the remote control
Note Take the remote control with youPeople or animals left unattended in a
parked vehicle can lock the doors from the in‐
side. Always take the remote control with you
when leaving the vehicle so that the vehicle
can then be opened from the outside.◀
Unlocking
Press button on the remote control.▷All doors and the trunk lid are unlocked.▷Interior lamps and courtesy lamps are acti‐
vated. This function is not available, if the
interior lamps were switched off manually.▷The welcome lamps are switched on, if this
function was activated.▷Exterior mirrors folded through convenient
closing are folded open.
You can set how the vehicle is to be unlocked.
For Settings, refer to page 42.
Anti-theft protection is switched off.
The alarm system, refer to page 43, is dis‐
armed.
Convenient opening Press and hold this button on the re‐mote control after unlocking.
The windows are opened, the glass sunroof is
tilted and the sliding visor moves back, as long
as the button on the remote control is pressed.
Locking Locking from the outside
Do not lock the vehicle from the outside
with people inside the car, as the vehicle can‐
not be unlocked from inside without special knowledge.◀
Press button on the remote control.
All doors and the trunk lid are locked.
Anti-theft protection is switched on. It pre‐
vents the doors from being unlocked using the
lock buttons or the door openers.
The alarm system, refer to page 43, is armed.
Seite 37Opening and closingControls37
Online Edition for Part no. 01 40 2 956 110 - X/14
Page 43 of 253
▷this device must accept any interference
received, including interference that may
cause undesired operation.
Any unauthorized modifications or changes to
these devices could void the user's authority to
operate this equipment.
Without remote control
From the outside Locking from the outside
Do not lock the vehicle from the outside
with people inside the car, as the vehicle can‐
not be unlocked from inside without special
knowledge.◀
Remove the key before pulling the door
handle
Before pulling the outside door handle, remove
the key to avoid damaging the paintwork and
the key.◀
Unlock or lock the driver's door via the door
lock using the integrated key, refer to page 34.
In some vehicle equipment versions, only the
driver's door can be unlocked or locked via the
door lock. In this case, the other doors must be
unlocked or locked from the inside.
Alarm system
With some country versions, the alarm system
is not armed if the vehicle is locked with the
integrated key.
In some country-specific versions, the alarm
system is triggered when the vehicle is un‐
locked via the door lock.
In order to terminate this alarm, unlock vehicle
with the remote control or reel on the ignition,
if needed, through emergency detection of the
remote control, refer to page 35.
From the inside
Unlocking and locking
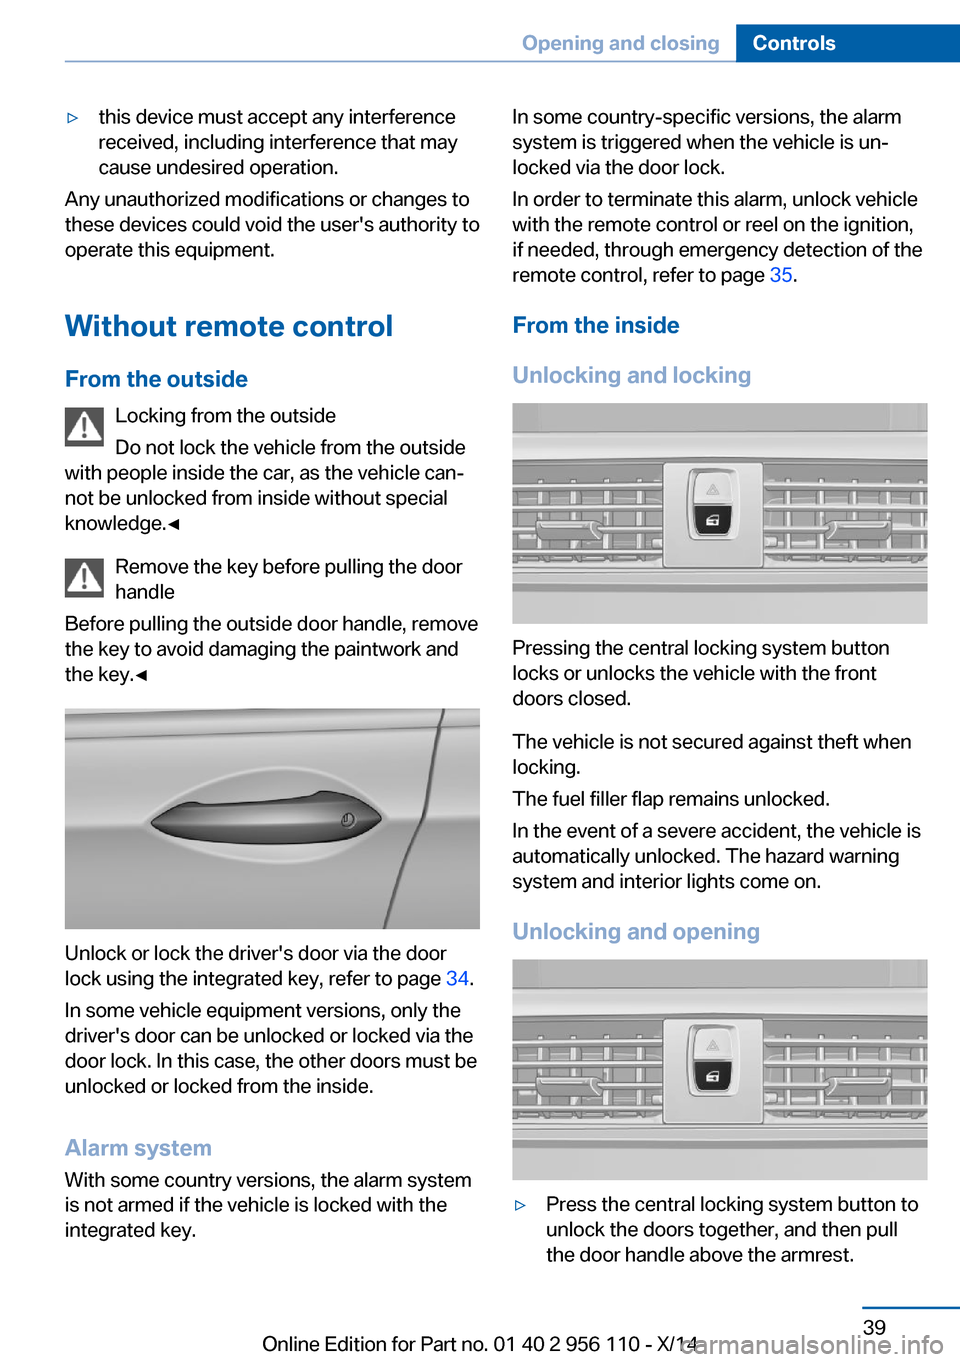
Pressing the central locking system button
locks or unlocks the vehicle with the front
doors closed.
The vehicle is not secured against theft when
locking.
The fuel filler flap remains unlocked.
In the event of a severe accident, the vehicle is
automatically unlocked. The hazard warning
system and interior lights come on.
Unlocking and opening
▷Press the central locking system button to
unlock the doors together, and then pull
the door handle above the armrest.Seite 39Opening and closingControls39
Online Edition for Part no. 01 40 2 956 110 - X/14
Page 44 of 253
▷On the door to be opened, pull the door
handle twice: the first time unlocks the
door, the second time opens it. The other
doors remain locked.
Doors
Automatic Soft Closing
To close the doors, push lightly.
It is closed automatically.
Danger of jamming
Make sure that the closing path of the
doors is clear; otherwise, injuries may result.◀
Trunk lidOpening
During opening, the trunk lid pivots back and
up.
Ensure that adequate clearance is available
before opening.
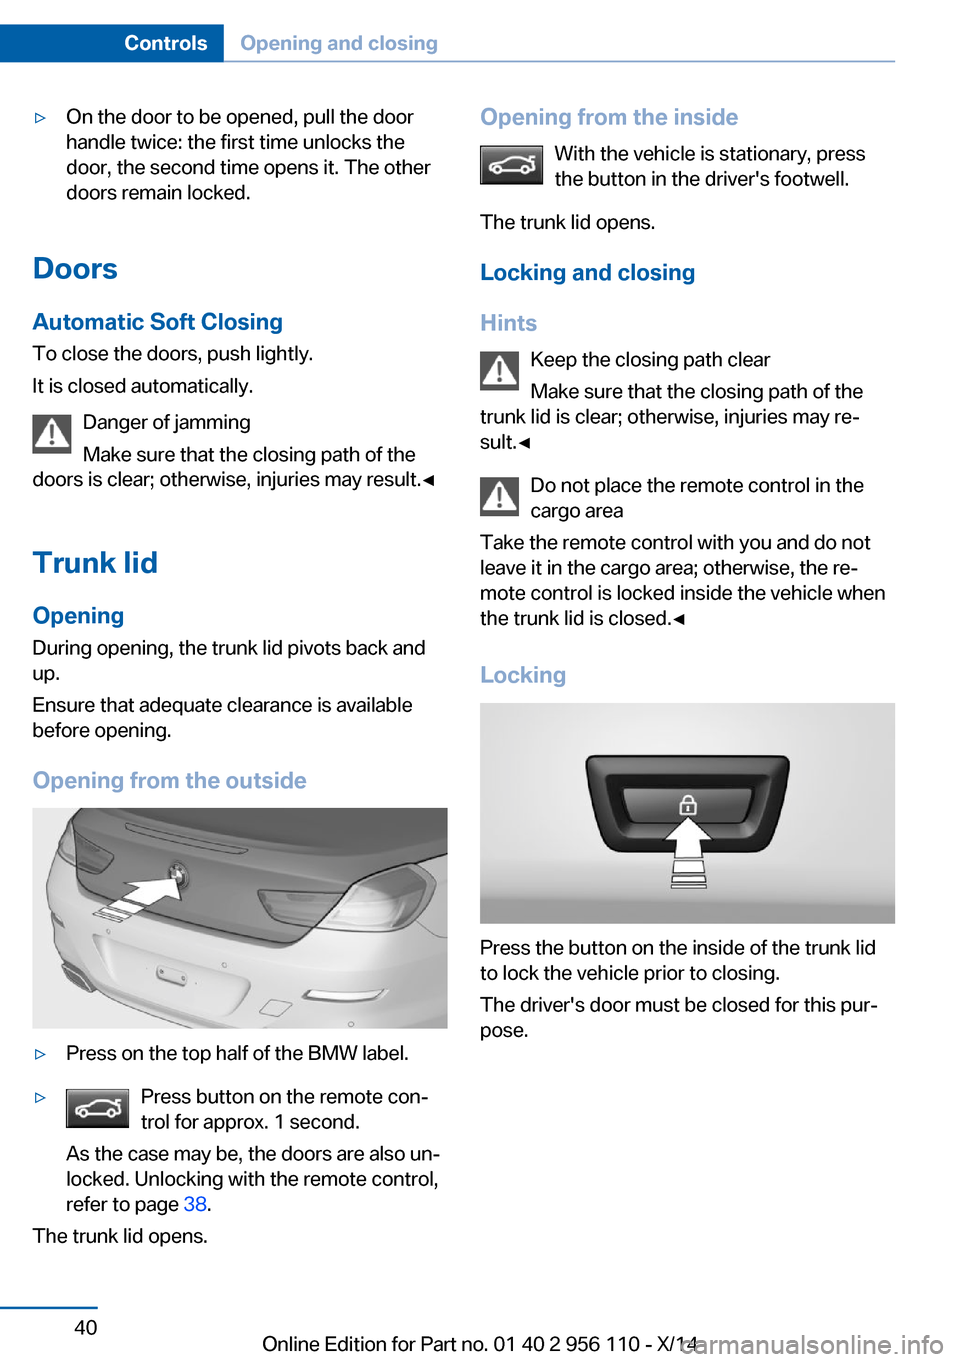
Opening from the outside
▷Press on the top half of the BMW label.▷Press button on the remote con‐
trol for approx. 1 second.
As the case may be, the doors are also un‐
locked. Unlocking with the remote control,
refer to page 38.
The trunk lid opens.
Opening from the inside
With the vehicle is stationary, press
the button in the driver's footwell.
The trunk lid opens.
Locking and closing
Hints Keep the closing path clear
Make sure that the closing path of the
trunk lid is clear; otherwise, injuries may re‐
sult.◀
Do not place the remote control in the
cargo area
Take the remote control with you and do not
leave it in the cargo area; otherwise, the re‐
mote control is locked inside the vehicle when the trunk lid is closed.◀
Locking
Press the button on the inside of the trunk lid
to lock the vehicle prior to closing.
The driver's door must be closed for this pur‐
pose.
Seite 40ControlsOpening and closing40
Online Edition for Part no. 01 40 2 956 110 - X/14
Page 47 of 253
3. Select the symbol.4.Select the desired function:▷"Driver's door only"
Only the driver's door and the fuel filler
flap are unlocked. Pressing again un‐
locks the entire vehicle.▷"All doors"
The entire vehicle is unlocked.
Trunk lid
Depending on optional features and country
version, this setting is not offered in some
cases.
1."Settings"2."Doors/key"3. Select the symbol.4.Select the desired function:▷"Tailgate"
The trunk lid is opened.▷"Tailgate + door(s)"
The trunk lid is opened and the doors
are unlocked.
Confirmation signals from the vehicle
The settings are saved in the active profile, re‐
fer to page 35.
1."Settings"2."Doors/key"3.Deactivate or activate the desired confir‐
mation signals.▷"Acoustic sig. lock/unlock"▷"Flash when lock/unlock"
Automatic locking
The settings are saved in the active profile, re‐fer to page 35.
1."Settings"2."Doors/key"3.Select the desired function:▷"Lock if no door is opened"
The vehicle locks automatically after a
short period of time if no door is
opened.▷"Lock after start driving"
The vehicle locks automatically after
you drive off.
Retrieving the seat, mirror, and
steering wheel settings
The driver's seat, exterior mirror, and steering
wheel position adjusted last will be stored for
the active profile.
When the vehicle is unlocked, these positions
are automatically retrieved if this function was
activated.
Pinch hazard when moving back the seat
If this function is used, first make sure
that the footwell behind the driver's seat is
empty. Otherwise, people might get injured or
objects damaged when the seat is moved
back.◀
The adjustment procedure is interrupted:
▷When a seat position reel is pressed.▷When a button of the seat, mirror, and
steering wheel memory is pressed briefly.
Activating the setting
1."Settings"2."Doors/key"3."Last seat position autom."
Alarm system
The conceptWhen the vehicle is locked, the vehicle alarm
system responds to:
▷Opening a door, the hood or the trunk lid.▷Movements in the interior.Seite 43Opening and closingControls43
Online Edition for Part no. 01 40 2 956 110 - X/14
Page 49 of 253
Avoiding unintentional alarms
The tilt alarm sensor and interior motion sen‐
sor can be switched off together, such as in
the following situations:▷In automatic car washes.▷In duplex garages.▷During transport on trains carrying vehi‐
cles, at sea or on a trailer.▷With animals in the vehicle.
Switching off the tilt alarm sensor and
interior motion sensor
Press the remote control button again
within 10 seconds as soon as the vehicle
is locked.
The indicator lamp lights up for approx. 2 sec‐
onds and then continues to flash.
The tilt alarm sensor and interior motion sen‐
sor are turned off, until the vehicle is locked again.
Switching off the alarm
▷Unlock vehicle with the remote control or
reel on the ignition, if needed through
emergency detection of remote control, re‐
fer to page 35.▷With Comfort Access: If you are carrying
the remote control on your person, grasp
the driver side or front passenger side door
handle completely.
Power windows
General information Take the remote control with you
Take the remote control with you when
leaving the vehicle so that children, e.g., can‐
not operate the power windows and injure
themselves.◀
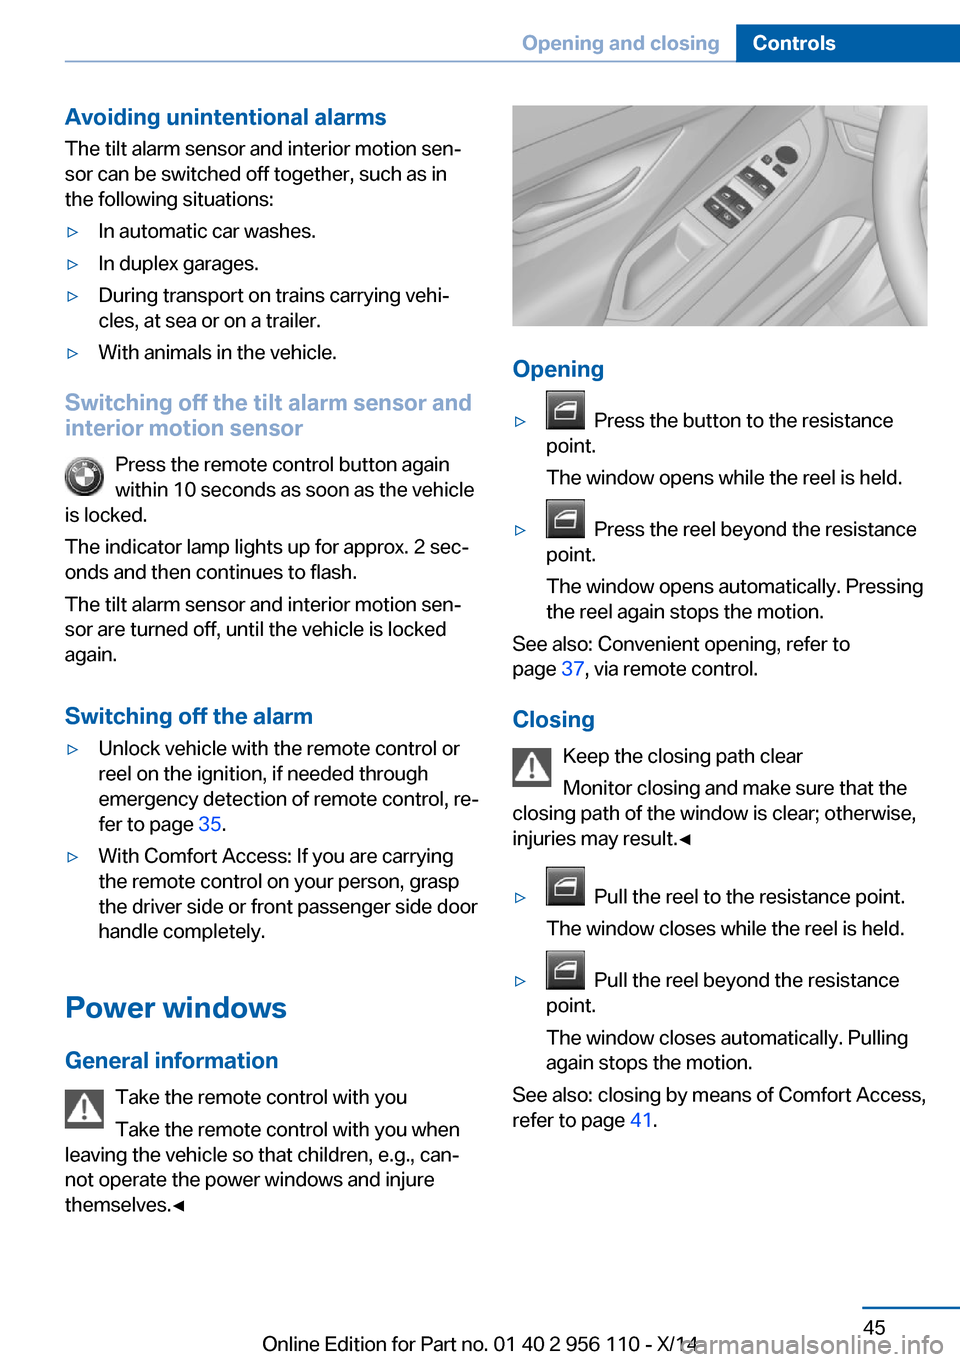
Opening
▷ Press the button to the resistance
point.
The window opens while the reel is held.▷ Press the reel beyond the resistance
point.
The window opens automatically. Pressing
the reel again stops the motion.
See also: Convenient opening, refer to
page 37, via remote control.
Closing Keep the closing path clear
Monitor closing and make sure that the
closing path of the window is clear; otherwise,
injuries may result.◀
▷ Pull the reel to the resistance point.
The window closes while the reel is held.▷ Pull the reel beyond the resistance
point.
The window closes automatically. Pulling
again stops the motion.
See also: closing by means of Comfort Access,
refer to page 41.
Seite 45Opening and closingControls45
Online Edition for Part no. 01 40 2 956 110 - X/14
Page 50 of 253
Pinch protection systemDanger of jamming even with pinch pro‐
tection
Even with the pinch protection system, check
that the window's closing path is clear; other‐
wise, the closing action may not stop in certain
situations, e.g., if thin objects are present.◀
No window accessories
Do not install any accessories in the win‐
dow's range of movement; otherwise, the
pinch protection system will be impaired.◀
If closing force exceeds a specific margin as a
window closes, closing is interrupted.
The window reopens slightly.
Closing without the pinch protection
system
Keep the closing path clear
Monitor closing and make sure that the
closing path of the window is clear; otherwise,
injuries may result.◀
E.g. danger from the outside or ice might pre‐
vent window from closing properly - proceed
as follows:1.Pull the reel past the resistance point and
hold it there.
The pinch protection is limited and the
window reopens slightly if the closing force
exceeds a certain margin.2.Pull the reel past the resistance point again
within approx. 4 seconds and hold it there.
The window closes without jam protection.
Safety reel
General information
The following functions can be locked simulta‐
neously, using the reel:
▷Opening and closing of the rear windows
using the switches in the rear.▷Operation of the roller sunblinds using the
switches in the rear.▷Adjustment of the power rear seats.▷Adjustment of the power head restraints in
the rear.
Switching on and off
Press button.
The LED lights up if the safety func‐
tion is switched on.
Safety reel for rear operation
Press the safety reel when transporting
children in the rear; otherwise, injury may re‐
sult if the windows are closed without supervi‐
sion.◀
Roller sunblinds
General information
The safety reel in the driver's door can be used
to prevent children, e. g., from operating the
roller sunblinds using the switches in the rear.
Press the safety reel in the driver's door. The
LED lights up if the safety function is switched
on.
If you are no longer able to move the roller sun‐
blinds after having activated them consecu‐
tively a number of times, the system is blocked
for a limited time to prevent overheating. Let
the system cool.
The roller sunblinds cannot be moved at low
interior temperatures.
Seite 46ControlsOpening and closing46
Online Edition for Part no. 01 40 2 956 110 - X/14
Page 51 of 253
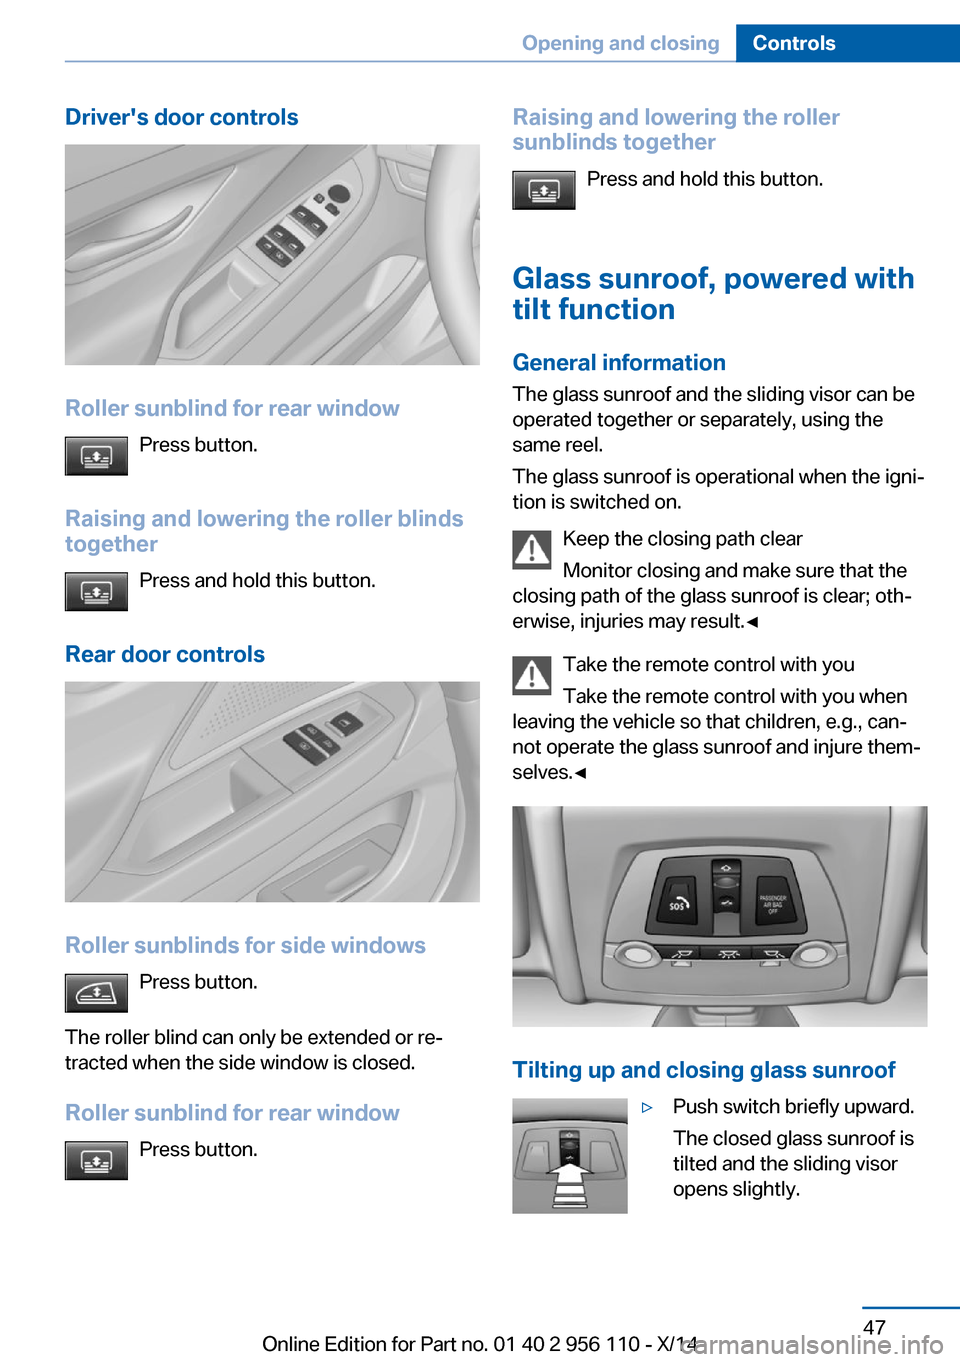
Driver's door controls
Roller sunblind for rear windowPress button.
Raising and lowering the roller blinds
together
Press and hold this button.
Rear door controls
Roller sunblinds for side windows Press button.
The roller blind can only be extended or re‐
tracted when the side window is closed.
Roller sunblind for rear window Press button.
Raising and lowering the roller
sunblinds together
Press and hold this button.
Glass sunroof, powered with tilt function
General information The glass sunroof and the sliding visor can be
operated together or separately, using the
same reel.
The glass sunroof is operational when the igni‐
tion is switched on.
Keep the closing path clear
Monitor closing and make sure that the
closing path of the glass sunroof is clear; oth‐
erwise, injuries may result.◀
Take the remote control with you
Take the remote control with you when
leaving the vehicle so that children, e.g., can‐
not operate the glass sunroof and injure them‐
selves.◀
Tilting up and closing glass sunroof
▷Push switch briefly upward.
The closed glass sunroof is
tilted and the sliding visor
opens slightly.Seite 47Opening and closingControls47
Online Edition for Part no. 01 40 2 956 110 - X/14