2014 BMW 528I XDRIVE SEDAN center console
[x] Cancel search: center consolePage 20 of 273

18Open the trunk lid 4019Unlocking the hood
All around the center console
1Control Display 182Glove compartment 1813Ventilation 1684Hazard warning system 242Central locking system 395Radio/CD/Multimedia, see user's manual
for Navigation, Entertainment and Commu‐
nication6Automatic climate control 1657Controller with buttons 188Parking brake 73Auto Hold 749PDC Park Distance Control 152
Top View 158
Rearview camera 154
Parking assistant 160Side View 157HDC Hill Descent Control 137Seite 16At a glanceCockpit16
Online Edition for Part no. 0140 2 956 218 - X/14
Page 180 of 273
The lighter can be removed as soon as it pops
back out.
Danger of burns
Only hold the hot lighter by its knob; oth‐
erwise, there is a danger of getting burned.
Take the remote control with you when leaving
the vehicle so that children cannot use the
lighter and burn themselves.◀
Replace the cover after use
Reinsert the lighter or socket cover after
use, otherwise objects may get into the lighter
socket or fixture and cause a short circuit.◀
Connecting electrical
devices
Hints Do not connect charging devices to the
12 volt socket in the vehicle
Do not connect battery chargers to the fac‐
tory-installed 12 volt sockets in the vehicle as
this may damage the vehicle battery due to an
increased power consumption.◀
Replace the cover after use
Reinsert the lighter or socket cover after
use, otherwise objects may get into the lighter
socket or fixture and cause a short circuit.◀
Sockets
General information
The lighter socket can be used as a socket for
electrical equipment while the engine is run‐
ning or when the ignition is switched on.
Note The total load of all sockets must not exceed
140 watts at 12 volts.Do not damage the socket by using unsuitable
connectors.
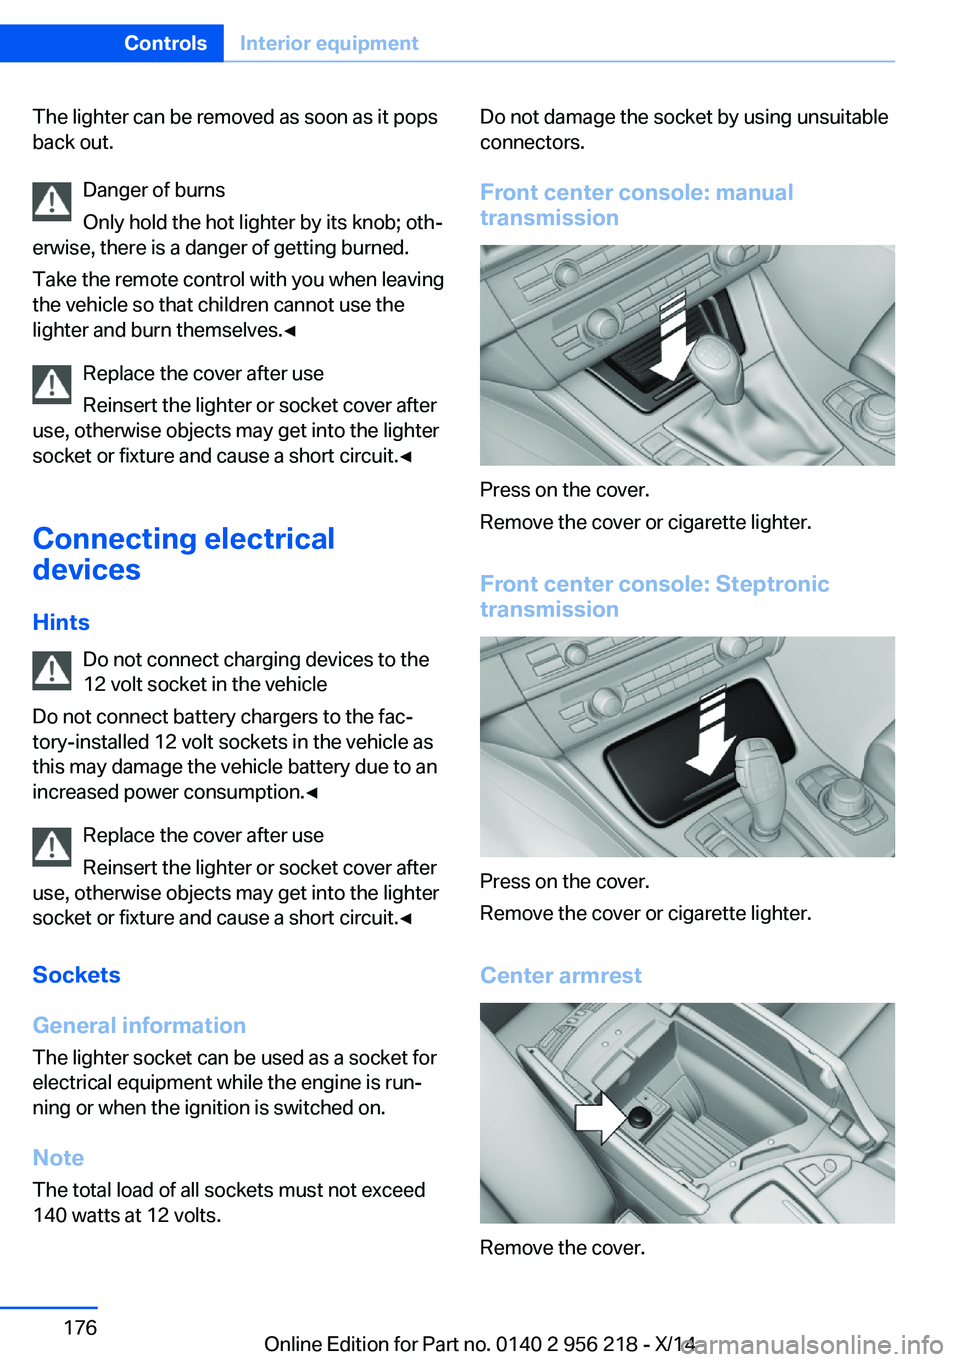
Front center console: manual
transmission
Press on the cover.
Remove the cover or cigarette lighter.
Front center console: Steptronic
transmission
Press on the cover.
Remove the cover or cigarette lighter.
Center armrest
Remove the cover.
Seite 176ControlsInterior equipment176
Online Edition for Part no. 0140 2 956 218 - X/14
Page 181 of 273
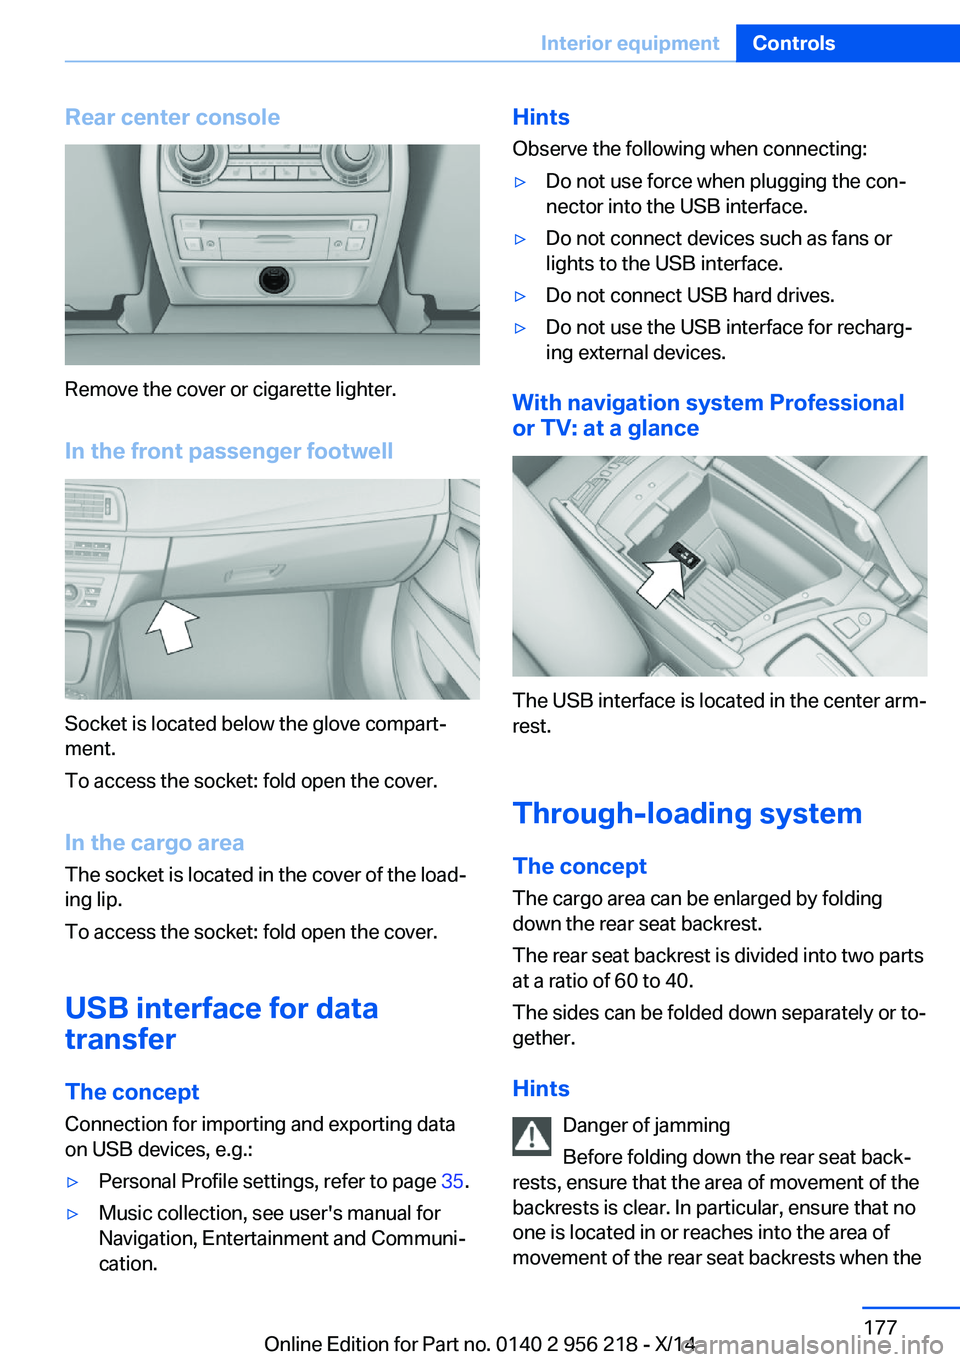
Rear center console
Remove the cover or cigarette lighter.
In the front passenger footwell
Socket is located below the glove compart‐
ment.
To access the socket: fold open the cover.
In the cargo area The socket is located in the cover of the load‐
ing lip.
To access the socket: fold open the cover.
USB interface for data
transfer
The concept Connection for importing and exporting data
on USB devices, e.g.:
▷Personal Profile settings, refer to page 35.▷Music collection, see user's manual for
Navigation, Entertainment and Communi‐
cation.Hints
Observe the following when connecting:▷Do not use force when plugging the con‐
nector into the USB interface.▷Do not connect devices such as fans or
lights to the USB interface.▷Do not connect USB hard drives.▷Do not use the USB interface for recharg‐
ing external devices.
With navigation system Professional
or TV: at a glance
The USB interface is located in the center arm‐
rest.
Through-loading system The concept The cargo area can be enlarged by folding
down the rear seat backrest.
The rear seat backrest is divided into two parts at a ratio of 60 to 40.
The sides can be folded down separately or to‐
gether.
Hints Danger of jamming
Before folding down the rear seat back‐
rests, ensure that the area of movement of the
backrests is clear. In particular, ensure that no
one is located in or reaches into the area of
movement of the rear seat backrests when the
Seite 177Interior equipmentControls177
Online Edition for Part no. 0140 2 956 218 - X/14
Page 185 of 273
Storage compartmentsVehicle features and optionsThis chapter describes all standard, country-
specific and optional features offered with the
series. It also describes features that are not
necessarily available in your car, e. g., due to
the selected options or country versions. This
also applies to safety-related functions and
systems.
Hints No loose objects in the car's interior
Do not stow any objects in the car's inte‐
rior without securing them; otherwise, they
may present a danger to occupants e.g., during
braking and evasive maneuvers.◀
Do not place anti-slip mats on the dash‐
board
Do not place anti-slip mats on the dashboard.
The mat materials could damage the dash‐
board.◀
Storage compartments The following storage compartments are avail‐
able in the vehicle interior:▷Glove compartment on the driver's and
front passenger side, refer to page 181.▷Storage compartment on the center con‐
sole: manual transmission.▷Storage compartment, refer to page 184,
in the center console for remote control:
Steptronic transmission.▷Storage compartment in the center arm‐
rest, refer to page 182, in the front and
rear.▷Compartments in the doors.▷Pockets on the backrests of the front
seats.▷Net in the front passenger footwell.
Glove compartment
Front passenger side
Note Close the glove compartment again im‐
mediately
Close the glove compartment immediately af‐
ter use while driving; otherwise, injury may oc‐
cur during accidents.◀
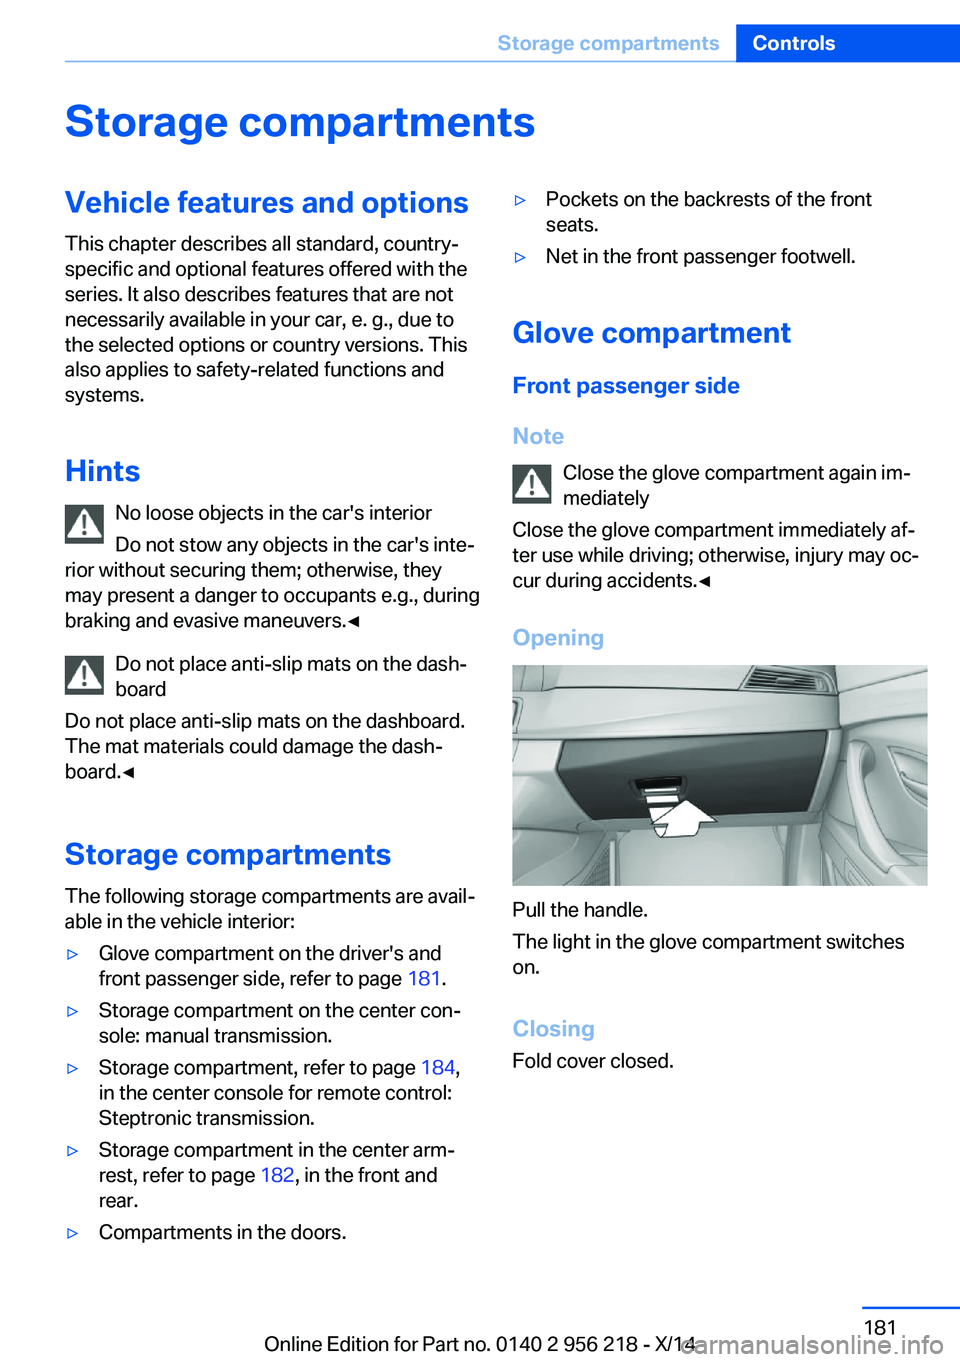
Opening
Pull the handle.
The light in the glove compartment switches
on.
ClosingFold cover closed.
Seite 181Storage compartmentsControls181
Online Edition for Part no. 0140 2 956 218 - X/14
Page 187 of 273
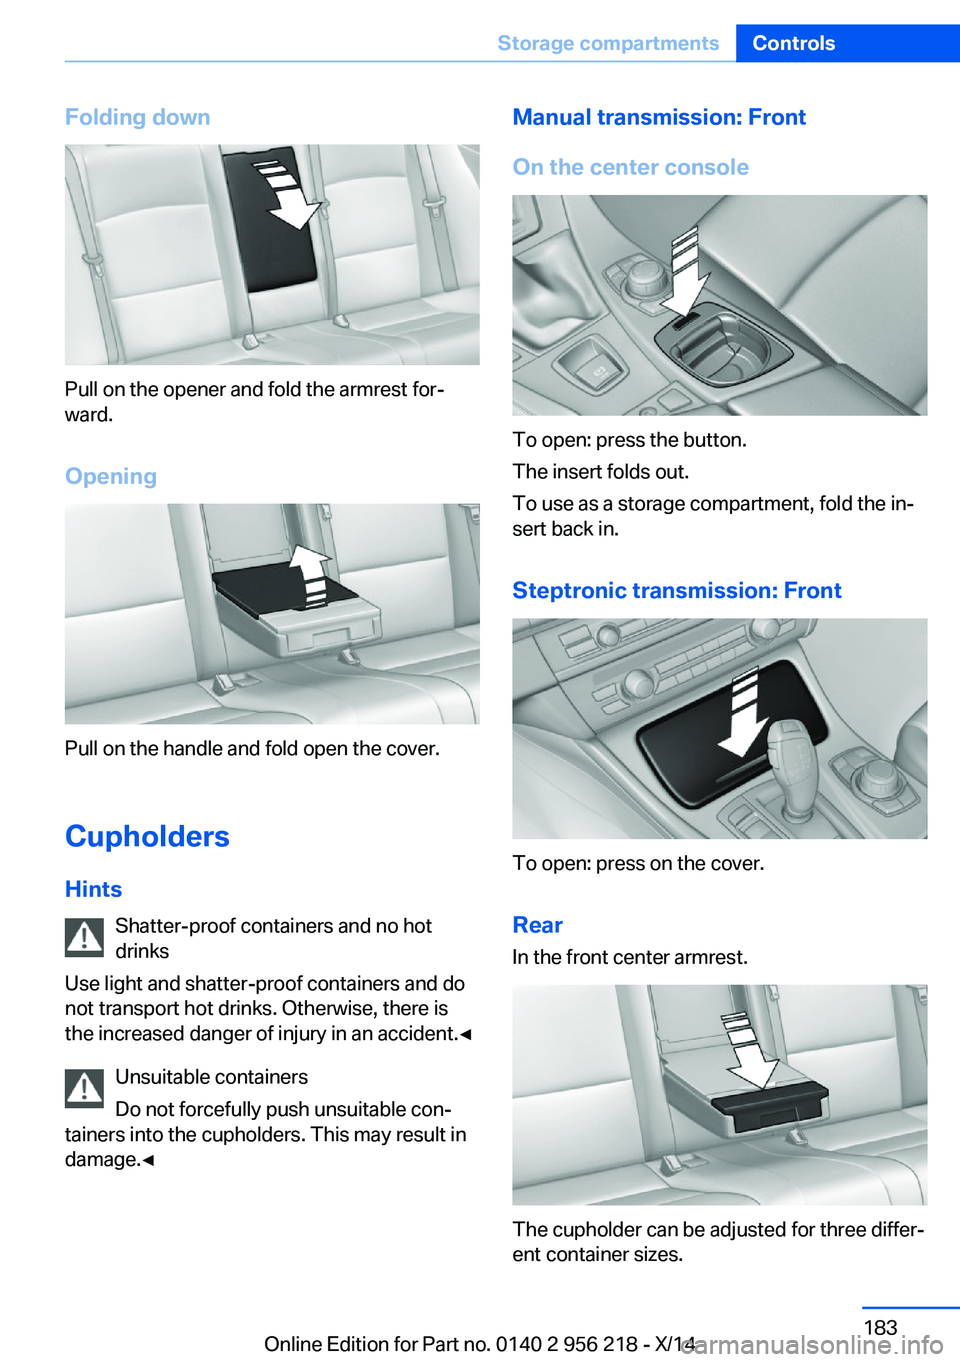
Folding down
Pull on the opener and fold the armrest for‐
ward.
Opening
Pull on the handle and fold open the cover.
Cupholders Hints Shatter-proof containers and no hot
drinks
Use light and shatter-proof containers and do
not transport hot drinks. Otherwise, there is
the increased danger of injury in an accident.◀
Unsuitable containers
Do not forcefully push unsuitable con‐
tainers into the cupholders. This may result in
damage.◀
Manual transmission: Front
On the center console
To open: press the button.
The insert folds out.
To use as a storage compartment, fold the in‐
sert back in.
Steptronic transmission: Front
To open: press on the cover.Rear In the front center armrest.
The cupholder can be adjusted for three differ‐
ent container sizes.
Seite 183Storage compartmentsControls183
Online Edition for Part no. 0140 2 956 218 - X/14
Page 246 of 273
Breakdown assistanceVehicle features and options
This chapter describes all standard, country-
specific and optional features offered with the
series. It also describes features that are not
necessarily available in your car, e. g., due to
the selected options or country versions. This
also applies to safety-related functions and
systems.
Hazard warning flashers
The button is located in the center console.
Intelligent Emergency
Request
The concept In case of an emergency, an Emergency Re‐
quest can be made through this system.
General information
Only press the SOS button in an emergency.
Hints Emergency Request not guaranteed
For technical reasons, the Emergency
Request cannot be guaranteed under unfavor‐
able conditions.◀
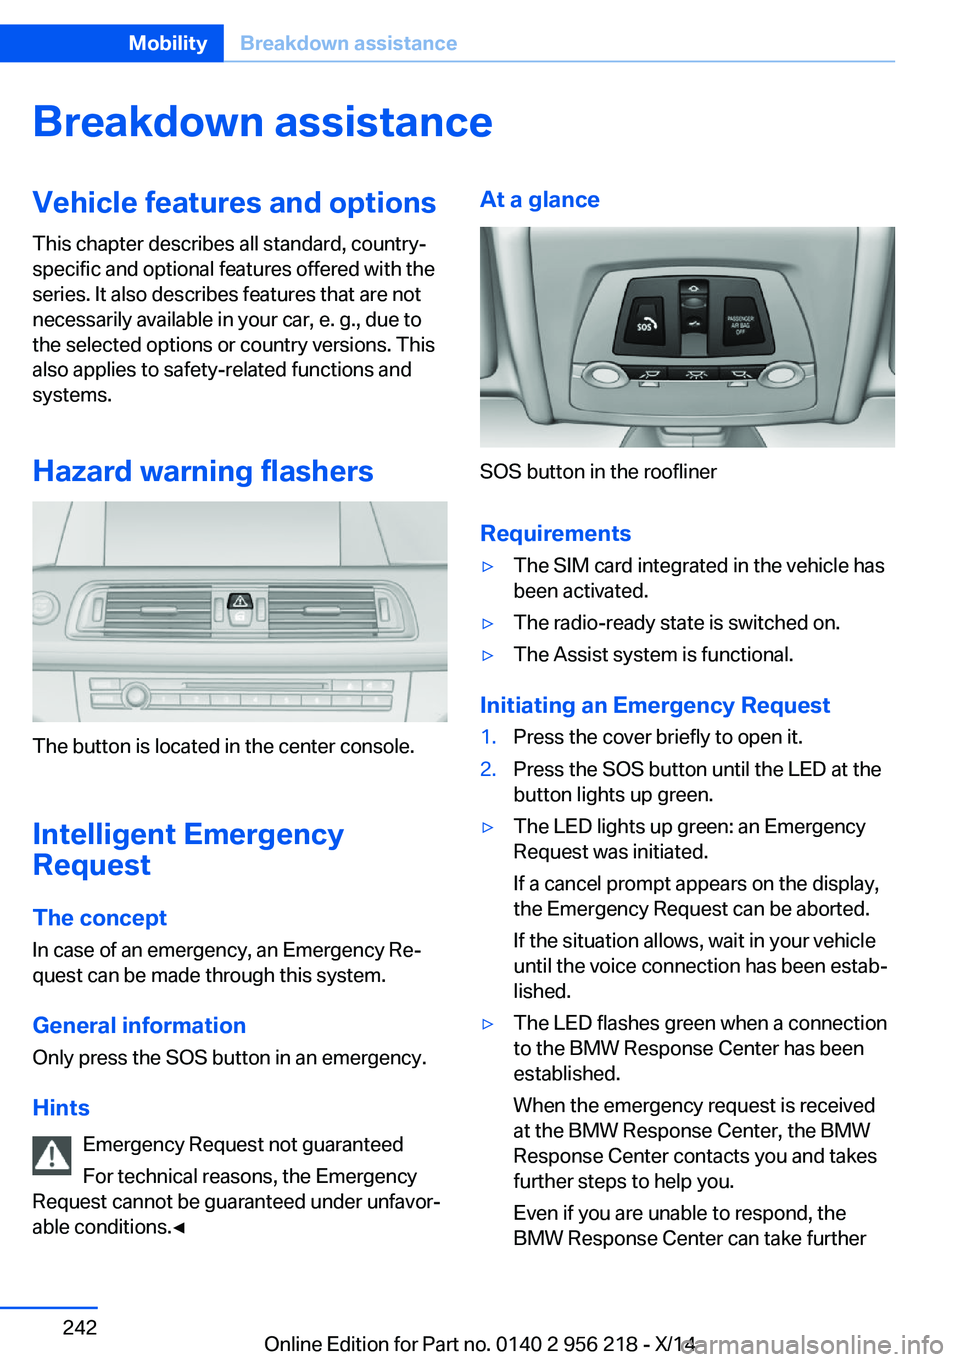
At a glance
SOS button in the roofliner
Requirements
▷The SIM card integrated in the vehicle has
been activated.▷The radio-ready state is switched on.▷The Assist system is functional.
Initiating an Emergency Request
1.Press the cover briefly to open it.2.Press the SOS button until the LED at the
button lights up green.▷The LED lights up green: an Emergency
Request was initiated.
If a cancel prompt appears on the display,
the Emergency Request can be aborted.
If the situation allows, wait in your vehicle
until the voice connection has been estab‐
lished.▷The LED flashes green when a connection
to the BMW Response Center has been
established.
When the emergency request is received
at the BMW Response Center, the BMW
Response Center contacts you and takes
further steps to help you.
Even if you are unable to respond, the
BMW Response Center can take furtherSeite 242MobilityBreakdown assistance242
Online Edition for Part no. 0140 2 956 218 - X/14
Page 263 of 273

Blinds, sun protection 49
BMW Advanced Diesel 207
BMW Assist, see user's manual for Navigation, En‐
tertainment and Communi‐
cation
BMW maintenance sys‐ tem 233
Bonus range, ECO PRO 197
Bottle holder, refer to Cu‐ pholder 183
Brake assistant 135
Brake assistant, adaptive 135
Brake discs, break-in 188
Brake force display 132
Brake lights, adaptive 132
Brake lights, brake force dis‐ play 132
Brake lights, bulb replace‐ ment 238
Brake pads, break-in 188
Braking, hints 190
Breakdown assis‐ tance 242, 243
Break-in 188
Brightness of Control Dis‐ play 100
Bulb replacement 235
Bulb replacement, front 236
Bulb replacement, rear 238
Bulbs and lights 235
Button, RES 146
Button, Start/Stop 69
Bypassing, refer to Jump- starting 243
C
California Proposition 65 Warning 7
Calling up mirror adjust‐ ment 46
Calling up seat adjust‐ ment 46
Calling up steering wheel ad‐ justment 46 Camera, care 251
Camera, rearview cam‐ era 155
Camera, Side View 157
Camera, Top View 159
Can holder, refer to Cu‐ pholder 183
Car battery 240
Car care products 249
Care, displays 251
Care, vehicle 249
Cargo 192
Cargo area, enlarging 177
Cargo area, storage compart‐ ments 184
Cargo, securing 193
Cargo straps, securing cargo 193
Car key, refer to Remote con‐ trol 34
Carpet, care 251
Car wash 248
Catalytic converter, refer to Hot exhaust system 189
CBS Condition Based Serv‐ ice 233
CD/Multimedia, see user's manual for Navigation, En‐
tertainment and Communi‐
cation
Center armrest 182
Center console 16
Central locking system 39
Central screen, refer to Con‐ trol Display 18
Changes, technical, refer to Safety 7
Changing parts 235
Changing wheels 240
Changing wheels/tires 223
Chassis number, see vehicle identification number 9
Check Control 88
Checking the engine oil level electronically 228 Checking the oil level elec‐
tronically 228
Children, seating position 65
Children, transporting safely 65
Child restraint fixing sys‐ tem 65
Child restraint fixing system LATCH 66
Child restraint fixing systems, mounting 65
Child safety locks 68
Child seat, mounting 65
Child seats 65
Chrome parts, care 250
Cigarette lighter 174
Cleaning displays 251
Climate control 165
Climate control laminated tinted safety glass 189
Climate control wind‐ shield 189
Clock 93
Closing/opening via door lock 39
Closing/opening with remote control 37
Closing the trunk lid with no- touch activation 44
Clothes hooks 184
Coasting 199
Coasting with engine decou‐ pled, coasting 199
Coasting with idling en‐ gine 199
Cold starting, refer to Starting the engine 70
Combination reel, refer to Turn signals 76
Combination reel, refer to Wiper system 77
COMFORT+ program, Driving Dynamics Control 141
Comfort Access 42
COMFORT program, Driving Dynamics Control 141 Seite 259Everything from A to ZReference259
Online Edition for Part no. 0140 2 956 218 - X/14