Page 28 of 273

Deleting personal data in the
vehicle
The concept
Depending on the usage, the vehicle saves
personal data, such as stored radio stations.
These personal data can be permanently de‐
leted through iDrive.
General information
Depending on the equipment package, the fol‐
lowing data can be deleted:▷Personal Profile settings.▷Stored radio stations.▷Stored Favorites buttons.▷Travel and computer information.▷Music collection.▷Navigation, e.g. stored destinations.▷Phone book.▷Online data, e.g. Favorites, cookies.▷Voice notes.▷Login accounts.▷RemoteApp smartphone tethering.
Altogether, the deletion of the data can take up
to 30 minutes.
Functional requirement Data can only be deleted while stationary.
Deleting data Heed and follow the instructions on the Con‐
trol Display.
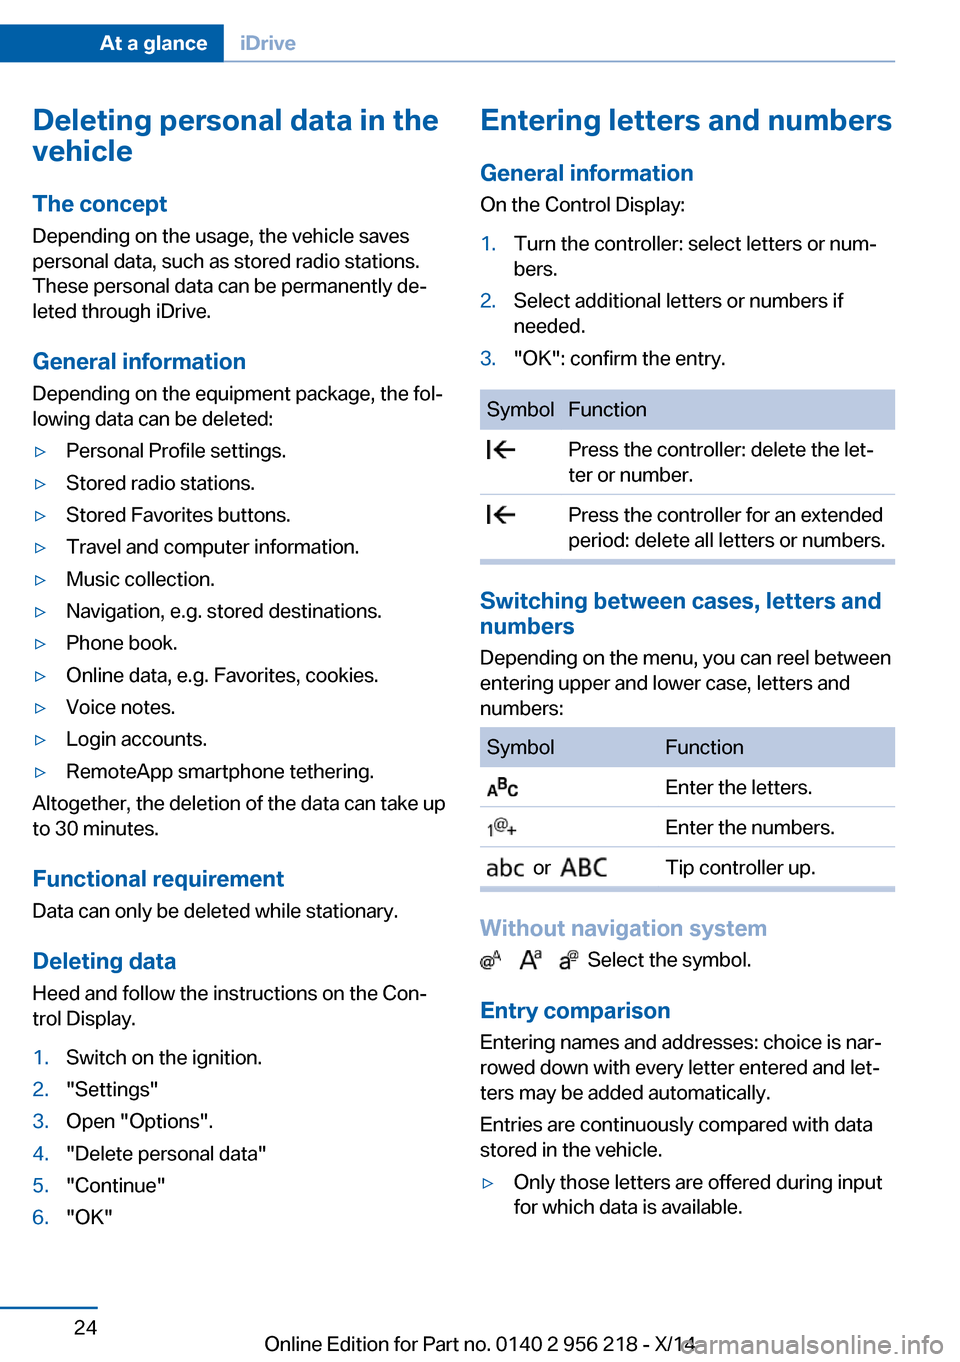
1.Switch on the ignition.2."Settings"3.Open "Options".4."Delete personal data"5."Continue"6."OK"Entering letters and numbers
General information
On the Control Display:1.Turn the controller: select letters or num‐
bers.2.Select additional letters or numbers if
needed.3."OK": confirm the entry.SymbolFunction Press the controller: delete the let‐
ter or number. Press the controller for an extended
period: delete all letters or numbers.
Switching between cases, letters and
numbers
Depending on the menu, you can reel between
entering upper and lower case, letters and
numbers:
SymbolFunction Enter the letters. Enter the numbers. or Tip controller up.
Without navigation system
Select the symbol.
Entry comparison Entering names and addresses: choice is nar‐
rowed down with every letter entered and let‐
ters may be added automatically.
Entries are continuously compared with data
stored in the vehicle.
▷Only those letters are offered during input
for which data is available.Seite 24At a glanceiDrive24
Online Edition for Part no. 0140 2 956 218 - X/14
Page 70 of 273

of unexpected movement of the rear seat
backrest.◀
On the front passenger seat
Deactivating airbags Deactivating the front-seat passenger
airbags
If a child restraint system is used in the front
passenger seat, deactivate the front-seat pas‐
senger airbags; otherwise, there is an in‐
creased risk of injury to the child when the air‐
bags are activated, even with a child restraint
system.◀
After installing a child restraint system in the
front passenger seat, make sure that the front,
knee and side airbags on the front passenger
side are deactivated.
Deactivate the front-seat passenger airbags
automatically, refer to page 110.
Seat position and height
Before installing a child restraint system, move
the front passenger seat as far back as possi‐
ble and bring it up to medium height to obtain
the best possible position for the belt and to
offer optimal protection in the event of an acci‐
dent.
If the upper anchorage of the safety belt is lo‐
cated in front of the belt guide of the child seat,
move the passenger seat carefully forward un‐
til the best possible belt guide position is
reached.Child seat security
The rear safety belts and the front passenger
safety belt can be permanently locked to fas‐
ten child restraint systems.
Locking the safety belt
1.Pull out the strap completely.2.Secure the child restraint system with the
belt.3.Allow the strap to be pulled in and pull it
tight against the child restraint system.
The safety belt is locked.
Unlocking the safety belt
1.Unbuckle the belt buckle.2.Remove the child restraint system.3.Allow the strap to be pulled in completely.
LATCH child restraint
system
LATCH: Lower Anchors and Tether for Chil‐
dren.
Note Follow manufacturer's information for
LATCH child restraint systems
To mount and use the LATCH child restraint
systems, observe the operating and safety in‐
formation from the system manufacturer; oth‐
erwise, the level of protection may be re‐
duced.◀
Seite 66ControlsTransporting children safely66
Online Edition for Part no. 0140 2 956 218 - X/14
Page 71 of 273

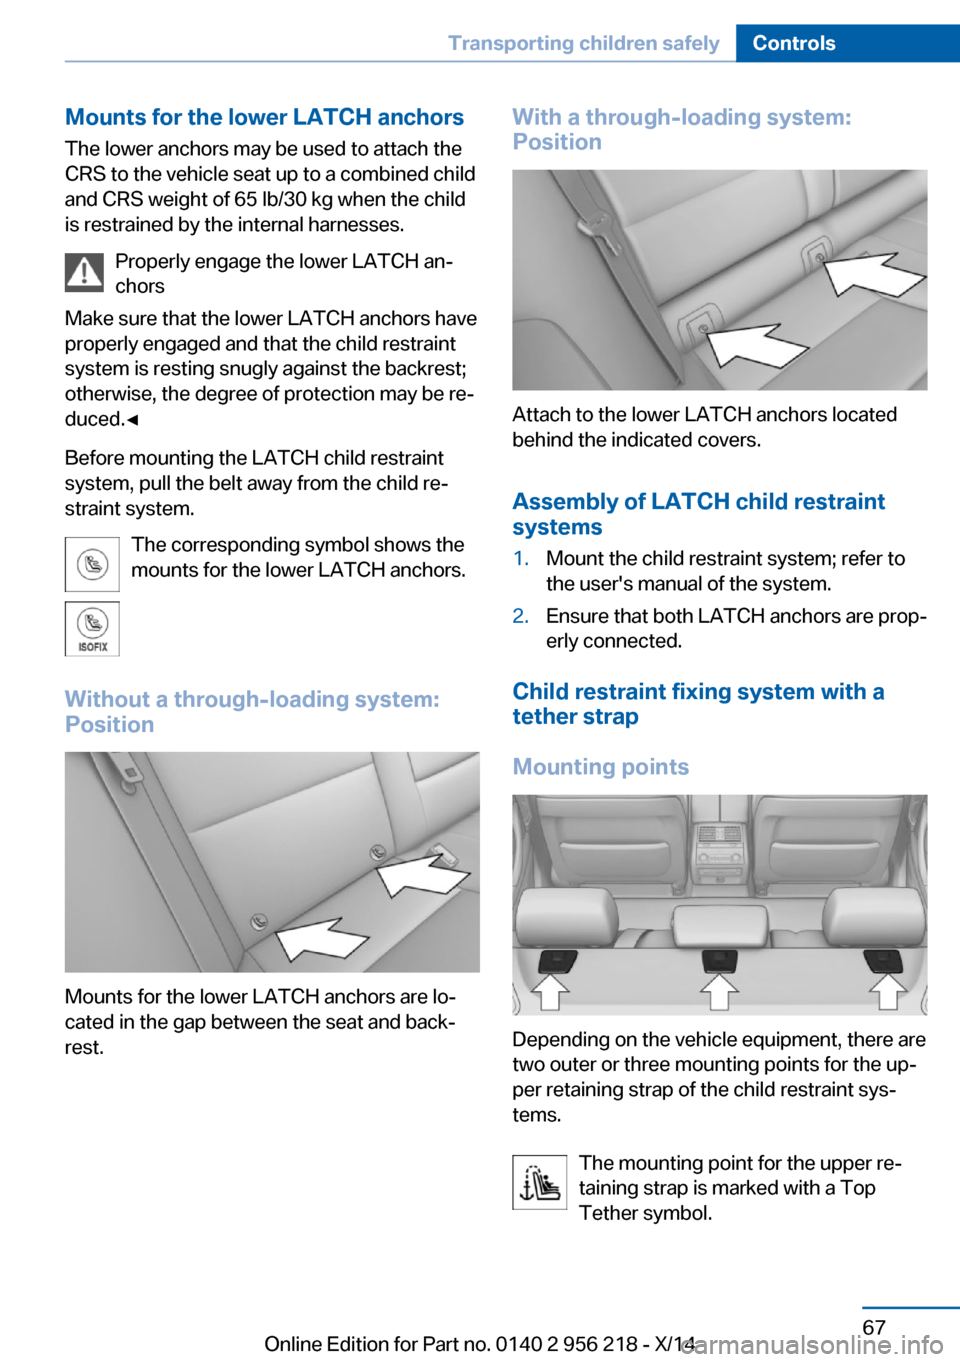
Mounts for the lower LATCH anchorsThe lower anchors may be used to attach the
CRS to the vehicle seat up to a combined child
and CRS weight of 65 lb/30 kg when the child
is restrained by the internal harnesses.
Properly engage the lower LATCH an‐
chors
Make sure that the lower LATCH anchors have
properly engaged and that the child restraint
system is resting snugly against the backrest;
otherwise, the degree of protection may be re‐
duced.◀
Before mounting the LATCH child restraint
system, pull the belt away from the child re‐
straint system.
The corresponding symbol shows the
mounts for the lower LATCH anchors.
Without a through-loading system:
Position
Mounts for the lower LATCH anchors are lo‐
cated in the gap between the seat and back‐
rest.
With a through-loading system:
Position
Attach to the lower LATCH anchors located
behind the indicated covers.
Assembly of LATCH child restraint
systems
1.Mount the child restraint system; refer to
the user's manual of the system.2.Ensure that both LATCH anchors are prop‐
erly connected.
Child restraint fixing system with a
tether strap
Mounting points
Depending on the vehicle equipment, there are
two outer or three mounting points for the up‐
per retaining strap of the child restraint sys‐
tems.
The mounting point for the upper re‐
taining strap is marked with a Top
Tether symbol.
Seite 67Transporting children safelyControls67
Online Edition for Part no. 0140 2 956 218 - X/14