2014 BMW 5 SERIES GRAN TURISMO buttons
[x] Cancel search: buttonsPage 152 of 259
Cruise controlThe concept The system maintains a preset speed via the
buttons on the steering wheel. The system
brakes on downhill gradients if engine braking
is insufficient.
General information
Depending on the driving settings, the features
of the cruise control can change in certain
areas.
Hints Unfavorable conditions
Do not use the system if unfavorable
conditions make it impossible to drive at a con‐
stant speed, e.g.:▷On winding roads.▷In heavy traffic.▷On slippery roads, in fog, snow or rain, or
on a loose road surface.
Otherwise, you could lose control of the vehi‐
cle and cause an accident.◀
Controls
At a glance
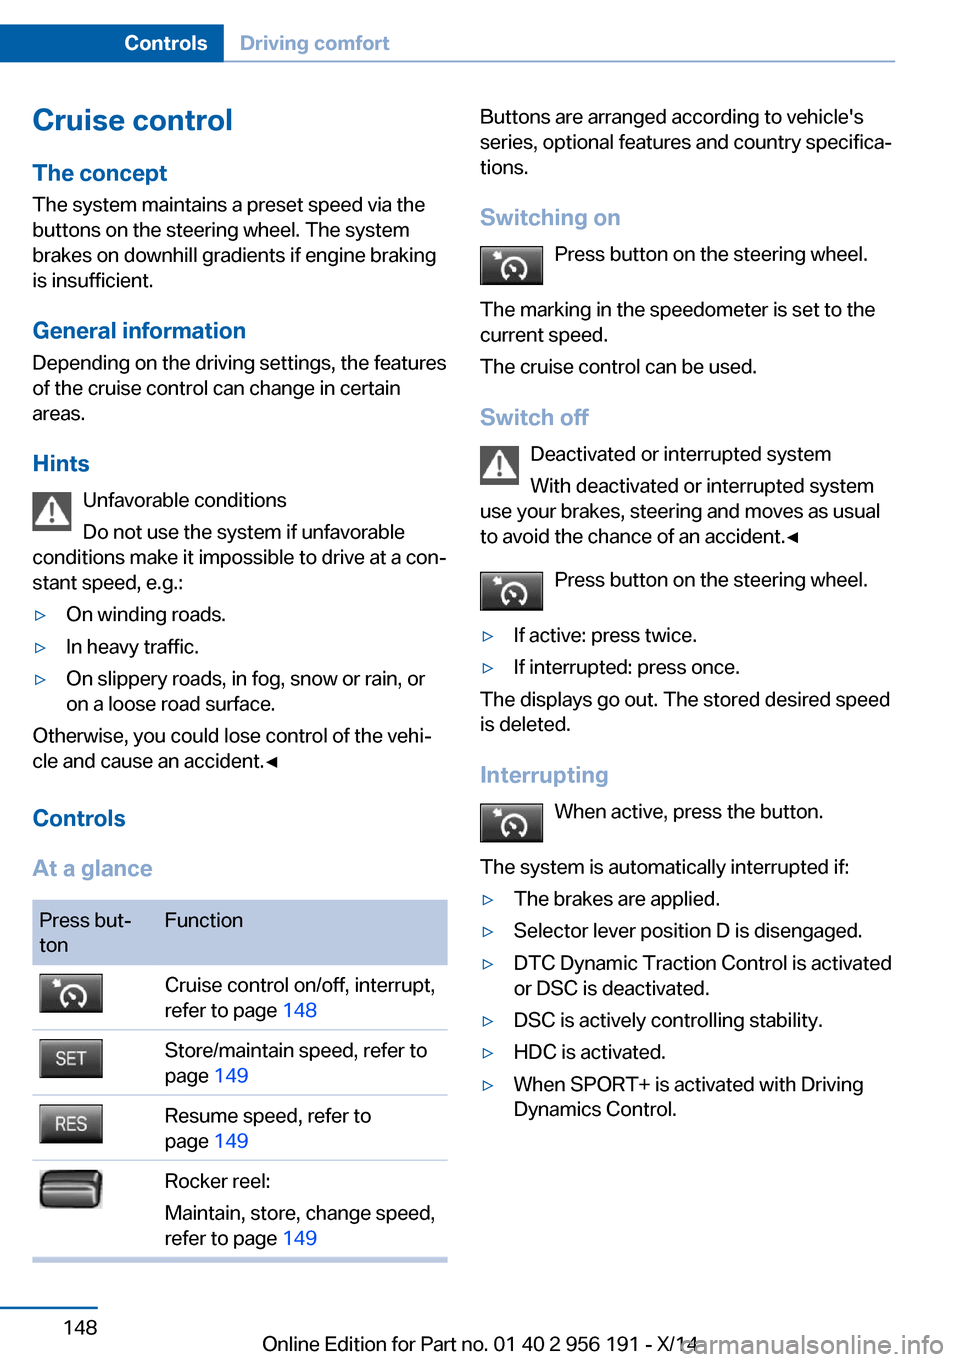
Press but‐
tonFunctionCruise control on/off, interrupt,
refer to page 148Store/maintain speed, refer to
page 149Resume speed, refer to
page 149Rocker reel:
Maintain, store, change speed,
refer to page 149Buttons are arranged according to vehicle's
series, optional features and country specifica‐
tions.
Switching on Press button on the steering wheel.
The marking in the speedometer is set to the
current speed.
The cruise control can be used.
Switch off Deactivated or interrupted system
With deactivated or interrupted system
use your brakes, steering and moves as usual
to avoid the chance of an accident.◀
Press button on the steering wheel.▷If active: press twice.▷If interrupted: press once.
The displays go out. The stored desired speed
is deleted.
Interrupting When active, press the button.
The system is automatically interrupted if:
▷The brakes are applied.▷Selector lever position D is disengaged.▷DTC Dynamic Traction Control is activated
or DSC is deactivated.▷DSC is actively controlling stability.▷HDC is activated.▷When SPORT+ is activated with Driving
Dynamics Control.Seite 148ControlsDriving comfort148
Online Edition for Part no. 01 40 2 956 191 - X/14
Page 173 of 259
Interior equipmentVehicle features and optionsThis chapter describes all standard, country-
specific and optional features offered with the
series. It also describes features that are not
necessarily available in your car, e. g., due to
the selected options or country versions. This
also applies to safety-related functions and
systems.
Universal Integrated RemoteControl
The concept
The universal garage door opener can operate
up to 3 functions of remote-controlled sys‐
tems such as garage door drives or lighting
systems. The universal garage door opener re‐
places up to 3 different hand-held transmitters.
To operate the remote control, the buttons on
the interior rearview mirror must be program‐
med with the desired functions. The hand-held
transmitter for the particular system is required
in order to program the remote control.
During programming
During programming and before activat‐
ing a device using the universal garage door
opener, ensure that there are no people, ani‐
mals or objects in the area of the remote-con‐
trolled device; otherwise, there is a risk of in‐
jury or damage.
Also follow the safety instructions of the hand-
held transmitter.◀
Before selling the vehicle, delete the stored
functions for the sake of security.
Compatibility If this symbol is printed on the packag‐
ing or in the instructions of the system
to be controlled, the system is gener‐ally compatible with the universal garage door
opener.
If you have any questions, please contact:▷Your service center.▷www.homelink.com on the Internet.
HomeLink is a registered trademark of Gentex
Corporation.
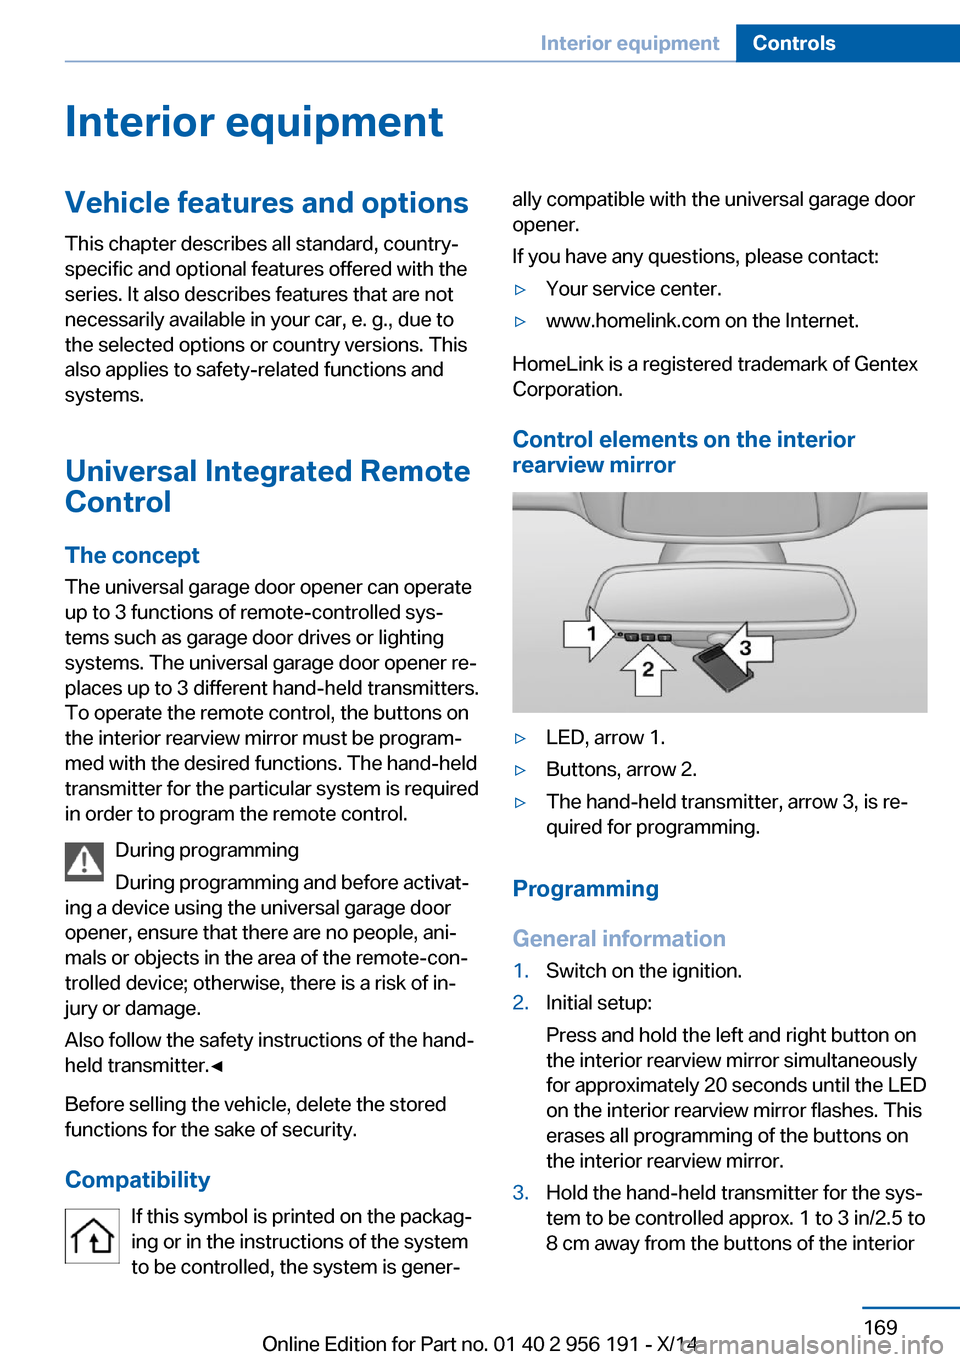
Control elements on the interior
rearview mirror
▷LED, arrow 1.▷Buttons, arrow 2.▷The hand-held transmitter, arrow 3, is re‐
quired for programming.
Programming
General information
1.Switch on the ignition.2.Initial setup:
Press and hold the left and right button on
the interior rearview mirror simultaneously
for approximately 20 seconds until the LED
on the interior rearview mirror flashes. This
erases all programming of the buttons on
the interior rearview mirror.3.Hold the hand-held transmitter for the sys‐
tem to be controlled approx. 1 to 3 in/2.5 to
8 cm away from the buttons of the interiorSeite 169Interior equipmentControls169
Online Edition for Part no. 01 40 2 956 191 - X/14
Page 174 of 259
rearview mirror. The required distance de‐
pends on the manual transmitter.4.Simultaneously press and hold the button
of the desired function on the hand-held
transmitter and the button to be program‐
med on the interior rearview mirror. The
LED on the interior rearview mirror will be‐
gin flashing slowly.5.Release both buttons as soon as the LED
flashes more rapidly. The LED flashing
faster indicates that the button on the inte‐
rior rearview mirror has been programmed.
If the LED does not flash faster after at
least 60 seconds, change the distance be‐
tween the interior rearview mirror and the
hand-held transmitter and repeat the step.
Several more attempts at different distan‐
ces may be necessary. Wait at least
15 seconds between attempts.
Canada: if programming with the hand-
held transmitter was interrupted, hold
down the interior rearview mirror button
and repeatedly press and release the
hand-held transmitter button for 2 sec‐
onds.6.To program other functions on other but‐
tons, repeat steps 3 to 5.
The systems can be controlled using the inte‐
rior rearview mirror buttons.
Special feature of the alternating-
code wireless system
If you are unable to operate the system after
repeated programming, please check if the
system to be controlled features an alternat‐
ing-code system.
Read the system's operating manual, or press
the programmed button on the interior rear‐
view mirror longer. If the LED on the interior
rearview mirror starts flashing rapidly and then
stays lit constantly for 2 seconds, the system
features an alternating-code system. Flashing
and continuous illumination of the LED will re‐
peat for approximately 20 seconds.
For systems with an alternating-code system,
the universal garage door opener and the sys‐
tem also have to be synchronized.
Please read the operating manual to find out how to synchronize the system.
Synchronizing is easier with the aid of a sec‐
ond person.
To synchronize:1.Park the vehicle within range of the re‐
mote-controlled system.2.Program the relevant button on the interior
rearview mirror as described.3.Locate and press the synchronizing button
on the system being programmed. You
have approx. 30 seconds for the next step.4.Hold down the programmed button on the
interior rearview mirror for approximately
3 seconds and then release it. If necessary,
repeat this step up to three times in order
to finish synchronization. Once synchroni‐
zation is complete, the programmed func‐
tion will be carried out.
Reprogramming individual buttons
1.Switch on the ignition.2.Press and hold the interior rearview mirror
button to be programmed.3.As soon as the interior rearview mirror LED
starts flashing slowly, hold the hand-held
transmitter for the system to be controlled
approx. 1 to 3 in/2.5 to 8 cm away from the
buttons of the interior rearview mirror. The
required distance depends on the manual
transmitter.4.Likewise, press and hold the button of the
desired function on the hand-held trans‐
mitter.5.Release both buttons as soon as the inte‐
rior rearview mirror LED flashes more rap‐
idly. The LED flashing faster indicates that
the button on the interior rearview mirror
has been programmed. The system canSeite 170ControlsInterior equipment170
Online Edition for Part no. 01 40 2 956 191 - X/14
Page 182 of 259
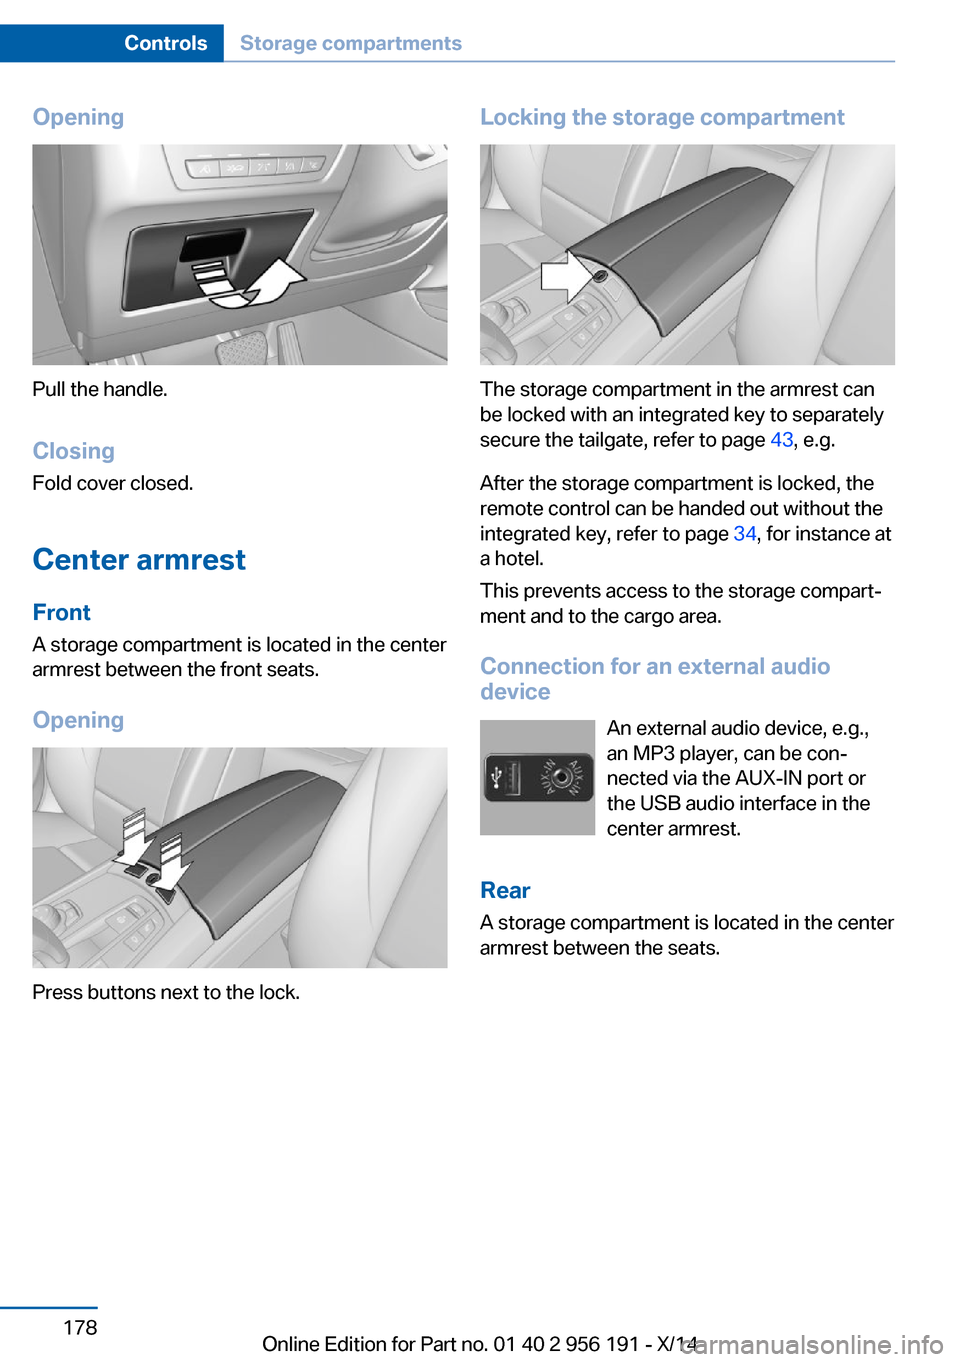
Opening
Pull the handle.ClosingFold cover closed.
Center armrest
Front
A storage compartment is located in the center
armrest between the front seats.
Opening
Press buttons next to the lock.
Locking the storage compartment
The storage compartment in the armrest can
be locked with an integrated key to separately
secure the tailgate, refer to page 43, e.g.
After the storage compartment is locked, the
remote control can be handed out without the
integrated key, refer to page 34, for instance at
a hotel.
This prevents access to the storage compart‐
ment and to the cargo area.
Connection for an external audio
device
An external audio device, e.g.,
an MP3 player, can be con‐
nected via the AUX-IN port or
the USB audio interface in the center armrest.
Rear
A storage compartment is located in the center
armrest between the seats.
Seite 178ControlsStorage compartments178
Online Edition for Part no. 01 40 2 956 191 - X/14
Page 253 of 259
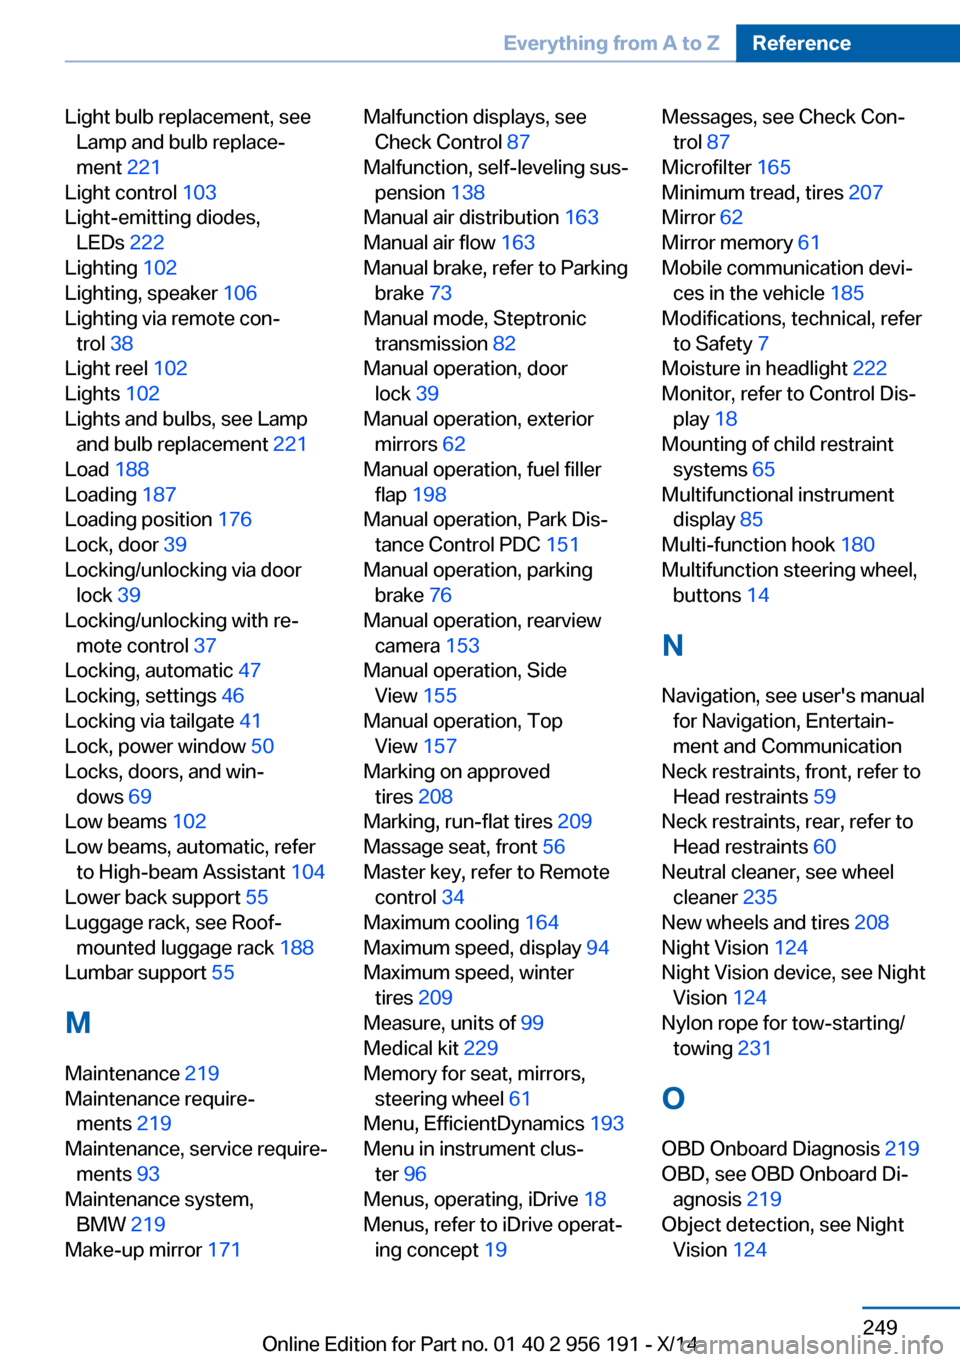
Light bulb replacement, seeLamp and bulb replace‐
ment 221
Light control 103
Light-emitting diodes, LEDs 222
Lighting 102
Lighting, speaker 106
Lighting via remote con‐ trol 38
Light reel 102
Lights 102
Lights and bulbs, see Lamp and bulb replacement 221
Load 188
Loading 187
Loading position 176
Lock, door 39
Locking/unlocking via door lock 39
Locking/unlocking with re‐ mote control 37
Locking, automatic 47
Locking, settings 46
Locking via tailgate 41
Lock, power window 50
Locks, doors, and win‐ dows 69
Low beams 102
Low beams, automatic, refer to High-beam Assistant 104
Lower back support 55
Luggage rack, see Roof- mounted luggage rack 188
Lumbar support 55
M
Maintenance 219
Maintenance require‐ ments 219
Maintenance, service require‐ ments 93
Maintenance system, BMW 219
Make-up mirror 171 Malfunction displays, see
Check Control 87
Malfunction, self-leveling sus‐ pension 138
Manual air distribution 163
Manual air flow 163
Manual brake, refer to Parking brake 73
Manual mode, Steptronic transmission 82
Manual operation, door lock 39
Manual operation, exterior mirrors 62
Manual operation, fuel filler flap 198
Manual operation, Park Dis‐ tance Control PDC 151
Manual operation, parking brake 76
Manual operation, rearview camera 153
Manual operation, Side View 155
Manual operation, Top View 157
Marking on approved tires 208
Marking, run-flat tires 209
Massage seat, front 56
Master key, refer to Remote control 34
Maximum cooling 164
Maximum speed, display 94
Maximum speed, winter tires 209
Measure, units of 99
Medical kit 229
Memory for seat, mirrors, steering wheel 61
Menu, EfficientDynamics 193
Menu in instrument clus‐ ter 96
Menus, operating, iDrive 18
Menus, refer to iDrive operat‐ ing concept 19 Messages, see Check Con‐
trol 87
Microfilter 165
Minimum tread, tires 207
Mirror 62
Mirror memory 61
Mobile communication devi‐ ces in the vehicle 185
Modifications, technical, refer to Safety 7
Moisture in headlight 222
Monitor, refer to Control Dis‐ play 18
Mounting of child restraint systems 65
Multifunctional instrument display 85
Multi-function hook 180
Multifunction steering wheel, buttons 14
N
Navigation, see user's manual for Navigation, Entertain‐
ment and Communication
Neck restraints, front, refer to Head restraints 59
Neck restraints, rear, refer to Head restraints 60
Neutral cleaner, see wheel cleaner 235
New wheels and tires 208
Night Vision 124
Night Vision device, see Night Vision 124
Nylon rope for tow-starting/ towing 231
O OBD Onboard Diagnosis 219
OBD, see OBD Onboard Di‐ agnosis 219
Object detection, see Night Vision 124 Seite 249Everything from A to ZReference249
Online Edition for Part no. 01 40 2 956 191 - X/14