2014 BMW 428I XDRIVE COUPE fuel consumption
[x] Cancel search: fuel consumptionPage 73 of 236
DisplaysVehicle equipmentAll standard, country-specific and optional
equipment that is offered in the model series is
described in this chapter. Therefore, equip‐ment is also described that is not available in a
vehicle, e. g., because of the selected optional
equipment or country variant. This also applies
for safety-related functions and systems.
Instrument cluster
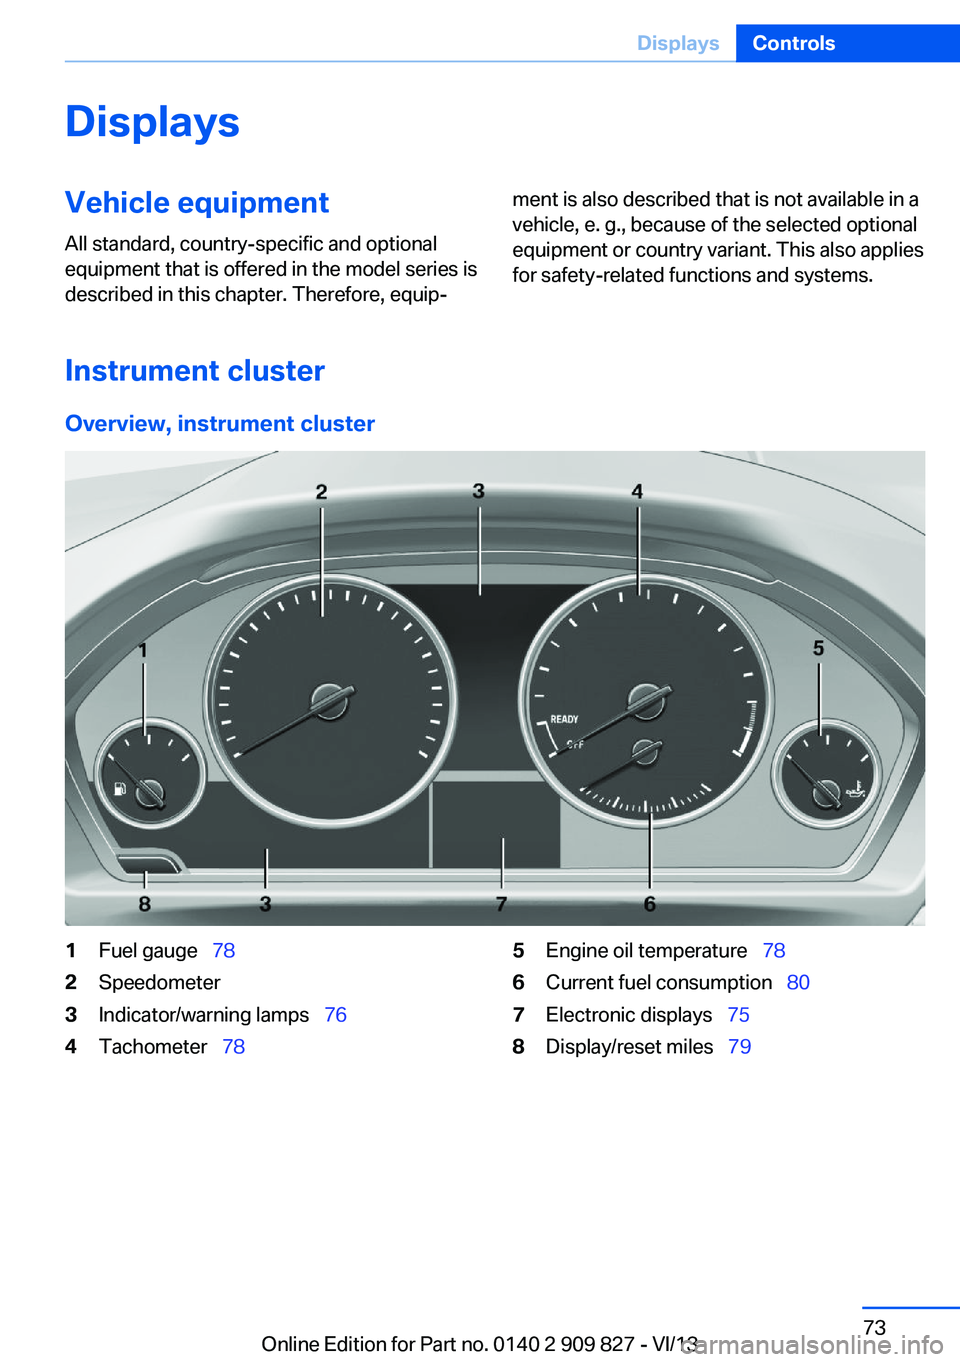
Overview, instrument cluster
1Fuel gauge 782Speedometer3Indicator/warning lamps 764Tachometer 785Engine oil temperature 786Current fuel consumption 807Electronic displays 758Display/reset miles 79Seite 73DisplaysControls73
Online Edition for Part no. 0140 2 909 827 - VI/13
Page 74 of 236
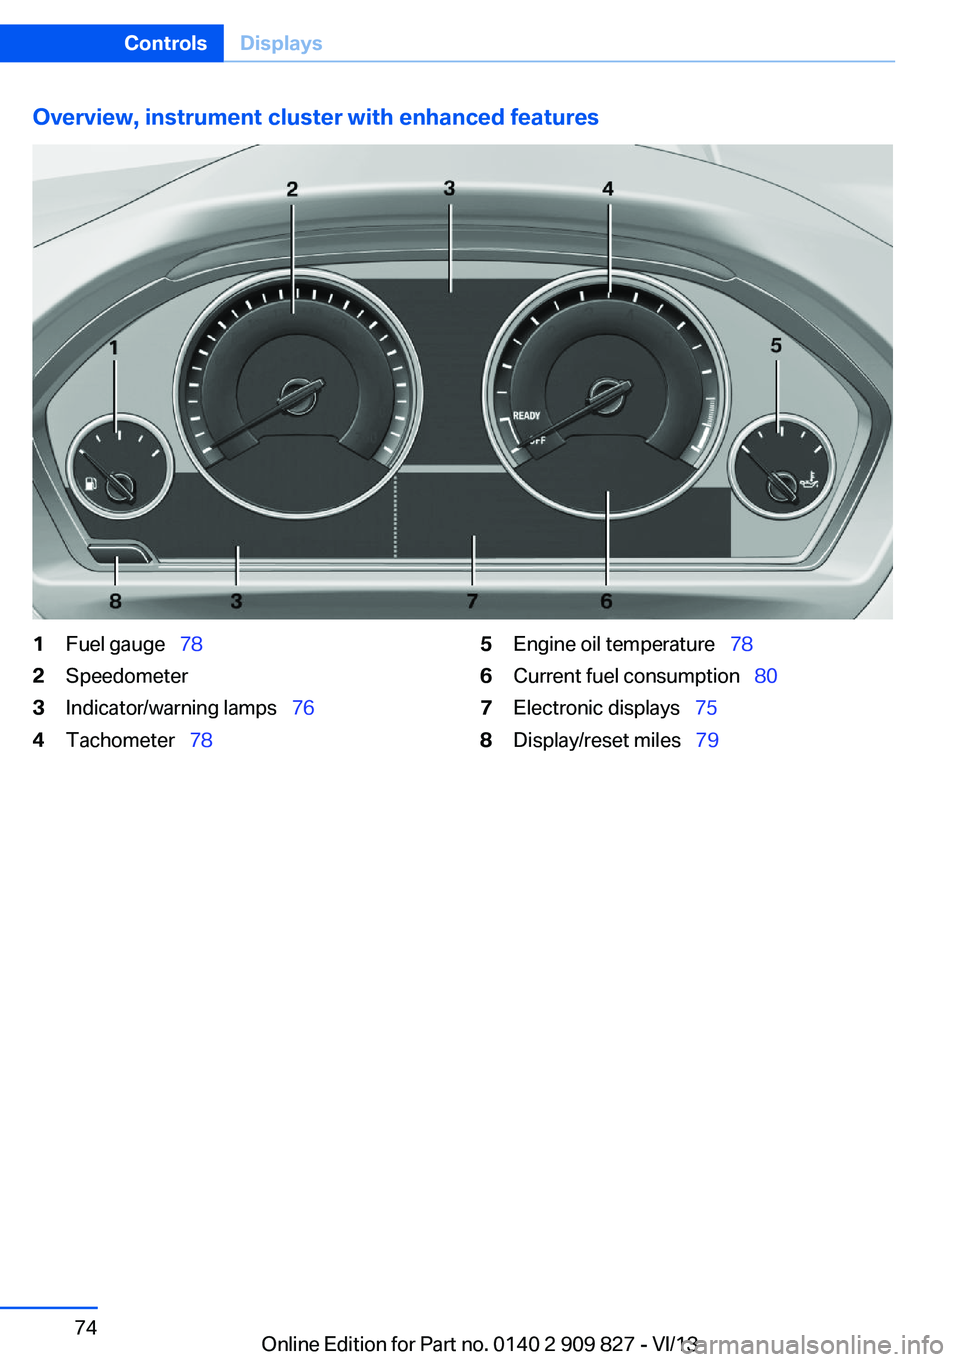
Overview, instrument cluster with enhanced features1Fuel gauge 782Speedometer3Indicator/warning lamps 764Tachometer 785Engine oil temperature 786Current fuel consumption 807Electronic displays 758Display/reset miles 79Seite 74ControlsDisplays74
Online Edition for Part no. 0140 2 909 827 - VI/13
Page 76 of 236

Overview, instrument cluster with enhanced features1Time 79
External temperature 79
Date 79
Selection list, e.g., radio 84
Speed limit detection 82
Computer 84
Miles/trip miles 79Navigation display, see user's manual for
Navigation, Entertainment and Communi‐
cation.2Energy recovery 80
Transmission display 71
Current fuel consumption 80
ECO PRO 1713Messages, e.g. Check Control 76
Service requirements 80Check Control
The concept The Check Control system monitors functions
in the vehicle and notifies you of malfunctions
in the monitored systems.
A Check Control message is displayed as a
combination of indicator or warning lamps and
text messages in the instrument cluster and in
the Head-up Display.In addition, an acoustic signal may be output
and a text message may appear on the Control Display.
Indicator/warning lamps The indicator and warning lamps in the instru‐
ment cluster can light up in a variety of combi‐
nations and colors.
Several of the lamps are checked for proper
functioning and light up temporarily when the
engine is started or the ignition is switched on.Seite 76ControlsDisplays76
Online Edition for Part no. 0140 2 909 827 - VI/13
Page 80 of 236
Current fuel consumption
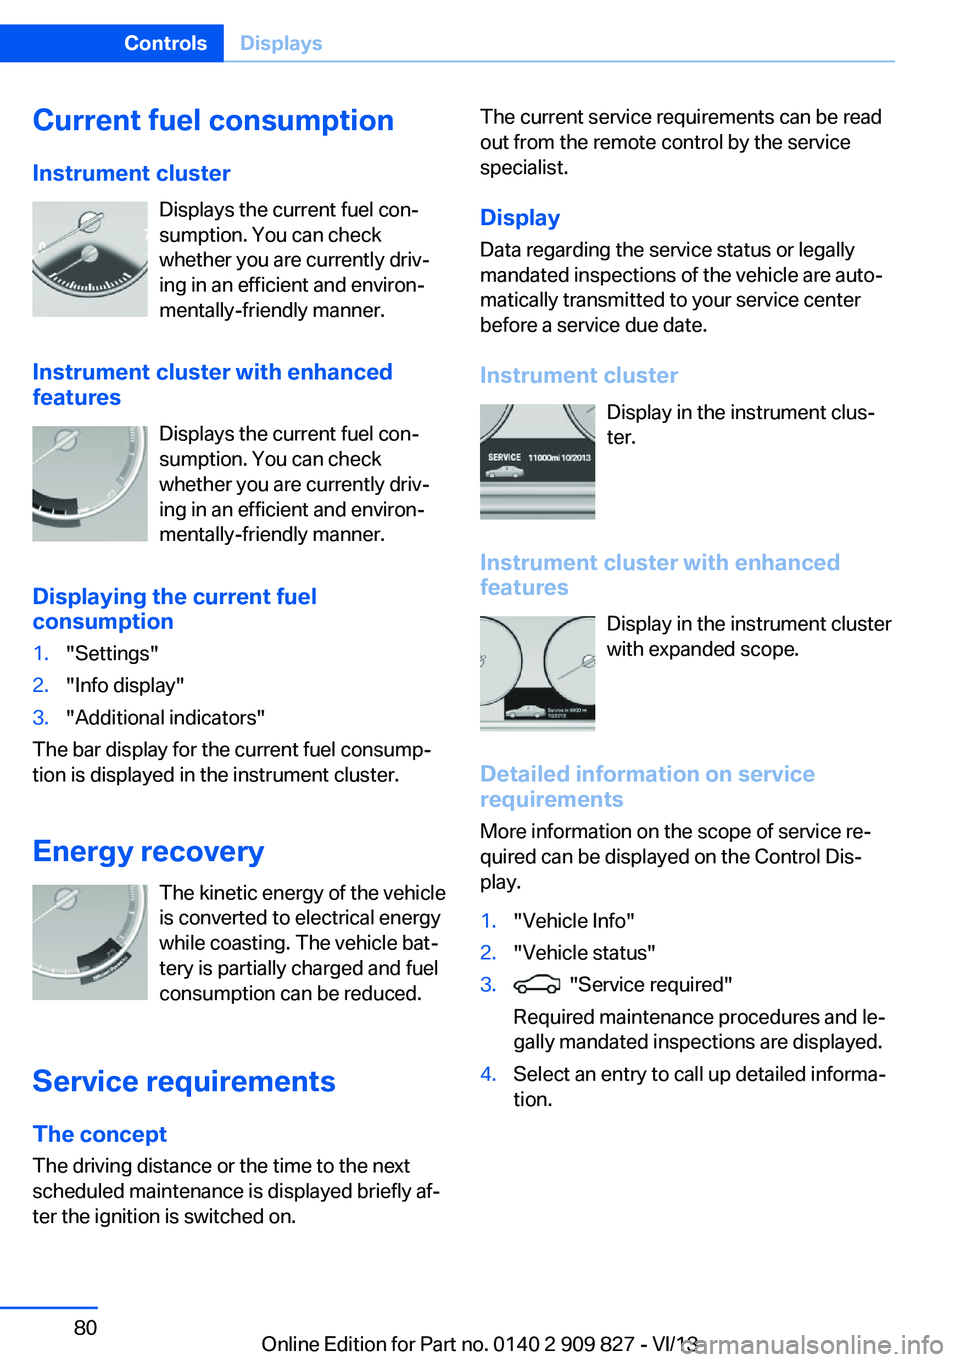
Instrument cluster Displays the current fuel con‐
sumption. You can check
whether you are currently driv‐
ing in an efficient and environ‐
mentally-friendly manner.
Instrument cluster with enhanced
features
Displays the current fuel con‐
sumption. You can check
whether you are currently driv‐
ing in an efficient and environ‐
mentally-friendly manner.
Displaying the current fuel
consumption1."Settings"2."Info display"3."Additional indicators"
The bar display for the current fuel consump‐
tion is displayed in the instrument cluster.
Energy recovery The kinetic energy of the vehicle
is converted to electrical energy while coasting. The vehicle bat‐
tery is partially charged and fuel
consumption can be reduced.
Service requirements The concept
The driving distance or the time to the next
scheduled maintenance is displayed briefly af‐
ter the ignition is switched on.
The current service requirements can be read
out from the remote control by the service
specialist.
Display Data regarding the service status or legally
mandated inspections of the vehicle are auto‐
matically transmitted to your service center
before a service due date.
Instrument cluster Display in the instrument clus‐
ter.
Instrument cluster with enhanced
features
Display in the instrument cluster
with expanded scope.
Detailed information on service requirements
More information on the scope of service re‐
quired can be displayed on the Control Dis‐
play.1."Vehicle Info"2."Vehicle status"3. "Service required"
Required maintenance procedures and le‐
gally mandated inspections are displayed.4.Select an entry to call up detailed informa‐
tion.Seite 80ControlsDisplays80
Online Edition for Part no. 0140 2 909 827 - VI/13
Page 85 of 236
Information at a glanceRepeatedly pressing the button on the turn
signal lever calls up the following information
on the info display:▷Range.▷Average fuel consumption.▷Current fuel consumption.▷Average speed.▷Date.▷Speed limit detection.▷Time of arrival.
When destination guidance is activated in
the navigation system.▷Distance to destination.
When destination guidance is activated in
the navigation system.▷Arrow view of navigation system.
When destination guidance is activated in
the navigation system.
When the arrow view in the Head-up Dis‐
play is inactive.▷ECO PRO bonus range.
Adjusting the info display
You can select what information from the on‐
board computer is to be displayed on the info
display of the instrument cluster.
1."Settings"2."Info display"3.Select the desired displays.
Information in detail
Range
Displays the estimated cruising range available
with the remaining fuel.
It is calculated based on your driving style over
the last 20 miles/30 km.
If there is only enough fuel left for less than
45 miles/80 km, the color of the display
changes.
Average fuel consumption
The average fuel consumption is calculated for
the period during which the engine is running.
The average fuel consumption is calculated for
the distance traveled since the last reset by the
onboard computer.
Average speed
Periods in which the vehicle is parked with the
engine manually stopped do not enter into the
calculation of the average speed.
Resetting average values Press and hold the computer button on the
turn signal lever.
Distance to destination The distance remaining to the destination is
displayed if a destination is entered in the navi‐
gation system before the trip is started.
The distance to the destination is adopted au‐
tomatically.
Time of arrival The estimated time of arrival is
displayed if a destination is en‐
tered in the navigation system
before the trip is started.
The time must be correctly set.
Speed limit detection Description of the speed limit detection, refer
to page 82, function.
Speed limit
Display of a speed limit which, when reached,
should cause a warning to be issued.Seite 85DisplaysControls85
Online Edition for Part no. 0140 2 909 827 - VI/13
Page 86 of 236
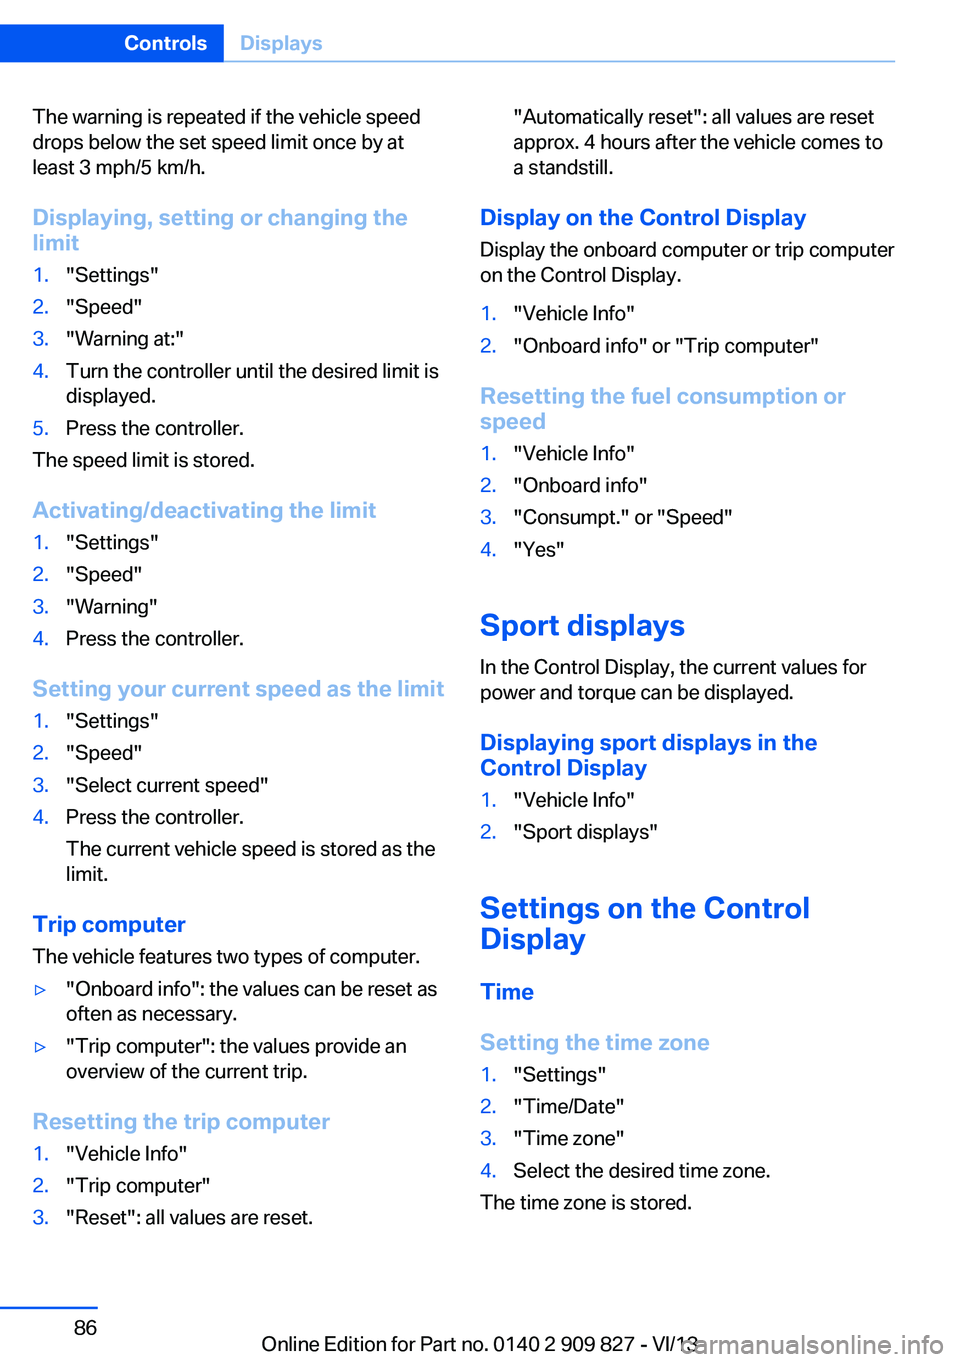
The warning is repeated if the vehicle speed
drops below the set speed limit once by at
least 3 mph/5 km/h.
Displaying, setting or changing the
limit1."Settings"2."Speed"3."Warning at:"4.Turn the controller until the desired limit is
displayed.5.Press the controller.
The speed limit is stored.
Activating/deactivating the limit
1."Settings"2."Speed"3."Warning"4.Press the controller.
Setting your current speed as the limit
1."Settings"2."Speed"3."Select current speed"4.Press the controller.
The current vehicle speed is stored as the
limit.
Trip computer
The vehicle features two types of computer.
▷"Onboard info": the values can be reset as
often as necessary.▷"Trip computer": the values provide an
overview of the current trip.
Resetting the trip computer
1."Vehicle Info"2."Trip computer"3."Reset": all values are reset."Automatically reset": all values are reset
approx. 4 hours after the vehicle comes to
a standstill.
Display on the Control Display
Display the onboard computer or trip computer
on the Control Display.
1."Vehicle Info"2."Onboard info" or "Trip computer"
Resetting the fuel consumption or
speed
1."Vehicle Info"2."Onboard info"3."Consumpt." or "Speed"4."Yes"
Sport displays
In the Control Display, the current values for
power and torque can be displayed.
Displaying sport displays in the
Control Display
1."Vehicle Info"2."Sport displays"
Settings on the Control
Display
Time
Setting the time zone
1."Settings"2."Time/Date"3."Time zone"4.Select the desired time zone.
The time zone is stored.
Seite 86ControlsDisplays86
Online Edition for Part no. 0140 2 909 827 - VI/13
Page 87 of 236
Setting the time1."Settings"2."Time/Date"3."Time:"4.Turn the controller until the desired hours
are displayed.5.Press the controller.6.Turn the controller until the desired mi‐
nutes are displayed.7.Press the controller.
The time is stored.
Setting the time format
1."Settings"2."Time/Date"3."Format:"4.Select the desired format.
The time format is stored.
Date
Setting the date
1."Settings"2."Time/Date"3."Date:"4.Turn the controller until the desired day is
displayed.5.Press the controller.6.Make the necessary settings for the month
and year.
The date is stored.
Setting the date format
1."Settings"2."Time/Date"3."Format:"4.Select the desired format.
The date format is stored.
Language
Setting the language
To set the language on the Control Display:1."Settings"2."Language/Units"3."Language:"4.Select the desired language.
The setting is stored for the remote control
currently in use.
Setting the voice dialog
Voice dialog for the voice activation system,
refer to page 25.
Units of measure
Setting the units of measure
To set the units for fuel consumption, route/
distance and temperature:
1."Settings"2."Language/Units"3.Select the desired menu item.4.Select the desired unit.
The setting is stored for the remote control
currently in use.
Brightness
Setting the brightness
To set the brightness of the Control Display:
1."Settings"2."Control display"3."Brightness"4.Turn the controller until the desired bright‐
ness is set.5.Press the controller.
The setting is stored for the remote control
currently in use.
Seite 87DisplaysControls87
Online Edition for Part no. 0140 2 909 827 - VI/13
Page 118 of 236
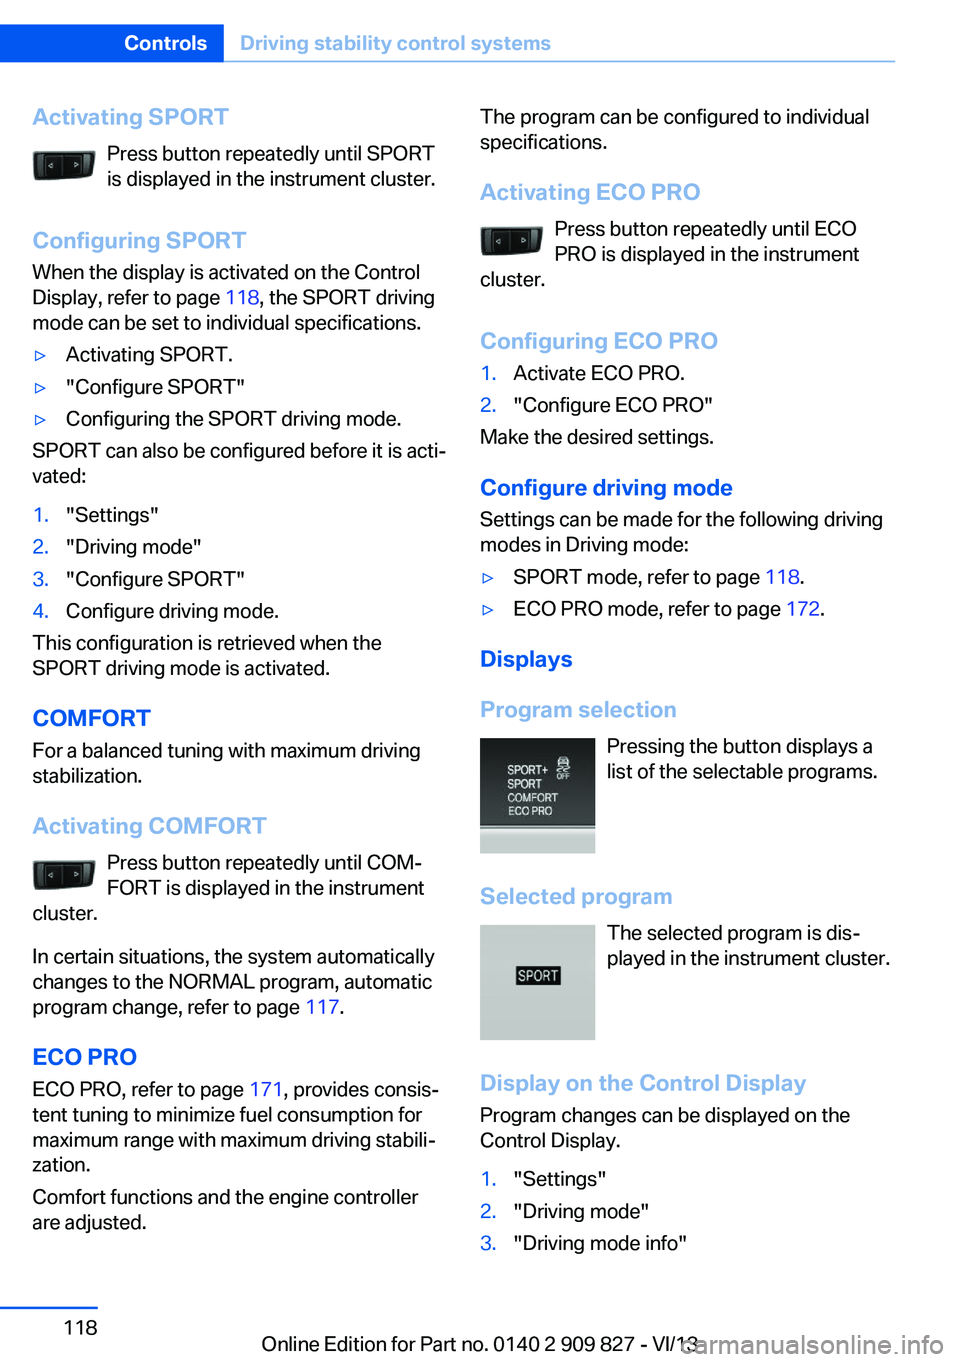
Activating SPORTPress button repeatedly until SPORT
is displayed in the instrument cluster.
Configuring SPORT When the display is activated on the Control
Display, refer to page 118, the SPORT driving
mode can be set to individual specifications.▷Activating SPORT.▷"Configure SPORT"▷Configuring the SPORT driving mode.
SPORT can also be configured before it is acti‐
vated:
1."Settings"2."Driving mode"3."Configure SPORT"4.Configure driving mode.
This configuration is retrieved when the
SPORT driving mode is activated.
COMFORT For a balanced tuning with maximum driving
stabilization.
Activating COMFORT Press button repeatedly until COM‐
FORT is displayed in the instrument
cluster.
In certain situations, the system automatically
changes to the NORMAL program, automatic
program change, refer to page 117.
ECO PRO ECO PRO, refer to page 171, provides consis‐
tent tuning to minimize fuel consumption for
maximum range with maximum driving stabili‐
zation.
Comfort functions and the engine controller
are adjusted.
The program can be configured to individual
specifications.
Activating ECO PRO Press button repeatedly until ECO
PRO is displayed in the instrument
cluster.
Configuring ECO PRO1.Activate ECO PRO.2."Configure ECO PRO"
Make the desired settings.
Configure driving mode
Settings can be made for the following driving
modes in Driving mode:
▷SPORT mode, refer to page 118.▷ECO PRO mode, refer to page 172.
Displays
Program selection Pressing the button displays a
list of the selectable programs.
Selected program The selected program is dis‐
played in the instrument cluster.
Display on the Control Display
Program changes can be displayed on the
Control Display.
1."Settings"2."Driving mode"3."Driving mode info"Seite 118ControlsDriving stability control systems118
Online Edition for Part no. 0140 2 909 827 - VI/13