2014 BMW 328I XDRIVE SPORTS WAGON center console
[x] Cancel search: center consolePage 14 of 244
16Unlock hood 200
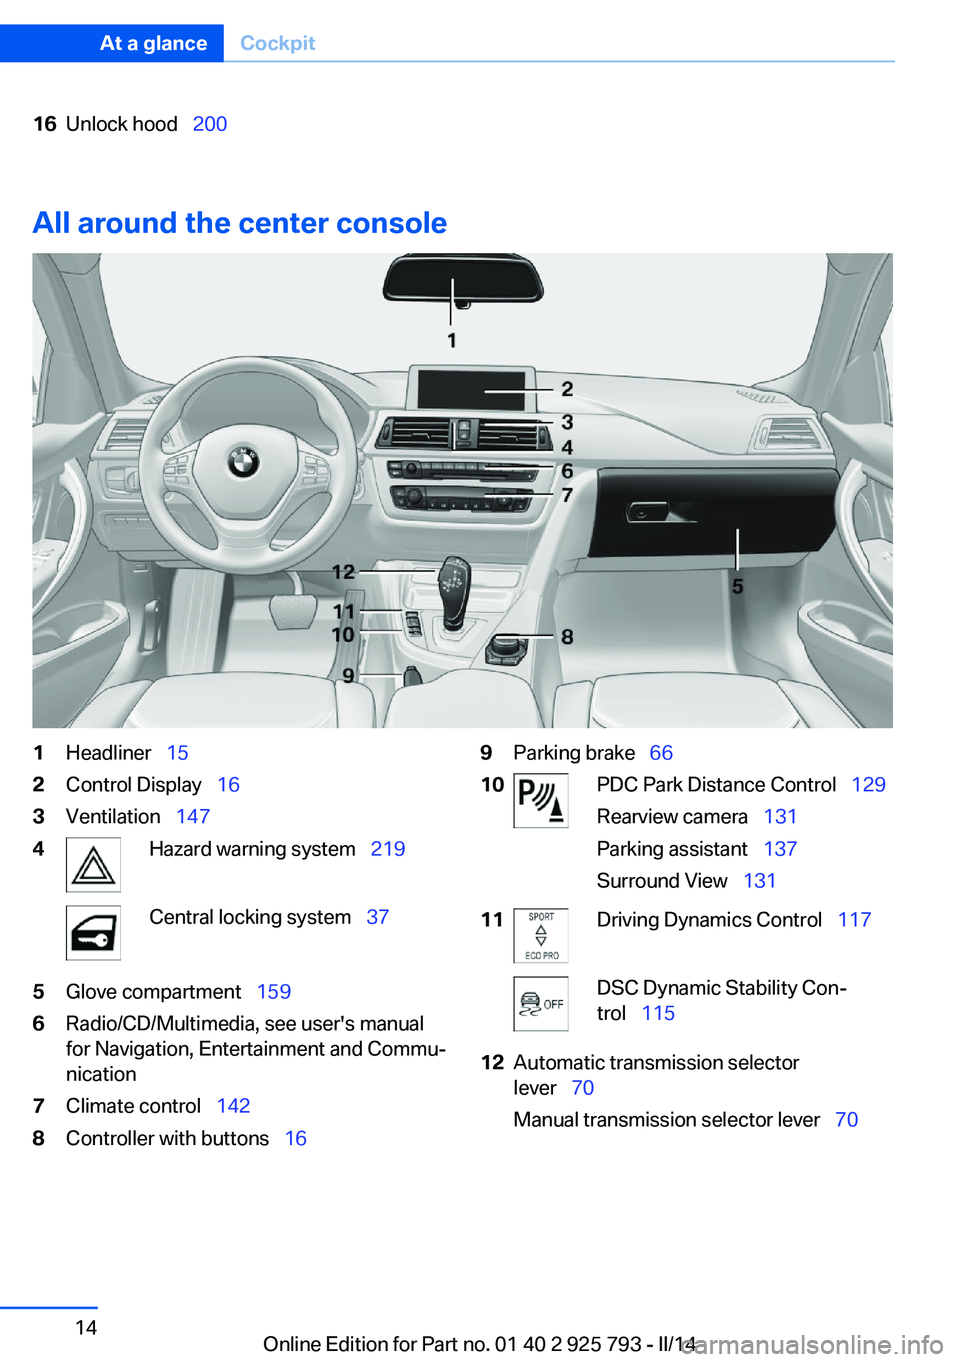
All around the center console
1Headliner 152Control Display 163Ventilation 1474Hazard warning system 219Central locking system 375Glove compartment 1596Radio/CD/Multimedia, see user's manual
for Navigation, Entertainment and Commu‐
nication7Climate control 1428Controller with buttons 169Parking brake 6610PDC Park Distance Control 129
Rearview camera 131
Parking assistant 137
Surround View 13111Driving Dynamics Control 117DSC Dynamic Stability Con‐
trol 11512Automatic transmission selector
lever 70
Manual transmission selector lever 70Seite 14At a glanceCockpit14
Online Edition for Part no. 01 40 2 925 793 - II/14
Page 154 of 244
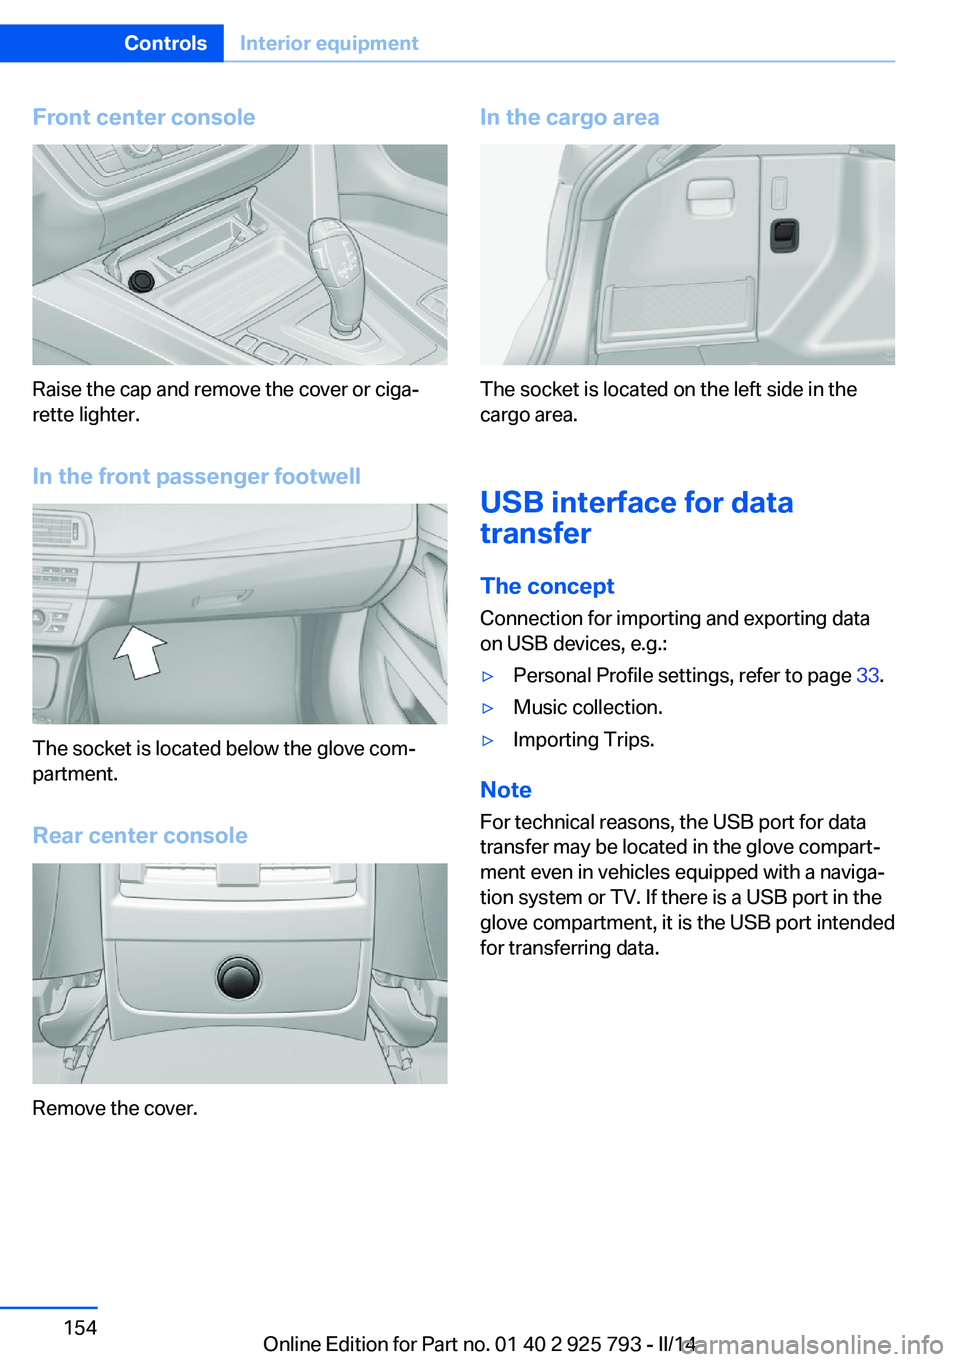
Front center console
Raise the cap and remove the cover or ciga‐
rette lighter.
In the front passenger footwell
The socket is located below the glove com‐
partment.
Rear center console
Remove the cover.
In the cargo area
The socket is located on the left side in the
cargo area.
USB interface for data
transfer
The concept Connection for importing and exporting data
on USB devices, e.g.:
▷Personal Profile settings, refer to page 33.▷Music collection.▷Importing Trips.
Note
For technical reasons, the USB port for data
transfer may be located in the glove compart‐
ment even in vehicles equipped with a naviga‐
tion system or TV. If there is a USB port in the
glove compartment, it is the USB port intended
for transferring data.
Seite 154ControlsInterior equipment154
Online Edition for Part no. 01 40 2 925 793 - II/14
Page 159 of 244
Storage compartmentsVehicle equipmentAll standard, country-specific and optional
equipment that is offered in the model series is
described in this chapter. Therefore, equip‐
ment is also described that is not available in a
vehicle, e. g., because of the selected optional
equipment or country variant. This also applies
for safety-related functions and systems.
Notes No loose objects in the passenger com‐
partment
Do not stow any objects in the passenger
compartment without securing them; other‐
wise, they may present a danger to occupants
for instance during braking and avoidance ma‐
neuvers.◀
Do not place anti-slip mats on the dash‐
board
Do not place anti-slip mats on the dashboard.
The mat materials could damage the dash‐
board.◀
Storage compartments
The following storage compartments are avail‐
able in the vehicle interior:▷Glove compartment on the front passenger
side, refer to page 159.▷Glove compartment on the driver's side,
refer to page 160.▷Without Smoker's package: Front storage
compartment, in front of the cupholders,
refer to page 160.▷Storage compartment in the front center
armrest, refer to page 160.▷Compartments in the doors, refer to
page 160.▷Nets on the backrests of the front seats.▷Storage compartment in the rear center
console, refer to page 161.
Glove compartment
Front passenger side
Note Close the glove compartment again im‐
mediately
Close the glove compartment immediately af‐
ter use while driving; otherwise, injury may oc‐
cur during accidents.◀
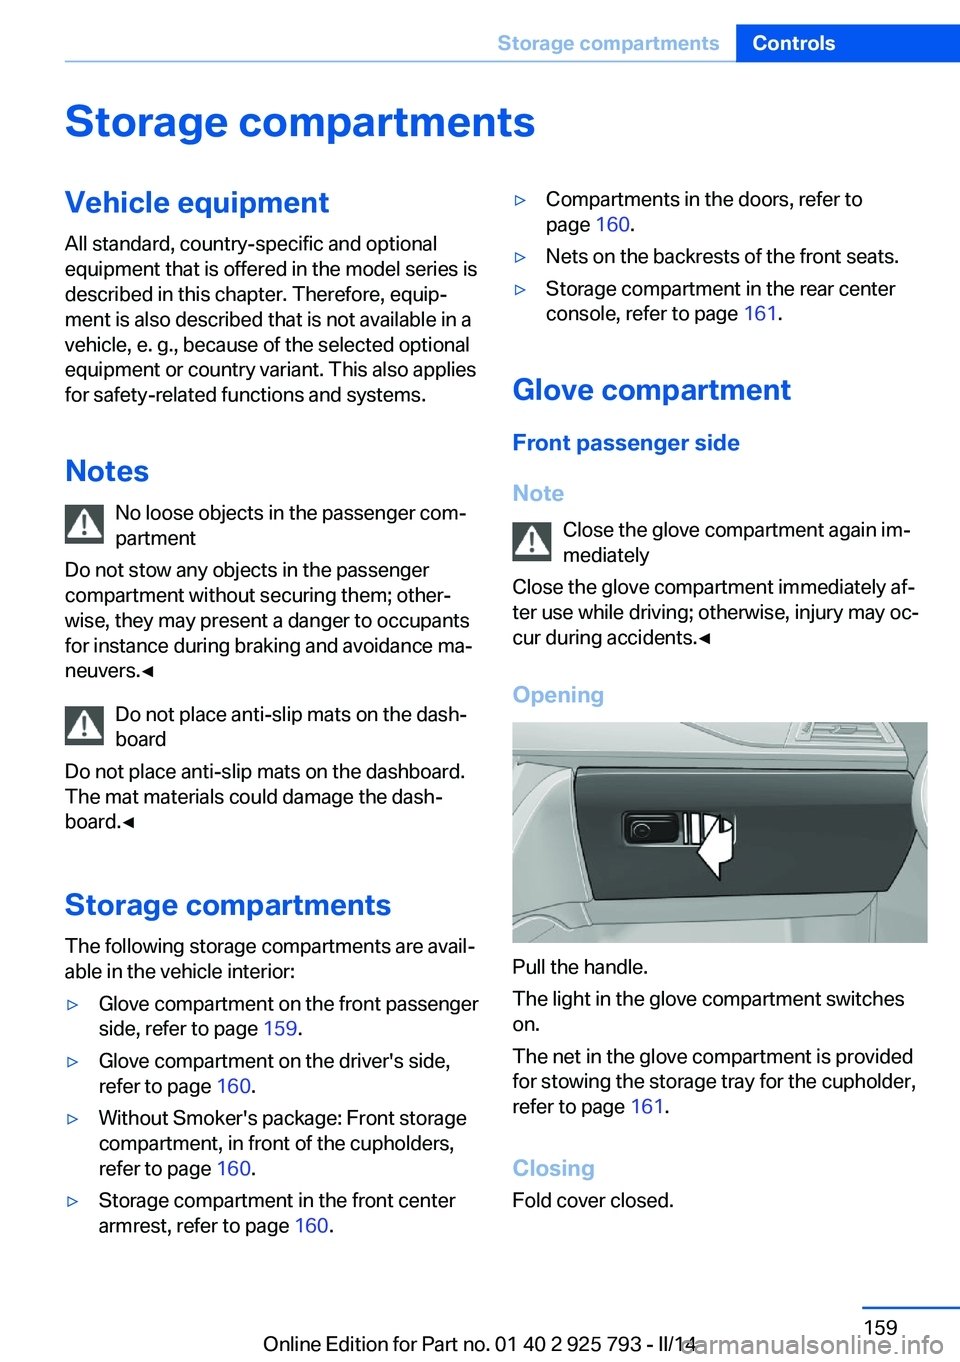
Opening
Pull the handle.
The light in the glove compartment switches
on.
The net in the glove compartment is provided
for stowing the storage tray for the cupholder,
refer to page 161.
Closing Fold cover closed.
Seite 159Storage compartmentsControls159
Online Edition for Part no. 01 40 2 925 793 - II/14
Page 219 of 244
Breakdown assistanceVehicle equipment
All standard, country-specific and optional
equipment that is offered in the model series is
described in this chapter. Therefore, equip‐
ment is also described that is not available in a
vehicle, e. g., because of the selected optional
equipment or country variant. This also applies
for safety-related functions and systems.
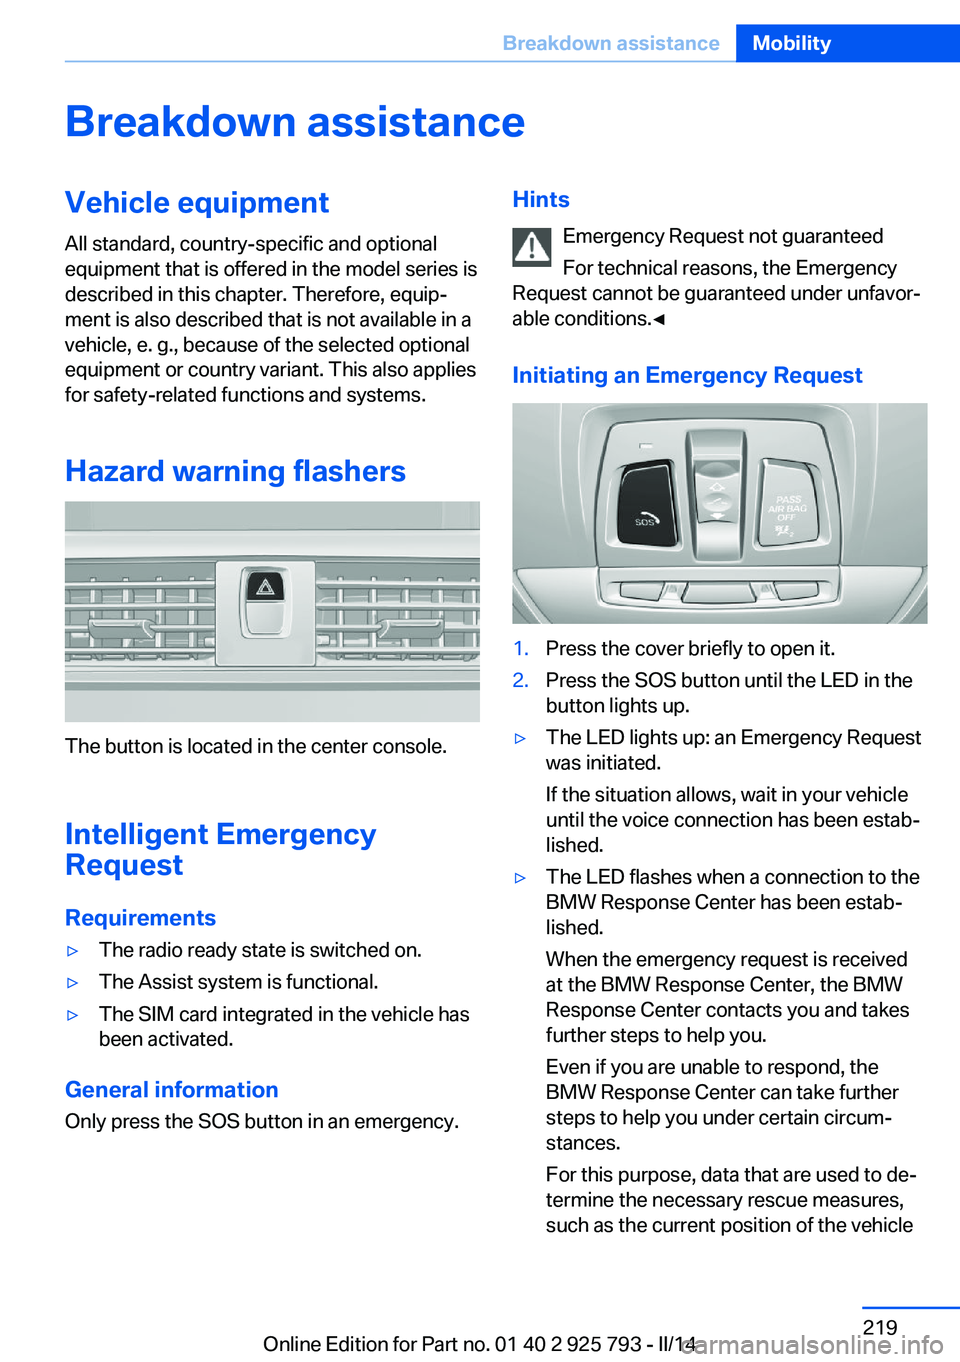
Hazard warning flashers
The button is located in the center console.
Intelligent Emergency
Request
Requirements
▷The radio ready state is switched on.▷The Assist system is functional.▷The SIM card integrated in the vehicle has
been activated.
General information
Only press the SOS button in an emergency.
Hints
Emergency Request not guaranteed
For technical reasons, the Emergency
Request cannot be guaranteed under unfavor‐
able conditions.◀
Initiating an Emergency Request1.Press the cover briefly to open it.2.Press the SOS button until the LED in the
button lights up.▷The LED lights up: an Emergency Request
was initiated.
If the situation allows, wait in your vehicle
until the voice connection has been estab‐
lished.▷The LED flashes when a connection to the
BMW Response Center has been estab‐
lished.
When the emergency request is received
at the BMW Response Center, the BMW
Response Center contacts you and takes
further steps to help you.
Even if you are unable to respond, the
BMW Response Center can take further
steps to help you under certain circum‐
stances.
For this purpose, data that are used to de‐
termine the necessary rescue measures,
such as the current position of the vehicleSeite 219Breakdown assistanceMobility219
Online Edition for Part no. 01 40 2 925 793 - II/14
Page 235 of 244
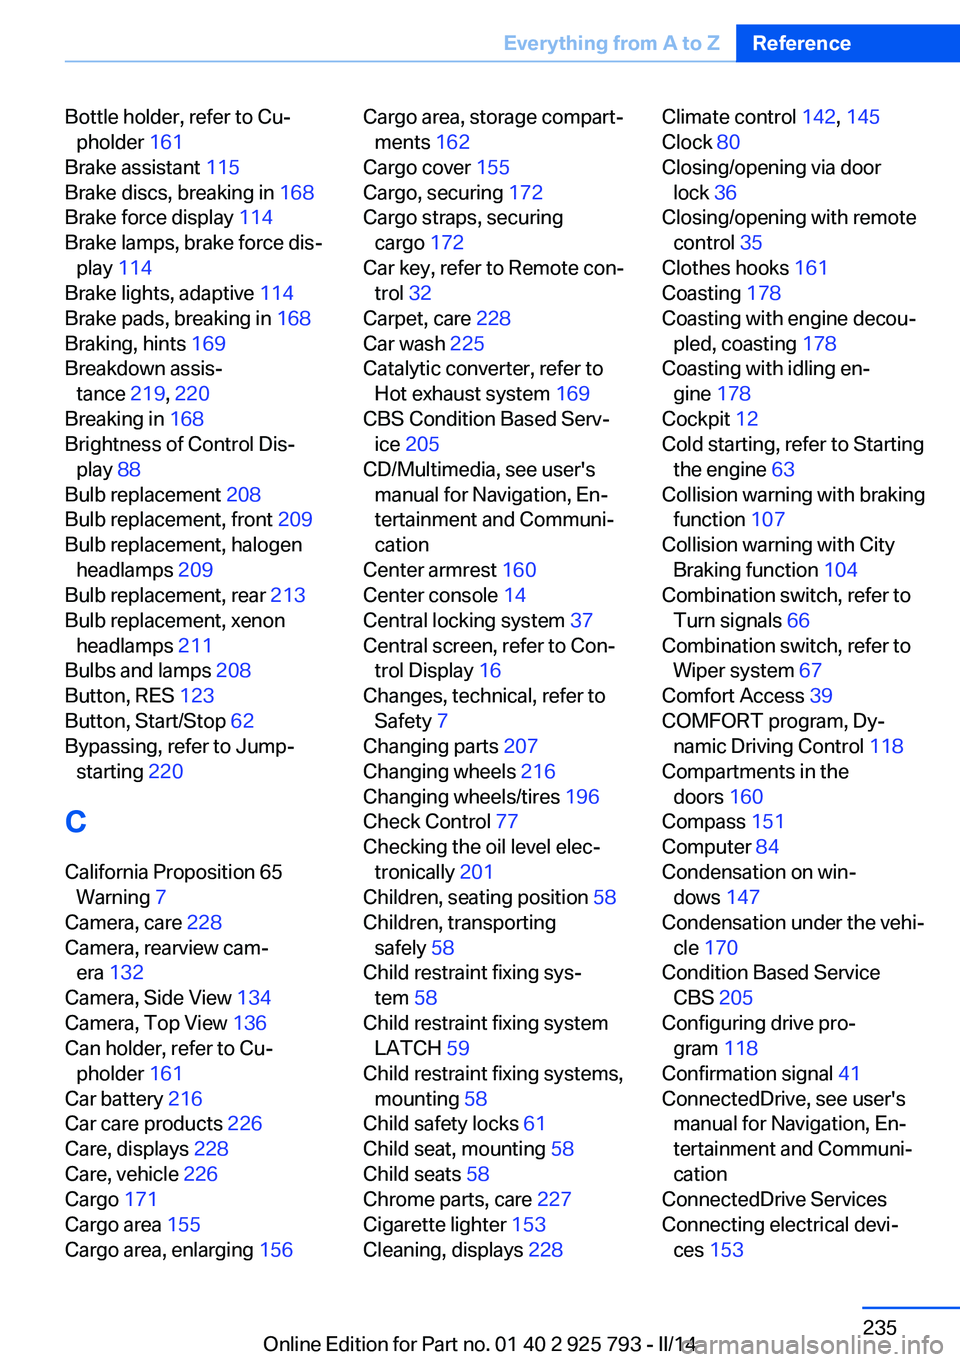
Bottle holder, refer to Cu‐pholder 161
Brake assistant 115
Brake discs, breaking in 168
Brake force display 114
Brake lamps, brake force dis‐ play 114
Brake lights, adaptive 114
Brake pads, breaking in 168
Braking, hints 169
Breakdown assis‐ tance 219, 220
Breaking in 168
Brightness of Control Dis‐ play 88
Bulb replacement 208
Bulb replacement, front 209
Bulb replacement, halogen headlamps 209
Bulb replacement, rear 213
Bulb replacement, xenon headlamps 211
Bulbs and lamps 208
Button, RES 123
Button, Start/Stop 62
Bypassing, refer to Jump- starting 220
C
California Proposition 65 Warning 7
Camera, care 228
Camera, rearview cam‐ era 132
Camera, Side View 134
Camera, Top View 136
Can holder, refer to Cu‐ pholder 161
Car battery 216
Car care products 226
Care, displays 228
Care, vehicle 226
Cargo 171
Cargo area 155
Cargo area, enlarging 156 Cargo area, storage compart‐
ments 162
Cargo cover 155
Cargo, securing 172
Cargo straps, securing cargo 172
Car key, refer to Remote con‐ trol 32
Carpet, care 228
Car wash 225
Catalytic converter, refer to Hot exhaust system 169
CBS Condition Based Serv‐ ice 205
CD/Multimedia, see user's manual for Navigation, En‐
tertainment and Communi‐
cation
Center armrest 160
Center console 14
Central locking system 37
Central screen, refer to Con‐ trol Display 16
Changes, technical, refer to Safety 7
Changing parts 207
Changing wheels 216
Changing wheels/tires 196
Check Control 77
Checking the oil level elec‐ tronically 201
Children, seating position 58
Children, transporting safely 58
Child restraint fixing sys‐ tem 58
Child restraint fixing system LATCH 59
Child restraint fixing systems, mounting 58
Child safety locks 61
Child seat, mounting 58
Child seats 58
Chrome parts, care 227
Cigarette lighter 153
Cleaning, displays 228 Climate control 142, 145
Clock 80
Closing/opening via door lock 36
Closing/opening with remote control 35
Clothes hooks 161
Coasting 178
Coasting with engine decou‐ pled, coasting 178
Coasting with idling en‐ gine 178
Cockpit 12
Cold starting, refer to Starting the engine 63
Collision warning with braking function 107
Collision warning with City Braking function 104
Combination switch, refer to Turn signals 66
Combination switch, refer to Wiper system 67
Comfort Access 39
COMFORT program, Dy‐ namic Driving Control 118
Compartments in the doors 160
Compass 151
Computer 84
Condensation on win‐ dows 147
Condensation under the vehi‐ cle 170
Condition Based Service CBS 205
Configuring drive pro‐ gram 118
Confirmation signal 41
ConnectedDrive, see user's manual for Navigation, En‐
tertainment and Communi‐
cation
ConnectedDrive Services
Connecting electrical devi‐ ces 153 Seite 235Everything from A to ZReference235
Online Edition for Part no. 01 40 2 925 793 - II/14