2014 BMW 328I XDRIVE SEDAN oil level
[x] Cancel search: oil levelPage 78 of 242

▷ "Owner's Manual"
Display additional information about the
Check Control message in the Integrated
Owner's Manual.▷ "Service request"
Contact your service center.▷ "Roadside Assistance"
Contact Roadside Assistance.
Hiding Check Control messages
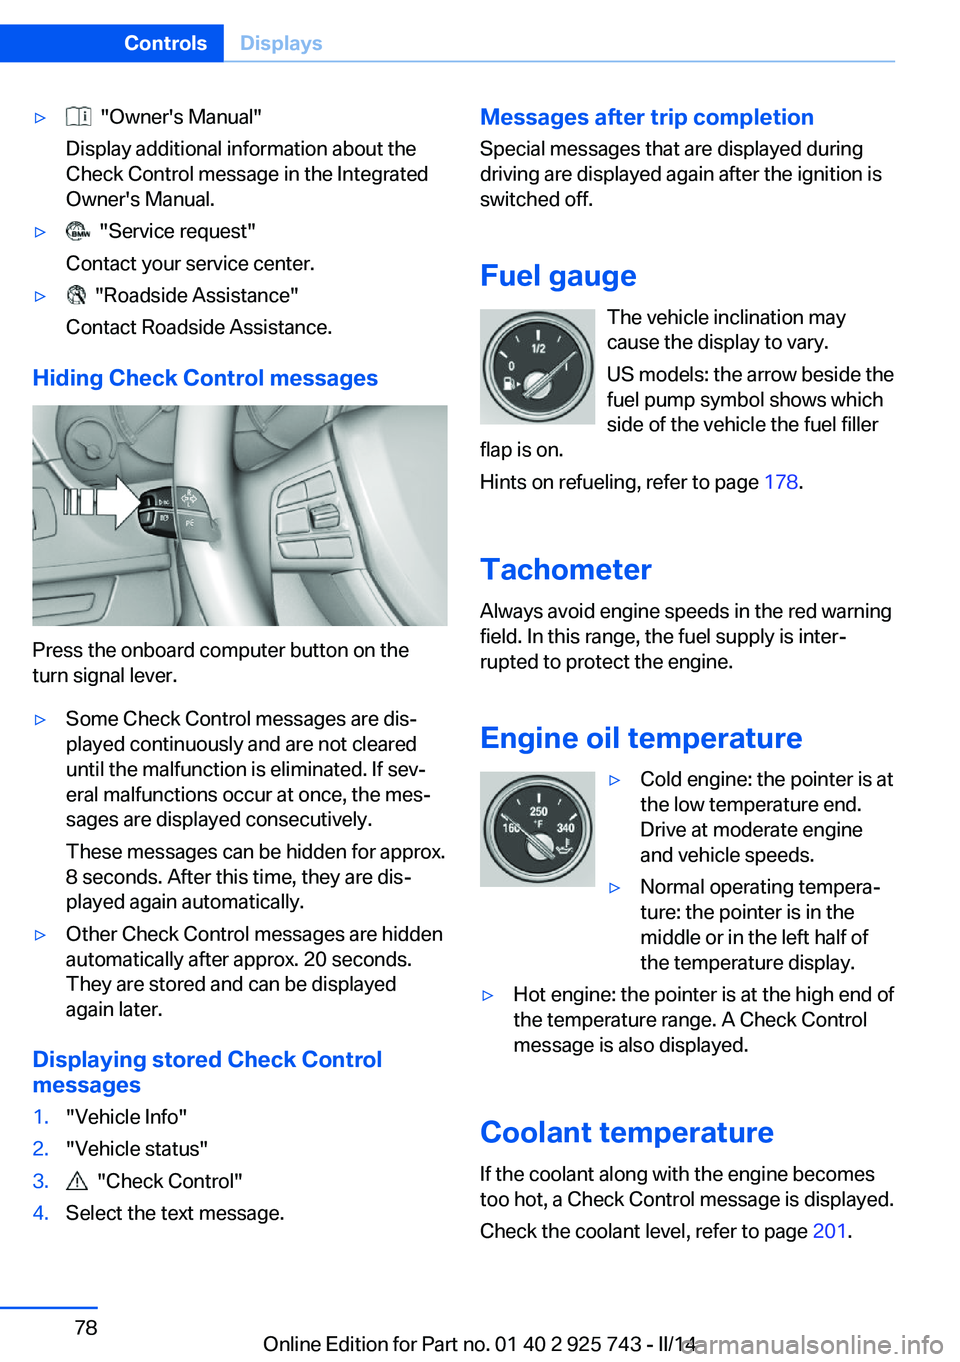
Press the onboard computer button on the
turn signal lever.
▷Some Check Control messages are dis‐
played continuously and are not cleared
until the malfunction is eliminated. If sev‐
eral malfunctions occur at once, the mes‐
sages are displayed consecutively.
These messages can be hidden for approx.
8 seconds. After this time, they are dis‐
played again automatically.▷Other Check Control messages are hidden
automatically after approx. 20 seconds.
They are stored and can be displayed
again later.
Displaying stored Check Control
messages
1."Vehicle Info"2."Vehicle status"3. "Check Control"4.Select the text message.Messages after trip completion
Special messages that are displayed during
driving are displayed again after the ignition is
switched off.
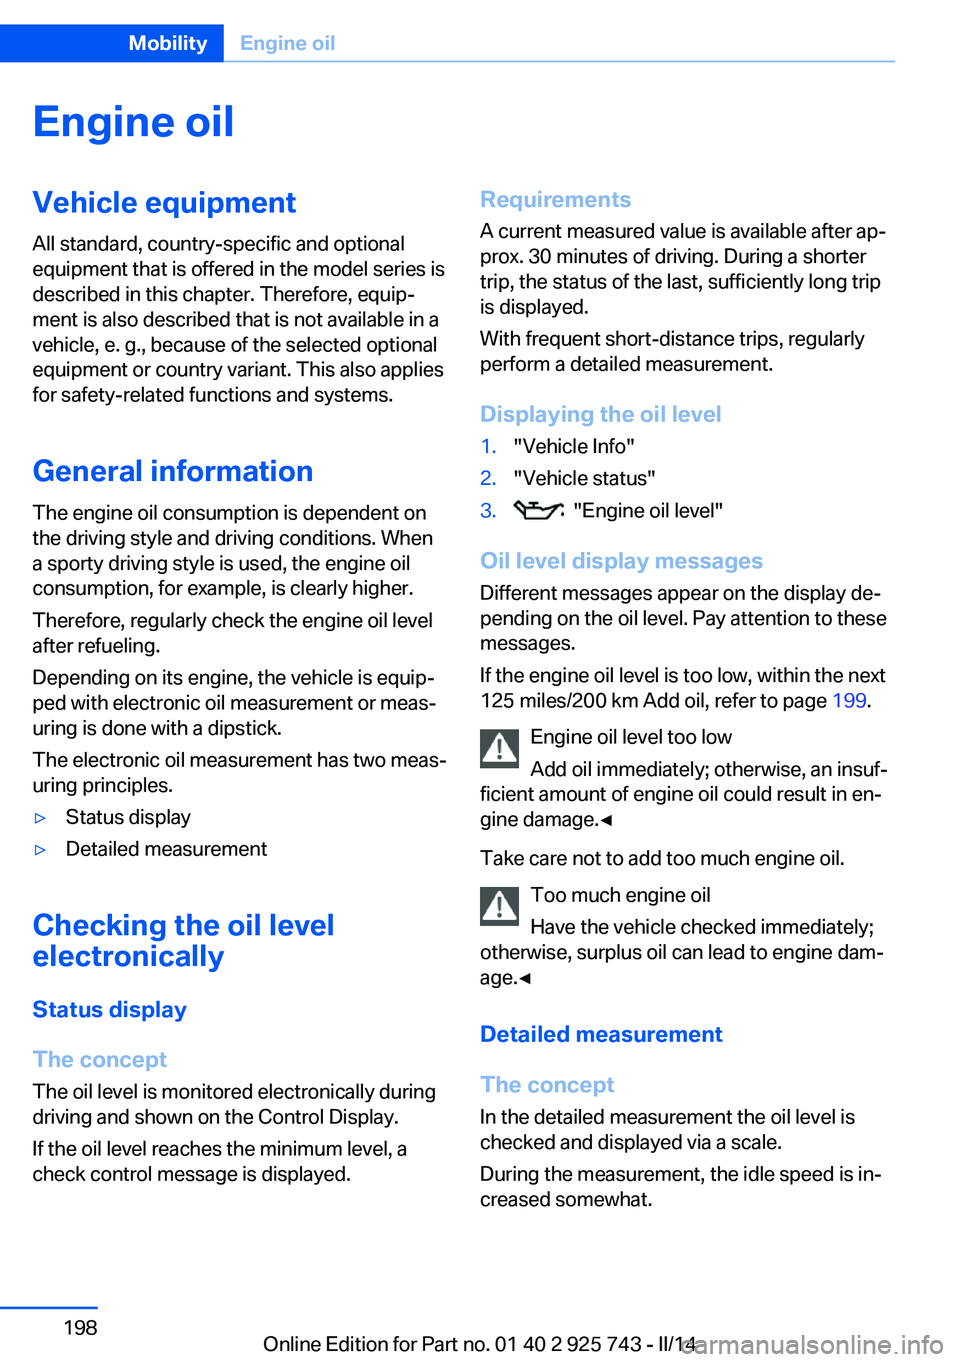
Fuel gauge The vehicle inclination may
cause the display to vary.
US models: the arrow beside the
fuel pump symbol shows which
side of the vehicle the fuel filler
flap is on.
Hints on refueling, refer to page 178.
Tachometer
Always avoid engine speeds in the red warning
field. In this range, the fuel supply is inter‐
rupted to protect the engine.
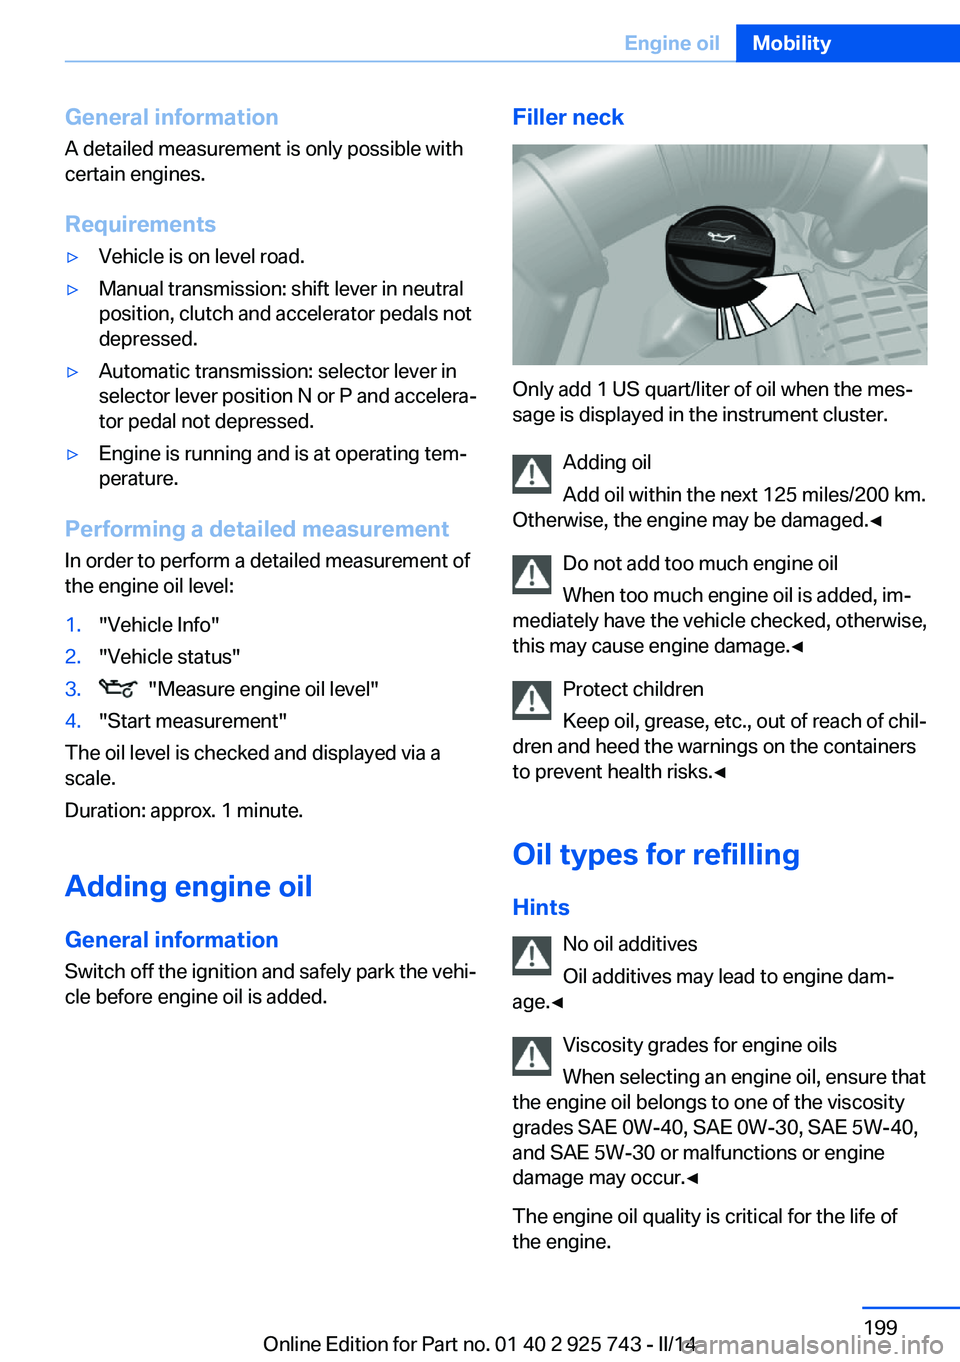
Engine oil temperature▷Cold engine: the pointer is at
the low temperature end.
Drive at moderate engine
and vehicle speeds.▷Normal operating tempera‐
ture: the pointer is in the
middle or in the left half of
the temperature display.▷Hot engine: the pointer is at the high end of
the temperature range. A Check Control
message is also displayed.
Coolant temperature
If the coolant along with the engine becomes
too hot, a Check Control message is displayed.
Check the coolant level, refer to page 201.
Seite 78ControlsDisplays78
Online Edition for Part no. 01 40 2 925 743 - II/14
Page 198 of 242

Engine oilVehicle equipment
All standard, country-specific and optional
equipment that is offered in the model series is
described in this chapter. Therefore, equip‐
ment is also described that is not available in a
vehicle, e. g., because of the selected optional
equipment or country variant. This also applies
for safety-related functions and systems.
General information The engine oil consumption is dependent on
the driving style and driving conditions. When
a sporty driving style is used, the engine oil
consumption, for example, is clearly higher.
Therefore, regularly check the engine oil level
after refueling.
Depending on its engine, the vehicle is equip‐
ped with electronic oil measurement or meas‐
uring is done with a dipstick.
The electronic oil measurement has two meas‐
uring principles.▷Status display▷Detailed measurement
Checking the oil level
electronically
Status display
The concept The oil level is monitored electronically during
driving and shown on the Control Display.
If the oil level reaches the minimum level, a
check control message is displayed.
Requirements
A current measured value is available after ap‐
prox. 30 minutes of driving. During a shorter
trip, the status of the last, sufficiently long trip
is displayed.
With frequent short-distance trips, regularly
perform a detailed measurement.
Displaying the oil level1."Vehicle Info"2."Vehicle status"3. "Engine oil level"
Oil level display messages
Different messages appear on the display de‐
pending on the oil level. Pay attention to these
messages.
If the engine oil level is too low, within the next
125 miles/200 km Add oil, refer to page 199.
Engine oil level too low
Add oil immediately; otherwise, an insuf‐
ficient amount of engine oil could result in en‐
gine damage.◀
Take care not to add too much engine oil. Too much engine oil
Have the vehicle checked immediately;
otherwise, surplus oil can lead to engine dam‐
age.◀
Detailed measurement
The concept
In the detailed measurement the oil level is
checked and displayed via a scale.
During the measurement, the idle speed is in‐
creased somewhat.
Seite 198MobilityEngine oil198
Online Edition for Part no. 01 40 2 925 743 - II/14
Page 199 of 242

General information
A detailed measurement is only possible with
certain engines.
Requirements▷Vehicle is on level road.▷Manual transmission: shift lever in neutral
position, clutch and accelerator pedals not
depressed.▷Automatic transmission: selector lever in
selector lever position N or P and accelera‐
tor pedal not depressed.▷Engine is running and is at operating tem‐
perature.
Performing a detailed measurement
In order to perform a detailed measurement of
the engine oil level:
1."Vehicle Info"2."Vehicle status"3. "Measure engine oil level"4."Start measurement"
The oil level is checked and displayed via a
scale.
Duration: approx. 1 minute.
Adding engine oil General information
Switch off the ignition and safely park the vehi‐
cle before engine oil is added.
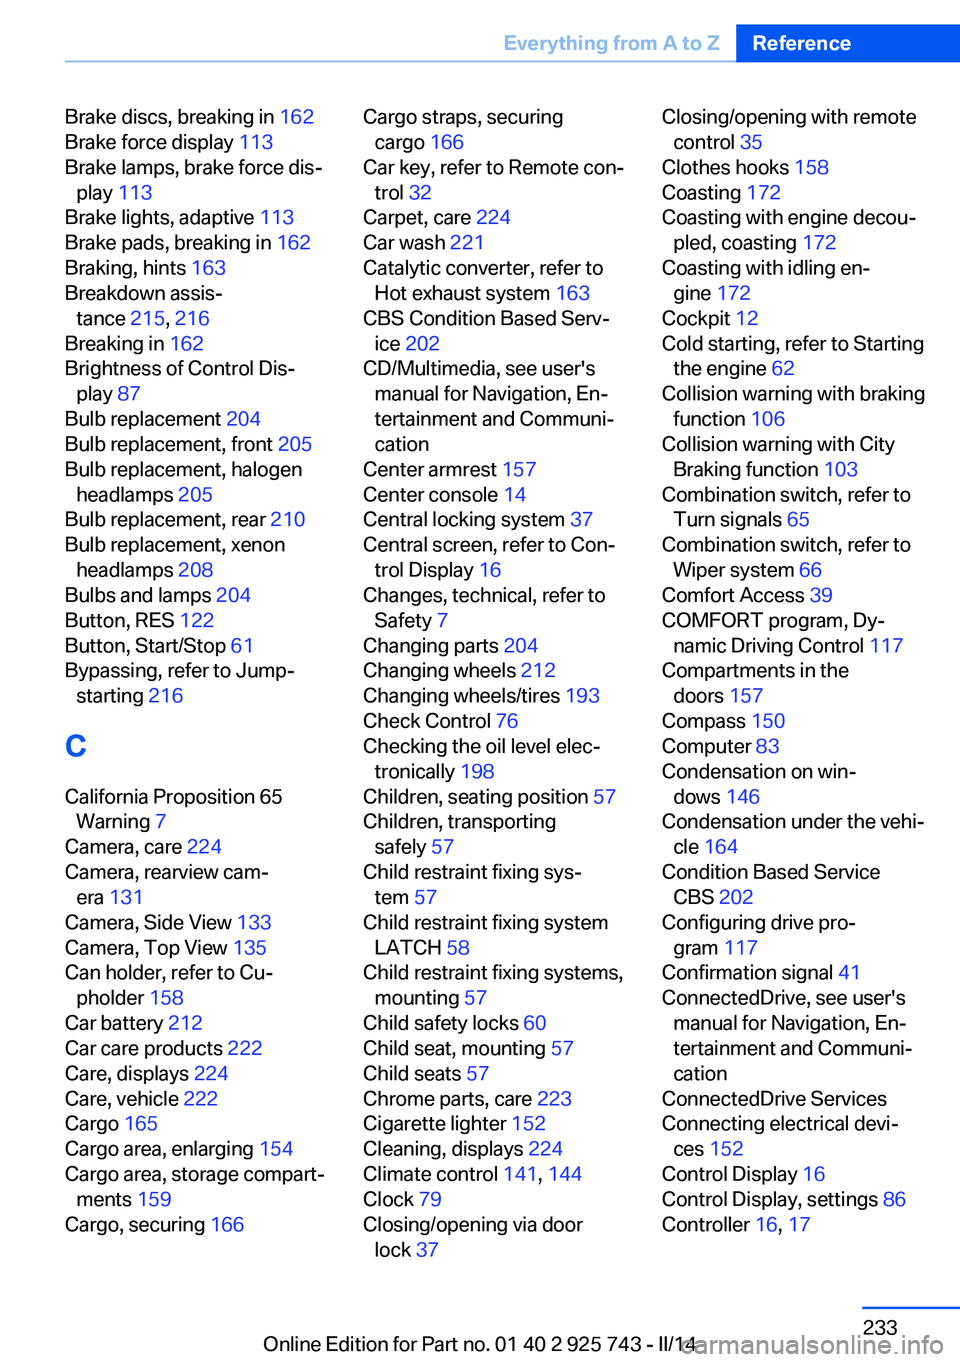
Filler neck
Only add 1 US quart/liter of oil when the mes‐
sage is displayed in the instrument cluster.
Adding oil
Add oil within the next 125 miles/200 km.
Otherwise, the engine may be damaged.◀
Do not add too much engine oil
When too much engine oil is added, im‐
mediately have the vehicle checked, otherwise,
this may cause engine damage.◀
Protect children
Keep oil, grease, etc., out of reach of chil‐
dren and heed the warnings on the containers
to prevent health risks.◀
Oil types for refilling
Hints No oil additives
Oil additives may lead to engine dam‐
age.◀
Viscosity grades for engine oils
When selecting an engine oil, ensure that
the engine oil belongs to one of the viscosity
grades SAE 0W-40, SAE 0W-30, SAE 5W-40,
and SAE 5W-30 or malfunctions or engine
damage may occur.◀
The engine oil quality is critical for the life of
the engine.
Seite 199Engine oilMobility199
Online Edition for Part no. 01 40 2 925 743 - II/14
Page 233 of 242

Brake discs, breaking in 162
Brake force display 113
Brake lamps, brake force dis‐ play 113
Brake lights, adaptive 113
Brake pads, breaking in 162
Braking, hints 163
Breakdown assis‐ tance 215, 216
Breaking in 162
Brightness of Control Dis‐ play 87
Bulb replacement 204
Bulb replacement, front 205
Bulb replacement, halogen headlamps 205
Bulb replacement, rear 210
Bulb replacement, xenon headlamps 208
Bulbs and lamps 204
Button, RES 122
Button, Start/Stop 61
Bypassing, refer to Jump- starting 216
C
California Proposition 65 Warning 7
Camera, care 224
Camera, rearview cam‐ era 131
Camera, Side View 133
Camera, Top View 135
Can holder, refer to Cu‐ pholder 158
Car battery 212
Car care products 222
Care, displays 224
Care, vehicle 222
Cargo 165
Cargo area, enlarging 154
Cargo area, storage compart‐ ments 159
Cargo, securing 166 Cargo straps, securing
cargo 166
Car key, refer to Remote con‐ trol 32
Carpet, care 224
Car wash 221
Catalytic converter, refer to Hot exhaust system 163
CBS Condition Based Serv‐ ice 202
CD/Multimedia, see user's manual for Navigation, En‐
tertainment and Communi‐
cation
Center armrest 157
Center console 14
Central locking system 37
Central screen, refer to Con‐ trol Display 16
Changes, technical, refer to Safety 7
Changing parts 204
Changing wheels 212
Changing wheels/tires 193
Check Control 76
Checking the oil level elec‐ tronically 198
Children, seating position 57
Children, transporting safely 57
Child restraint fixing sys‐ tem 57
Child restraint fixing system LATCH 58
Child restraint fixing systems, mounting 57
Child safety locks 60
Child seat, mounting 57
Child seats 57
Chrome parts, care 223
Cigarette lighter 152
Cleaning, displays 224
Climate control 141, 144
Clock 79
Closing/opening via door lock 37 Closing/opening with remote
control 35
Clothes hooks 158
Coasting 172
Coasting with engine decou‐ pled, coasting 172
Coasting with idling en‐ gine 172
Cockpit 12
Cold starting, refer to Starting the engine 62
Collision warning with braking function 106
Collision warning with City Braking function 103
Combination switch, refer to Turn signals 65
Combination switch, refer to Wiper system 66
Comfort Access 39
COMFORT program, Dy‐ namic Driving Control 117
Compartments in the doors 157
Compass 150
Computer 83
Condensation on win‐ dows 146
Condensation under the vehi‐ cle 164
Condition Based Service CBS 202
Configuring drive pro‐ gram 117
Confirmation signal 41
ConnectedDrive, see user's manual for Navigation, En‐
tertainment and Communi‐
cation
ConnectedDrive Services
Connecting electrical devi‐ ces 152
Control Display 16
Control Display, settings 86
Controller 16, 17 Seite 233Everything from A to ZReference233
Online Edition for Part no. 01 40 2 925 743 - II/14