2014 BMW 328I XDRIVE SEDAN belt
[x] Cancel search: beltPage 121 of 242
The displays go out. The stored desired speed
and distance are deleted.
Interrupting When active, press the button.
If interrupting the system while stationary,
press on the brake pedal at the same time.
The system is automatically interrupted in the
following situations:▷When the brakes are applied.▷When drive mode D is removed.▷When DTC Dynamic Traction Control is
activated or DSC is deactivated.▷When DSC is actively controlling stability.▷When SPORT+ is activated with Driving
Dynamics Control.▷If the safety belt and the driver's door are
opened when the vehicle is standing still.▷If the system has not detected objects for
an extended period, e.g., on a road with
very little traffic without road edge line
markings.▷If the detection range of the radar is dis‐
rupted, for example, by dirt or heavy fog.
Maintaining/storing the speed
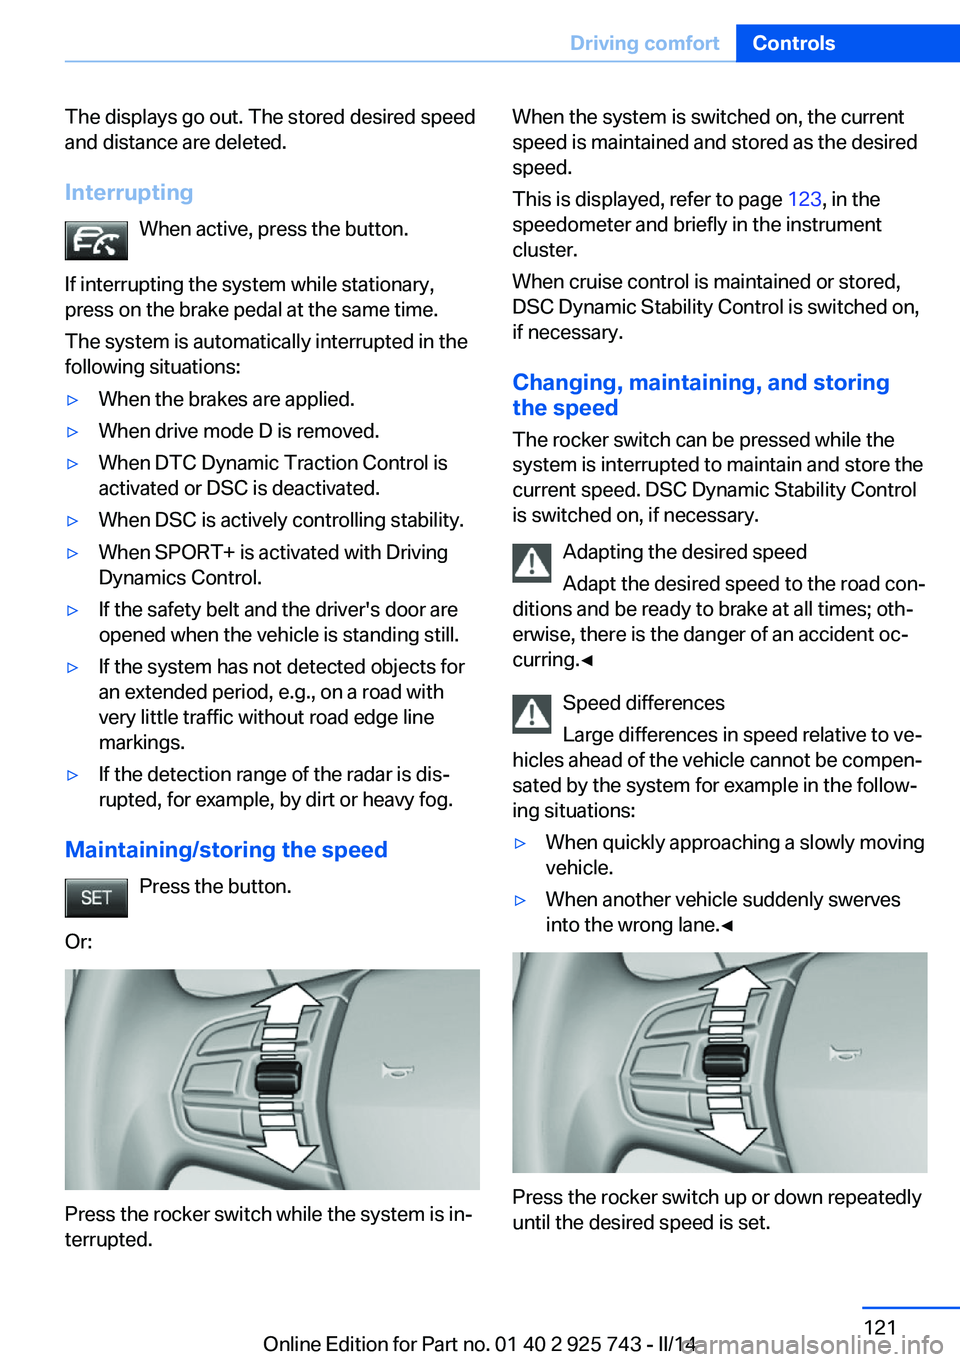
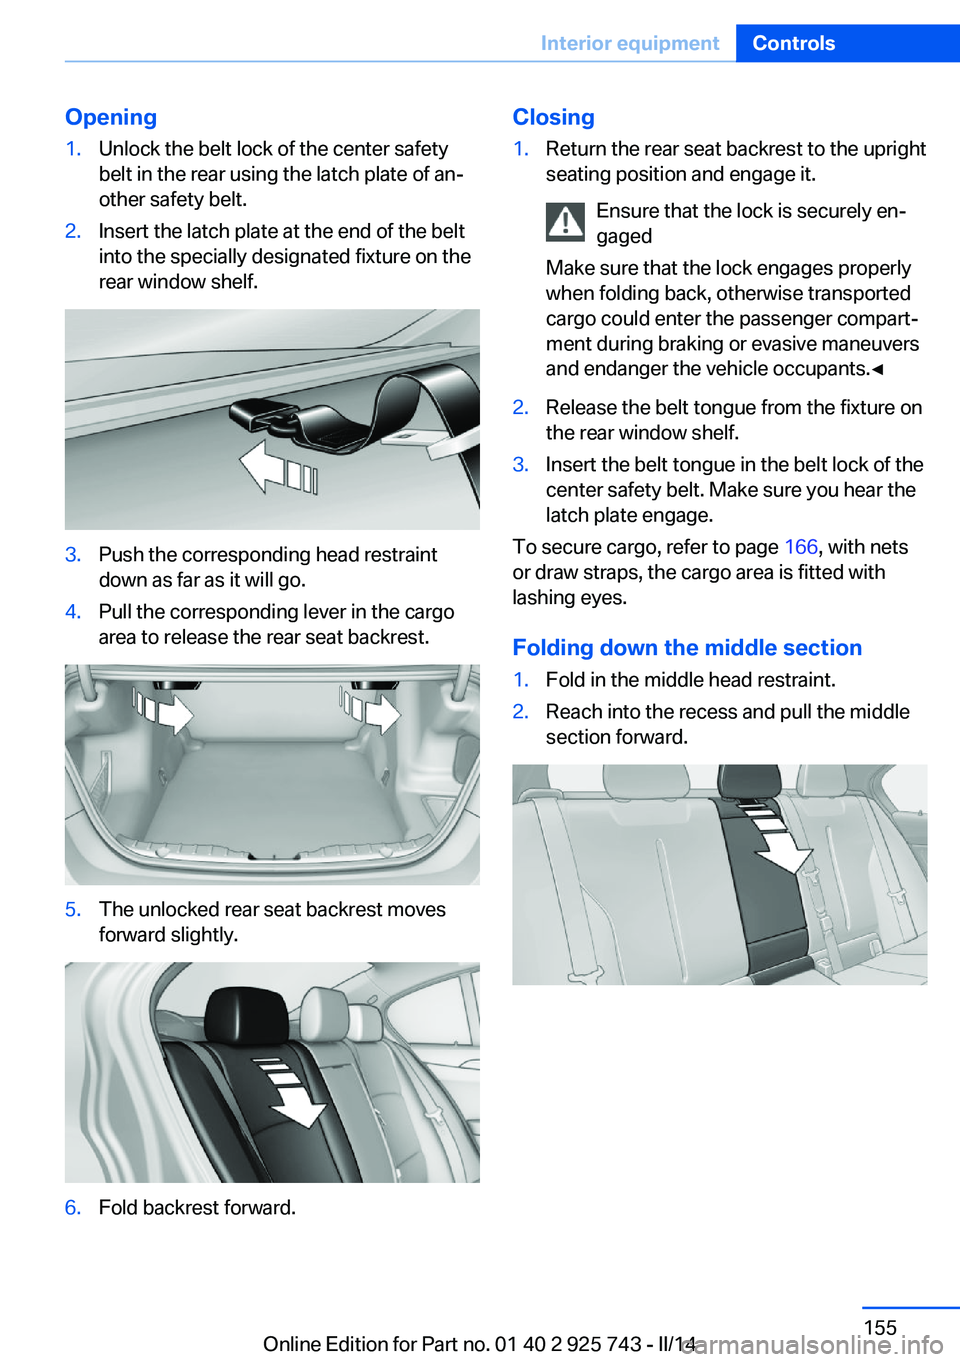
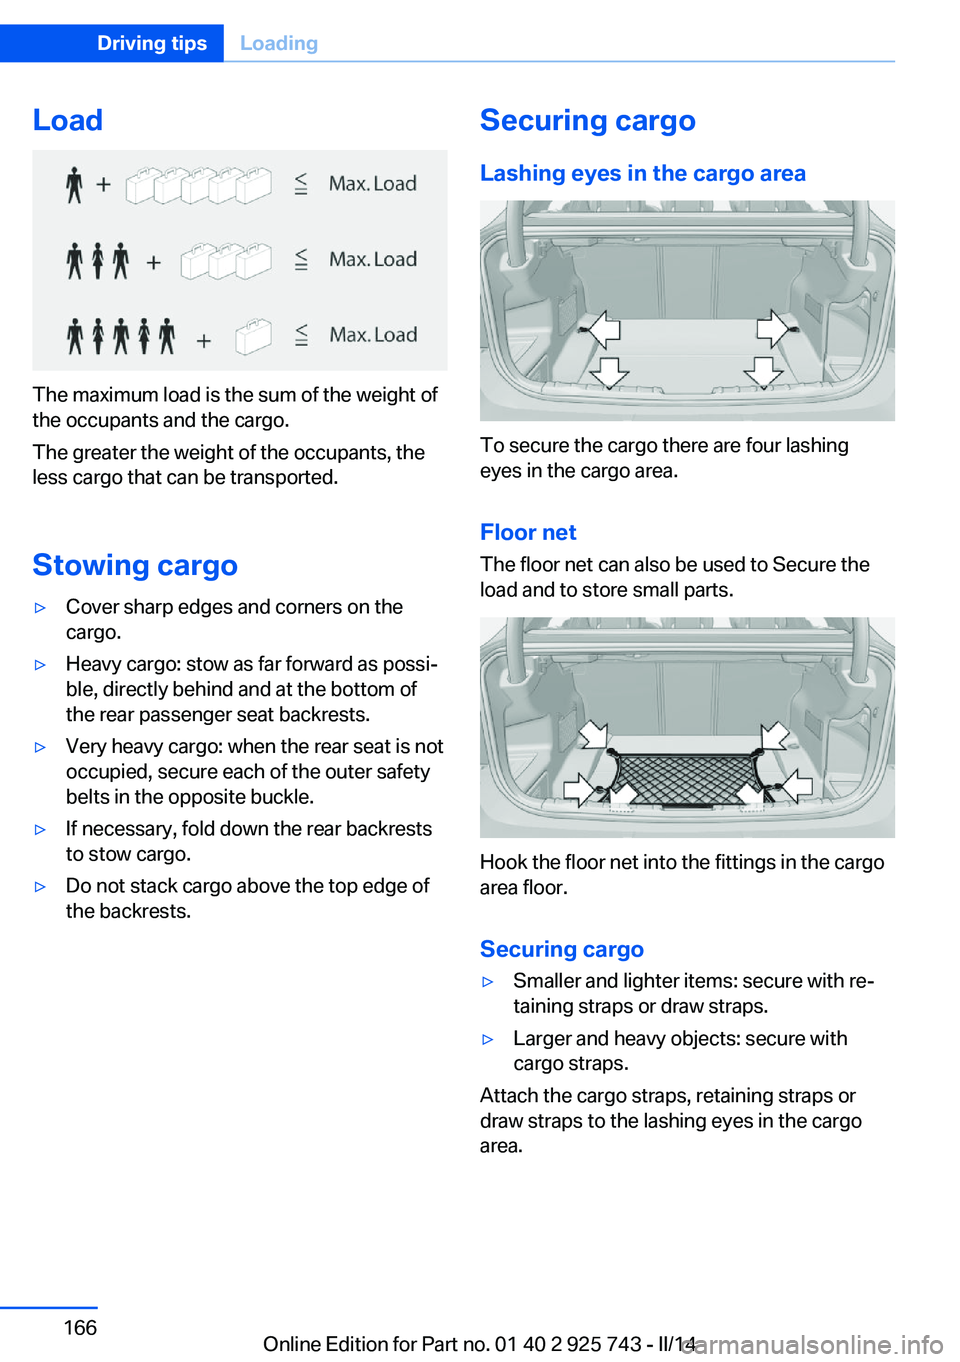
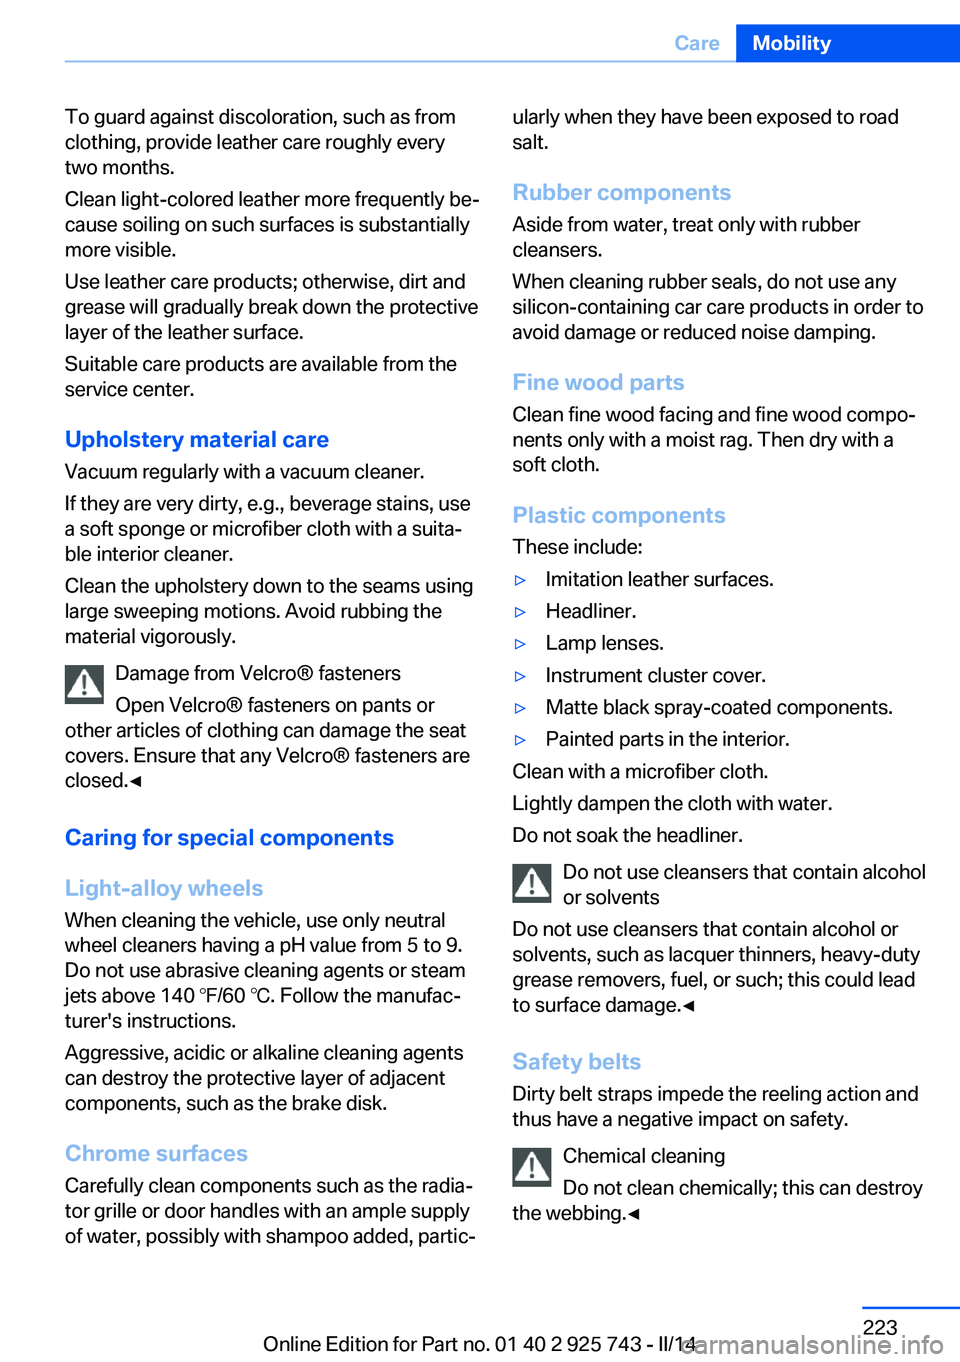
Press the button.
Or:
Press the rocker switch while the system is in‐
terrupted.
When the system is switched on, the current
speed is maintained and stored as the desired
speed.
This is displayed, refer to page 123, in the
speedometer and briefly in the instrument
cluster.
When cruise control is maintained or stored,
DSC Dynamic Stability Control is switched on,
if necessary.
Changing, maintaining, and storing
the speed
The rocker switch can be pressed while the
system is interrupted to maintain and store the
current speed. DSC Dynamic Stability Control
is switched on, if necessary.
Adapting the desired speed
Adapt the desired speed to the road con‐
ditions and be ready to brake at all times; oth‐
erwise, there is the danger of an accident oc‐
curring.◀
Speed differences
Large differences in speed relative to ve‐
hicles ahead of the vehicle cannot be compen‐
sated by the system for example in the follow‐
ing situations:▷When quickly approaching a slowly moving
vehicle.▷When another vehicle suddenly swerves
into the wrong lane.◀
Press the rocker switch up or down repeatedly
until the desired speed is set.
Seite 121Driving comfortControls121
Online Edition for Part no. 01 40 2 925 743 - II/14
Page 155 of 242
Opening1.Unlock the belt lock of the center safety
belt in the rear using the latch plate of an‐
other safety belt.2.Insert the latch plate at the end of the belt
into the specially designated fixture on the
rear window shelf.3.Push the corresponding head restraint
down as far as it will go.4.Pull the corresponding lever in the cargo
area to release the rear seat backrest.5.The unlocked rear seat backrest moves
forward slightly.6.Fold backrest forward.Closing1.Return the rear seat backrest to the upright
seating position and engage it.
Ensure that the lock is securely en‐
gaged
Make sure that the lock engages properly
when folding back, otherwise transported
cargo could enter the passenger compart‐
ment during braking or evasive maneuvers
and endanger the vehicle occupants.◀2.Release the belt tongue from the fixture on
the rear window shelf.3.Insert the belt tongue in the belt lock of the
center safety belt. Make sure you hear the
latch plate engage.
To secure cargo, refer to page 166, with nets
or draw straps, the cargo area is fitted with
lashing eyes.
Folding down the middle section
1.Fold in the middle head restraint.2.Reach into the recess and pull the middle
section forward.Seite 155Interior equipmentControls155
Online Edition for Part no. 01 40 2 925 743 - II/14
Page 166 of 242
Load
The maximum load is the sum of the weight of
the occupants and the cargo.
The greater the weight of the occupants, the
less cargo that can be transported.
Stowing cargo
▷Cover sharp edges and corners on the
cargo.▷Heavy cargo: stow as far forward as possi‐
ble, directly behind and at the bottom of
the rear passenger seat backrests.▷Very heavy cargo: when the rear seat is not
occupied, secure each of the outer safety
belts in the opposite buckle.▷If necessary, fold down the rear backrests
to stow cargo.▷Do not stack cargo above the top edge of
the backrests.Securing cargo
Lashing eyes in the cargo area
To secure the cargo there are four lashing
eyes in the cargo area.
Floor net
The floor net can also be used to Secure the
load and to store small parts.
Hook the floor net into the fittings in the cargo
area floor.
Securing cargo
▷Smaller and lighter items: secure with re‐
taining straps or draw straps.▷Larger and heavy objects: secure with
cargo straps.
Attach the cargo straps, retaining straps or
draw straps to the lashing eyes in the cargo
area.
Seite 166Driving tipsLoading166
Online Edition for Part no. 01 40 2 925 743 - II/14
Page 223 of 242
To guard against discoloration, such as from
clothing, provide leather care roughly every
two months.
Clean light-colored leather more frequently be‐
cause soiling on such surfaces is substantially
more visible.
Use leather care products; otherwise, dirt and
grease will gradually break down the protective
layer of the leather surface.
Suitable care products are available from the
service center.
Upholstery material care Vacuum regularly with a vacuum cleaner.
If they are very dirty, e.g., beverage stains, use
a soft sponge or microfiber cloth with a suita‐
ble interior cleaner.
Clean the upholstery down to the seams using
large sweeping motions. Avoid rubbing the
material vigorously.
Damage from Velcro® fasteners
Open Velcro® fasteners on pants or
other articles of clothing can damage the seat
covers. Ensure that any Velcro® fasteners are
closed.◀
Caring for special components
Light-alloy wheels When cleaning the vehicle, use only neutral
wheel cleaners having a pH value from 5 to 9.
Do not use abrasive cleaning agents or steam
jets above 140 ℉/60 ℃. Follow the manufac‐
turer's instructions.
Aggressive, acidic or alkaline cleaning agents
can destroy the protective layer of adjacent
components, such as the brake disk.
Chrome surfaces Carefully clean components such as the radia‐
tor grille or door handles with an ample supply of water, possibly with shampoo added, partic‐ularly when they have been exposed to road
salt.
Rubber components Aside from water, treat only with rubber
cleansers.
When cleaning rubber seals, do not use any
silicon-containing car care products in order to
avoid damage or reduced noise damping.
Fine wood parts Clean fine wood facing and fine wood compo‐
nents only with a moist rag. Then dry with a
soft cloth.
Plastic components
These include:▷Imitation leather surfaces.▷Headliner.▷Lamp lenses.▷Instrument cluster cover.▷Matte black spray-coated components.▷Painted parts in the interior.
Clean with a microfiber cloth.
Lightly dampen the cloth with water.
Do not soak the headliner.
Do not use cleansers that contain alcohol
or solvents
Do not use cleansers that contain alcohol or
solvents, such as lacquer thinners, heavy-duty
grease removers, fuel, or such; this could lead
to surface damage.◀
Safety belts
Dirty belt straps impede the reeling action and
thus have a negative impact on safety.
Chemical cleaning
Do not clean chemically; this can destroy
the webbing.◀
Seite 223CareMobility223
Online Edition for Part no. 01 40 2 925 743 - II/14
Page 224 of 242
Use only a mild soapy solution, with the safety
belts clipped into their buckles.
Do not allow the reels to retract the safety
belts until they are dry.
Carpets and floor mats No objects in the area around the pedals
Keep floor mats, carpets, and any other
objects out of the area of motion of the pedals;
otherwise, the function of the pedals could be
impeded while driving and create the risk of an
accident.
Do not place additional floor mats over existing
mats or other objects.
Only use floor mats that have been approved
for the vehicle and can be properly fixed in
place.
Ensure that the floor mats are securely fas‐
tened again after they were removed for clean‐
ing, for example.◀
Floor mats can be removed from the passen‐
ger compartment for cleaning.
If the floor carpets are very dirty, clean with a
microfiber cloth and water or a textile cleaner.
To prevent matting of the carpet, rub back and
forth in the direction of travel only.
Sensors/cameras
To clean sensors and cameras, use a cloth
moistened with a small amount of glass
cleaner.
Displays/screens
Clean the displays with an antistatic microfiber
cloth.
Cleaning displays
Do not use chemical or household
cleansers.
Keep all fluids and moisture away from the
unit.
Otherwise, they could affect or damage surfa‐
ces or electrical components.Avoid pressing too hard when cleaning and do
not use abrasive materials; otherwise, damage
can result.◀
Long-term vehicle storage
When the vehicle is shut down for longer than
three months, special measures must be
taken. Additional information is available from
the service center.Seite 224MobilityCare224
Online Edition for Part no. 01 40 2 925 743 - II/14
Page 232 of 242
Everything from A to Z
IndexA ABS, Antilock Brake Sys‐ tem 114
ACC, Active Cruise Control with Stop & Go 119
Acceleration Assistant, refer to Launch Control 72
Accessories and parts 7
Activated-charcoal filter 146
Active Blind Spot Detec‐ tion 111
Active Cruise Control with Stop & Go, ACC 119
Adaptive brake lights, refer to Brake force display 113
Adaptive Light Control 90
Additives, oil 199
Adjustments, seats/head re‐ straints 47
After washing vehicle 222
Airbags 94
Airbags, indicator/warning light 95
Air circulation, refer to Recir‐ culated-air mode 142, 145
Air, dehumidifying, refer to Cooling function 142, 145
Air distribution, manual 142, 146
Air flow, air conditioner 142
Air flow, automatic climate control 146
Air pressure, tires 185
Air vents, refer to Ventila‐ tion 146
Alarm system 41
Alarm, unintentional 43
All around the center con‐ sole 14
All around the headliner 15 All around the steering
wheel 12
All-season tires, refer to Win‐ ter tires 194
All-wheel-drive 115
Alternating-code hand-held transmitter 149
Alternative oil types 200
Antifreeze, washer fluid 68
Antilock Brake System, ABS 114
Anti-slip control, refer to DSC 114
Approved axle load 228
Approved engine oils 200
Arrival time 85
Ash tray 152
Assistance, Roadside Assis‐ tance 216
Assistance when driving off 118
Assist system information, on Control Display 87
AUTO intensity 145
Automatic car wash 221
Automatic climate con‐ trol 141
Automatic climate control with enhanced features 144
Automatic Cruise Control with Stop & Go 119
Automatic Curb Monitor 55
Automatic deactivation, front passenger airbags 96
Automatic headlamp con‐ trol 90
Automatic locking 41
Automatic recirculated-air control 145
Automatic transmission with Steptronic 69 AUTO program, automatic cli‐
mate control 144
AUTO program, climate con‐ trol 142
AUTO program, intensity 145
Auto Start/Stop function 63
Average fuel consumption 84
Average speed 84
Axle loads, weights 228
B Backrest curvature, refer to Lumbar support 49
Backrest, width 49
Band-aids, refer to First aid kit 216
Bar for tow-starting/ towing 219
Battery replacement, vehicle battery 212
Battery replacement, vehicle remote control 33
Battery, vehicle 212
Belts, safety belts 50
Beverage holder, cu‐ pholder 158
Blinds, sun protection 44
BMW Advanced Diesel 181
BMW Assist, see user's manual for Navigation, En‐
tertainment and Communi‐
cation
BMW Homepage 6
BMW Internet page 6
BMW maintenance sys‐ tem 202
Bonus range, ECO PRO 170
Bottle holder, refer to Cu‐ pholder 158
Brake assistant 114 Seite 232ReferenceEverything from A to Z232
Online Edition for Part no. 01 40 2 925 743 - II/14
Page 238 of 242
PDC Park Distance Con‐trol 128
Pedestrian warning with city braking function 108
Personal Profile 33
Personal Profile, exporting profiles 34
Personal Profile, importing profiles 35
Pinch protection system, glass sunroof 45
Pinch protection system, win‐ dows 44
Plastic, care 223
Power failure 213
Power sunroof, glass 45
Power windows 43
Pressure, tire air pres‐ sure 185
Pressure warning FTM, tires 100
Profile, refer to Personal Pro‐ file 33
Programmable memory but‐ tons, iDrive 22
Protective function, glass sunroof 45
Protective function, win‐ dows 44
Push-and-turn switch, refer to Controller 16, 17
R Radiator fluid 201
Radio-operated key, refer to Remote control 32
Radio ready state 62
Radio, see user's manual for Navigation, Entertainment
and Communication
Rain sensor 67
Rear socket 153
Rear turn signal, bulb replace‐ ment 210
Rearview camera 130 Rearview mirror 54
Rear window de‐ froster 142, 146
Recirculated-air filter 146
Recirculated-air mode 142, 145
Recommended fuel grade 180
Recommended tire brands 194
Refueling 178
Remaining range 79
Remote control/key 32
Remote control, malfunc‐ tion 36
Remote control, univer‐ sal 148
Replacement fuse 213
Replacing parts 204
Replacing wheels/tires 193
Reporting safety defects 9
RES button 122
Reserve warning, refer to Range 79
Reset, Tire Pressure Monitor TPM 98
Retaining straps, securing cargo 166
Retreaded tires 194
Roadside parking lamps 90
Roller sunblinds 44
RON recommended fuel grade 180
Roof load capacity 228
Roof-mounted luggage rack 167
Rope for tow-starting/ towing 219
RSC Run Flat System Com‐ ponent, refer to Run-flat
tires 195
Rubber components, care 223
Run-flat tires 195 S
Safe braking 163
Safety 7
Safety belt reminder for driv‐ er's seat and front passen‐
ger seat 51
Safety belts 50
Safety belts, care 223
Safety switch, windows 44
Safety systems, airbags 94
Saving fuel 168
Screen, refer to Control Dis‐ play 16
Screwdriver, see Onboard ve‐ hicle tool kit 204
Screw thread for tow fit‐ ting 220
Seat and mirror memory 53
Seat belts, refer to Safety belts 50
Seat heating, front 50
Seat heating, rear 50
Seating position for chil‐ dren 57
Seats 47
Selection list in instrument cluster 83
Selector lever, automatic transmission 70
Sensors, care 224
Service and warranty 8
Service requirements, Condi‐ tion Based Service
CBS 202
Service requirements, dis‐ play 80
Service, Roadside Assis‐ tance 216
Services, ConnectedDrive
Settings, locking/unlock‐ ing 41
Settings on Control Dis‐ play 86
Settings, storing for seat, mir‐ ror 53 Seite 238ReferenceEverything from A to Z238
Online Edition for Part no. 01 40 2 925 743 - II/14