2014 BMW 3 SERIES SPORTS WAGON start stop button
[x] Cancel search: start stop buttonPage 73 of 253
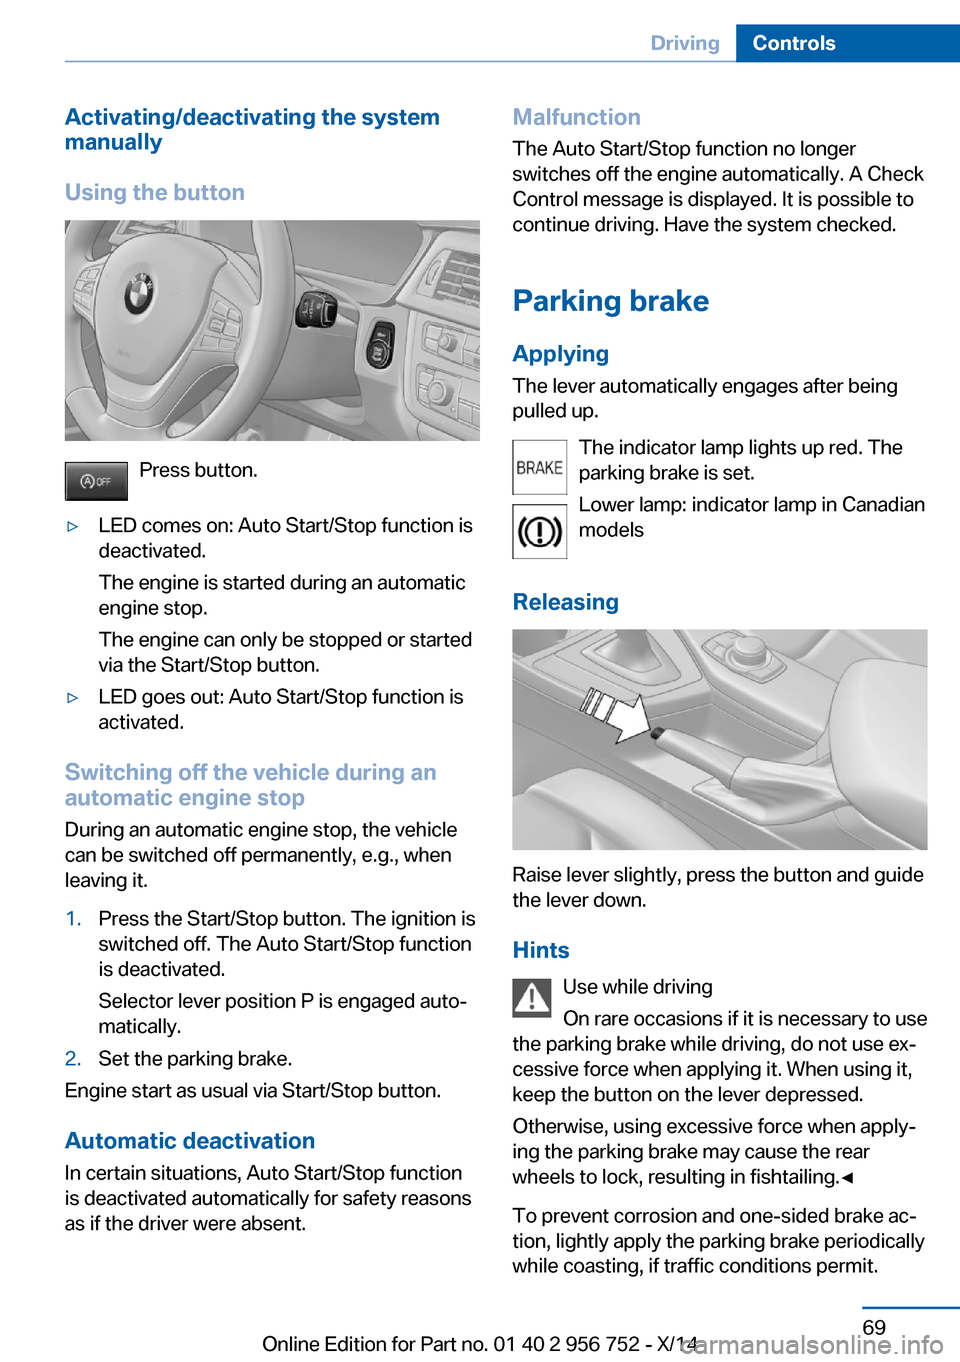
Activating/deactivating the system
manually
Using the button
Press button.
▷LED comes on: Auto Start/Stop function is
deactivated.
The engine is started during an automatic
engine stop.
The engine can only be stopped or started
via the Start/Stop button.▷LED goes out: Auto Start/Stop function is
activated.
Switching off the vehicle during an
automatic engine stop
During an automatic engine stop, the vehicle
can be switched off permanently, e.g., when
leaving it.
1.Press the Start/Stop button. The ignition is
switched off. The Auto Start/Stop function
is deactivated.
Selector lever position P is engaged auto‐
matically.2.Set the parking brake.
Engine start as usual via Start/Stop button.
Automatic deactivation
In certain situations, Auto Start/Stop function
is deactivated automatically for safety reasons
as if the driver were absent.
Malfunction
The Auto Start/Stop function no longer
switches off the engine automatically. A Check Control message is displayed. It is possible to
continue driving. Have the system checked.
Parking brake Applying
The lever automatically engages after being pulled up.
The indicator lamp lights up red. The
parking brake is set.
Lower lamp: indicator lamp in Canadian
models
Releasing
Raise lever slightly, press the button and guide
the lever down.
Hints Use while driving
On rare occasions if it is necessary to use
the parking brake while driving, do not use ex‐
cessive force when applying it. When using it,
keep the button on the lever depressed.
Otherwise, using excessive force when apply‐
ing the parking brake may cause the rear
wheels to lock, resulting in fishtailing.◀
To prevent corrosion and one-sided brake ac‐
tion, lightly apply the parking brake periodically
while coasting, if traffic conditions permit.
Seite 69DrivingControls69
Online Edition for Part no. 01 40 2 956 752 - X/14
Page 80 of 253
▷Shift up: briefly pull right shift paddle.▷Shift down: briefly pull left shift paddle.▷Shift down into the lowest possible gear:
pull and hold left shift paddle.
Gears will only be shifted at appropriate engine
and road speeds, for example downshifting is
not possible if the engine speed is too high.
The selected gear is briefly displayed in the in‐
strument cluster, followed by the current gear.
If the shift paddles on the steering wheel are
used to shift gears in automatic mode, the
transmission temporarily switches to manual
mode.
If the selector lever is still in selector lever po‐
sition D, it is possible to reel back into the au‐
tomatic mode:
▷Pull and hold right shift paddle.
Or
▷In addition to the briefly pulled right shift
paddle, briefly pull the left shift paddle.
In the manual mode, if there has been no ac‐
celeration or shifting of the shift paddles within
a certain amount of time, the transmission
switches back to automatic mode.
Displays in the instrument cluster The selector lever position is dis‐played, e.g.: P.
Electronic unlocking of the
transmission lock
General information Electronically unlock the transmission lock to
maneuver vehicle from the danger area.
Unlocking is possible, if the started can spin
the engine.
Engaging selector lever position N1.Depress the brake pedal.2.Press the Start/Stop button. The starter
must audibly start.3.Press and hold the selector lever into posi‐
tion N.
A corresponding Check Control message
is displayed.4.Press the selector lever again into posi‐
tion N within approx. 6 seconds.
Position N is displayed in the instrument
cluster.5.Release brake, as soon as the starter
stops.6.Maneuver the vehicle from the danger area
and secure it against moving on its own.
Steptronic Sport transmission:
Launch Control
The concept Launch Control enables optimum accelerationon surfaces with good traction.
Hints Component wear
Do not use Launch Control too often;
otherwise, this may result in premature wear of
components due to the high stress placed on
the vehicle.◀
Do not use Launch Control during the break-in,
refer to page 170, period.
To increase vehicle stability, activate DSC
again as soon as possible.
An experienced driver may be able to achieve
better acceleration values in DSC OFF mode.
Requirements Launch Control is available when the engine is
warmed up, that is, after uninterrupted driving
of at least 6 miles/10 km.
Seite 76ControlsDriving76
Online Edition for Part no. 01 40 2 956 752 - X/14
Page 92 of 253
Calling up information on the info
display
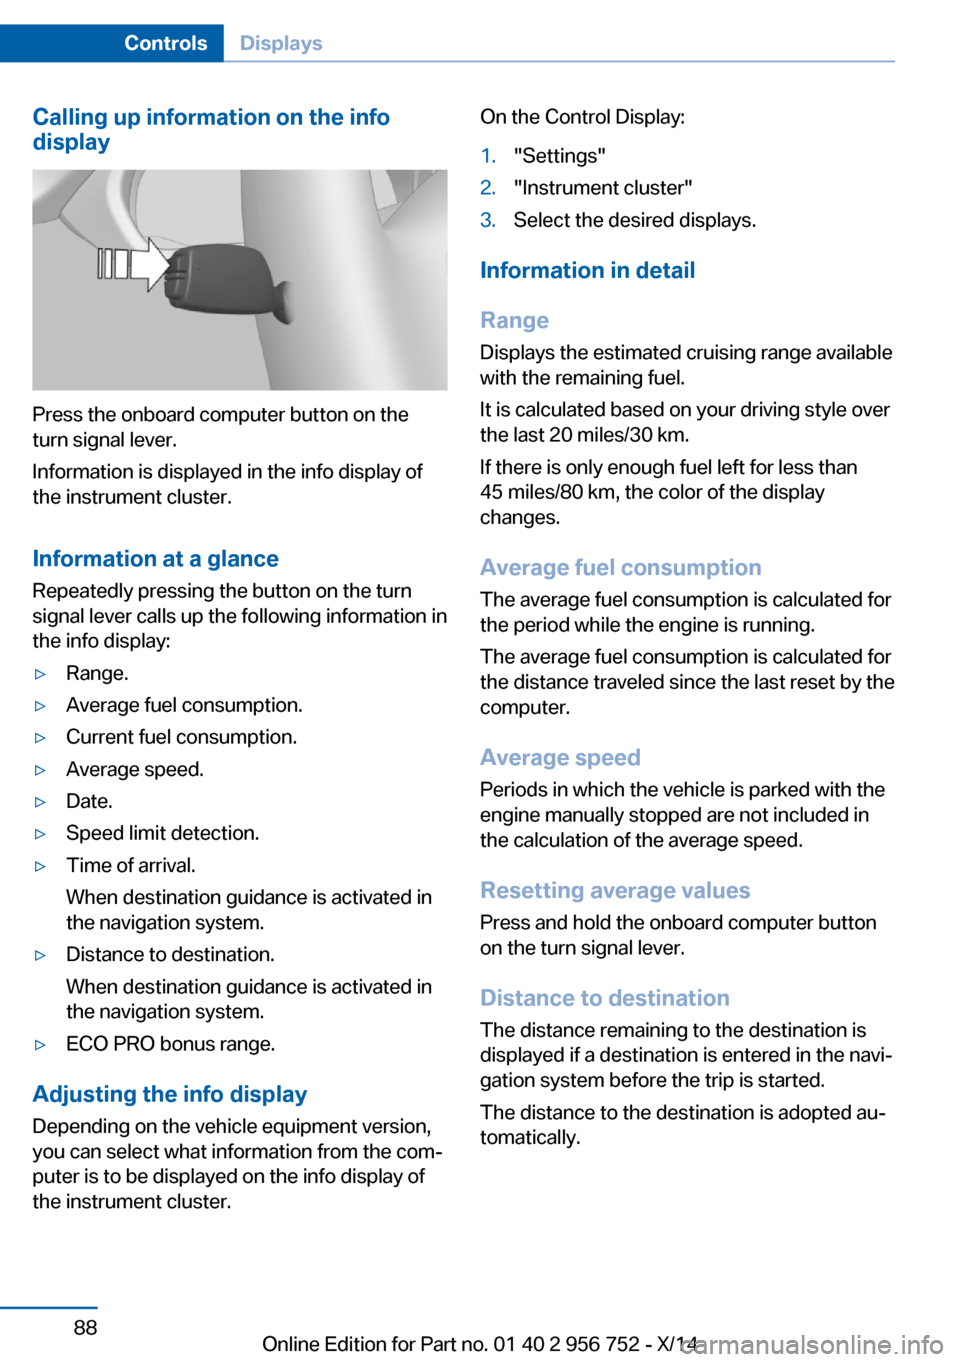
Press the onboard computer button on the
turn signal lever.
Information is displayed in the info display of
the instrument cluster.
Information at a glance
Repeatedly pressing the button on the turn
signal lever calls up the following information in
the info display:
▷Range.▷Average fuel consumption.▷Current fuel consumption.▷Average speed.▷Date.▷Speed limit detection.▷Time of arrival.
When destination guidance is activated in
the navigation system.▷Distance to destination.
When destination guidance is activated in
the navigation system.▷ECO PRO bonus range.
Adjusting the info display
Depending on the vehicle equipment version,
you can select what information from the com‐
puter is to be displayed on the info display of
the instrument cluster.
On the Control Display:1."Settings"2."Instrument cluster"3.Select the desired displays.
Information in detail
Range
Displays the estimated cruising range available
with the remaining fuel.
It is calculated based on your driving style over
the last 20 miles/30 km.
If there is only enough fuel left for less than
45 miles/80 km, the color of the display
changes.
Average fuel consumption
The average fuel consumption is calculated for
the period while the engine is running.
The average fuel consumption is calculated for
the distance traveled since the last reset by the
computer.
Average speed
Periods in which the vehicle is parked with the
engine manually stopped are not included in
the calculation of the average speed.
Resetting average values
Press and hold the onboard computer button
on the turn signal lever.
Distance to destination
The distance remaining to the destination is
displayed if a destination is entered in the navi‐
gation system before the trip is started.
The distance to the destination is adopted au‐
tomatically.
Seite 88ControlsDisplays88
Online Edition for Part no. 01 40 2 956 752 - X/14
Page 111 of 253
every time the engine is started using the
Start/Stop button:▷Front-end collision warning, refer to
page 107.▷Pedestrian warning, refer to page 113.
Note
Personal responsibility
The system does not serve as a substi‐
tute for the driver's personal judgment of the
traffic situation.
Be aware of the traffic situation and the vehi‐
cle's surroundings at all times, otherwise acci‐
dents are still possible despite all warnings.◀
At a glance
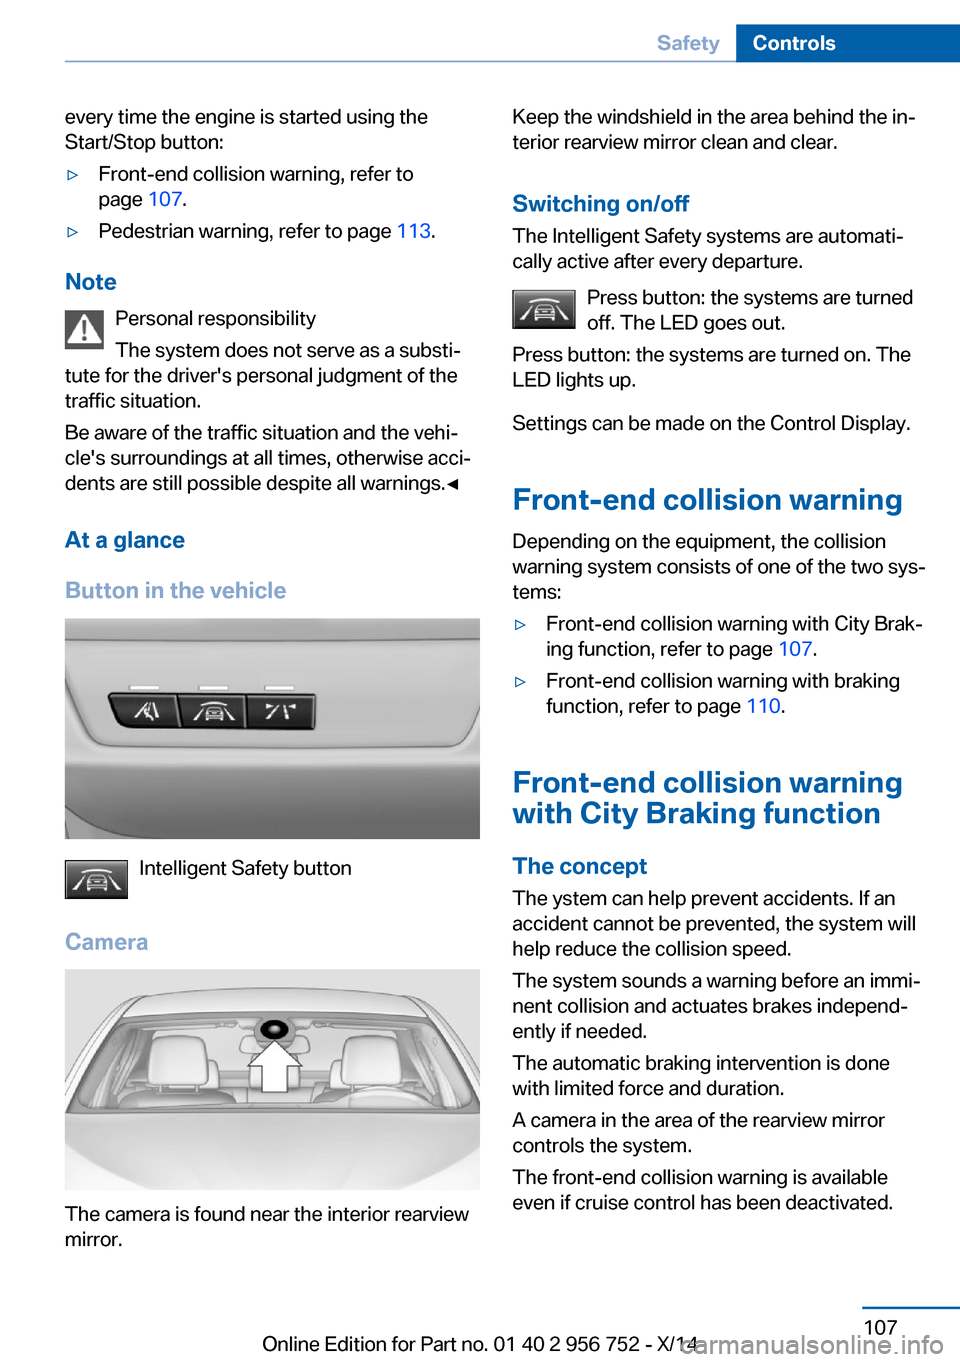
Button in the vehicle
Intelligent Safety button
Camera
The camera is found near the interior rearview
mirror.
Keep the windshield in the area behind the in‐
terior rearview mirror clean and clear.
Switching on/offThe Intelligent Safety systems are automati‐
cally active after every departure.
Press button: the systems are turned
off. The LED goes out.
Press button: the systems are turned on. The
LED lights up.
Settings can be made on the Control Display.
Front-end collision warning
Depending on the equipment, the collision
warning system consists of one of the two sys‐
tems:▷Front-end collision warning with City Brak‐
ing function, refer to page 107.▷Front-end collision warning with braking
function, refer to page 110.
Front-end collision warning
with City Braking function
The concept The ystem can help prevent accidents. If an
accident cannot be prevented, the system will
help reduce the collision speed.
The system sounds a warning before an immi‐
nent collision and actuates brakes independ‐
ently if needed.
The automatic braking intervention is done
with limited force and duration.
A camera in the area of the rearview mirror
controls the system.
The front-end collision warning is available
even if cruise control has been deactivated.
Seite 107SafetyControls107
Online Edition for Part no. 01 40 2 956 752 - X/14
Page 124 of 253
Driving stability control systemsVehicle features and optionsThis chapter describes all standard, country-
specific and optional features offered with the
series. It also describes features that are not
necessarily available in your car, e. g., due to
the selected options or country versions. This
also applies to safety-related functions and
systems.
Antilock Brake System ABS
ABS prevents locking of the wheels during
braking.
The vehicle contains its steering power even
during full brake applications, thus increasing
active safety.
ABS is operational every time you start the en‐
gine.
Brake assistant
When you apply the brakes rapidly, this system
automatically produces the greatest possible
braking force boost. It reduces the braking dis‐
tance to a minimum during emergency stop.
This system utilizes all of the benefits provided
by ABS.
Do not reduce the pressure on the brake pedal
for the duration of the emergency stop.
DSC Dynamic Stability
Control
The concept DSC prevents traction loss in the power
wheels when driving off and accelerating.
DSC also recognizes unstable vehicle condi‐
tions such as fishtailing or nose-diving. Withinthe physical limits DSC helps to keep the vehi‐
cle on a steady course by reducing engine
speed and by applying brakes to the individual
wheels.
Note Adjust your driving style to the situation
An appropriate driving style is always the
responsibility of the driver.
The laws of physics cannot be repealed, not
even with DSC.
Therefore, do not reduce the additional safety
margin by driving in a risky manner.◀
Do not deactivate DSC when driving with
roof load
Do not deactivate Dynamic Stability Control
DSC when driving with roof load, e.g. roof-
mounted luggage rack.
Otherwise, driving safety is not given in driv‐
ing-critical situation due to the elevated center
of gravity.◀
At a glance
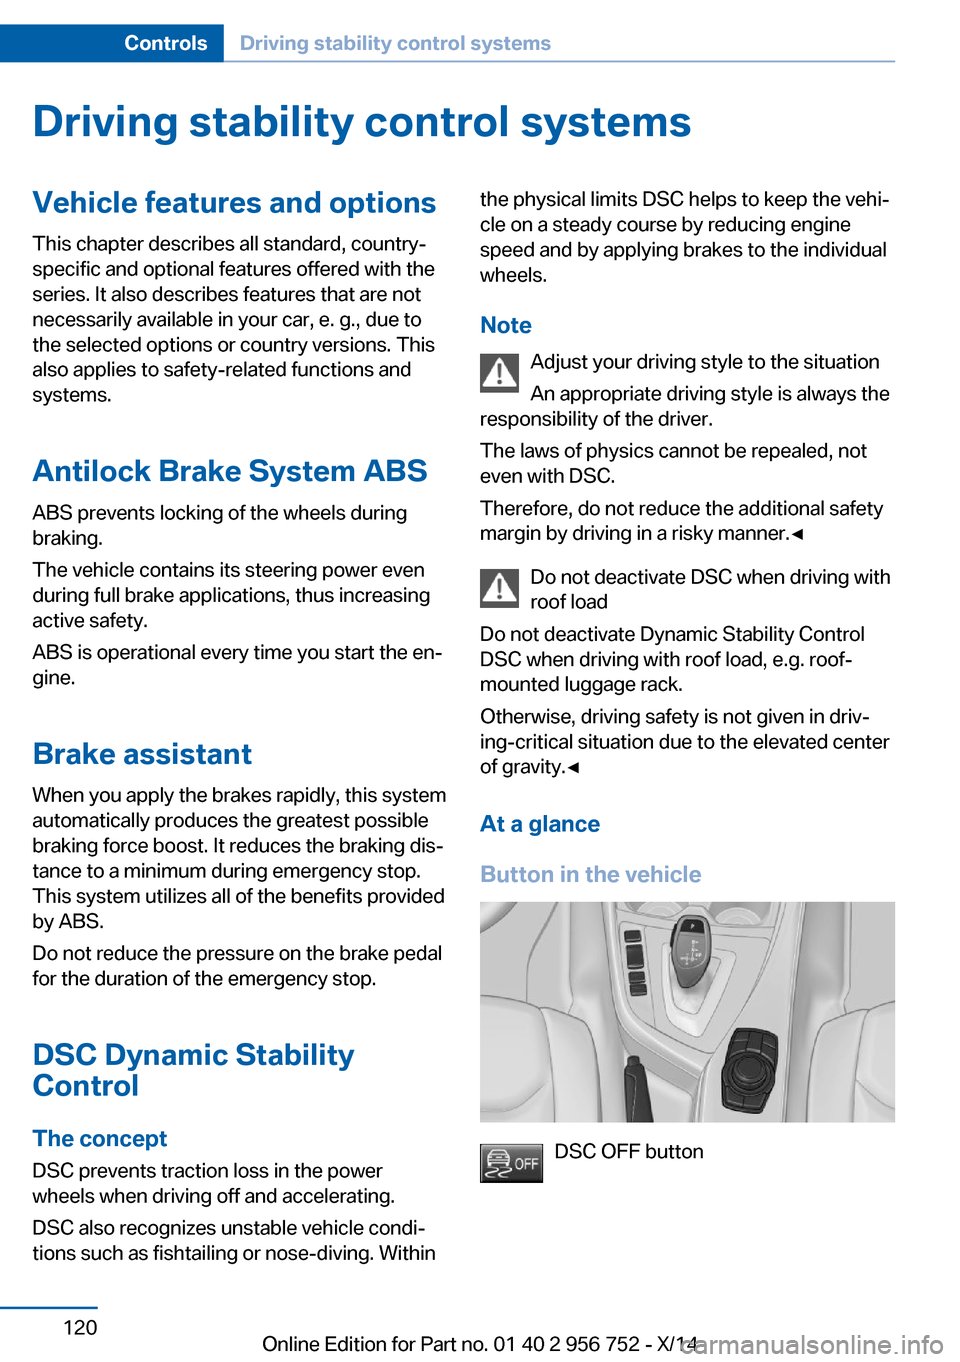
Button in the vehicle
DSC OFF button
Seite 120ControlsDriving stability control systems120
Online Edition for Part no. 01 40 2 956 752 - X/14
Page 146 of 253
HintsPersonal responsibility
Even an active system does not relieve
the driver from personal responsibility while
driving.
Technically the system has its limits, it cannot
independently react to all traffic situations.
Monitor your driving, be on the alert, observe
the vehicle surroundings and other traffic and
react when needed - risk of accident.◀
Changes to the parking space
Changes to the parking space after it was
measured are not taken into account by the system.
Therefore, always be alert and ready to inter‐
vene; otherwise, there is the risk of an acci‐
dent.◀
Transporting cargo
Cargo that extends beyond the perimeter
of the vehicle is not taken into account by the
system during the parking procedure.
Therefore, always be alert and ready to inter‐
vene; otherwise, there is the risk of an acci‐
dent.◀
Curbs
The parking assistant may steer the vehi‐
cle over or onto curb if need be.
Therefore, always be alert and ready to inter‐
vene; otherwise, the wheels, tires, or the vehi‐
cle may become damaged.◀
An engine that has been switched off by the
Auto Start Stop function is restarted automati‐
cally when the parking assistant is activated.
Requirements
For measuring parking spaces▷Maximum speed while driving forward ap‐
prox. 22 mph/35 km/h.▷Maximum distance to row of parked vehi‐
cles: 5 ft/1.5 m.
Suitable parking space
▷Gap between two objects with a minimum
length of approx. 5 ft/1.5 m.▷Min. length of gap between two objects:
your vehicle's length plus approx.
4 ft/1.2 m.▷Minimum depth: approx. 5 ft/1.5 m.
Regarding the parking procedure
▷Doors and tailgate closed.▷Parking brake released.▷When parking in parking spaces on the
driver's side, the corresponding turn signal
must be set where applicable.
At a glance
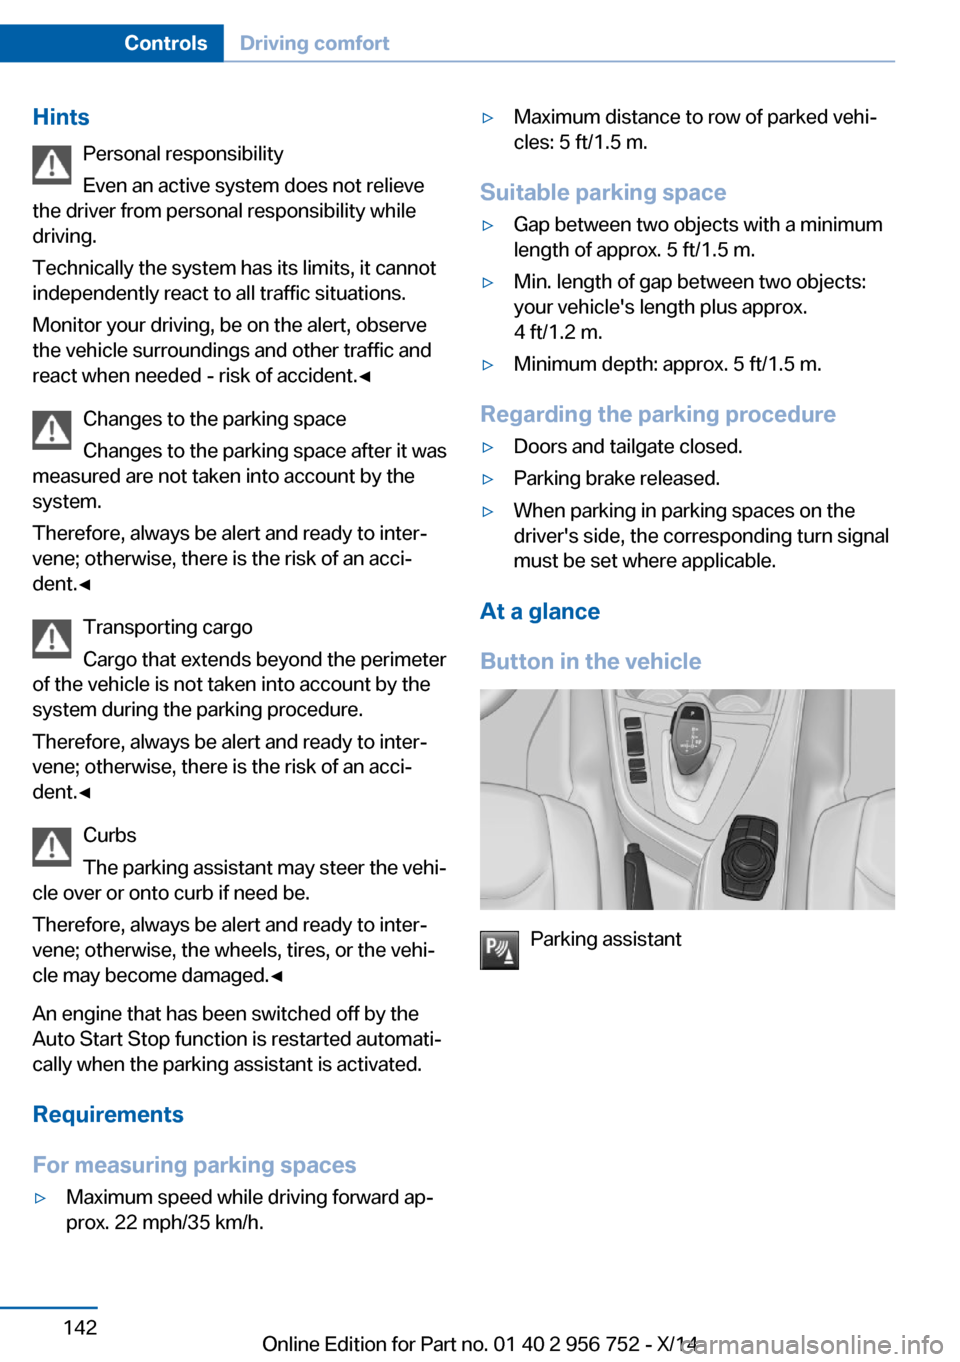
Button in the vehicle
Parking assistant
Seite 142ControlsDriving comfort142
Online Edition for Part no. 01 40 2 956 752 - X/14
Page 232 of 253
2.Engage selector lever position N.3.Switch the engine off.
In this way, the ignition remains switched
on, and a Check-Control message is dis‐
played.
Do not turn off the ignition in the car
wash
Do not turn off the ignition in the car wash;
otherwise, selector lever position P is en‐
gaged and damages can result.◀
The vehicle cannot be locked from the outside
when in selector lever position N. A signal
sounds when an attempt is made to lock the
vehicle.
To start the engine with manual transmission:
1.Press on the clutch pedal.2.Press the Start/Stop button.
To start the engine with Steptronic transmis‐
sion:
1.Depress the brake pedal.2.Press the Start/Stop button.
Pressing the Start/Stop button without step‐
ping on the brake turns the ignition off.
Selector lever positionSelector lever position P is engaged automati‐
cally:
▷When the ignition is switched off.▷After approx. 15 minutes.
Headlights
▷Do not rub dry and do not use abrasive or
acidic cleansers.▷Soak areas that have been dirtied e. g.,
from insects, with shampoo and wash off
with water.▷Thaw ice with de-icing spray; do not use an
ice scraper.After washing the vehicle
After washing the vehicle, apply the brakes
briefly to dry them; otherwise, braking action
can be reduced and corrosion of the brake
discs can occur.
Completely remove all residues on the win‐
dows, to minimize loss of visibility due to
smearing and to reduce wiper noises and
wiper blade wear.
Vehicle care
Car care products BMW recommends using care and cleaning
products from BMW, since these have been
tested and approved.
Car care and cleaning products
Follow the instructions on the container.
When cleaning the interior, open the doors or
windows.
Only use products intended for cleaning vehi‐
cles.
Cleansers can contain substances that are
dangerous and harmful to your health.◀
Vehicle paint
Regular care contributes to driving safety and
value retention. Environmental influences in
areas with elevated air pollution or natural con‐
taminants, such as tree resin or pollen can af‐
fect the vehicle's paintwork. Tailor the fre‐
quency and extent of your car care to these
influences.
Aggressive substances such as spilled fuel, oil,
grease or bird droppings, must be removed im‐
mediately to prevent the finish from being al‐
tered or discolored.
Leather care
Remove dust from the leather often, using a
cloth or vacuum cleaner.Seite 228MobilityCare228
Online Edition for Part no. 01 40 2 956 752 - X/14
Page 243 of 253
Brake discs, break-in 170
Brake force display 118
Brake lights, adaptive 118
Brake lights, brake force dis‐ play 118
Brake pads, break-in 170
Braking, hints 171
Breakdown assis‐ tance 221, 222
Break-in 170
Brightness of Control Dis‐ play 91
Bulb replacement 210
Bulb replacement, front 211
Bulb replacement, halogen headlights 211
Bulb replacement, rear 215
Bulb replacement, xenon headlights 213
Bulbs and lights 210
Button, RES 128
Button, Start/Stop 65
Bypassing, refer to Jump- starting 222
C
California Proposition 65 Warning 7
Camera, care 230
Camera, rearview cam‐ era 136
Camera, Side View 139
Camera, Top View 140
Can holder, refer to Cuphold‐ ers 165
Car battery 218
Car care products 228
Care, displays 230
Care, vehicle 228
Cargo 173
Cargo area 159
Cargo area, enlarging 160
Cargo area partition net 161
Cargo area, storage compart‐ ments 165 Cargo cover 159
Cargo, securing 174
Cargo straps, securing cargo 174
Car key, refer to Remote con‐ trol 34
Carpet, care 230
Car wash 227
Catalytic converter, refer to Hot exhaust system 171
CBS Condition Based Serv‐ ice 207
CD/Multimedia, see user's manual for Navigation, En‐
tertainment and Communi‐
cation
Center armrest 164
Center console 16
Central locking system 39
Central screen, refer to Con‐ trol Display 18
Changes, technical, refer to Safety 7
Changing parts 209
Changing wheels 218
Changing wheels/tires 198
Chassis number, see vehicle identification number 9
Check Control 79
Checking the engine oil level electronically 203
Checking the oil level elec‐ tronically 203
Children, seating position 61
Children, transporting safely 61
Child restraint fixing sys‐ tem 61
Child restraint fixing system LATCH 63
Child restraint fixing systems, mounting 61
Child safety locks 64
Child seat, mounting 61
Child seats 61
Chrome parts, care 229 Cigarette lighter 157
Cleaning displays 230
Climate control 146, 148
Clock 83
Closing/opening via door lock 38
Closing/opening with remote control 37
Closing the tailgate with no- touch activation 43
Clothes hooks 165
Coasting 180
Coasting with engine decou‐ pled, coasting 180
Coasting with idling en‐ gine 180
Cockpit 14
Cold starting, refer to Starting the engine 66
Combination reel, refer to Turn signals 70
Combination reel, refer to Wiper system 70
Comfort Access 42
COMFORT program, Dy‐ namic Driving Control 123
Compartments in the doors 164
Compass 155
Computer 87
Condensation on win‐ dows 150
Condensation under the vehi‐ cle 172
Condition Based Service CBS 207
Configuring driving pro‐ gram 124
Confirmation signal 44
ConnectedDrive, see user's manual for Navigation, En‐
tertainment and Communi‐
cation
ConnectedDrive Services
Connecting electrical devi‐ ces 157 Seite 239Everything from A to ZReference239
Online Edition for Part no. 01 40 2 956 752 - X/14