2014 BMW 228ICOUPE child lock
[x] Cancel search: child lockPage 52 of 218

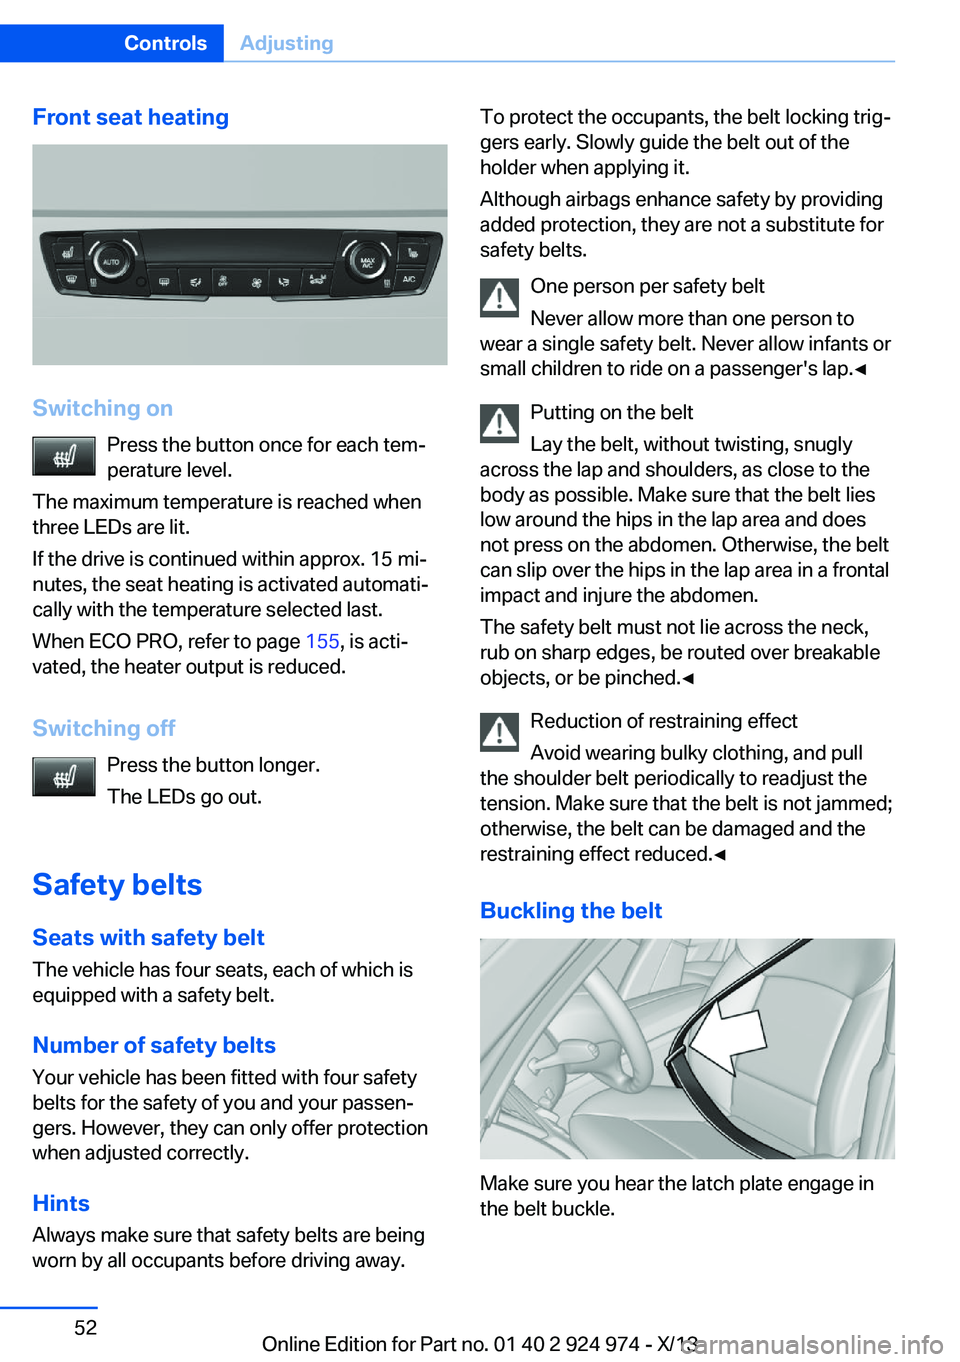
Front seat heating
Switching onPress the button once for each tem‐
perature level.
The maximum temperature is reached when
three LEDs are lit.
If the drive is continued within approx. 15 mi‐
nutes, the seat heating is activated automati‐
cally with the temperature selected last.
When ECO PRO, refer to page 155, is acti‐
vated, the heater output is reduced.
Switching off Press the button longer.
The LEDs go out.
Safety belts Seats with safety belt
The vehicle has four seats, each of which is
equipped with a safety belt.
Number of safety belts
Your vehicle has been fitted with four safety
belts for the safety of you and your passen‐
gers. However, they can only offer protection
when adjusted correctly.
Hints
Always make sure that safety belts are being
worn by all occupants before driving away.
To protect the occupants, the belt locking trig‐
gers early. Slowly guide the belt out of the
holder when applying it.
Although airbags enhance safety by providing
added protection, they are not a substitute for
safety belts.
One person per safety belt
Never allow more than one person to
wear a single safety belt. Never allow infants or
small children to ride on a passenger's lap.◀
Putting on the belt
Lay the belt, without twisting, snugly
across the lap and shoulders, as close to the
body as possible. Make sure that the belt lies
low around the hips in the lap area and does
not press on the abdomen. Otherwise, the belt
can slip over the hips in the lap area in a frontal
impact and injure the abdomen.
The safety belt must not lie across the neck,
rub on sharp edges, be routed over breakable
objects, or be pinched.◀
Reduction of restraining effect
Avoid wearing bulky clothing, and pull
the shoulder belt periodically to readjust the
tension. Make sure that the belt is not jammed;
otherwise, the belt can be damaged and the
restraining effect reduced.◀
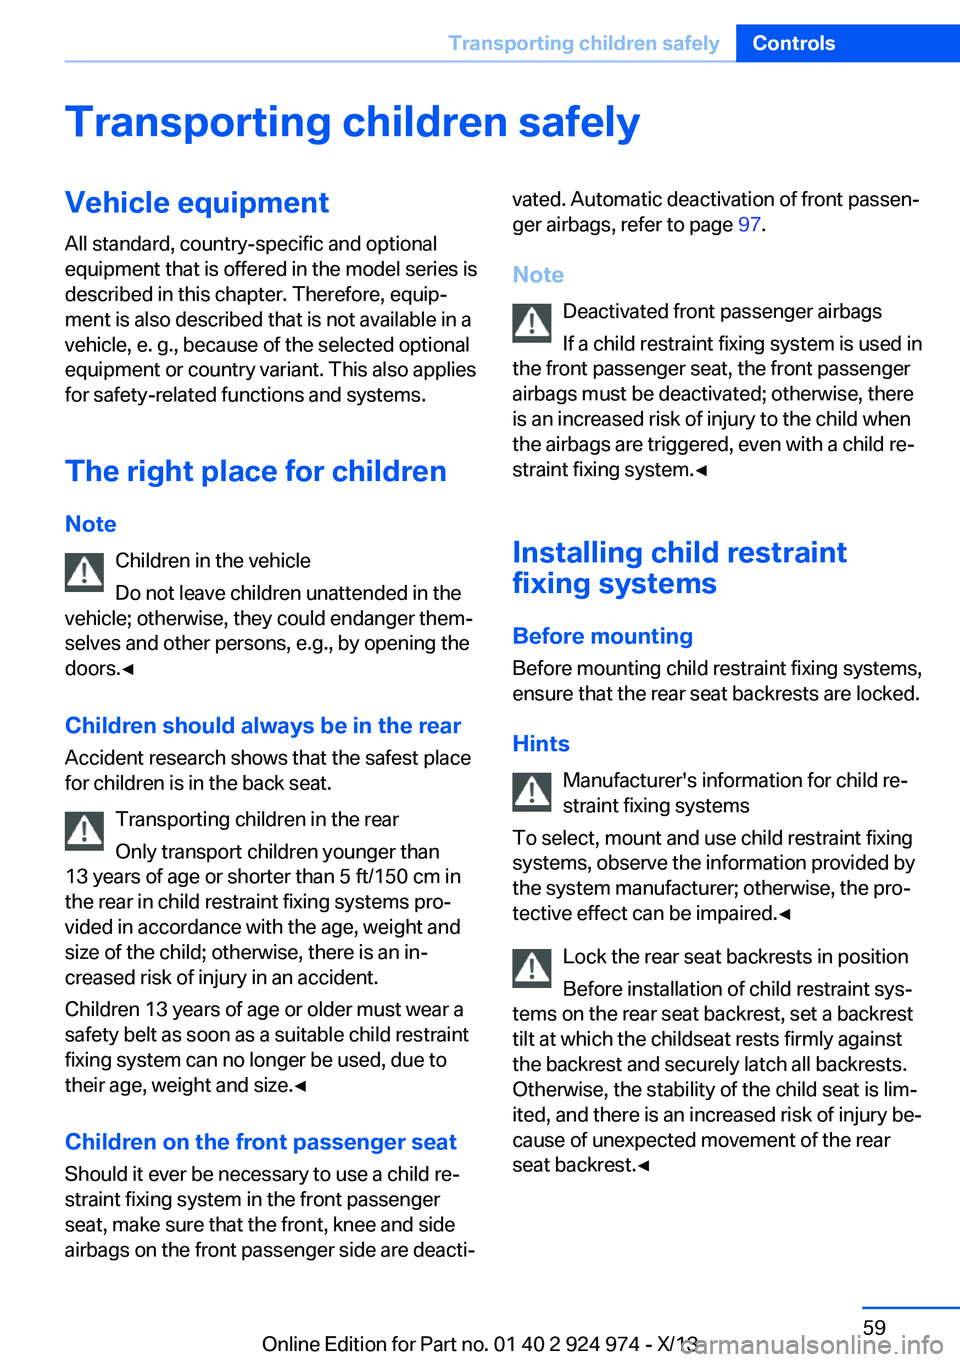
Buckling the belt
Make sure you hear the latch plate engage in
the belt buckle.
Seite 52ControlsAdjusting52
Online Edition for Part no. 01 40 2 924 974 - X/13
Page 59 of 218

Transporting children safelyVehicle equipmentAll standard, country-specific and optional
equipment that is offered in the model series is
described in this chapter. Therefore, equip‐
ment is also described that is not available in a
vehicle, e. g., because of the selected optional
equipment or country variant. This also applies
for safety-related functions and systems.
The right place for children Note Children in the vehicle
Do not leave children unattended in the
vehicle; otherwise, they could endanger them‐
selves and other persons, e.g., by opening the
doors.◀
Children should always be in the rear
Accident research shows that the safest place
for children is in the back seat.
Transporting children in the rear
Only transport children younger than
13 years of age or shorter than 5 ft/150 cm in
the rear in child restraint fixing systems pro‐
vided in accordance with the age, weight and
size of the child; otherwise, there is an in‐
creased risk of injury in an accident.
Children 13 years of age or older must wear a
safety belt as soon as a suitable child restraint
fixing system can no longer be used, due to
their age, weight and size.◀
Children on the front passenger seat
Should it ever be necessary to use a child re‐
straint fixing system in the front passenger
seat, make sure that the front, knee and side
airbags on the front passenger side are deacti‐vated. Automatic deactivation of front passen‐
ger airbags, refer to page 97.
Note Deactivated front passenger airbags
If a child restraint fixing system is used in
the front passenger seat, the front passenger
airbags must be deactivated; otherwise, there
is an increased risk of injury to the child when
the airbags are triggered, even with a child re‐
straint fixing system.◀
Installing child restraint
fixing systems
Before mounting Before mounting child restraint fixing systems,
ensure that the rear seat backrests are locked.
Hints Manufacturer's information for child re‐straint fixing systems
To select, mount and use child restraint fixing
systems, observe the information provided by
the system manufacturer; otherwise, the pro‐
tective effect can be impaired.◀
Lock the rear seat backrests in position
Before installation of child restraint sys‐
tems on the rear seat backrest, set a backrest
tilt at which the childseat rests firmly against
the backrest and securely latch all backrests.
Otherwise, the stability of the child seat is lim‐
ited, and there is an increased risk of injury be‐
cause of unexpected movement of the rear
seat backrest.◀Seite 59Transporting children safelyControls59
Online Edition for Part no. 01 40 2 924 974 - X/13
Page 60 of 218

On the front passenger seat
Deactivating airbags
After installing a child restraint fixing system in
the front passenger seat, make sure that the
front, knee and side airbags on the front pas‐
senger side are deactivated.
Deactivate the front passenger airbags auto‐
matically, refer to page 97.
Deactivating the front passenger airbags
If a child restraint fixing system is used in
the front passenger seat, the front passenger
airbags must be deactivated; otherwise, there
is an increased risk of injury to the child when
the airbags are triggered, even with a child re‐
straint fixing system.◀
Seat position and height
Before installing a child restraint fixing system,
move the front passenger seat as far back as
possible and adjust its height to the highest
position to obtain the best possible position for
the belt and to offer optimal protection in the
event of an accident.
Do not change the seat position and height af‐
ter this.
Backrest width Adjustable backrest width: before installing a
child restraint fixing system in the front pas‐
senger seat, open the backrest width com‐
pletely. Do not change the backrest width
again and do not call up a memory position.
Backrest width for the child seat
Before installing a child restraint fixing
system in the front passenger seat, the back‐
rest width must be opened completely. Do not
change the adjustment after this; otherwise,
the stability of the child seat will be reduced.◀Child seat security
The rear safety belts and the front passenger
safety belt can be locked against pulling out for
mounting the child restraint fixing systems.
Locking the safety belt
1.Pull out the belt webbing completely.2.Secure the child restraint fixing system
with the belt.3.Allow the belt webbing to be pulled in and
pull it taut against the child restraint fixing
system. The safety belt is locked.
Unlocking the safety belt
1.Unbuckle the belt buckle.2.Remove the child restraint fixing system.3.Allow the belt webbing to be pulled in com‐
pletely.
LATCH child restraint fixing
system
LATCH: Lower Anchors and Tether for Chil‐
dren.
Note Manufacturer's information for LATCH
child restraint fixing systems
To mount and use the LATCH child restraint
fixing systems, observe the operating and
safety information from the system manufac‐
turer; otherwise, the level of protection may be
reduced.◀
Seite 60ControlsTransporting children safely60
Online Edition for Part no. 01 40 2 924 974 - X/13
Page 62 of 218

3Hook for upper retaining strap4Mounting point/eye5Rear window shelf6Seat backrest7Upper retaining strap
Attaching the upper retaining strap to
the mounting point
1.Remove the mounting point cover.2.Raise the head restraint.3.Guide the upper retaining strap between
the supports of the head restraint.4.Attach the hook of the retaining strap to
the mounting eye.5.Tighten the retaining strap by pulling it
down.6.Lower and lock head restraints as needed.Seite 62ControlsTransporting children safely62
Online Edition for Part no. 01 40 2 924 974 - X/13
Page 64 of 218

When the ignition is switched off, by opening
or closing the driver's door or unbuckling the
driver's seat belt, the radio ready state remains
active.
Radio ready state
Activate radio ready state:▷When the engine is running: press the
Start/Stop button.
Some electronic systems/power consumers
remain ready for operation.
The radio ready state switches off automati‐
cally:
▷After approx. 8 minutes.▷When the vehicle is locked using the cen‐
tral locking system.▷Shortly before the battery is discharged
completely, so that the engine can still be
started.
Starting the engine
Hints Enclosed areas
Do not let the engine run in enclosed
areas, since breathing in exhaust fumes may
lead to loss of consciousness and death. The
exhaust gases contain carbon monoxide, an
odorless and colorless, but highly toxic gas.◀
Unattended vehicle
Do not leave the vehicle unattended with
the engine running; doing so poses a risk of
danger.
Before leaving the vehicle with the engine run‐
ning, set the parking brake and place the trans‐
mission in selector lever position P or neutral
to prevent the vehicle from moving.◀
Repeated starting in quick succession
Avoid repeated unsuccessful attempts to
start the vehicle or starting the vehicle several
times in quick succession. Otherwise, the fuel
is not burned or is inadequately burned, posing
a risk of overheating and damage to the cata‐
lytic converter.◀
Do not wait for the engine to warm-up while
the vehicle remains stationary. Start driving at
moderate engine speeds.
Automatic transmission
Starting the engine1.Depress the brake pedal.2.Press the Start/Stop button.
The ignition is activated automatically for a
certain time and is stopped as soon as the en‐
gine starts.
Manual transmission
Starting the engine
1.Depress the brake pedal.2.Press on the clutch pedal and shift to neu‐
tral.3.Press the Start/Stop button.
The ignition is activated automatically for a
certain time and is stopped as soon as the en‐
gine starts.
Engine stop
Hints Take the remote control with you
Take the remote control with you when
leaving the vehicle so that children, for exam‐
ple, cannot start the engine.◀
Seite 64ControlsDriving64
Online Edition for Part no. 01 40 2 924 974 - X/13
Page 140 of 218

With Professional navigation system
or TV: at a glance
The USB interface is located in the center arm‐
rest.
Notes Observe the following when connecting:
▷Do not use force when plugging the con‐
nector into the USB interface.▷Do not connect devices such as fans or
lamps to the USB interface.▷Do not connect USB hard drives.▷Do not use the USB interface to recharge
external devices.
Through-loading system
The concept The cargo area can be enlarged by folding
down the rear seat backrest.
The rear seat backrest is divided into two parts at a ratio of 60 to 40.
If equipped with through-loading system: the
rear seat backrest is divided in the ratio 40–20– 40.
The sides can be folded down separately or to‐
gether.
Hints
Danger of pinching
Before folding down the rear seat back‐
rests, ensure that the area of movement of the
backrests is clear. In particular, ensure that no
one is located in or reaches into the area of
movement of the rear seat backrests when the
middle section is folded down. Otherwise, in‐
jury or damage may result.◀
Lock the rear seat backrests in position
Before installation of child restraint sys‐
tems on the rear seat backrest, set a backrest
tilt at which the childseat rests firmly against
the backrest and securely latch all backrests.
Otherwise, the stability of the child seat is lim‐
ited, and there is an increased risk of injury be‐
cause of unexpected movement of the rear
seat backrest.◀
Retract the head restraint if necessary
before backrest is folded down
With folding head restraints, fold in the head
restraints before folding down the backrests, or damage may result.◀
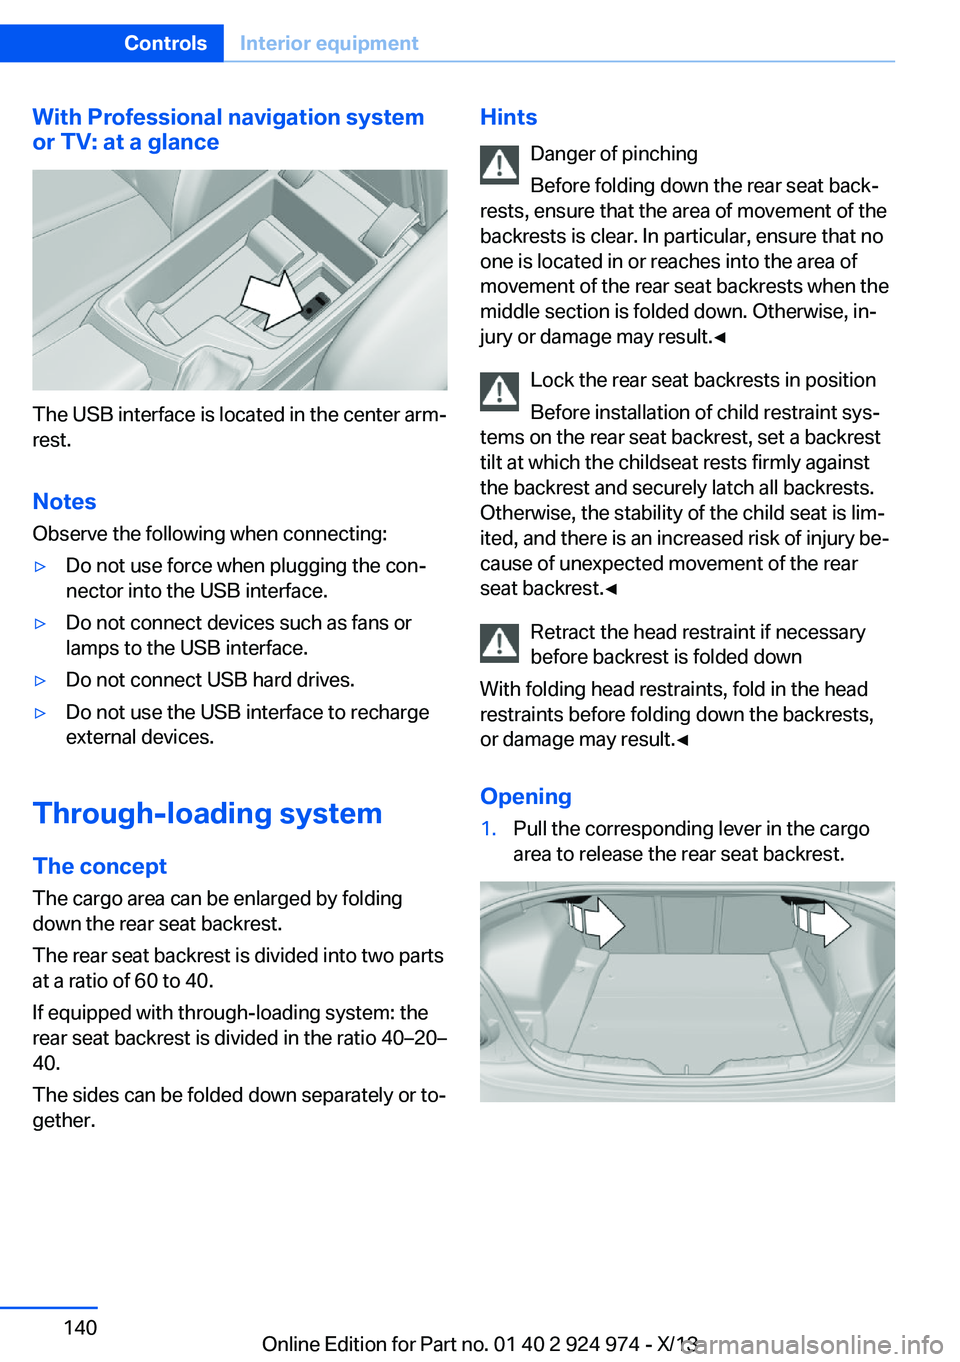
Opening1.Pull the corresponding lever in the cargo
area to release the rear seat backrest.Seite 140ControlsInterior equipment140
Online Edition for Part no. 01 40 2 924 974 - X/13
Page 209 of 218

Bulb replacement 183
Bulb replacement, front 184
Bulb replacement, rear 188
Bulb replacement, xenon headlamps 186
Bulbs and lamps 183
Button, Start/Stop 63
Bypassing, refer to Jump- starting 194
C
California Proposition 65 Warning 7
Camera, care 202
Camera, rearview cam‐ era 120
Can holder, refer to Cu‐ pholder 144
Car battery 190
Car care products 200
Care, displays 202
Care, vehicle 200
Cargo 151
Cargo area, enlarging 140
Cargo area lid 40
Cargo area, storage compart‐ ments 144
Cargo, securing 152
Cargo straps, securing cargo 152
Car key, refer to Remote con‐ trol 34
Carpet, care 202
Car wash 199
Catalytic converter, refer to Hot exhaust system 149
CBS Condition Based Serv‐ ice 181
CD/Multimedia, see user's manual for Navigation, En‐
tertainment and Communi‐
cation
Center armrest 143
Center console 16 Center-Lock, see button for
central locking 37
Central locking system 37
Central screen, refer to Con‐ trol Display 18
Changes, technical, refer to Safety 7
Changing parts 183
Changing wheels 189
Changing wheels/tires 172
Check Control 78
Checking the oil level elec‐ tronically 177
Children, seating position 59
Children, transporting safely 59
Child restraint fixing sys‐ tem 59
Child restraint fixing system LATCH 60
Child restraint fixing systems, mounting 59
Child seat, mounting 59
Child seats 59
Chrome parts, care 201
Cigarette lighter 138
Cleaning, displays 202
Climate control 127, 129
Clock 81
Closing/opening from in‐ side 40
Closing/opening via door lock 39
Closing/opening with remote control 38
Clothes hooks 144
Coasting 158
Coasting with engine decou‐ pled, coasting 158
Coasting with idling en‐ gine 158
Cockpit 14
Collision warning with City Braking function 104
Combination switch, refer to Turn signals 68 Combination switch, refer to
Wiper system 68
Comfort Access 41
COMFORT program, Dy‐ namic Driving Control 113
Compartments in the doors 143
Compass 136
Computer 85
Condensation on win‐ dows 131
Condensation under the vehi‐ cle 150
Condition Based Service CBS 181
Configuring drive pro‐ gram 114
Confirmation signal 42
ConnectedDrive, see user's manual for Navigation, En‐
tertainment and Communi‐
cation
ConnectedDrive Services
Connecting electrical devi‐ ces 138
Control Display 18
Control Display, settings 87
Controller 18, 19
Control systems, driving sta‐ bility 111
Convenient opening 38
Coolant 180
Coolant temperature 80
Cooling function 128, 130
Cooling, maximum 130
Cooling system 180
Corrosion on brake discs 150
Cruise control 115
Cruising range 81
Cupholder 144
Current fuel consumption 81
D
Damage, tires 172
Data, technical 206 Seite 209Everything from A to ZReference209
Online Edition for Part no. 01 40 2 924 974 - X/13
Page 212 of 218

Integrated key 34
Intelligent Emergency Re‐ quest 193
Intelligent Safety 103
Intensity, AUTO pro‐ gram 130
Interior equipment 134
Interior lamps 94
Interior lamps via remote con‐ trol 38
Interior motion sensor 44
Interior rearview mirror, auto‐ matic dimming feature 57
Interior rearview mirror, com‐ pass 136
Interior rearview mirror, man‐ ually dimmable 57
Internet page 6
Interval display, service re‐ quirements 82
J Jacking points for the vehicle jack 190
Joystick, automatic transmis‐ sion 72
Jump-starting 194
K
Key/remote control 34
Keyless Go, refer to Comfort Access 41
Key Memory, refer to Per‐ sonal Profile 35
Kickdown, automatic trans‐ mission 71
Knee airbag 95
L
Lamp replacement 183
Lamp replacement, front 184
Lamp replacement, rear 188
Lamps 90 Lamps and bulbs 183
Lane departure warning 109
Lane margin, warning 109
Language on Control Dis‐ play 88
Lashing eyes, securing cargo 152
LATCH child restraint fixing system 60
Launch Control 73
Leather, care 200
LEDs, light-emitting di‐ odes 184
Letters and numbers, enter‐ ing 25
Light alloy wheels, care 201
Light control 91
Light-emitting diodes, LEDs 184
Lighter 138
Lighting 90
Lighting via remote con‐ trol 38
Light switch 90
Load 152
Loading 151
Lock, door 39
Locking/unlocking from in‐ side 40
Locking/unlocking via door lock 39
Locking/unlocking with re‐ mote control 38
Locking, automatic 43
Locking, central 37
Locking, settings 42
Low beams 90
Low beams, automatic, refer to High-beam Assistant 92
Lower back support 50
Luggage rack, refer to Roof- mounted luggage rack 153
Lumbar support 50 M
Maintenance 181
Maintenance require‐ ments 181
Maintenance, service require‐ ments 82
Maintenance system, BMW 181
Malfunction displays, refer to Check Control 78
Manual air distribu‐ tion 128, 131
Manual air flow 128, 131
Manual mode, transmis‐ sion 72
Manual operation, door lock 39
Manual operation, exterior mirrors 56
Manual operation, fuel filler flap 162
Manual operation, Park Dis‐ tance Control PDC 118
Manual operation, rearview camera 120
Manual transmission 71
Marking on approved tires 173
Marking, run-flat tires 174
Master key, refer to Remote control 34
Maximum cooling 130
Maximum speed, display 83
Maximum speed, winter tires 173
Measure, units of 88
Medical kit 194
Memory, seat, mirror 55
Menu, EfficientDynamics 157
Menu in instrument clus‐ ter 84
Menus, operating, iDrive 18
Menus, refer to iDrive operat‐ ing concept 20
Microfilter 129, 132 Seite 212ReferenceEverything from A to Z212
Online Edition for Part no. 01 40 2 924 974 - X/13