2014 AUDI RS7 SPORTBACK adding oil
[x] Cancel search: adding oilPage 201 of 292
Avoid damaging the
vehicle
When you are driving on poor roads, or over
curbs, steep ramps, etc., make certain that
low-lying parts such as spoilers and exhaust
system parts do not bottom out and get dam
aged.
T his is especially true for vehicles with low
slung chassis (sports chassis) * and fully load
ed veh icles .
Driving through water
on roads
Note the following to avoid vehicle damage
when driving through water, for example on
flooded roads:
- T he water must not be any h igher than the
bottom of the veh icle body.
- Do not d rive faster than wa lking speed.
..&, WARNING
After driving through wate r, m ud, slush,
etc., the brakes may be slow to take effect
because o f wet brake rotors and pads . Dry
the brakes first by braking carefully to re
store the full braking effect.
(D Note
- Vehicle components such as the eng ine,
transmission, suspension or e lectrical
system can be severely damaged by driv ing through water.
- Check the depth o f the water before driv
ing through it.
- Do not s top the veh icle, drive in reverse
or switc h the engine off when driving
through water.
- Keep in mind that oncoming vehicles may create waves that raise the water
level and make it too deep for your vehi
cle to drive through safely.
- Avoid driving thro ugh sa lt water because
it can ca use corrosion.
-
Dri vin g and en vironm ent 199
Warming up and
cooling down
By carefully warming up and cooling down
your vehicle, you can help ensure that it is not
overstressed unnecessar ily during sporty dr iv
ing.
When warming up, the vehicle is dr iven at a
maximum engine speed of 6000 RPM in order
to raise the engine o il temperature to a mini
mum of 140
°F (60 °() . The t ires a lso on ly
reach the ir full road holdi ng capabi lity once
they have warmed up.
The cooli ng fan can cont inue to run in your ve
hicle after the engine is switched off . Howev
er, driving the veh icle to coo l it down is pa rti c
ul arly important. Dur ing spo rty driving , the
engine and b rakes, the exhaust system, and
the transmission a ll become extremely hot.
Before you park the vehicle, you should drive
it for a few miles/kilometers at light load in
the low rpm range to allow it to cool down .
Catalytic converter
App lies to vehicles: wi th gaso line e ngi ne
It is very important that your emission con
trol system (catalytic converter) is function
ing properly to ensure that your vehicle is run
ning in an environmentally sound manner.
"' Always use lead-free gasoline c:> page 208,
Fuel supply .
"' Never run the tank down all the way to emp
ty.
"' Never put too much mo to r o il in yo ur eng ine
c:> page 218, Adding engine oil "t:::r..
"' Never try to push -or tow -start you r vehicle .
T he catalytic co nve rter is an efficient "clean
u p" dev ice bui lt into t he exhaus t system of
the ve hicle . The cata lytic converter bu rns
many of the pollutants in the exha ust gas be
fore they are re leased into the atmosphere.
T he exclus ive use of unleaded fuel is c ritical ly
i mportant for the life of the catalyt ic convert -
er and proper functioning of the engine .
Iii>
•
•
Page 216 of 292

214 Check ing and filling
- Always disconnect the battery.
- Never smoke or work near heaters or open flames . Fluids in the engine com
partment could start a fire.
- Keep an approved fire extinguisher im
mediately available.
- To avoid electrical shock and persona l in
jury while the engine is running or being started, never touch:
- Ignition cables
- Other components of the high voltage
electronic ignition system.
- If you must perform a check or repa ir
with the engine running:
- Fi rst, fully apply the parking bra ke,
move se lec to r lever to P (Pa rk) .
- Always use extreme caution to preven t
clot hing, jewe lry, or long h air from ge t
ting caught in the radiator fan, V -belts
or other moving parts, or from contact ing hot parts. Tie back hair before
start ing, and do not wear cloth ing that
will hang or droop into the eng ine.
- Min imize exposure to emission and
chemica l hazards¢ ,&..
A WARNING
California Propos ition 65 Warning:
- Engine exhaust, some of its constituents,
and certa in veh icle components conta in
or emit chemicals known to the State of
Califor nia to cause cancer and b irth de
fec ts a nd reproduct ive ha rm. In addition,
certain fluids conta ined in vehicles and
certa in prod ucts of co mponent wear co n
ta in o r emi t chemicals known to the
State o f Ca lifornia to cause can cer and
birth defects or ot her reproductive harm. -
Battery posts, terminals and re lated ac
cessories conta in lead and lead com
pounds, chemicals known to the State of
California to cause cance r and reproduc
tive harms. Wash hands after handling .
(D Note
When adding flu ids, always make sure that
they are poured into the proper conta iner
or f iller opening, otherwise serious dam
age to vehicle systems w ill occur.
® For the sake of the environment
To detect leaks in time, inspect the vehicle
floor pan from underneath regularly. If
you see spots from oil or other ve hicle flu
i ds, have yo ur vehicle inspected by a n au
thori zed Audi dea le r.
Closing the engine hood
.,. Pull the hood down un til the pressure from
t he struts is reduced.
.,. Let the hood drop down and latch in p lace .
Do not try to push it shut; it may fail to en
gage ¢&_ .
A WARNING
-
A hood that is not completely latched
could fly up and b lock your view while dr iv
ing.
- When you close the engine hood, check it
to make sure the safety catch has p roper
ly engaged. The hood sho uld be flush
with the surrou nding vehicle body pa rts.
- If you notice while driv ing t hat the hood
is not s ecured prope rly, stop at onc e and
close it.
Page 220 of 292
218 Check ing and filling
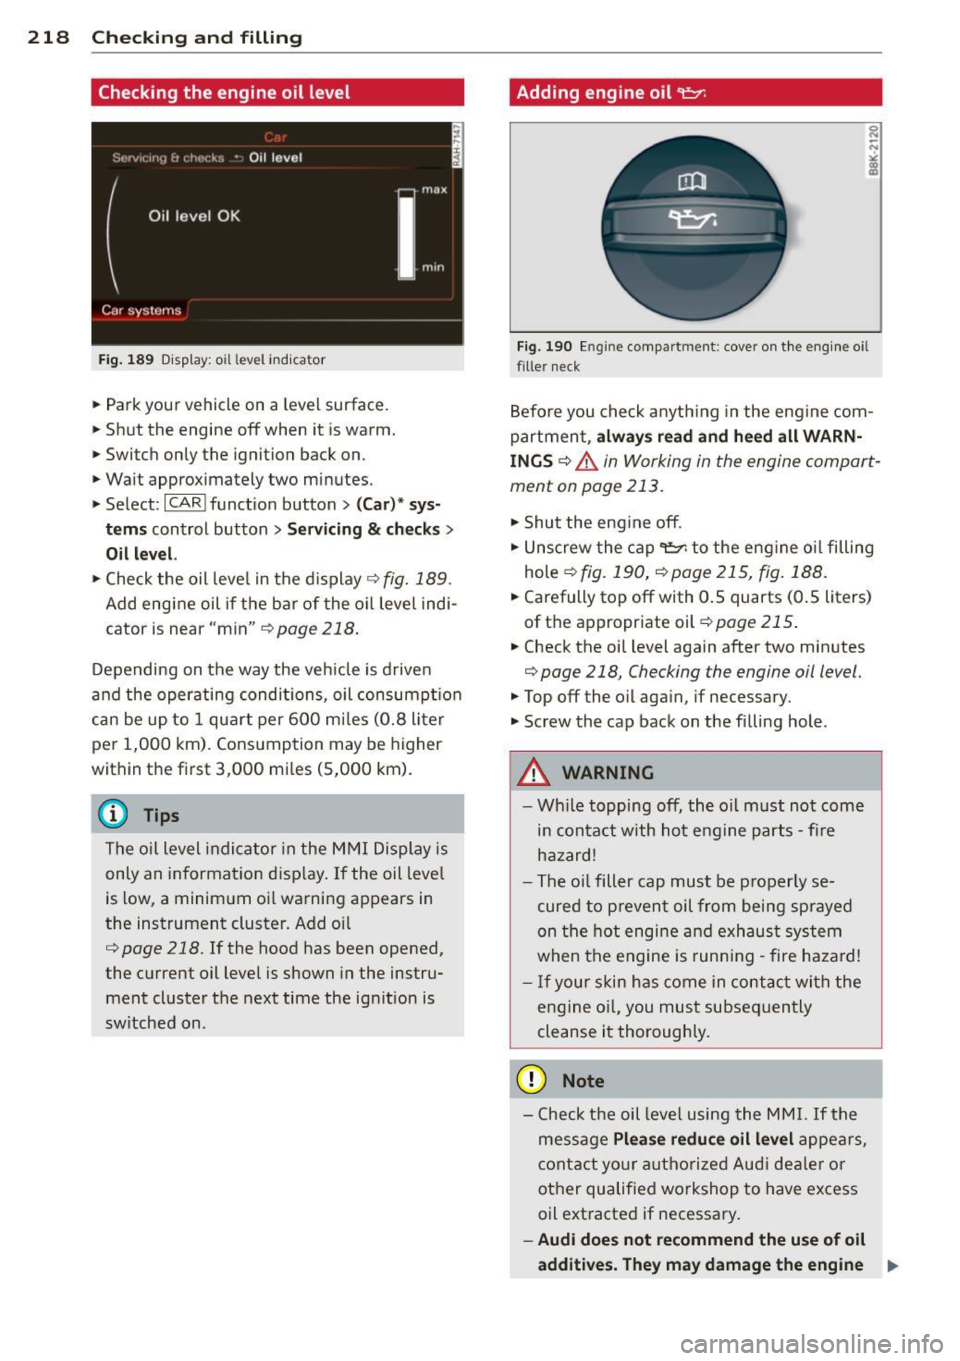
Checking the engine oil level
Fig. 189 Disp lay: oil level indica tor
• Park your vehicle on a level surface .
• Shut the engine off when it is warm.
• Switch only the ignition back on .
• Wait approximately two minutes.
• Select :
I CAR I function button> (Ca r)* sys
t e m s
control button > Se rv ici ng & ch ecks >
Oil l evel.
• Check the oil leve l in the d isplay r::;, fig. 189.
Add engine oil if the bar of the oil leve l indi
cator is near "min"
¢page 218.
Depending on the way the veh icle is driven
and the operating condi tions, oil consumpt ion
can be up to 1 qua rt per 600 m iles (0.8 liter
per 1,000 km) . Consumption may be higher
within the first 3 ,000 mi les (5,000 km).
@ Tips
The oil level indicator in the MMI Display is
only an information disp lay . If the oil leve l
is low, a minim um oil warning appears in
the instrument cluster. Add oil
r:::;, page 218. If the hood has been opened,
the current oil level is shown in the instru ment cluster the next time the ignition is
sw itched on .
Adding engin e oil 't:::r.
Fig. 190 Engin e compart men t: cover on the engine oi l
fille r neck
Befo re you check anyth ing in the engine com
partment,
a lw ay s re ad and h eed all WARN
IN GS
r::;, .&. in Working in the engine compart
ment on page 213.
• Shut the eng ine off .
• Unscrew the cap
't=;rl to the eng ine oi l filling
hole
¢ fig. 190, r:=:,page 215, fig. 188 .
• Carefully top off with 0 .5 quarts (0 .5 liters)
of the appropr iate oil¢
page 215.
• Check the oil level again after two minutes
r:::;, page 218, Checking the engine oil level.
• Top off the oil again, if necessary.
• Screw the cap back on the filling hole .
.&_ WARNING
--Wh ile topping off, the o il m ust not come
in conta ct with hot engine parts - fire
hazard!
- The oi l filler cap must be properly se
cured to prevent oil from being sprayed
on the hot engine and exhaust system
when the engine is runn ing -fire haza rd!
- If you r skin has come in contact with the
engine o il, you must subsequen tly
cleanse it thoroughly.
(D Note
- Check the oil level using the MMI. If the
message
Ple ase redu ce oil l evel appears,
contact you r authorized Aud i deale r or
other qualified workshop to have excess
oil extracted if necessary.
- Audi d oes n ot r ecommend the u se of o il
a dd iti ve s. The y may dama ge the en gine
II>-
Page 222 of 292
220 Check ing and filling
Engine cooling system
Coolant
The engine coolant performs two functions: it
keeps the engine from overheating and it pro
tects the engine from freezing in the winter .
The cooling system is sealed and generally re
quires little attention.
The cooling system has been filled at the fac
tory with a permanent coolant which does not need to be changed. The coolant consists of a
mixture of specially conditioned water and the
manufacturer's glycol-based coolant addi-
tive G13 antifreeze with ant icorros ion addi
tives (50% for USA models; 60% for Canadian models) . This mixture both assures the neces
sary frost protection and protects metal com
ponents in the engine's cooling system from
corrosion and scaling.
It a lso raises the boil
ing point of the coo lant.
D o not reduce the concentration o f the coo l
ant in the summer by adding plain water .
The
proportion of coolant add it iv e mu st be at
lea st 50 % but not mo re than 60 %
to main
tain antifree ze protection and cooling efficien
cy. If the coolant frost protect ion is too low,
the coolant could freeze and damage the veh i
cle heating and eng ine cooling system .
For year-round driving, antifree ze is added at
the factory for temperatures down to:
- -31° F(-35°C)USA
- - 40 ° F ( -40 °C) Canada.
I f you must add coo lant, use a m ixture of wa
ter and coolant addit ive. Mixing the coolant
addit ive wi th dist illed wate r is recommended.
_& WARNING
Before yo u check any thing in the engine
compartment, always read and heed all
WARNINGS
¢ &. in Working in the engine
compartment on page 213.
(D Note
- Before winter se ts in, have the coolant
checked to see if the coolant additive in
-
your vehicle is sufficient to meet the cli mate conditions . This is especia lly impor
tant if you live in a reg ion where the win
ter is extreme ly cold. If necessary, in
crease the proportion of coolant add itive
to 60% .
- When adding coolant additive to your
cooling system , remember :
- We recommend us ing on ly coolant ad
d it ive G12 ++ or G1 3 (check the labe l)
for your vehicle . This coolant additive is
avai lable at autho rized Audi dea lers .
Other types of antifreeze can signifi
cantly reduce corrosion protection. The
resu lting corrosion can cause a loss of
coolant and serious engine damage .
- Do not add any type of rad iator leak seal
ant to your vehicle's engine coolant.
Add ing radiator repa ir flu id may adverse
ly affect the function and performance of
your cooling system and could resu lt in
damage not covered by you r New Ve hicle
Limited War ran ty.
Checking the engine coolant level
The engine coolant level can be checked with
a quick glance.
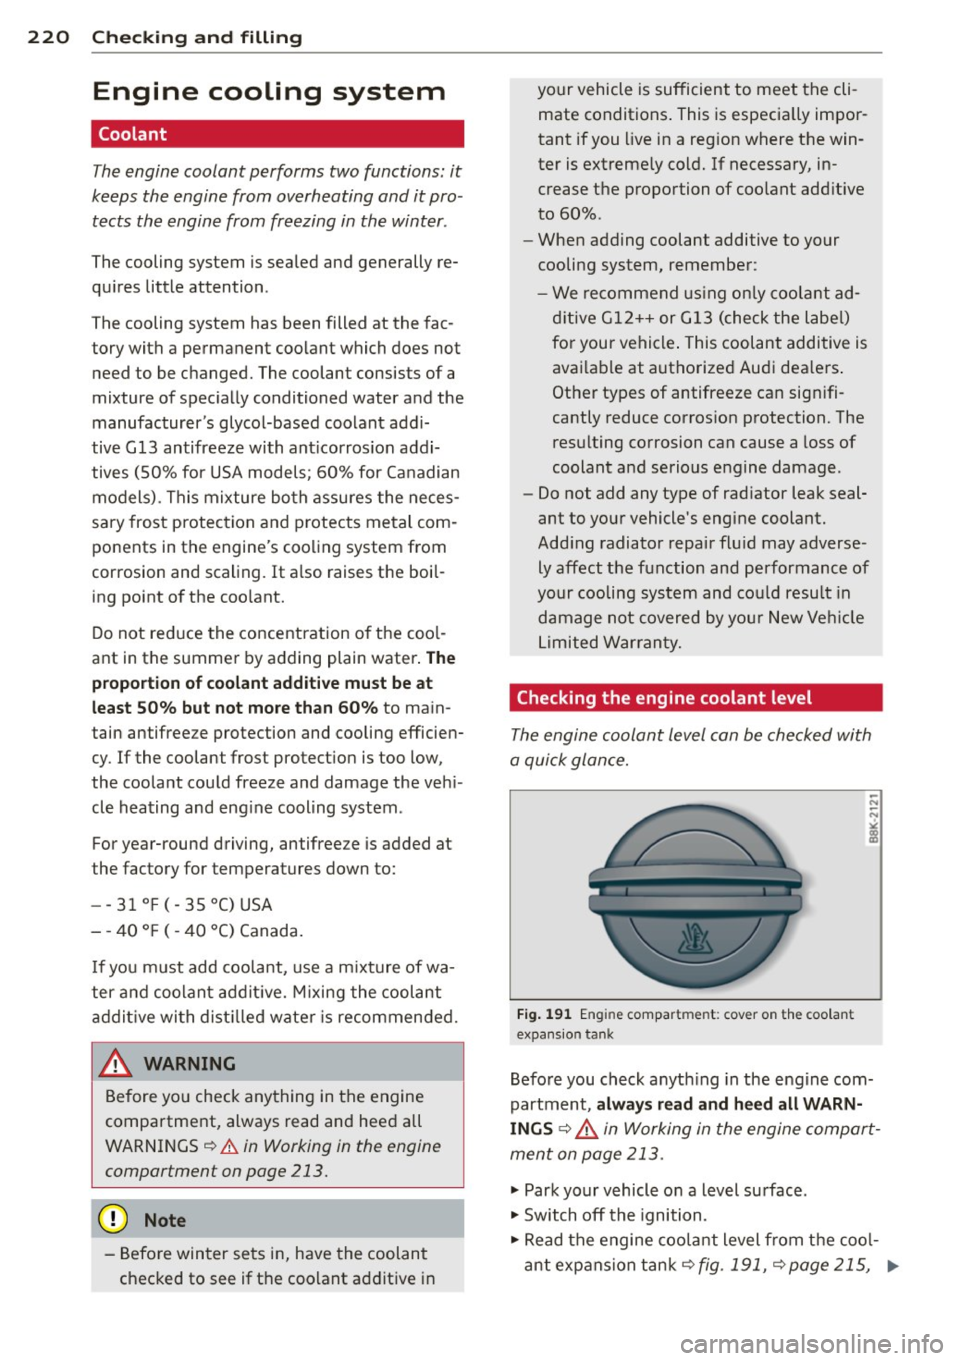
F ig . 1 91 Engin e compar tmen t: cover o n th e coolant
expans io n tank
Befo re you check anyth ing in the engine com
partment,
always r ead and he ed all WARN
INGS
¢ &_ in Working in the engine compart
ment on page 213.
.,. Park your vehicle on a level surface .
.,. Switch off the ignition .
.,. Read the engine coo lant level from the coo l
a nt expansion tank¢
fig . 191, ¢ page 215, ..,.
Page 223 of 292
fig. 188. With a cold engine, the coolant
lev el should be between the "min" and
"max" markings. When the engine is warm,
the level may be slightly above the "max"
marking .
The location of the coolant expansion tank
can be seen in the engine compartment illus
t ration
<=> page 215.
To obtain an accurate reading , the engine
must be switched
off.
The expansion tank in your vehicle is equipped
with an electric coolant level sensor.
When the coolant level is too low, the warning
light in the Auto-Check System<=>
page 15 will
illuminate until you add coolant and the level
has been restored to normal. Even though
there is an electric coolant level sensor, we
still recommend you check the coolant level
from time to time .
Coolant loss
Coolant loss may indicate a leak in the cooling
system. In the event of coolant loss, the cool
ing system should be inspected immediately
by your authorized Audi dealer. It is not
enough merely to add coolant .
In a
sealed system, losses can occur only if
the boiling point of the coolant is exceeded as
a result of overheating.
&_ WARNING
-
The cooling system is under pressure and
can get very hot. Reduce the risk of scald
ing from hot coolant by following these
steps.
- Turn
off the engine and allow it to cool
down.
- Protect your face, hands and arms from
escaping fluid and steam by covering the
cap with a large, thick rag.
- Turn the cap slowly and very carefully in
a counter-clockwise direction while ap
plying light, downward pressure on the
top of the cap.
Checking and filling 221
-To avoid being burned, do not spill anti
freeze or coolant on the exhaust system
or hot engine parts. Under certain condi
tions, the ethylene glycol in engine cool
ant can catch fire .
(D Note
Do not add any type of radiator leak seal
ant to your vehicle 's engine coolant. Add-
ing radiator repair fluid may adversely af
fect the function and performance of your
cooling system and could result in damage
not covered by your New Vehicle Limited
Warranty.
Adding coolant
Be very careful when adding engine coolant.
Before you check anything in the engine com
partment,
always read and heed all WARN
INGS <=>.&. in Working in the engine compart
ment on page 213.
"'Turn off the engine.
"'Let the engine cool down .
"' Place a thick rag over the coolant expansion
tank
<=> page 220, fig. 191 and carefully
twist the cap counter-clockwise <=>_& .
"'Add coolant mixed in the correct ratio
<=> page 220, Coolant.
"'Twist the cap on again tightly.
Replacement engine coolant must conform to
exact specifications <=>
page 220, Coolant.
We recommend using only coolant addi-
tive G12++, G13 or in an emergency G12+. Do
not use a different additive. In an emergency
use plain water until you can get the correct
additive and can restore the correct ratio. This
should be done as soon as possible.
If you have lost a considerable amount of
coolant , then you should add cold antifreeze
and cold water only when the engine is cold.
Always use
new engine coolant when refilling.
Do not fill coolant above the "MAX" mark. Ex -
cess coolant will be forced out through the ..,.
•
•
Page 279 of 292
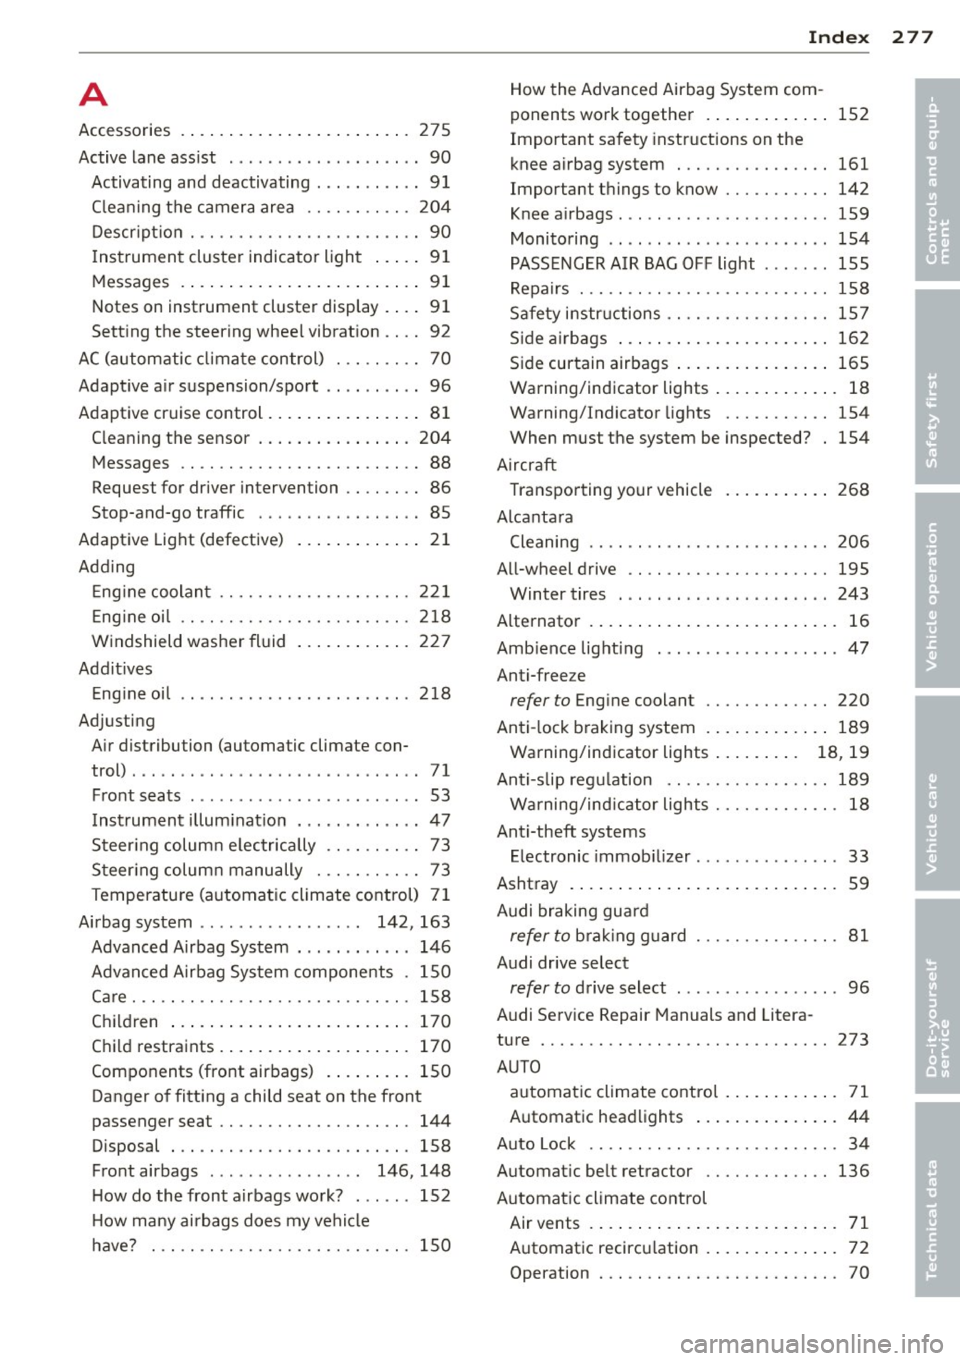
A
Accessories . . . . . . . . . . . . . . . . . . . . . . . . 2 7 5
Active lane assist . . . . . . . . . . . . . . . . . . . . 90
Activating and deactivating . .. .. .. .. .. 91
C leaning the camera area .. .. .. .. .. . 204
Description .............. .... .. .... 90
Instrument cluster indicator light . . . . . 91
Messages .. ................ ... .... 91
Notes on instrument cluster display . . . . 91
Setting the steering wheel vibration .. .. 92
AC (automatic climate control) . .. .. .. .. 70
Adaptive air suspension/sport .. .. ... ... 96
Adaptive cruise control ......... ... .... 81
Cleaning the sensor .......... ..... . 204
Messages .. ............. .... .. .... 88
Request for driver intervention . . . . . . . . 86
Stop-and-go traffic . . . . . . . . . . . . . . . . . 85
Adaptive Light (defective) ............. 21
Adding Engine coolant ........... .. .. .. .. . 221
Engine oil .. ............. .... .. ... 218
Windshield washer fluid ............ 227
Additives Engine oil .. ....... ...... .... .. .. . 218
Adjusting Air distribution (automatic climate con-
trol) ..... ... ...... ....... ...... ... 71
Front seats . . . . . . . . . . . . . . . . . . . . . . . . 53
Instrument illumination ... .. .. .. .. .. 47
Steering column e lectrically .. .. .. .. .. 73
Steering column manually . .. .. .. .. .. 73
Temperature (automatic climate control) 71
Airbag system . . . . . . . . . . . . . . . . . 142, 163
Advanced Airbag System . . . . . . . . . . . . 146
Advanced Airbag System components . 150
Care . .. .. .. .... ............. .. .. . 158
Children ... ................ ... ... 170
Child restraints .............. ... ... 170
Components (front airbags) . ... .. .. . 150
Danger of fitting a child seat on the front
passenger seat . . . . . . . . . . . . . . . . . . . . 144
Disposal . .. ............. .... .. .. . 158
Front airbags . . . . . . . . . . . . . . . . 146, 148
How do the front airbags work? . ..... 152
H ow many airbags does my vehicle
have? ... .. .... ............. .. .. . 150
Index 277
How the Advanced Airbag System com-
ponents work together ............ . 152
Important safety instructions on the
knee airbag system ................ 161
Important things to know ......... .. 142
Knee airbags . .. .. .. ............... 159
Monitoring .. .. .. .. . .. .... ........ 154
PASSENGER AIR BAG OFF light ....... 155
Repairs . . . . . . . . . . . . . . . . . . . . . . . . . . 158
Safety instructions .... ......... .. .. 157
Side airbags ... .. .. ............... 162
Side curtain airbags ............... . 165
Warning/indicator lights ............ . 18
Warning/Indicator lights ....... .. .. 154
When must the system be inspected? 154
Aircraft Transporting your vehicle
Alcantara 268
Cleaning .. .. .. .. .... ........... .. 206
All-wheel drive .. .. .. ............... 195
Winter tires . .. .. .... ... .... .... .. 243
Alternator ... ..... .. ................ 16
Ambience lighting ... ... ..... ... .... . 47
Anti-freeze
refer to Engine coolant ............. 220
Anti-lock braking system ............ . 189
Warning/indicator lights . . . . . . . . . 18, 19
Anti-s lip regu lation .... ......... .. .. 189
Warning/indicator lights ........ .. .. . 18
Anti-theft systems Electronic immobilizer ............. .. 33
Ashtray ..... ... .... ................ 59
Audi braking guard
refer to brak ing guard .......... .... . 81
Audi drive select
refer to drive select ... .. ...... .... .. 96
Audi Serv ice Repair Manuals and Litera-
ture ......... .. .. ................. 273
AUTO automatic climate control .......... .. 71
Automatic headlights ............... 44
Auto Lock . . . . . . . . . . . . . . . . . . . . . . . . . . 34
Automatic belt retractor ......... .. .. 136
Automatic climate control
Air vents .. .. .... .. ................ 71
Automatic recirculation ............ .. 72
Operation . . . . . . . . . . . . . . . . . . . . . . . . . 70
•
•
Page 283 of 292
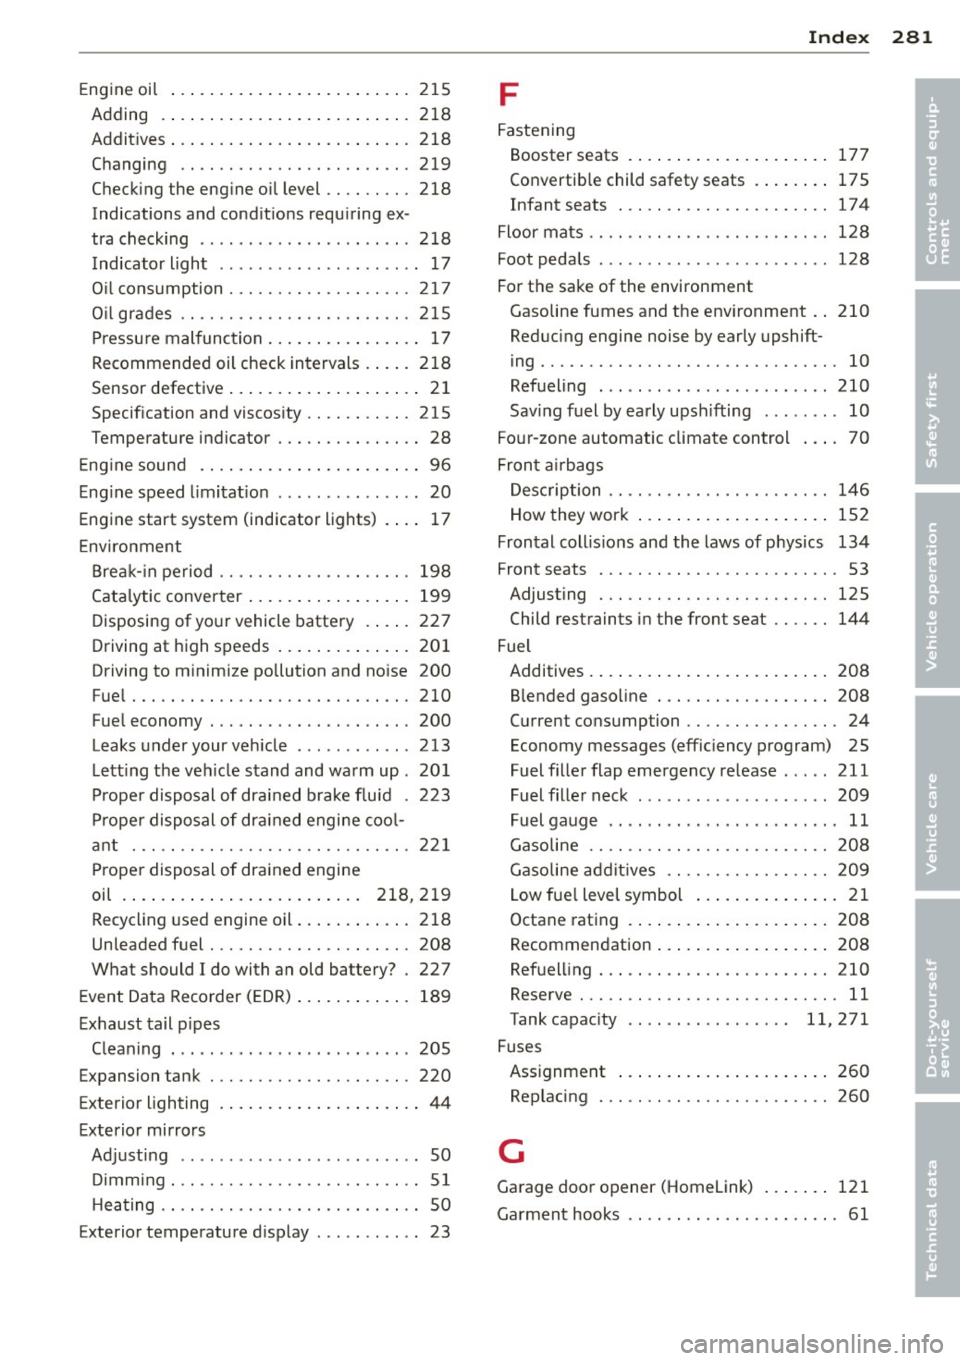
Engine oi l ... .. .... ..... .. .. .. .. ... 215
Adding .... .... .. .... ... .. .. .. ... 218
Addit ives ... .... ...... ... .. .. .. .. . 2 18
Changing .. ............. .... .. ... 219
Checking the eng ine o il level .. .. .. .. . 218
Indications and cond it ions requ iring ex -
tra check ing ..... .. ...... .. .. .. .. . 218
I ndicator light . . . . . . . . . . . . . . . . . . . . . 17
O il consumption .......... .. .. .. .. . 217
O il gr ad es .. ............. .... .. ... 2 15
P ressure mal func tion ... ... .. .. .. .. .. 17
Recommended oil check intervals . ... . 21 8
Sensor defective . . . . . . . . . . . . . . . . . . . . 21
Specif ication and viscos ity . . . . . . . . . . . 215
Temperature indicator ..... .. .. .. .. .. 28
E ng ine sound . ... ...... ... .. .. .. .. .. 96
E ng ine speed limitat ion ...... ... ... ... 20
Engine start system (indicator lights) . ... 1 7
E nvi ro nment
B re ak -in period ........... .... .. .. . 198
Ca ta lytic converter ..... ... .. .. .. .. . 199
D isposing of yo ur vehicle battery . ... . 227
Driving at high speeds .. ... .. .. .. .. . 20 1
Driving to m inimize pollution and no ise 200
Fue l ..... .. .. .. ........... .. .. ... 210
F u el economy ... .... ... .. .. .. .. .. . 200
Leaks under your ve hicle ...... .. .... 213
L ett ing the veh icle stand and wa rm up . 20 1
Pr ope r disposal of dra ined brake flu id . 22 3
Pr ope r disposal of dra ined engine coo l-
a nt . .. .. .. ................. .. .. . 22 1
Pr ope r disposal of drained engine
oil . ..... .. .. ... .. ..... ... .. 218,2 19
Recycl ing used engine oil ... .. .. .. .. . 218
Unleaded f uel ............ .... .. ... 208
What should I do with an old battery? . 227
E vent Data Recorder (EDR) ... .. .. .. .. . 189
E xhaust tail p ipes
C leaning . .. ....... ...... .... .. .. . 205
Expansion tank ............ .... .. .. . 220
E xterior lighting . ... .... ... .. .. .... .. 44
E xterior mirrors
Ad justing ................ ... ... ... 50
D imming . .. ............. .... .. .... 51
H eating .. .. .. ........... .. .. .. .... 50
Exterior temperature d isplay ..... ... ... 23
Inde x 281
F
Fastening
Booster seats . . . . . . . . . . . . . . . . . . . . . 177
Convertib le child safety seats . ... .. .. 175
Infant seats . . . . . . . . . . . . . . . . . . . . . . 17 4
Floor ma ts .. .. .. .. .. .. ........... .. 128
Foot peda ls .... ... .. ..... .......... 128
Fo r th e sake of the environment
Gasoline fumes and the env ironment . . 210
Red ucing engine noise by early upshift -
ing ....... .. .. .. ................. . 10
Refueling . .. .. .... .......... ..... 210
Sav ing fuel by early upsh ifting ...... .. 10
Fo ur-zone automatic climate control ... . 70
Fron t air bags
D es cription . . . . . . . . . . . . . . . . . . . . . . . 146
How they wor k . . . . . . . . . . . . . . . . . . . . 152
Frontal coll is io ns and the laws of p hys ics 134
Front seats . . . . . . . . . . . . . . . . . . . . . . . . . 53
Adjusting . .. .. .. .. .. ........... .. 125
Child restraints in the fron t seat .... .. 144
Fuel Additives . ... .... .. . .. .. ..... ... .. 208
B lended gaso line ..... ............. 208
C u rrent consumption ........... .. .. . 24
Economy messages (effic iency program) 25
Fuel fil ler flap emergency re lease . .... 211
Fuel fille r neck ... .. ... ....... .... . 209
Fuel gauge . . . . . . . . . . . . . . . . . . . . . . . . 11
Gasoline .. .. .. .. ... ............ .. 208
Gasoline ad di tives .... ........... .. 209
L ow fue l level symbol . . . . . . . . . . . . . . . 21
Octane rat ing . ..... . .. .. ..... ... .. 208
Recommendation ... . .. .. ... ... .. .. 208
Ref uel ling ... .. ...... ............. 210
Reserve ... .. .. .. ... ............ .. . 11
Tank capac ity . . . . . . . . . . . . . . . . . 11,271
Fuses Ass ignment ..... .. . .. .. ..... ... .. 260
Rep lacing . .. .. .. ................. 260
G
Garage door opener (Homelink) ... .. .. 121
Ga rment hooks .. .. .. . .. .. ..... ... .. . 61
•
•