Page 308 of 653

�µ�µ �µ
�µ
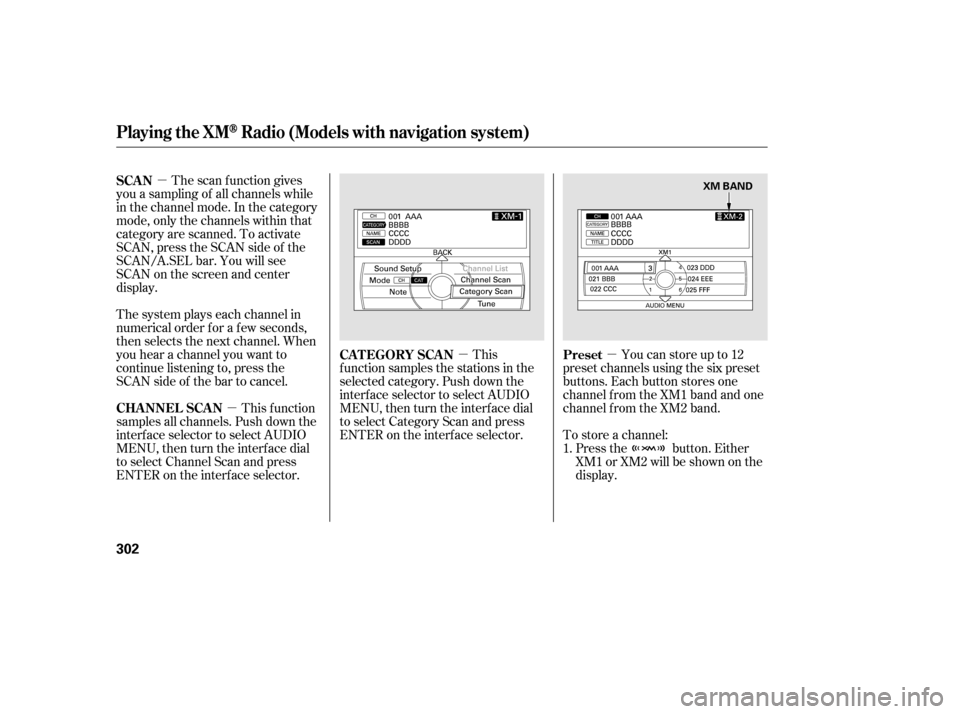
The scan f unction gives
you a sampling of all channels while
in the channel mode. In the category
mode, only the channels within that
category are scanned. To activate
SCAN,presstheSCANsideof the
SCAN/A.SEL bar. You will see
SCAN on the screen and center
display.
The system plays each channel in
numerical order f or a f ew seconds,
then selects the next channel. When
you hear a channel you want to
continue listening to, press the
SCAN side of the bar to cancel.
This f unction
samples all channels. Push down the
interf ace selector to select AUDIO
MENU,thenturntheinterfacedial
to select Channel Scan and press
ENTER on the interf ace selector. Press the button. Either
XM1 or XM2 will be shown on the
display.
To store a channel: Youcanstoreupto12
preset channels using the six preset
buttons. Each button stores one
channel f rom the XM1 band and one
channel f rom the XM2 band.
This
f unction samples the stations in the
selected category. Push down the
interf ace selector to select AUDIO
MENU,thenturntheinterfacedial
to select Category Scan and press
ENTER on the interf ace selector. 1.
SCAN
CHA NNEL SCA N
Preset
CAT EGORY SCAN
Playing the XMRadio (Models with navigation system)
302
XM BAND
12/07/20 11:08:19 31TK4640_307
Page 309 of 653

�µ
�µ
�µ
�µ �µ
�µ
�µ
The encryption
code is being updated. Wait until the
encryption code is f ully updated.
Channels 0 and 1 should still work
normally. XM is loading the
audio or program inf ormation. The channel
currently selected is no longer
broadcasting. Once a channel is stored, press
and release the proper preset
button to tune to it.
Press the button or scroll
up again. The other XM band will
be shown. Store the next six
channels using steps 2 and 3. Repeat steps 2 and 3 to store the
f irst six channels. Pick the preset button you want
f or that channel. Press and hold
the preset button until you hear a
beep. You can also pick the
number with the interf ace dial.
Select your desired number and
press and hold ENTER on the
interf ace selector. In category mode, only channels
within that category can be
selected. In channel mode, all
channels can be selected. Use the tune, list, or scan f unction
to tune to a desired channel. The signal is
currently too weak. Move the vehicle
to an area away from tall buildings,
and with an unobstructed view of the
southern horizon. The selected channel
number does not exist, or is not part
of your subscription, or this channel
has no artist or title inf ormation at
this time.
There is
a problem with the XM antenna.
Please consult your dealer. The selected
channel has no artist or title
inf ormation at this time.
5. 3.
4. 2.
CONT INUED
‘‘UPDA T ING’’ ‘‘L OA DING’’ ‘‘OFF A IR’’ XM Radio Display Messages
‘‘NO SIGNA L ’’ ‘‘----’’
‘‘CHECK A NT ENNA ’’ ‘‘NO INFO’’
Playing the XMRadio (Models with navigation system)
Features
303
12/07/20 11:08:30 31TK4640_308
Page 313 of 653
CONT INUED
Playing a Disc (Models with navigation system)
Features
307
INTERFACE DIALSCAN/A.SEL
(SCAN/AUTO SELECT) BAR SKIP BAR NAVIGATION SCREEN
DISC SLOT
EJECT BUTTON
TITLE BUTTON
PRESET BUTTONS
CATEGORY BAR
AUDIO BUTTON VOL/
(VOLUME/POWER)KNOB
DISC BUTTON
CENTER DISPLAY
12/07/20 11:09:03 31TK4640_312
Page 363 of 653

�µ
CONT INUED
If the iPod indicator does not appear
in the audio display, check the
connections, and try to reconnect the
iPod a f ew times.
If the audio system still does not
recognize the iPod, the iPod may
need to be reset. Follow the
instructions that came with your
iPod, or you can f ind reset
instructions online atUse the SKIP bar while an iPod is
playing to select passages and
change f iles.
Each time you press and
releasethe sideof theSKIPbar,
the system skips forward to the
beginning of the next track. Press
and release the side of the bar
to skip backward to the beginning of
the current track. Press it again to
skip to the beginning of the previous
track.
To move rapidly within playing track,
press and hold either side ( or ) of the SKIP bar. You can also select a track from any
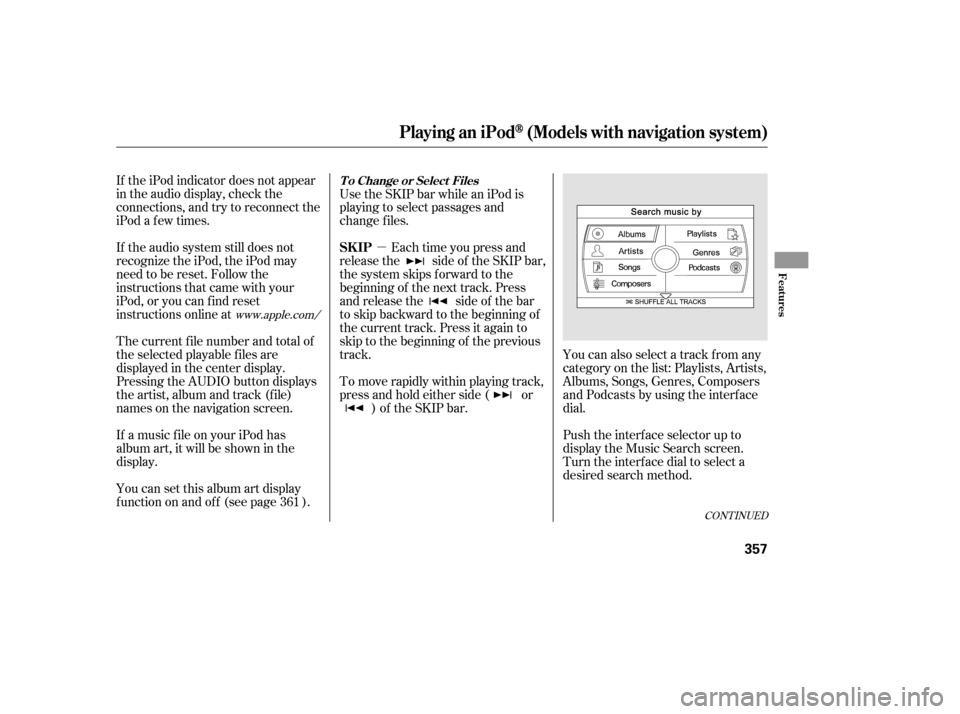
category on the list: Playlists, Artists,
Albums, Songs, Genres, Composers
andPodcastsbyusingtheinterface
dial.
Push the interf ace selector up to
display the Music Search screen.
Turn the interf ace dial to select a
desired search method.
The current f ile number and total of
the selected playable f iles are
displayed in the center display.
Pressing the AUDIO button displays
the artist, album and track (f ile)
names on the navigation screen.
If a music f ile on your iPod has
album art, it will be shown in the
display.
You can set this album art display
f unction on and of f (see page ).
361
www.apple.com/
Playing an iPod(Models with navigation system)
T o Change or Select Files
SK IP
Features
357
12/07/20 11:15:43 31TK4640_362
Page 393 of 653

�Û�Ý�´
�µ �´�µ �´
�µ
�´
�µ
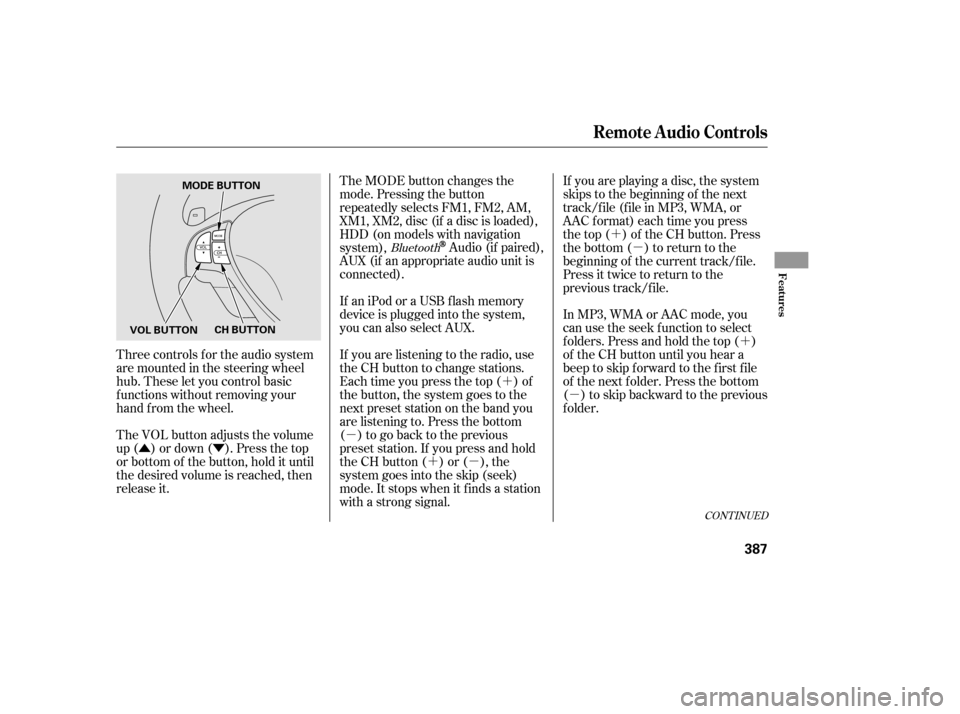
Three controls f or the audio system
are mounted in the steering wheel
hub. These let you control basic
f unctions without removing your
hand f rom the wheel.
The VOL button adjusts the volume
up ( ) or down ( ). Press the top
or bottom of the button, hold it until
the desired volume is reached, then
release it. The MODE button changes the
mode. Pressing the button
repeatedly selects FM1, FM2, AM,
XM1, XM2, disc (if a disc is loaded),
HDD (on models with navigation
system),
Audio (if paired),
AUX (if an appropriate audio unit is
connected).
If an iPod or a USB f lash memory
device is plugged into the system,
you can also select AUX.
If you are listening to the radio, use
the CH button to change stations.
Each time you press the top ( ) of
the button, the system goes to the
next preset station on the band you
are listening to. Press the bottom
( ) to go back to the previous
preset station. If you press and hold
the CH button ( ) or ( ), the
system goes into the skip (seek)
mode. It stops when it f inds a station
with a strong signal. If you are playing a disc, the system
skips to the beginning of the next
track/f ile (f ile in MP3, WMA, or
AAC format) each time you press
the top ( ) of the CH button. Press
the bottom ( ) to return to the
beginning of the current track/f ile.
Press it twice to return to the
previous track/f ile.
In MP3, WMA or AAC mode, you
can use the seek function to select
f olders. Press and hold the top ( )
of the CH button until you hear a
beep to skip f orward to the f irst f ile
of the next folder. Press the bottom
( ) to skip backward to the previous
f older.Bluetooth
CONT INUED
Remote Audio Controls
Features
387
MODE BUTTON
VOL BUTTON CH BUTTON
12/07/20 11:19:43 31TK4640_392
Page 396 of 653

If your vehicle’s battery is
disconnected or goes dead, the audio
system disables itself . If this happens,
you will see ‘‘ENTER CODE’’ in the
f requency display next time you turn
on the system. Use the preset
buttons to enter the five-digit code.
ThecodeisontheAnti-theft
Identification Card included in your
owner’s manual kit. When it is
entered correctly, the radio will start
playing.
The Anti-thef t Identif ication Card
also lists your audio serial number. It
is best to store the card in a saf e
place at home. In addition, you
should write the audio system’s
serial number in this owner’s manual.
If you make a mistake entering the
code, do not start over; complete the
f ive-digit sequence, then enter the
correct code. You have ten tries to
enter the correct code. If you are
unsuccessful in ten attempts, youmust then leave the system on for
one hour bef ore trying again.
The system will retain your AM and
FM presets even if power is
disconnected.
If you have an Acura Owners
account, it is easy to retrieve the anti-
thef t code online without having to
access the serial number.
We recommend that you register the
security code at Acura Owners
(myacura.com). If you lose the Anti-
thef t Identif ication Card bef ore
registering the code at Acura
Owners, you must obtain the code
f rom your dealer or
.Todothis,you
will need the audio system’s serial
number. If you do not have the serial
number with you, ask your dealer or
go to f or inf ormation on how to retrieve it.
If you lose the Anti-thef t
Identif ication Card, you must obtain
thecodefromyourdealer.Todothis,
you will need the audio system’s
serial number. If you do not have the
serial number with you, ask your
dealer how to retrieve it.
You need to enter a separate code
f or the navigation system to
reactivate. The Anti-theft Card also
lists the navigation system’s security
code and serial number. Follow the
same procedure to retrieve the serial
number and obtain the code, and
read the navigation system manual
f or details.
https://radio-
navicode.acura.com/
https://radio-navicode.acura.com/ Canadian owners
Models with navigation system
U.S. owners
Radio T hef t Protection
390
NOTE:
13/04/02 19:11:38 31TK4640_395
Page 397 of 653
To set the time, press the CLOCK
button until you hear a beep. The
displayed time begins to blink.
Change the hours by pressing the H
(hour) button until the numbers
advance to the desired time. Change
the minutes by pressing the M
(minute) button until the numbers
advance to the desired time.
Press the CLOCK button again to
enter the set time.
CONT INUED
On models without navigation system
Setting the Clock
Features
391
On models without navigation systemMINUTE BUTTON
(PRESET 5) RESET BUTTON
(PRESET 6) CLOCK BUTTON
HOUR BUTTON
(PRESET 4)
12/07/20 11:20:06 31TK4640_396
Page 398 of 653

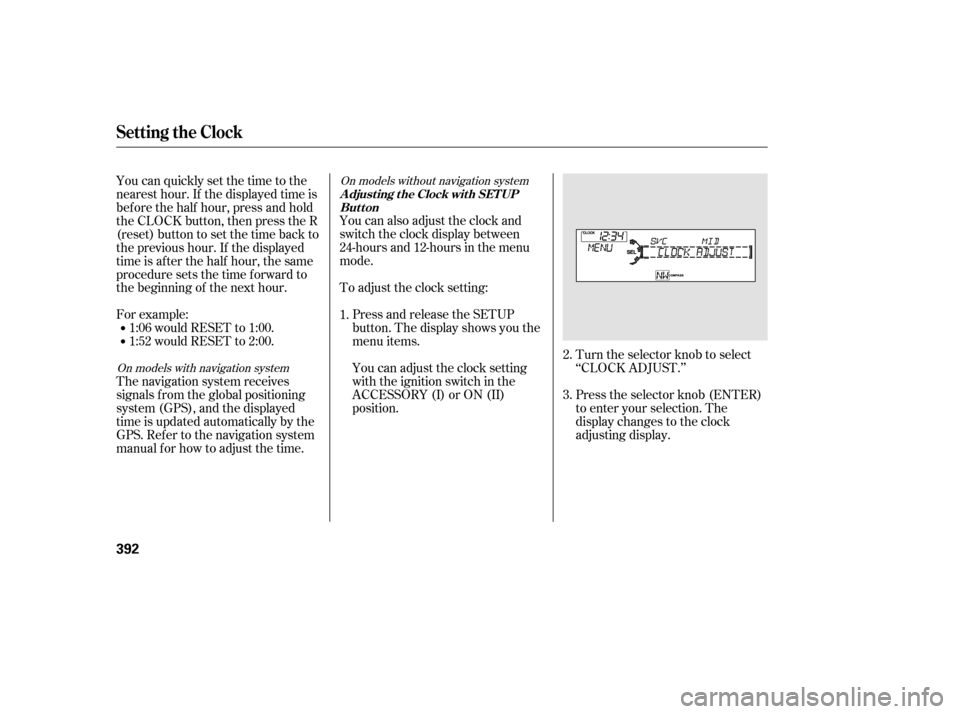
Turn the selector knob to select
‘‘CLOCK ADJUST.’’
Press the selector knob (ENTER)
to enter your selection. The
display changes to the clock
adjusting display.
You can also adjust the clock and
switch the clock display between
24-hours and 12-hours in the menu
mode.
To adjust the clock setting:
Press and release the SETUP
button. The display shows you the
menu items.
You can adjust the clock setting
with the ignition switch in the
ACCESSORY (I) or ON (II)
position.
You can quickly set the time to the
nearest hour. If the displayed time is
bef ore the half hour, press and hold
the CLOCK button, then press the R
(reset) button to set the time back to
the previous hour. If the displayed
time is af ter the half hour, the same
procedure sets the time f orward to
the beginning of the next hour.
For example:
The navigation system receives
signals f rom the global positioning
system (GPS), and the displayed
time is updated automatically by the
GPS. Ref er to the navigation system
manual f or how to adjust the time.
1:06 would RESET to 1:00.
1:52 would RESET to 2:00.
1.
2.
3.
On models with navigation systemOn models without navigation system
Setting the Clock
A djust ing t he Clock wit h SET UP
Button
392
12/07/20 11:20:16 31TK4640_397