Page 136 of 518

135
uuOperating the Switches Around the Steering WheeluENGINE START/STOP Button
Controls
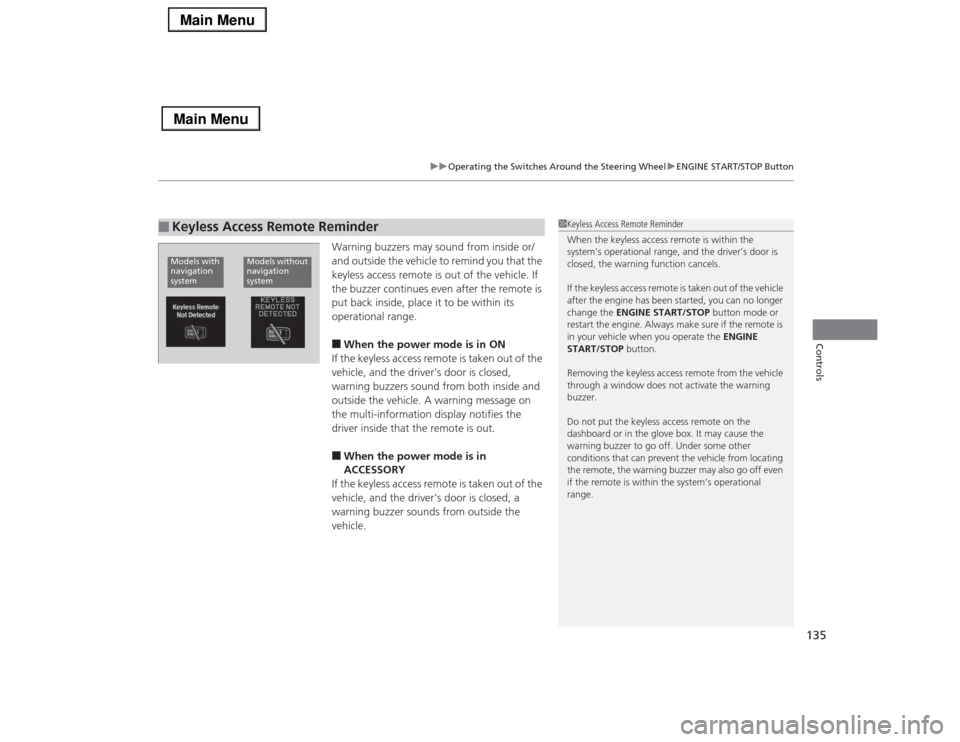
Warning buzzers may sound from inside or/
and outside the vehicle to remind you that the
keyless access remote is out of the vehicle. If
the buzzer continues even after the remote is
put back inside, place it to be within its
operational range.■When the power mode is in ON
If the keyless access remote is taken out of the
vehicle, and the driver’s door is closed,
warning buzzers sound from both inside and
outside the vehicle. A warning message on
the multi-information display notifies the
driver inside that the remote is out.■When the power mode is in
ACCESSORY
If the keyless access remote is taken out of the
vehicle, and the driver’s door is closed, a
warning buzzer sounds from outside the
vehicle.
■
Keyless Access Remote Reminder
1Keyless Access Remote Reminder
When the keyless access remote is within the
system’s operational range, and the driver’s door is
closed, the warning function cancels.
If the keyless access remote is taken out of the vehicle
after the engine has been started, you can no longer
change the ENGINE START/STOP button mode or
restart the engine. Always make sure if the remote is
in your vehicle when you operate the ENGINE
START/STOP button.
Removing the keyless access remote from the vehicle
through a window does not activate the warning
buzzer.
Do not put the keyless access remote on the
dashboard or in the glove box. It may cause the
warning buzzer to go off. Under some other
conditions that can prevent the vehicle from locating
the remote, the warning buzzer may also go off even
if the remote is within the system’s operational
range.
Models with
navigation
system
Models without
navigation
system
Page 147 of 518

146
uuOperating the Switches Around the Steering WheeluDriving Position Memory System
Controls
Driving Position Memory SystemYou can store two driver’s seat (except for power lumbar), steering wheel and door
mirror positions with the driving position memory system.
When you unlock and open the driver’s door with a remote transmitter, or keyless
access system, the seat and door mirrors adjust automatically to one of the two
preset positions.
The steering wheel will move to the stored position when you set the power mode
to ACCESSORY.
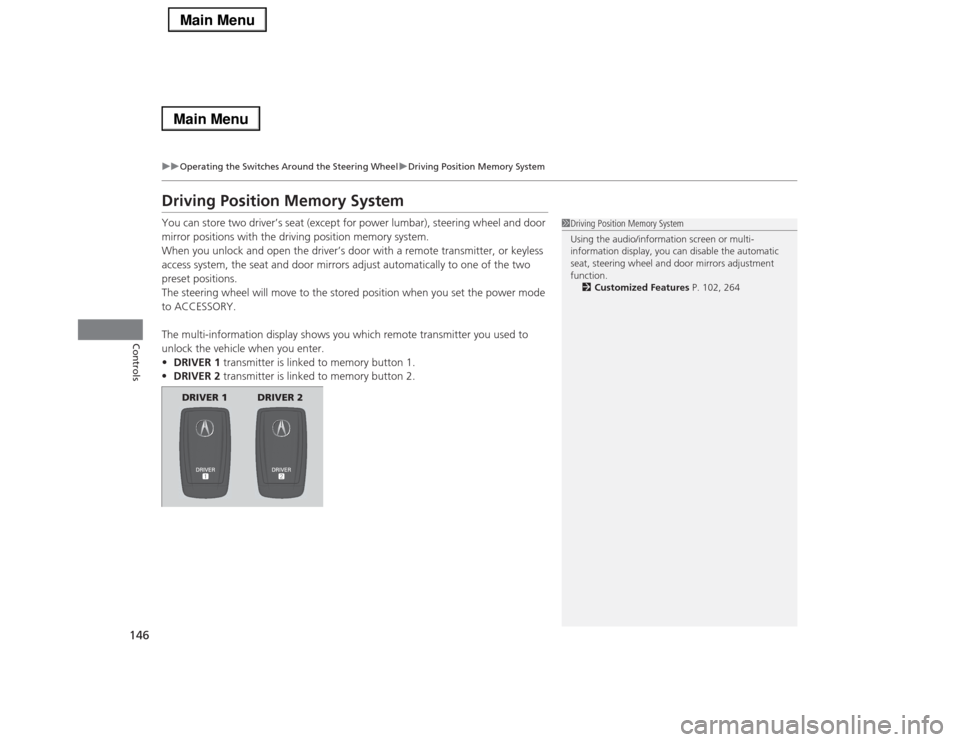
The multi-information display shows you which remote transmitter you used to
unlock the vehicle when you enter.
•DRIVER 1 transmitter is linked to memory button 1.
•DRIVER 2 transmitter is linked to memory button 2.
1Driving Position Memory System
Using the audio/information screen or multi-
information display, you can disable the automatic
seat, steering wheel and door mirrors adjustment
function.
2Customized Features P. 102, 264
DRIVER 1 DRIVER 2
Page 152 of 518

151
uuAdjusting the MirrorsuPower Door Mirrors
Controls
■Folding in the door mirrors
Press the lock button on the keyless access remote, or press the door lock button on
any door.
uThe mirrors start folding in automatically.■Folding out the door mirrors
Press the unlock button on the keyless access remote, or grab the door handle on
any door.
uThe mirrors start folding out automatically.
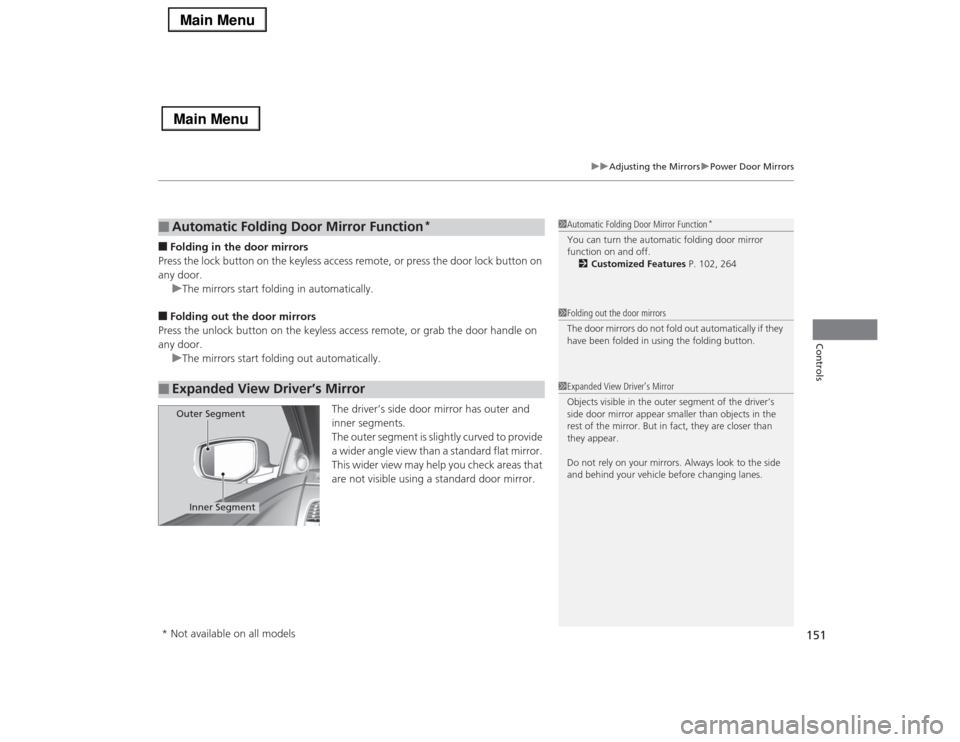
The driver’s side door mirror has outer and
inner segments.
The outer segment is slightly curved to provide
a wider angle view than a standard flat mirror.
This wider view may help you check areas that
are not visible using a standard door mirror.■
Automatic Folding Door Mirror Function
*
■
Expanded View Driver’s Mirror
1Automatic Folding Door Mirror Function
*
You can turn the automatic folding door mirror
function on and off.
2Customized Features P. 102, 2641Folding out the door mirrors
The door mirrors do not fold out automatically if they
have been folded in using the folding button.1Expanded View Driver’s Mirror
Objects visible in the outer segment of the driver’s
side door mirror appear smaller than objects in the
rest of the mirror. But in fact, they are closer than
they appear.
Do not rely on your mirrors. Always look to the side
and behind your vehicle before changing lanes.
Inner Segment
Outer Segment
* Not available on all models
Page 163 of 518
uuInterior Lights/Interior Convenience ItemsuInterior Convenience Items
162Controls
You can lock the glove box, trunk, and/or
navigation
*/audio system, entering a PIN code
from the On Demand Multi-Use Display
TM.
To lock:
1.Select Shortcuts.
2.Select Valet.
3.Select the item you want to be PIN-
protected from the locked area, then select
OK.
■
Valet Mode
1Valet Mode
If you need to give the key to someone else, lock the
trunk pass-through cover first, and give the keyless
access remote without a built-in key as a valet key.
2Trunk Pass-through Cover P. 170
Locked Area
* Not available on all models
Page 171 of 518
170
uuInterior Lights/Interior Convenience ItemsuInterior Convenience Items
Controls
Pull the rear seat armrest down and push the
button to open the cover.
You have access to the trunk from this
opening in the rear seat-back.
The cover latches when you push it back to
the original position.
You can lock and unlock this cover using the
built-in key.
■
Trunk Pass-through Cover
LockButton
Cover
Page 199 of 518
uuAudio System Basic OperationuOn Demand Multi-Use Display
TM
198Features
■Phone
You can preset five speed dial entries, and make a call from one of the preset
numbers, or call history when the phone is paired and connected to the vehicle‘s
Bluetooth® HandsFreeLink® (HFL) system.
2 Phone Setup P. 293
To preset a speed dial:
1.Select Shortcuts.
2.Select Phone.
3.Select Speed Dial.
4.Select Edit or No Entry.
uIf you select No Entry, go to step 6.
5.Select Add.
uFive presets appear. Select a No Entry
preset or an existing preset.
uThe screen changes to a list of previously
stored speed dial entries.
6.Select a number you want to store as a
shortcut.
To make a call from a speed dial entry:
1.Select Shortcuts.
2.Select Phone.
3.Select Speed Dial.
4.Select a preset number.
uDialing starts automatically.
1Phone
Dial icon
You can make a call using the keyboard on the On
Demand Multi-Use Display
TM to input numbers.
2To make a call using a phone number
P. 315
Page 203 of 518

uuAudio System Basic OperationuOn Demand Multi-Use Display
TM
202Features
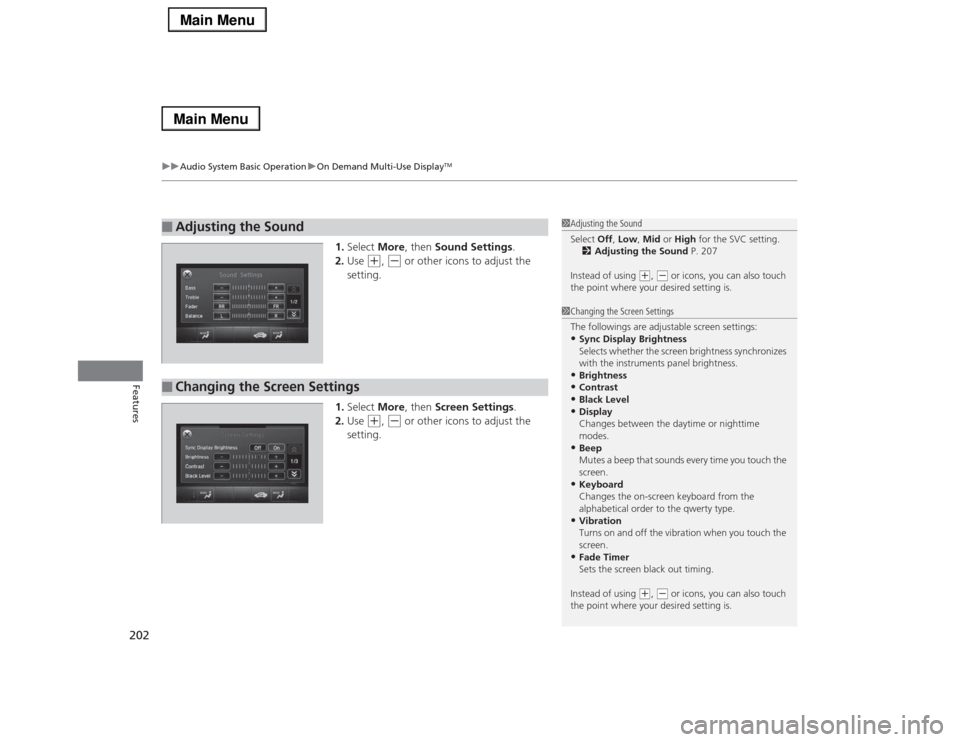
1.Select More, then Sound Settings.
2.Use
(+
, (-
or other icons to adjust the
setting.
1.Select More, then Screen Settings.
2.Use
(+
, (-
or other icons to adjust the
setting.
■
Adjusting the Sound
1Adjusting the Sound
Select Off, Low, Mid or High for the SVC setting.
2Adjusting the Sound P. 207
Instead of using
(+, (- or icons, you can also touch
the point where your desired setting is.
■
Changing the Screen Settings
1Changing the Screen Settings
The followings are adjustable screen settings:•Sync Display Brightness
Selects whether the screen brightness synchronizes
with the instruments panel brightness.•Brightness•Contrast•Black Level•Display
Changes between the daytime or nighttime
modes.•Beep
Mutes a beep that sounds every time you touch the
screen.•Keyboard
Changes the on-screen keyboard from the
alphabetical order to the qwerty type.•Vibration
Turns on and off the vibration when you touch the
screen.•Fade Timer
Sets the screen black out timing.
Instead of using
(+, (- or icons, you can also touch
the point where your desired setting is.
Page 216 of 518
215
uuAudio System Basic OperationuVoice Control Operation
Continued
Features
In keyboard screen, letters can be selected
by saying each individual letter or by saying
a keyword phrase. These keyword phrases
are:■
Keyboard Entry Commands
■LettersSay . . .
Or say . . .
A
Apple/Alpha
B
Boy/Bravo
C
Charlie
D
Dog/Delta
E
Edward/Echo
F
Frank/Foxtrot
G
George/Golf
H
Henry/Hotel
I
Igloo/India
J
John/Juliet
K
King/Kilo
L
Larry/Lima
M
Mary/Mike
N
Nancy/November
O
Oscar
P
Paul/Papa
Q
Queen/Quebec
R
Robert/Romeo
S
Sam/Sierra
T
Tom/Tango
U
Uncle/Uniform
V
Victor
W
William/Whiskey
X
X-ray
Y
Yellow/Yankee
Z
Zebra/Zulu
■NumbersNumber . . .
Or say . . .
0
Zero
1
One
2
Two
3
Three
4
Four
5
Five
6
Six
7
Seven
8
Eight
9
Nine