Page 135 of 518
134
uuOperating the Switches Around the Steering WheeluENGINE START/STOP Button
Controls
If you leave the vehicle for 30 to 60 minutes with the shift lever in
(P
and the power
mode in ACCESSORY, the vehicle automatically goes into the mode similar to
VEHICLE OFF (LOCK) to avoid the battery drain.
When in this mode:
The steering wheel does not lock.
You cannot lock or unlock doors with the remote transmitter or the keyless access
system.
Press the ENGINE START/STOP button to switch the mode to VEHICLE OFF (LOCK).
If you open the driver’s door when the power mode is set to ACCESSORY, a warning
buzzer sounds.
■
Automatic Power Off
■
Power Mode Reminder
Page 136 of 518

135
uuOperating the Switches Around the Steering WheeluENGINE START/STOP Button
Controls
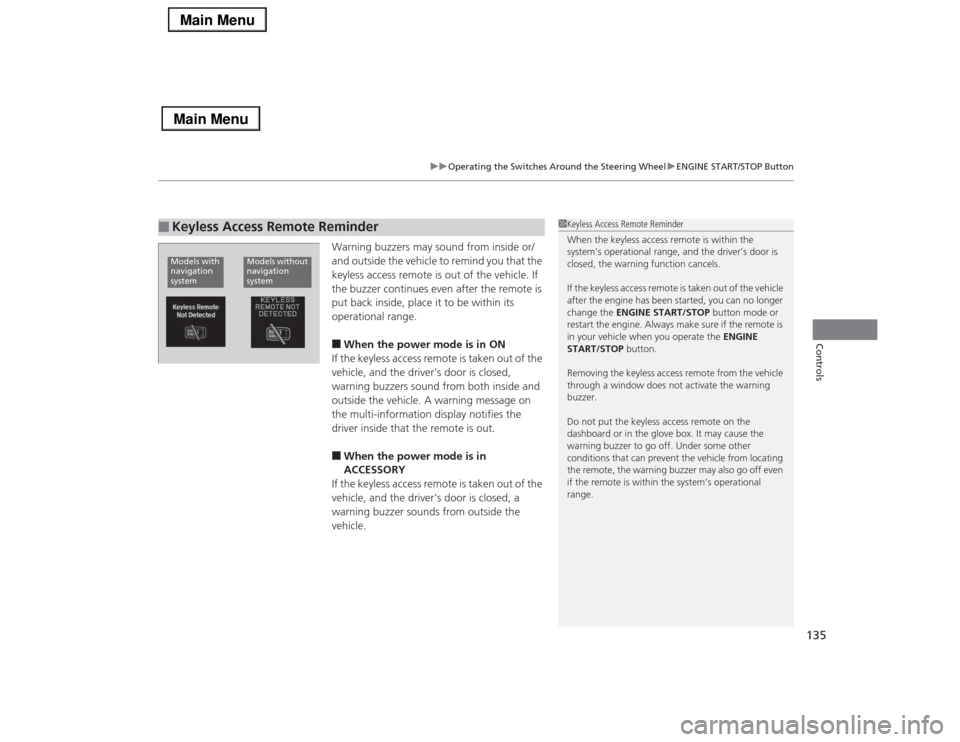
Warning buzzers may sound from inside or/
and outside the vehicle to remind you that the
keyless access remote is out of the vehicle. If
the buzzer continues even after the remote is
put back inside, place it to be within its
operational range.■When the power mode is in ON
If the keyless access remote is taken out of the
vehicle, and the driver’s door is closed,
warning buzzers sound from both inside and
outside the vehicle. A warning message on
the multi-information display notifies the
driver inside that the remote is out.■When the power mode is in
ACCESSORY
If the keyless access remote is taken out of the
vehicle, and the driver’s door is closed, a
warning buzzer sounds from outside the
vehicle.
■
Keyless Access Remote Reminder
1Keyless Access Remote Reminder
When the keyless access remote is within the
system’s operational range, and the driver’s door is
closed, the warning function cancels.
If the keyless access remote is taken out of the vehicle
after the engine has been started, you can no longer
change the ENGINE START/STOP button mode or
restart the engine. Always make sure if the remote is
in your vehicle when you operate the ENGINE
START/STOP button.
Removing the keyless access remote from the vehicle
through a window does not activate the warning
buzzer.
Do not put the keyless access remote on the
dashboard or in the glove box. It may cause the
warning buzzer to go off. Under some other
conditions that can prevent the vehicle from locating
the remote, the warning buzzer may also go off even
if the remote is within the system’s operational
range.
Models with
navigation
system
Models without
navigation
system
Page 140 of 518

139
uuOperating the Switches Around the Steering WheeluLight Switches
Controls
The headlights automatically come on when the wipers are used several times within
a certain intervals with the headlight switch in AUTO.
The headlights automatically go off a few minutes later if the wipers are stopped.
The headlights, all other exterior lights, and the instrument panel lights turn off 15
seconds after you set the power mode to VEHICLE OFF (LOCK), take the remote with
you, and close the driver's door.
If you set the power mode to VEHICLE OFF (LOCK) with the headlight switch on, but
do not open the door, the lights turn off after 10 minutes (three minutes, if the
switch is in the AUTO position).
The lights turn on again when you unlock or open the driver’s door. If you unlock
the door, but do not open it within 15 seconds, the lights go off. If you open the
driver’s door, you will hear a lights on reminder chime.■
Headlight Integration with Wipers
*
■
Automatic Lighting Off Feature
1Automatic Lighting Control
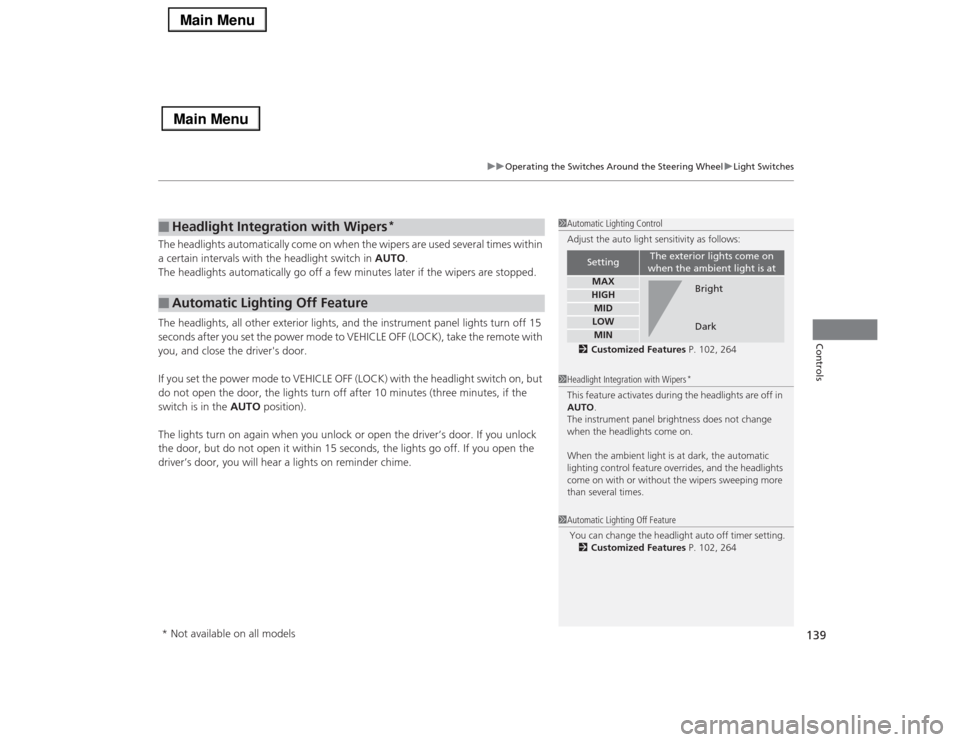
Adjust the auto light sensitivity as follows:
2Customized Features P. 102, 264
Setting
The exterior lights come on
when the ambient light is at
MAXHIGHMIDLOWMIN
Bright
Dark
1Headlight Integration with Wipers
*
This feature activates during the headlights are off in
AUTO.
The instrument panel brightness does not change
when the headlights come on.
When the ambient light is at dark, the automatic
lighting control feature overrides, and the headlights
come on with or without the wipers sweeping more
than several times.1Automatic Lighting Off Feature
You can change the headlight auto off timer setting.
2Customized Features P. 102, 264
* Not available on all models
Page 147 of 518

146
uuOperating the Switches Around the Steering WheeluDriving Position Memory System
Controls
Driving Position Memory SystemYou can store two driver’s seat (except for power lumbar), steering wheel and door
mirror positions with the driving position memory system.
When you unlock and open the driver’s door with a remote transmitter, or keyless
access system, the seat and door mirrors adjust automatically to one of the two
preset positions.
The steering wheel will move to the stored position when you set the power mode
to ACCESSORY.
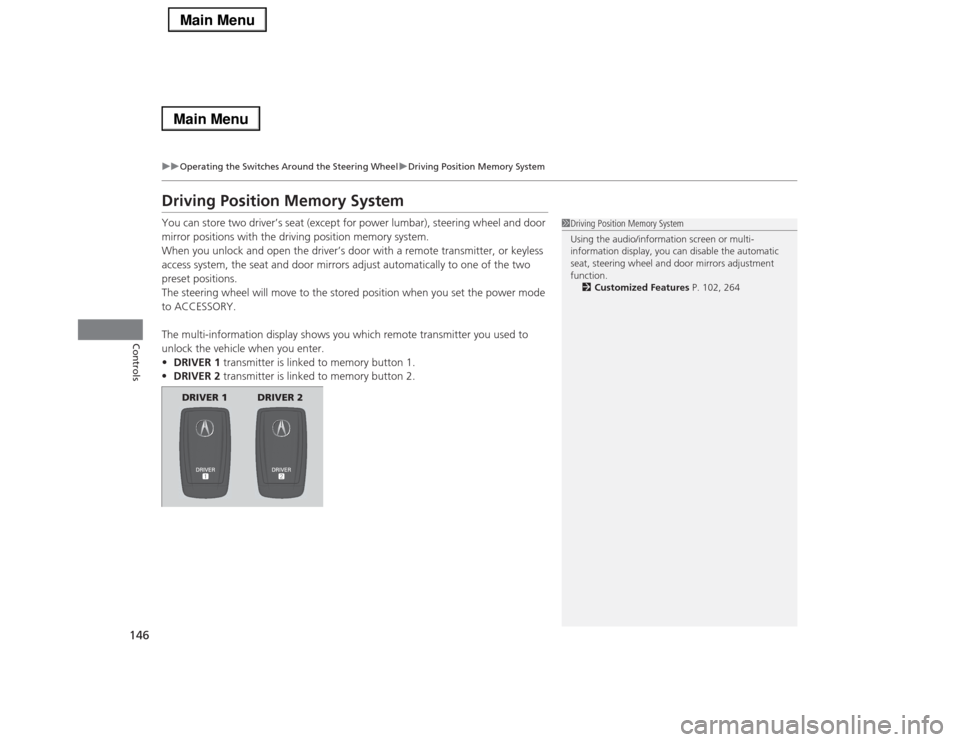
The multi-information display shows you which remote transmitter you used to
unlock the vehicle when you enter.
•DRIVER 1 transmitter is linked to memory button 1.
•DRIVER 2 transmitter is linked to memory button 2.
1Driving Position Memory System
Using the audio/information screen or multi-
information display, you can disable the automatic
seat, steering wheel and door mirrors adjustment
function.
2Customized Features P. 102, 264
DRIVER 1 DRIVER 2
Page 152 of 518

151
uuAdjusting the MirrorsuPower Door Mirrors
Controls
■Folding in the door mirrors
Press the lock button on the keyless access remote, or press the door lock button on
any door.
uThe mirrors start folding in automatically.■Folding out the door mirrors
Press the unlock button on the keyless access remote, or grab the door handle on
any door.
uThe mirrors start folding out automatically.
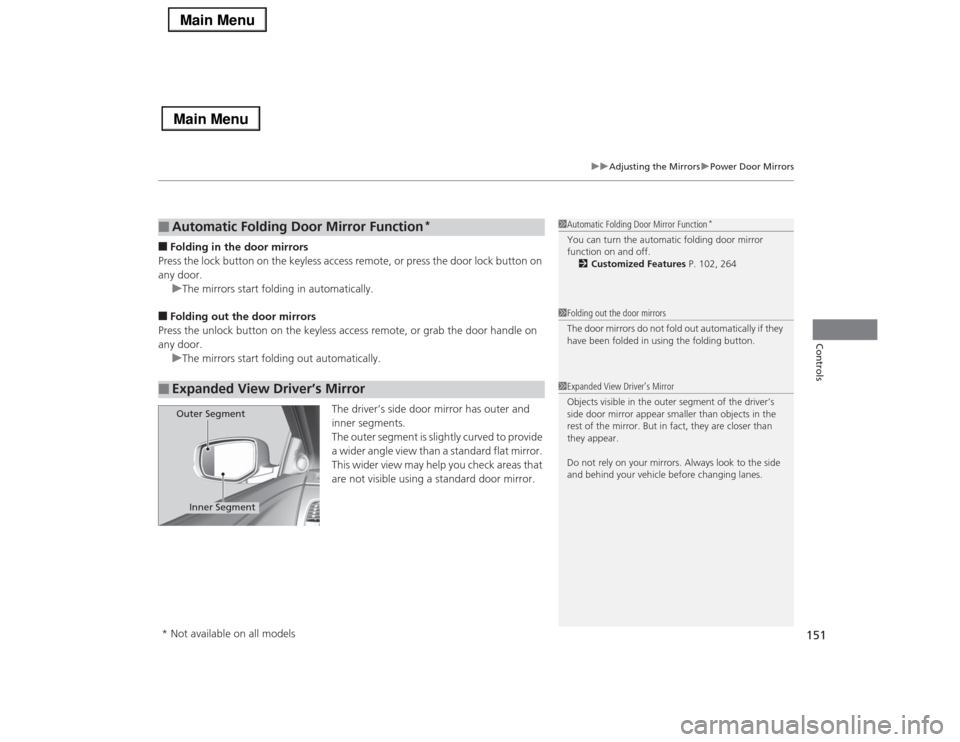
The driver’s side door mirror has outer and
inner segments.
The outer segment is slightly curved to provide
a wider angle view than a standard flat mirror.
This wider view may help you check areas that
are not visible using a standard door mirror.■
Automatic Folding Door Mirror Function
*
■
Expanded View Driver’s Mirror
1Automatic Folding Door Mirror Function
*
You can turn the automatic folding door mirror
function on and off.
2Customized Features P. 102, 2641Folding out the door mirrors
The door mirrors do not fold out automatically if they
have been folded in using the folding button.1Expanded View Driver’s Mirror
Objects visible in the outer segment of the driver’s
side door mirror appear smaller than objects in the
rest of the mirror. But in fact, they are closer than
they appear.
Do not rely on your mirrors. Always look to the side
and behind your vehicle before changing lanes.
Inner Segment
Outer Segment
* Not available on all models
Page 163 of 518
uuInterior Lights/Interior Convenience ItemsuInterior Convenience Items
162Controls
You can lock the glove box, trunk, and/or
navigation
*/audio system, entering a PIN code
from the On Demand Multi-Use Display
TM.
To lock:
1.Select Shortcuts.
2.Select Valet.
3.Select the item you want to be PIN-
protected from the locked area, then select
OK.
■
Valet Mode
1Valet Mode
If you need to give the key to someone else, lock the
trunk pass-through cover first, and give the keyless
access remote without a built-in key as a valet key.
2Trunk Pass-through Cover P. 170
Locked Area
* Not available on all models
Page 164 of 518

Continued
163
uuInterior Lights/Interior Convenience ItemsuInterior Convenience Items
Controls
4.The previous code is displayed. Select OK.
uYou will receive a confirmation message
on the display. Select OK.
When you enter the PIN code for the first time
or if you want to change the code:
1.Select Shortcuts.
2.Select Valet.
3.Select the item you want to be PIN-
protected from the locked area, then select
OK.
4.Enter your selected four-digit PIN code,
then select OK.
5.You will be asked to enter the same four-
digit PIN code again. Enter, then select OK.
uYou will receive a confirmation message
on the display. Select OK.
To unlock:
1.Select Valet.
2.Select Unlock.
3.Enter the four-digit PIN code you have
previously selected, then select OK.
1Valet Mode
The PIN code entering screen also appears when you
press:•The glove box open button•The trunk release button on the driver's door, on
the trunk, or on the remote
While the glove box or the trunk is PIN-protected.
If you have locked all the items of the locked area, the
PIN code entering screen appears with the power
mode in ACCESSORY.
You can cancel the valet mode when you manually
open the trunk.
2When You Cannot Open the Trunk P. 492
If you have only set Navi, Phone, Audio PIN-
protected but forgot your four-digit PIN code, you
need to go to a dealer to have the set valet mode
reset.
Page 178 of 518

177
Continued
Controls
Climate Control SystemUsing Automatic Climate ControlThe automatic climate control system maintains the interior temperature you select.
The system also selects the proper mix of heated or cooled air that raises or lowers
the interior temperature to your preference as quickly as possible.
Use the system when the engine is running.
1.Press the AUTO button.
2.Adjust the interior temperature using the driver’s side or passenger’s side
temperature control switch.
3.Press the (On/off) button to cancel.
In addition to the button/switch operations, you can control the climate control
system from the On Demand Multi-Use Display
TM touch screen.
1Using Automatic Climate Control
If any buttons/icons on the touch screen are pressed
while using the climate control system in AUTO, the
function of the button/icon that was pressed will take
priority.
The AUTO indicator will go off, but functions
unrelated to the button/icon that was pressed will be
controlled automatically.
To prevent cold air from blowing in from outside, the
fan may operate at low speed for a while after the
AUTO button has been pressed.
If the interior is very warm, you can cool it down
more rapidly by partially opening the windows,
turning the system on auto, and setting the
temperature to low. Change the fresh mode to
recirculation mode until the temperature cools down.
When you set the temperature to the lower or upper
limit, Lo or Hi is displayed.
Pressing the button switches the climate control
system between on and off. When turned on, the
system returns to your last selection.
When you unlock the doors with your remote, the
driver’s ID (Driver 1 or Driver 2) is detected, and the
climate control settings are turned to the respective
mode automatically when you set the power mode to
ON.
(On/off) Button
AUTO Button On Demand Multi-Use Display
TM
Driver’s Side
Temperature
Control SwitchPassenger’s
Side
Temperature
Control Switch Passenger’s
Side
Temperature Driver’s Side
Temperature