Page 229 of 293
Vehicle care227
Front turn signal (2)
1. Rotate bulb socket (2)anticlockwise to disengage.
Withdraw the bulb socket from the
reflector.
2. Remove the bulb from the socket by turning anticlockwise.
3. Replace and insert new bulb into socket by turning clockwise.
4. Insert the bulb socket into the reflector and turn clockwise.
Sidelight/Daytime running light
(3)
1. Rotate bulb socket (3) anticlockwise to disengage.
Withdraw the bulb socket from the
reflector.
Page 230 of 293
228Vehicle care
2. Remove the bulb from the socketby pulling.
3. Replace and insert new bulb into socket.
4. Insert the bulb socket into the reflector and turn clockwise.
Adaptive forward lighting9 Danger
Adaptive forward lighting system
uses Xenon headlights.
Xenon headlights work under
extremely high electrical voltage.
Do not touch. Have bulbs replaced by a workshop.
Bulbs for front turn signal and
corner lighting can be changed.
Corner lighting (1) .
Front turn signal (2) .
Sidelight/Daytime running light are
designed as Light Emitting Diodes
(LEDs) and cannot be changed.
Corner lighting (1) 1. Rotate the cap (1) anticlockwise and remove it.
2. Rotate the bulb holder anticlockwise to disengage.
Withdraw the bulb holder from the
reflector.
Page 231 of 293
Vehicle care229
3. Disengage the bulb from the plugconnector by pulling.
4. Replace the bulb and connect bulb holder with the plug
connector.
5. Insert the bulb holder, engaging the two lugs into the reflector and
rotate clockwise to secure.
6. Fit the cap and rotate clockwise.
Front turn signal (2)
1. Rotate bulb socket (2) anticlockwise to disengage.
Withdraw the bulb socket from the
reflector.
2. Remove the bulb from the socket by turning anticlockwise.
3. Replace and insert new bulb into socket by turning clockwise.
4. Insert the bulb socket into the reflector and turn clockwise.
Fog lights The bulbs are accessible from
beneath the vehicle.
Page 232 of 293
230Vehicle care
1. Remove the outer screws of thecover, marked by the arrows.
2. Hinge away the cover.
Turn the bulb socket anti-
clockwise and remove it from the
reflector.
3. Disengage the bulb socket from the plug connector by pressing
the retaining lug.
4. Remove and replace the bulb socket with bulb and attach the
plug connector.
5. Insert the bulb socket into the reflector, turn clockwise andengage.
6. Mount the cover with the screws.
Tail lights
1. Hinge out the screw cover.
Page 234 of 293
232Vehicle care
Reverse lights (4) in the tailgate
1.Open the tailgate and remove the
cover.
2. Turn the bulb holder anti- clockwise and remove it from the
reflector.
3. Remove the bulb from the socket by pulling.
4. Replace and insert new bulb into socket.
5. Insert the bulb socket into the reflector and turn clockwise.
6. Install the cover.
Rear fog light The bulbs are accessible from
beneath the vehicle.
1. Turn the bulb socket anti- clockwise and remove it from the
reflector.
Page 235 of 293
Vehicle care233
2. Remove the bulb from the socketby turning anticlockwise.
3. Replace and insert new bulb into the socket by turning clockwise.
4. Insert the bulb socket into the reflector, turn clockwise andengage.
Bulb check Switch on the ignition, operate and
check all lights.
Side turn signal lights
To replace bulb, remove lamp
housing:1. Slide lamp to its left side and remove with its right end.
2. Turn bulb holder anticlockwiseand remove from housing.
3. Pull bulb from bulb holder andreplace it.
4. Insert bulb holder and turn clockwise.
5. Insert left end of the lamp, slide to
the left and insert right end.
Number plate light
1. Insert screwdriver in recess of the
cover, press to the side and
release spring. Remove cover.
Page 240 of 293
238Vehicle careInstrument panel fuse box
In left-hand drive vehicles, the fuse
box is behind the storage
compartment in the instrument panel.
Open the compartment and push it to the left to unlock. Fold the
compartment down and remove it.
In right-hand drive vehicles, the fuse
box is located behind a cover in the
glovebox. Open the glovebox, then
open the cover and fold it down.
No.Circuit1Cruise control, speed limiter,
adaptive cruise control, steering wheel controls2Exterior lights, body control
module3Exterior lights, body control
module4Infotainment system5Infotainment system, instru‐
ment6Power outlet, cigarette lighter7Power outlet8Left low beam, body control
module9Right low beam, body control
module, airbag module10Door locks, body control module11Interior fan12–
Page 248 of 293

246Vehicle care
Tyres age, even if they are not used.
We recommend tyre replacement
every 6 years.
Changing tyre and wheel
size
If tyres of a different size than those
fitted at the factory are used, it may be necessary to reprogramme the
speedometer as well as the nominal
tyre pressure and make other vehicle modifications.
After converting to a different tyre
size, have the label with tyre
pressures replaced.9 Warning
Use of unsuitable tyres or wheels
may lead to accidents and will
invalidate the vehicle type
approval.
Wheel covers
Wheel covers and tyres that are
factory approved for the respective
vehicle and comply with all of the
relevant wheel and tyre combination requirements must be used.
If the wheel covers and tyres used are
not factory approved, the tyres must
not have a rim protection ridge.
Wheel covers must not impair brake
cooling.9 Warning
Use of unsuitable tyres or wheel
covers could lead to sudden
pressure loss and thereby
accidents.
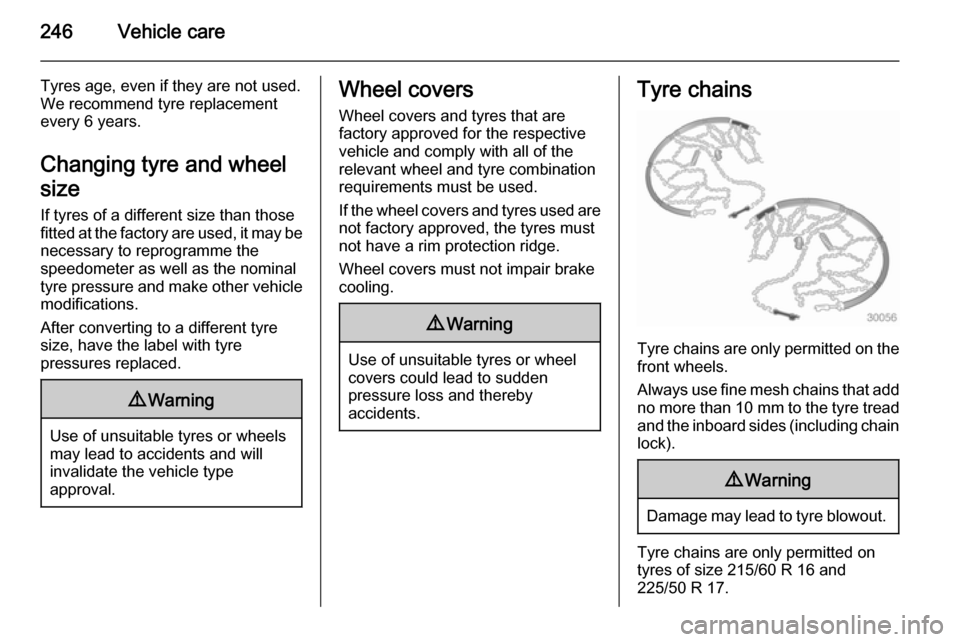
Tyre chains
Tyre chains are only permitted on the
front wheels.
Always use fine mesh chains that add no more than 10 mm to the tyre tread
and the inboard sides (including chain lock).
9 Warning
Damage may lead to tyre blowout.
Tyre chains are only permitted on
tyres of size 215/60 R 16 and
225/50 R 17.