2014.5 VAUXHALL INSIGNIA buttons
[x] Cancel search: buttonsPage 47 of 143

Radio47RadioUsage.......................................... 47
Station search .............................. 47
Waveband menus ........................48
Radio data system (RDS) ............49
Digital audio broadcasting ...........50Usage
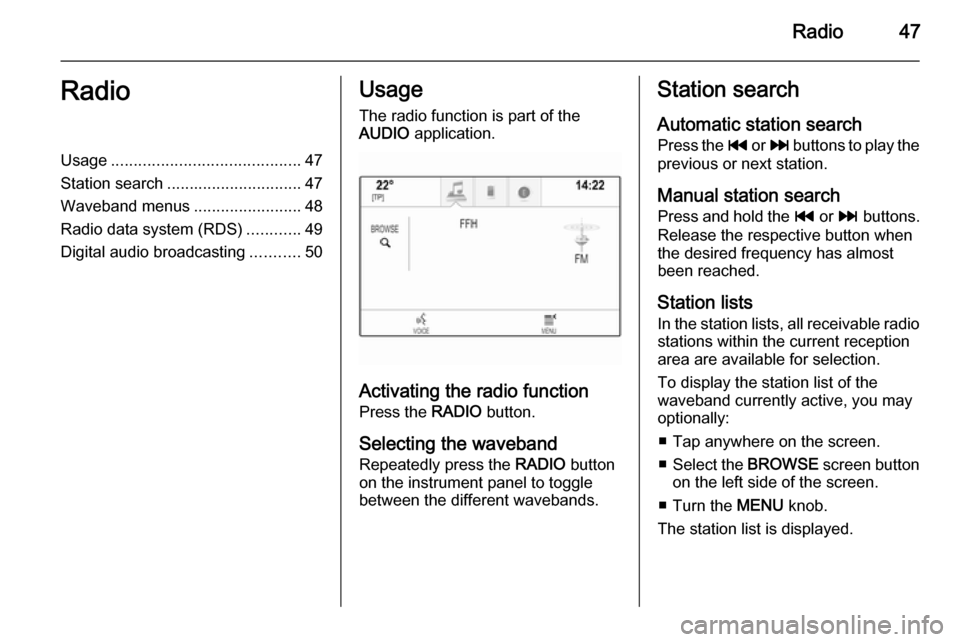
The radio function is part of the
AUDIO application.
Activating the radio function
Press the RADIO button.
Selecting the waveband
Repeatedly press the RADIO button
on the instrument panel to toggle between the different wavebands.
Station search
Automatic station search
Press the t or v buttons to play the
previous or next station.
Manual station search Press and hold the t or v buttons.
Release the respective button when
the desired frequency has almost
been reached.
Station lists
In the station lists, all receivable radio stations within the current reception
area are available for selection.
To display the station list of the
waveband currently active, you may
optionally:
■ Tap anywhere on the screen.
■ Select the BROWSE screen button
on the left side of the screen.
■ Turn the MENU knob.
The station list is displayed.
Page 53 of 143

CD Player53
■ Dirt and liquids on CDs can smearthe lens of the audio player inside
the device and cause faults.
■ Protect CDs from heat and direct sunlight.
■ The following restrictions apply for the data stored on an MP3/WMACD:
Maximum file/song number: 800.
Maximum folders in depth
hierarchy: 8.
WMA files with Digital Rights
Management (DRM) from online music shops cannot be played.
WMA files can only be played
safely if they were created with Windows Media Player version 9 or later.
Applicable playlist
extensions: .m3u, .pls.
Playlist entries must be in the form
of relative paths.Notice
This chapter only deals with playing
MP3 files since the operation for
MP3 and WMA files is identical.
When a CD with WMA files is loaded
MP3 related menus are displayed.
Usage
Starting CD playback Push an audio or MP3 CD with the
labelled side facing upwards into the
CD slot until it is pulled in.
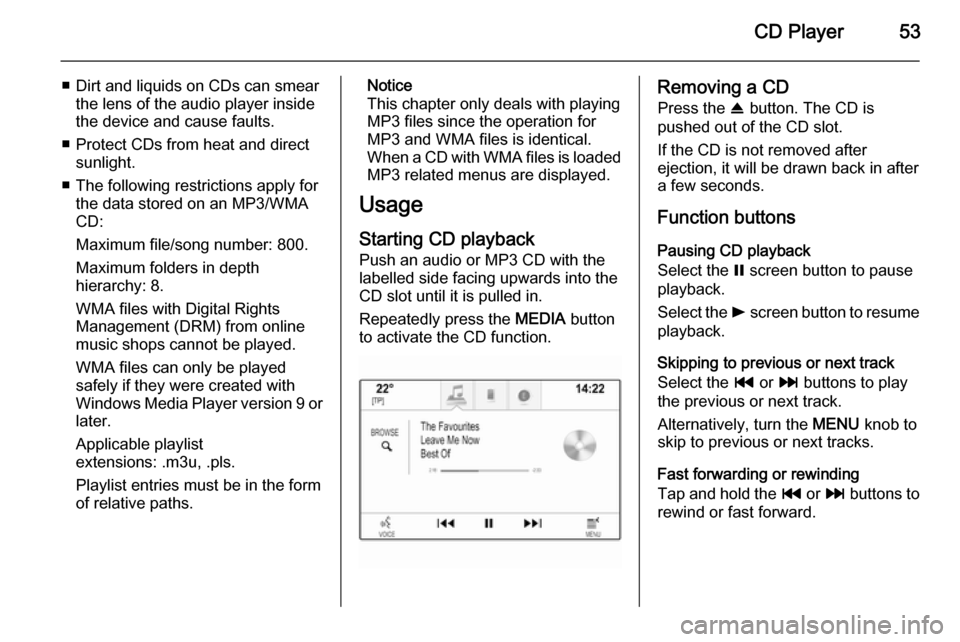
Repeatedly press the MEDIA button
to activate the CD function.Removing a CD
Press the R button. The CD is
pushed out of the CD slot.
If the CD is not removed after
ejection, it will be drawn back in after
a few seconds.
Function buttons
Pausing CD playback
Select the = screen button to pause
playback.
Select the l screen button to resume
playback.
Skipping to previous or next track
Select the t or v buttons to play
the previous or next track.
Alternatively, turn the MENU knob to
skip to previous or next tracks.
Fast forwarding or rewinding
Tap and hold the t or v buttons to
rewind or fast forward.
Page 58 of 143

58External devices
Repeatedly press the MEDIA button
to activate the desired media source.
Example: USB main menu.
Alternatively, select My Media
Library to display a library containing
music data of all connected devices.
Function buttons Notice
During AUX playback, the function
buttons are not available.
Pausing playback
Select the = screen button to pause
playback.
Select the l screen button to resume
playback.
Skipping to previous or next track
Select the t or v buttons to play
the previous or next track.
Alternatively, turn the MENU knob to
skip to previous or next tracks.
Fast forwarding or rewinding
Tap and hold the t or v buttons to
rewind or fast forward.
Browse function Notice
The browse function is not available
for AUX and Bluetooth media
sources.
To display the browse screen, you may optionally:
■ Tap anywhere on the screen
■ Select the BROWSE screen button
on the left side of the screen
■ Turn the MENU knob.
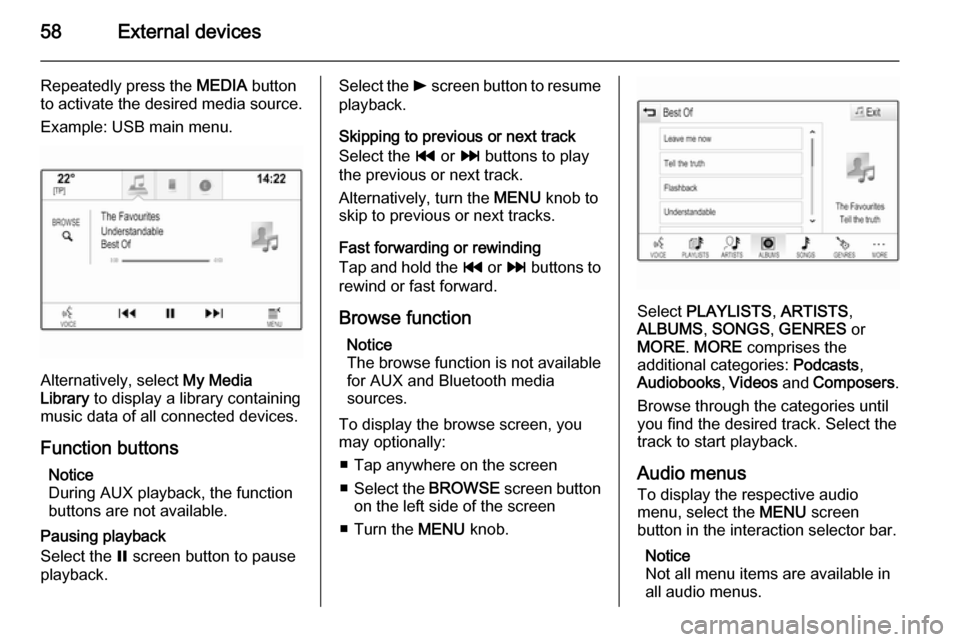
Select PLAYLISTS , ARTISTS ,
ALBUMS , SONGS , GENRES or
MORE . MORE comprises the
additional categories: Podcasts,
Audiobooks , Videos and Composers .
Browse through the categories until
you find the desired track. Select the
track to start playback.
Audio menus
To display the respective audio
menu, select the MENU screen
button in the interaction selector bar.
Notice
Not all menu items are available in
all audio menus.
Page 59 of 143

External devices59
Tone Settings
Find a detailed description 3 41.
Shuffle
If Shuffle is activated, the tracks on
the active device are played in
random order.
Notice
In USB, SD or iPod playback, the shuffle function is dependent on the
filter mode selected for song
playback, e.g. album, artist, genre.
Set Shuffle to On or Off.
Auto Volume / Bose AudioPilot
Find a detailed description 3 42.
Manage Bluetooth Devices
(only available in the Bluetooth music
menu)
Select Manage Bluetooth Devices to
display the device list.
Find a detailed description 3 87.
Traffic Programme (TP)
To constantly receive traffic news, set Traffic Programme (TP) - On .
Find a detailed description 3 49.
Playing movies
Starting video playback
Connect the device 3 55.
Repeatedly press the MEDIA button
to activate the desired media source.
Select the BROWSE screen button
and then the MORE tab. Select the
Videos list item and then the desired
movie file. Video playback is started.
Notice
Videos may only be played, if the
parking brake is applied.
Function buttons
Pausing playback
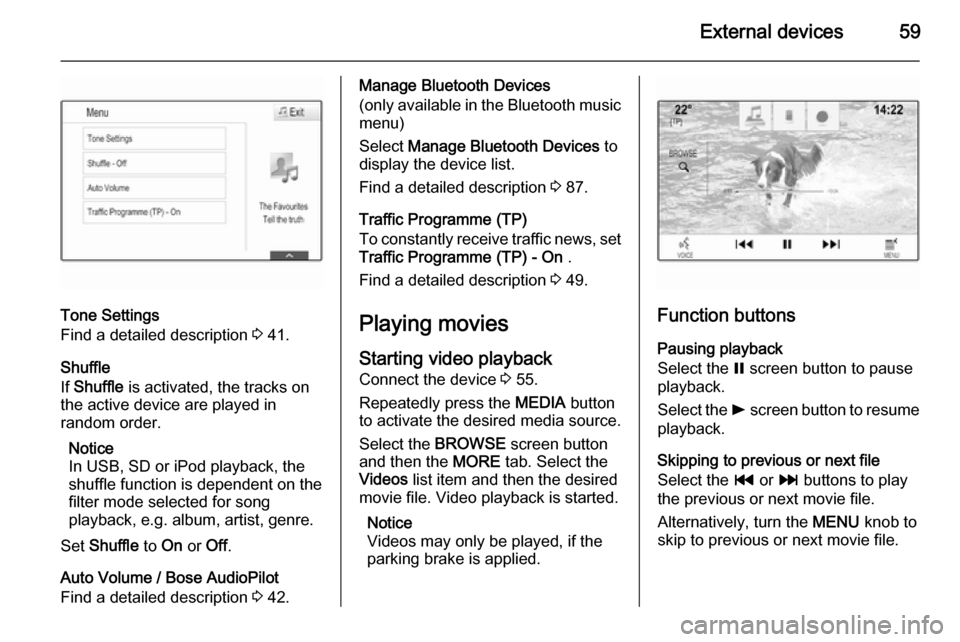
Select the = screen button to pause
playback.
Select the l screen button to resume
playback.
Skipping to previous or next file
Select the t or v buttons to play
the previous or next movie file.
Alternatively, turn the MENU knob to
skip to previous or next movie file.
Page 60 of 143

60External devices
Fast forwarding or rewinding
Tap and hold the t or v buttons to
rewind or fast forward.
Video menu To display the video menu, select the
MENU screen button in the
interaction selector bar.
Find a detailed description of the
menu 3 57.
Using apps The Infotainment system supports the
operation of apps via the controls on the Infotainment system.
Before an application can be
operated using the controls and
menus of the Infotainment system,
the respective application has to be
installed via a smartphone.
Activating the Tethering function on the smartphone
Activate the Tethering and the
Bluetooth functions on the
smartphone (see user guide of the
smartphone).Notice
Tethering has to be set up correctly
depending on the network provider.
Connect the smartphone to the
Infotainment system via Bluetooth
3 87.
Creating a new account Press the ; button and then select
the Apps icon to display a welcome
screen.
To setup a new account, select the
respective screen button at the
bottom of the screen. You are led through various setup screens.
First, a list of all phones paired to the
system is displayed. Select the phone
with which you want to establish an
Internet connection to the app store.
Then a keyboard for the entry of an
email address is displayed. Enter
your email address.
In the menu displayed afterwards, a
PIN code needs to be set. Select the
New PIN entry field. A keyboard is
displayed. Select the desired digits.
To confirm the PIN code, select theConfirm New PIN entry field. The
keyboard is redisplayed. Enter the
PIN code again. Confirm your input.
A menu for country selection is
displayed. Scroll through the list and
select the desired country.
Last, the privacy policy of the app
store is displayed. Select the Agree
screen button to create the account.
The apps main menu is displayed.
Installing new apps
Press the ; button and then select
the Apps icon to display the apps
main menu.
Select the Apps screen button at the
bottom of the screen to display the apps menu.
All
To display a list of all apps available,
select the All screen button at the
bottom of the screen.
Scroll through the list and select the
desired app. A submenu with detailed information on the respective app is
displayed.
Page 67 of 143

Navigation67
Nearest address
From this submenu, you may store
the nearest address to the system.
Select the Nearest Address screen
button to display the destination
details view.
Find a detailed description on how to save an address
■ as or to a contact 3 32.
■ as a favourite 3 28.
Points of interest
From this submenu, you may start
route guidance to one of the nearest
points of interest.
Select the desired point of interest.
The destination details view is
displayed.
Select the Go screen button.
Find a detailed description on how to
enter a destination 3 70.
Map view
View
Select the MENU screen button in the
interaction selector bar and then
select the Map View list item to
display the respective submenu.
Select the desired map view ( 3D
View , Heading Up View , North Up
View ).
Audio information
If Audio Information is activated,
audio control screen buttons are
displayed in the interaction selector
bar of the map view.
Select the MENU screen button in the
interaction selector bar and then
select the Map View list item to
display the respective submenu.
Set Audio Information to On or Off.Display mode
Select the MENU screen button in the
interaction selector bar and then
select the Map View list item to
display the respective submenu.
Select Day / Night Mode to display the
respective submenu.
Depending on the external lighting
conditions, activate Day or Night .
If you wish the screen to adjust
automatically, activate the Auto menu
item.
POI icons
Select the MENU screen button in the
interaction selector bar and then
select the Display "Points of Interest"
Icons list item to display the
respective submenu.
If POI Icons is activated, points of
interest around the current location or
along the route are displayed on the
map.
Set POI Icons to On or Off.
If POI Icons is set to On, select the
POI categories you wish to be
displayed.
Page 83 of 143

Speech recognition83
You can now say a voice command to
directly initiate a system function
(e.g. playing a preset radio station), or
to start a dialogue sequence with
several dialogue steps (e.g. entering
a destination address), see
"Operation via speech commands"
further below.
After a dialogue sequence is finished,
the speech recognition is deactivated
automatically. To initiate another
dialogue sequence, you need to
activate the speech recognition
again.Activation via the VOICE screen
button on the centre display
Select the VOICE screen button in the
interaction selector bar of a centre
display main menu.
The audio system mutes, a voice
output message prompts you to say a
command, and a help menu with the
most important commands currently
available is shown on the centre
display.
As soon as the speech recognition is
ready for voice input, a beep is heard. The speech recognition symbol on
the right side of the help menu
changes from black to red.
You can now say a voice command,
see description above.
Adjusting the volume of voice
prompts
Press the ! / # button on the right
side of the steering wheel upwards
(increase volume) or downwards
(decrease volume).
Interrupting a voice prompt
As an experienced user, you can
interrupt a voice prompt by briefly
pressing the w button on the steering
wheel.
A beep is heard immediately, the
speech recognition symbol changes
to red, and a command can be stated
without having to wait.
Cancelling a dialogue sequence
There are various possibilities to
cancel a dialogue sequence and to
deactivate the speech recognition:
■ Say " Cancel" or "Exit".
■ Press the n button on the left-
hand side of the steering wheel.
■ If the speech recognition session was started via the VOICE screen
button on the centre display, you
may alternatively:
◆ Press the ; button on the
instrument panel.
◆ Select the m or Exit screen
buttons in the help menu.
Page 108 of 143

108Introduction
Left-hand steering wheel control
1s button
Press: take phone call ........134
2 n button
Press: end/decline call ........134
or activate/deactivate
mute function ...................... 134
For a description of all other controls,
see Owner's manual.
Right-hand steering wheel
control
1 Five-way controller ..............111
Press buttons: operate
menus on the Driver
Information Centre (see
images below)
i button - display menu for
application selection;
return to next higher menu level
j button - display
application-specific main menu
P / Q buttons - select
menu item
9 button - confirm selection
2 ! / # button
Press upwards: increase volume
Press downwards:
decrease volume
3 k / l buttons
If radio is active: press to
select next / previous
favourite .............................. 118
If media source is active:
press to select next /
previous track ...................... 126