Page 72 of 107
72IntroductionTone settings
In the tone settings menu the tone
characteristics can be set differently
for each radio waveband and each
audio player source.
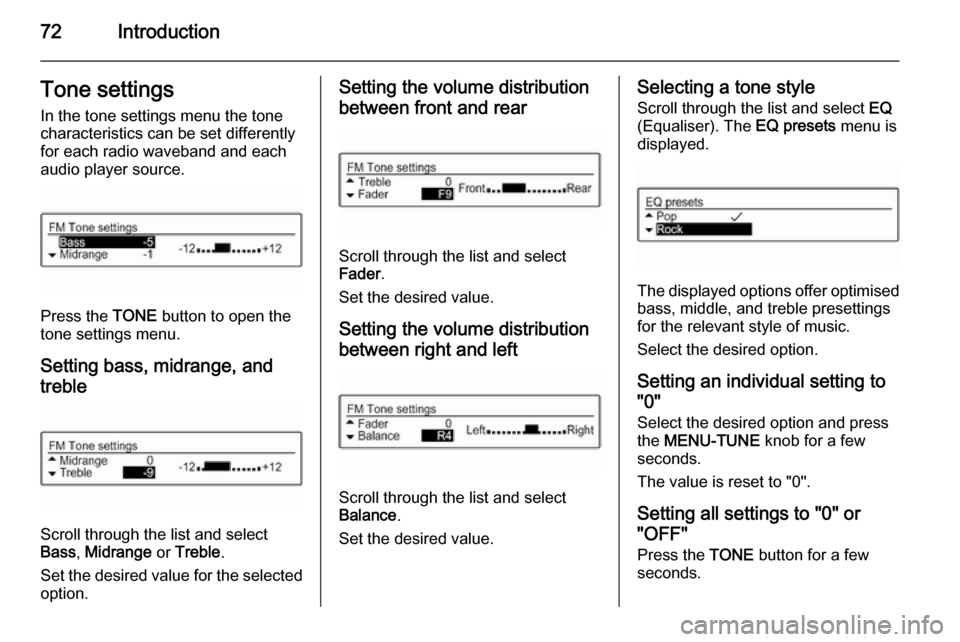
Press the TONE button to open the
tone settings menu.
Setting bass, midrange, and
treble
Scroll through the list and select
Bass , Midrange or Treble .
Set the desired value for the selected
option.
Setting the volume distribution
between front and rear
Scroll through the list and select
Fader .
Set the desired value.
Setting the volume distributionbetween right and left
Scroll through the list and select
Balance .
Set the desired value.
Selecting a tone style Scroll through the list and select EQ
(Equaliser). The EQ presets menu is
displayed.
The displayed options offer optimised
bass, middle, and treble presettings
for the relevant style of music.
Select the desired option.
Setting an individual setting to
"0"
Select the desired option and press
the MENU-TUNE knob for a few
seconds.
The value is reset to "0".
Setting all settings to "0" or
"OFF"
Press the TONE button for a few
seconds.
Page 73 of 107
Introduction73
All values are reset to "0", the EQ
preset is set to " OFF".
Volume settings Adjusting the speed
compensated volume
Press the CONFIG button to open the
Settings menu.
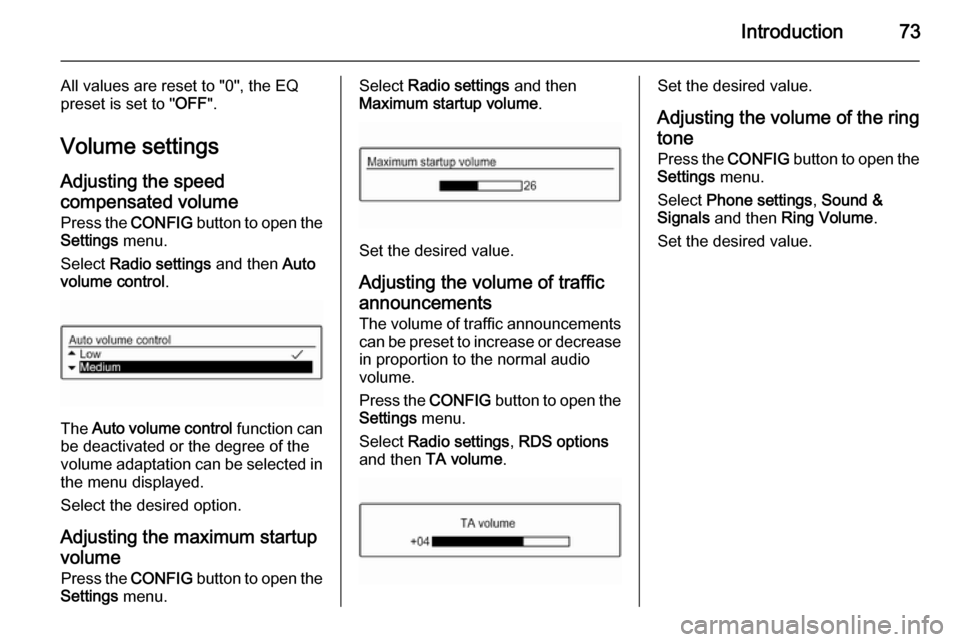
Select Radio settings and then Auto
volume control .
The Auto volume control function can
be deactivated or the degree of the
volume adaptation can be selected in the menu displayed.
Select the desired option.
Adjusting the maximum startup volume Press the CONFIG button to open the
Settings menu.
Select Radio settings and then
Maximum startup volume .
Set the desired value.
Adjusting the volume of traffic
announcements
The volume of traffic announcements
can be preset to increase or decrease in proportion to the normal audio
volume.
Press the CONFIG button to open the
Settings menu.
Select Radio settings , RDS options
and then TA volume .
Set the desired value.
Adjusting the volume of the ring
tone
Press the CONFIG button to open the
Settings menu.
Select Phone settings , Sound &
Signals and then Ring Volume .
Set the desired value.
Page 74 of 107
74RadioRadioUsage.......................................... 74
Station search .............................. 74
Autostore lists .............................. 75
Favourite lists ............................... 76
Waveband menus ........................76
Radio data system (RDS) ............78
Digital audio broadcasting ...........80Usage
Activating the radio
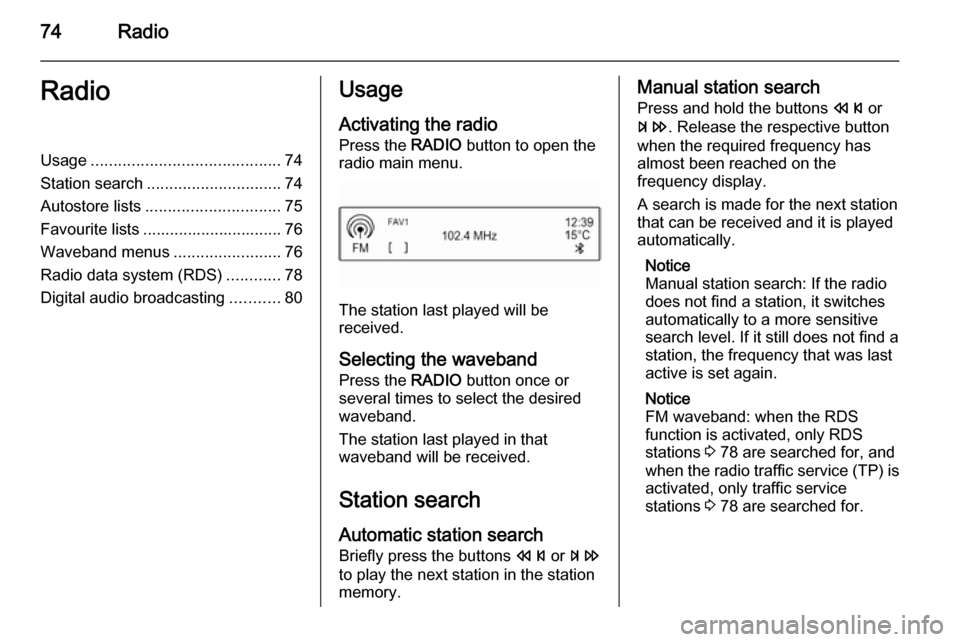
Press the RADIO button to open the
radio main menu.
The station last played will be
received.
Selecting the waveband
Press the RADIO button once or
several times to select the desired
waveband.
The station last played in that
waveband will be received.
Station search
Automatic station search
Briefly press the buttons s or u
to play the next station in the station
memory.
Manual station search
Press and hold the buttons s or
u . Release the respective button
when the required frequency has
almost been reached on the
frequency display.
A search is made for the next station
that can be received and it is played
automatically.
Notice
Manual station search: If the radio
does not find a station, it switches
automatically to a more sensitive
search level. If it still does not find a
station, the frequency that was last
active is set again.
Notice
FM waveband: when the RDS
function is activated, only RDS
stations 3 78 are searched for, and
when the radio traffic service (TP) is activated, only traffic service
stations 3 78 are searched for.
Page 80 of 107
80Radio
Blocking out traffic announcements
To block out a traffic announcement,
e.g. during CD/MP3 replay:
Press the TP button or the
MENU-TUNE knob to confirm the
cancelling message on the display.
The traffic announcement is
cancelled, but the radio traffic service
remains switched on.
Digital audio broadcasting
Digital audio broadcasting (DAB) is
an innovative and universal
broadcast system.
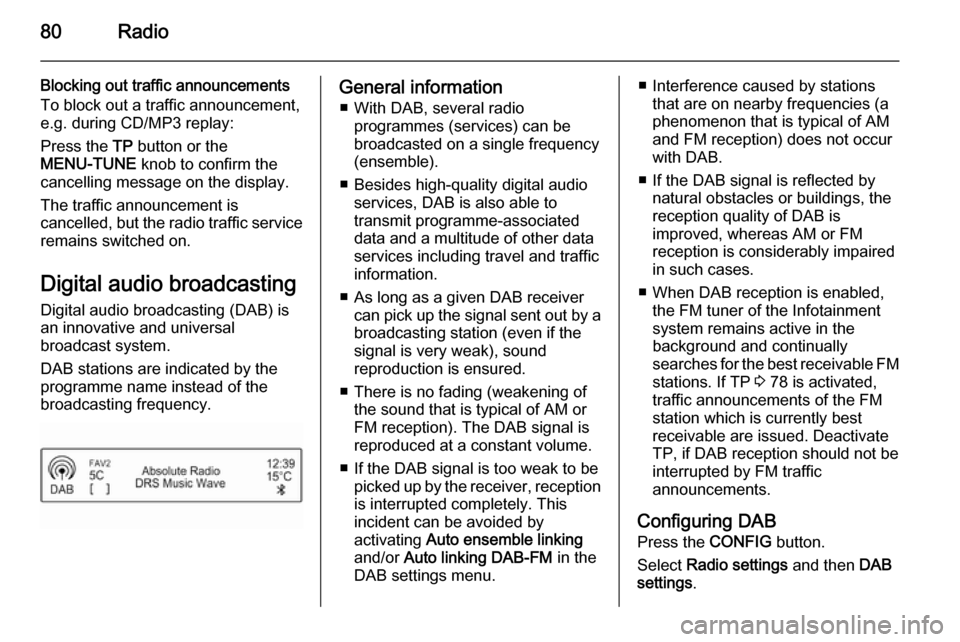
DAB stations are indicated by the
programme name instead of the
broadcasting frequency.General information
■ With DAB, several radio programmes (services) can bebroadcasted on a single frequency
(ensemble).
■ Besides high-quality digital audio services, DAB is also able to
transmit programme-associated
data and a multitude of other data
services including travel and traffic
information.
■ As long as a given DAB receiver can pick up the signal sent out by a
broadcasting station (even if the signal is very weak), sound
reproduction is ensured.
■ There is no fading (weakening of the sound that is typical of AM orFM reception). The DAB signal is
reproduced at a constant volume.
■ If the DAB signal is too weak to be picked up by the receiver, receptionis interrupted completely. This
incident can be avoided by
activating Auto ensemble linking
and/or Auto linking DAB-FM in the
DAB settings menu.■ Interference caused by stations that are on nearby frequencies (aphenomenon that is typical of AM
and FM reception) does not occur with DAB.
■ If the DAB signal is reflected by natural obstacles or buildings, the
reception quality of DAB is
improved, whereas AM or FM
reception is considerably impaired in such cases.
■ When DAB reception is enabled, the FM tuner of the Infotainment
system remains active in the
background and continually
searches for the best receivable FM stations. If TP 3 78 is activated,
traffic announcements of the FM station which is currently best
receivable are issued. Deactivate
TP, if DAB reception should not be
interrupted by FM traffic
announcements.
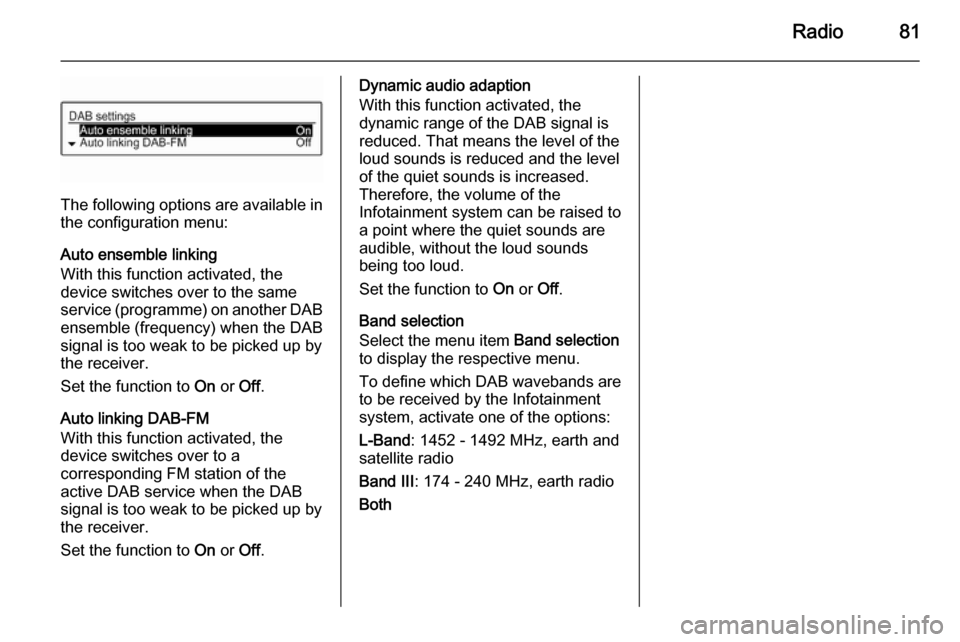
Configuring DAB Press the CONFIG button.
Select Radio settings and then DAB
settings .
Page 81 of 107
Radio81
The following options are available in
the configuration menu:
Auto ensemble linking
With this function activated, the
device switches over to the same
service (programme) on another DAB ensemble (frequency) when the DAB
signal is too weak to be picked up by
the receiver.
Set the function to On or Off.
Auto linking DAB-FM
With this function activated, the
device switches over to a
corresponding FM station of the
active DAB service when the DAB
signal is too weak to be picked up by
the receiver.
Set the function to On or Off.
Dynamic audio adaption
With this function activated, the
dynamic range of the DAB signal is
reduced. That means the level of the
loud sounds is reduced and the level
of the quiet sounds is increased.
Therefore, the volume of the
Infotainment system can be raised to
a point where the quiet sounds are
audible, without the loud sounds
being too loud.
Set the function to On or Off.
Band selection
Select the menu item Band selection
to display the respective menu.
To define which DAB wavebands are
to be received by the Infotainment
system, activate one of the options:
L-Band : 1452 - 1492 MHz, earth and
satellite radio
Band III : 174 - 240 MHz, earth radio
Both
Page 82 of 107
82CD PlayerCD PlayerGeneral information.....................82
Usage .......................................... 83General information
The Infotainment system's CD player
can play audio CDs and MP3/WMA
CDs.
Important informationCaution
Under no circumstances place
single-CDs with a diameter of 8 cm
or shaped CDs in the audio player.
You must not put any stickers on
CDs. These discs can get jammed
in the CD drive and ruin the player.
Replacement of the device will
then be necessary.
■ The following CD formats can be used:
CD-ROM Mode 1 and Mode 2.
CD-ROM XA Mode 2, Form 1 and
Form 2.
■ The following file formats can be used:
ISO 9660 Level 1, Level 2 (Romeo,
Joliet).
MP3 and WMA files written in any
format other than listed above may
not play correctly and their file
names and folder names may not
be displayed correctly.
■ Audio CDs with copy protection, which are not in compliance withthe audio CD standard, may not
play correctly or not at all.
■ Self-recorded CD-Rs and CD-RWs
are more vulnerable to mishandling
than prerecorded CDs. Correct
handling, especially in the case of
self-recorded CD-Rs and CD-RWs, must be ensured (see below).
■ Self-recorded CD-Rs and CD-RWs
may not play correctly or not at all.
In such cases it is not the
equipment that is at fault.
■ On mixed mode CDs (audio tracks and compressed files, e.g. MP3,
are stored), the audio tracks part
and the compressed files part can
be played separately.
■ Avoid leaving fingerprints when you
change CDs.
Page 83 of 107
CD Player83
■ Put CDs back in their sleevesimmediately after removing them
from the CD player in order to
protect them from damage and dirt.
■ Dirt and liquids on CDs can smear the lens of the CD player inside thedevice and cause faults.
■ Protect CDs from heat and direct sunlight.
■ The following restrictions apply to MP3/WMA CDs:
Bit rate: 8 kbit/s - 320 kbit/s.
Sampling frequency: 48 kHz,
44.1 kHz, 32 kHz (for MPEG-1) and
24 kHz, 22.05 kHz, 16kHz (for
MPEG-2).
■ The following restrictions apply to the data stored on an MP3/WMA
CD:
Number of tracks: max. 999.
Number of tracks per folder level:
max. 512.
Folder structure depth: max.
10 levels.Notice
This chapter deals only with playing MP3 files since the operation for
MP3 and WMA files is identical.
When a CD with WMA files is loaded
MP3 related menus are displayed.
Usage
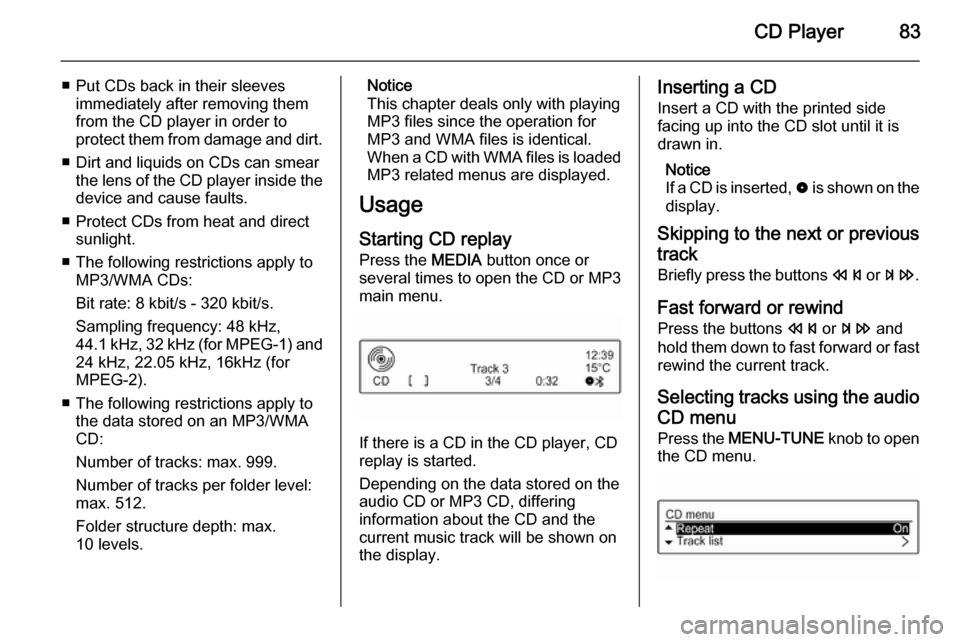
Starting CD replay Press the MEDIA button once or
several times to open the CD or MP3
main menu.
If there is a CD in the CD player, CD
replay is started.
Depending on the data stored on the
audio CD or MP3 CD, differing
information about the CD and the current music track will be shown on
the display.
Inserting a CD
Insert a CD with the printed side
facing up into the CD slot until it is
drawn in.
Notice
If a CD is inserted, 0 is shown on the
display.
Skipping to the next or previous
track
Briefly press the buttons s or u .
Fast forward or rewind Press the buttons s or u and
hold them down to fast forward or fast
rewind the current track.
Selecting tracks using the audio CD menu
Press the MENU-TUNE knob to open
the CD menu.
Page 85 of 107
AUX input85AUX inputGeneral information.....................85
Usage .......................................... 85General information
On the control panel of the
Infotainment system 3 64 , there is an
AUX input for the connection of
external audio sources.
It is possible, for example, to connect a portable CD player with a 3.5 mm
jack plug to the AUX input.
Notice
The socket must always be kept clean and dry.
Usage
CD 3.0 BT: Press the MEDIA button
once or several times to activate the AUX mode.
R 3.0: Press the AUX button to
activate the AUX mode.Turn the m VOL knob of the
Infotainment system to adjust the
volume.
All other functions can be operated
only via the control elements of the
audio source.