2014.5 Peugeot Bipper battery
[x] Cancel search: batteryPage 13 of 192
11
Bipper_en_Chap01_vue-ensemble_ed02-2014
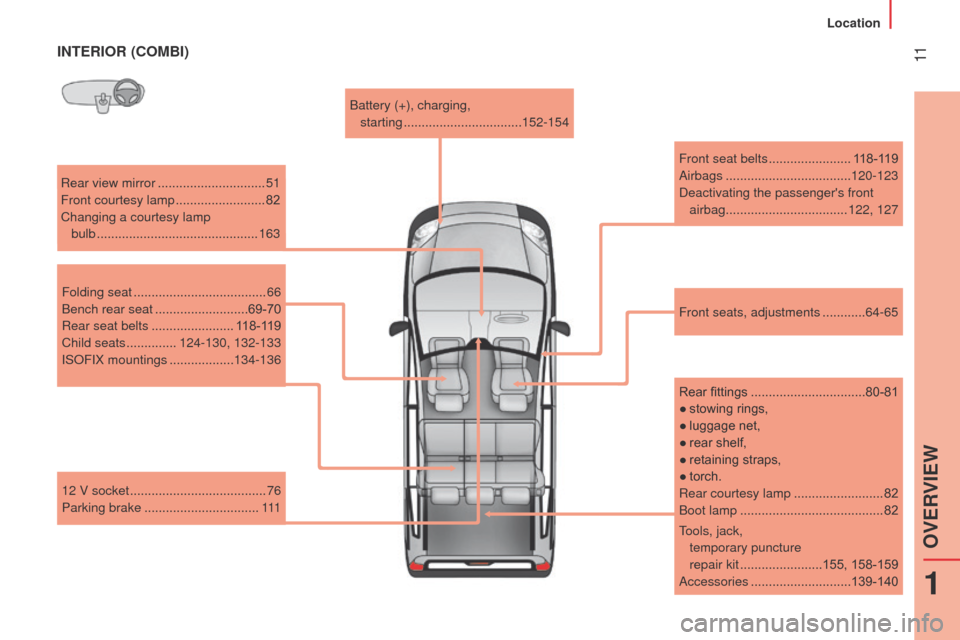
INTERIOR (COMBI)
Rear view mirror ..............................51
Front courtesy lamp .........................82
Changing a courtesy lamp bulb
............................................. 163
Front seats, adjustments
............64-65
12 V socket
...................................... 76
Parking brake
................................ 111Battery (+), charging,
starting .................................
152-154
Front seat belts .......................
118-119
Airbags ...................................
120-123
Deactivating the passenger's front airbag
..................................122, 127
Folding seat
..................................... 66
Bench rear seat
..........................69-70
Rear seat belts
.......................118-119
Child seats
..............124-130, 132-133
ISOFIX mountings
..................134-136
Rear fittings
................................80-81
●
stowing
rings,
●
luggage
net,
●
rear shelf,
●
retainin
g straps,
●
torch.
Rear courtesy lamp
.........................82
Boot lamp
........................................82
tools, jack,
temporary puncture
repair kit
.......................155, 158-159
Accessories
............................139-140
1
OVERVIEW
Location
Page 18 of 192

16
Bipper_en_Chap01_vue-ensemble_ed02-2014
emission controls ....................34, 151
Bulbs, lighting, changing
bulbs
.......
.............................
161-165
Opening the bonnet
....................... 144
u
nder the bonnet
....................
145-146
Identification markings, serial number, paint, tyres
.......
........................... 183 Changing a wiper blade
.................
166
e
ngine technical data
.............180-181
Dimensions
............................ 174-175,
176-177. 178-179
Weights
.......................................... 182
TECHNICAL DATA - MAINTENANCE
levels .....................................147-14 8
●
dipstick,
●
power steering fluid,
●
brake fluid,
●
coolant,
●
screenw
ash.
Checks.................................... 149-151
●
battery
,
●
air/passenger compartment filter
,
●
oil filter
,
●
particle emissions filter (1.3 HDi 75),
●
parking brake,
●
brake pads.
e
ngine fuses
...................167, 170-171
Location
Page 29 of 192
27
Bipper_en_Chap03_pret-a-partir_ed02-2014
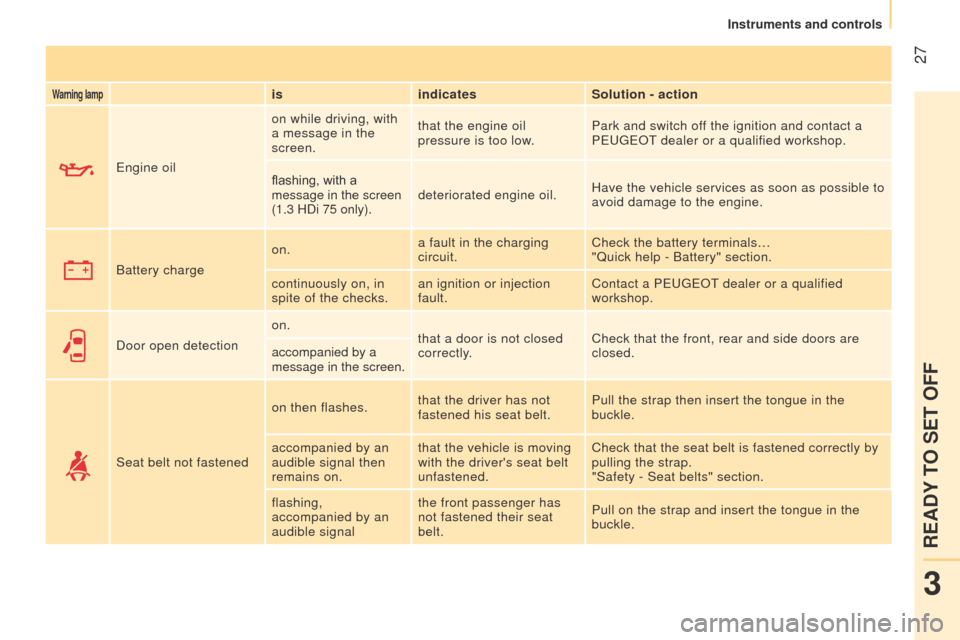
Warning lampisindicates Solution - action
e
ngine oil on while driving, with
a message in the
screen.
that the engine oil
pressure is too low.
Park and switch off the ignition and contact a
P
euge O t
dealer or a qualified workshop.
flashing, with a
message in the screen
(1.3 HDi 75 only). deteriorated engine oil.
Have the vehicle services as soon as possible to
avoid damage to the engine.
Battery charge on.
a fault in the charging
circuit. Check the battery terminals…
"Quick help - Battery" section.
continuously on, in
spite of the checks. an ignition or injection
fault. Contact a P
euge O t
dealer or a qualified
workshop.
Door open detection on.
that a door is not closed
correctly. Check that the front, rear and side doors are
closed.
accompanied by a
message in the screen.
Seat belt not fastened on then flashes.
that the driver has not
fastened his seat belt. Pull the strap then insert the tongue in the
buckle.
accompanied by an
audible signal then
remains on. that the vehicle is moving
with the driver's seat belt
unfastened. Check that the seat belt is fastened correctly by
pulling the strap.
"Safety - Seat belts" section.
flashing,
accompanied by an
audible signal the front passenger has
not fastened their seat
belt.
Pull on the strap and insert the tongue in the
buckle.
3
READY TO SET OFF
Instruments and controls
Page 40 of 192

38
Bipper_en_Chap03_pret-a-partir_ed02-2014
KEY
this locks and unlocks the doors on the
vehicle, opens and closes the fuel filler cap,
as well as starting and stopping the engine.
REMOTE CONTROL BATTERY
Reference: CR 2032/3 volts. -
use the screwdriver as a lever to extract
the battery holder housing 2,
- remove the housing and change the
battery 3 observing the polarities,
-
put the battery holder housing
2 back
inside the key and secure it by turning the
screw 1.
Changing the remote control
battery
there is a risk of damage if
the replacement battery does not
conform.
Only use batteries which are identical or of
an equivalent type to those recommended
by a P
euge O t
dealer
.
take used batteries
to an approved collection point.
-
press the button to eject the
key,
-
turn the screw
1 from the
closed padlock to the open
padlock using a screwdriver
with a thin tip,
Switching off the engine leads to a loss
of braking assistance.
Access
Page 45 of 192
43
Bipper_en_Chap03_pret-a-partir_ed02-2014
Good practice
When opening, take care not to obstruct the
guide space on the floor to allow the door to
slide correctly.
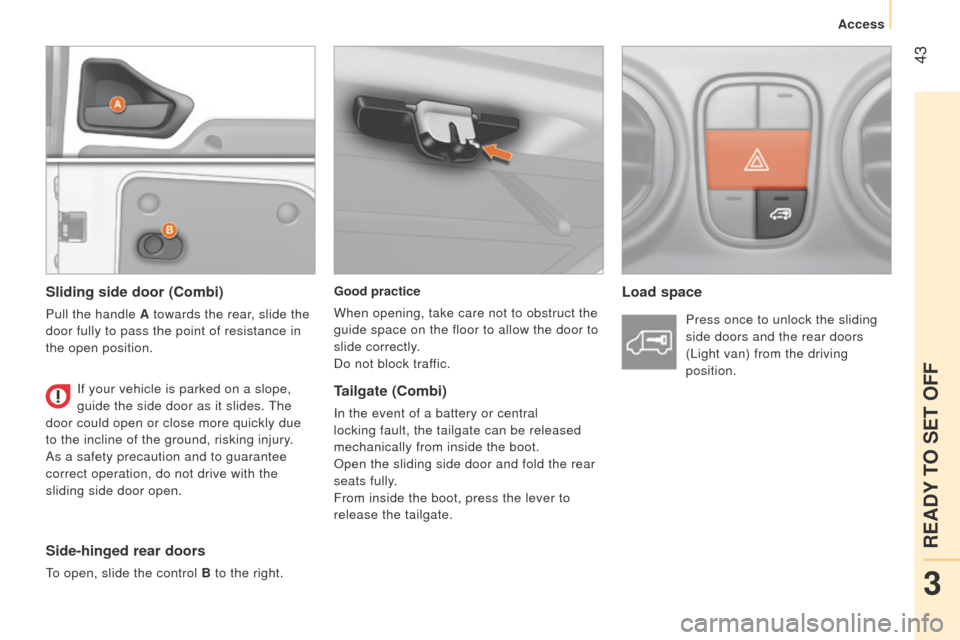
Do not block traffic.Load space
Sliding side door (Combi)
Pull the handle A towards the rear, slide the
door fully to pass the point of resistance in
the open position.
Side-hinged rear doors
to open, slide the control B to the right.
If your vehicle is parked on a slope,
guide the side door as it slides.
t
he
door could open or close more quickly due
to the incline of the ground, risking injury.
As a safety precaution and to guarantee
correct operation, do not drive with the
sliding side door open. Press once to unlock the sliding
side doors and the rear doors
( l ight van) from the driving
position.
Tailgate (Combi)
In the event of a battery or central
locking fault, the tailgate can be released
mechanically from inside the boot.
Open the sliding side door and fold the rear
seats fully.
From inside the boot, press the lever to
release the tailgate.
3
READY TO SET OFF
Access
Page 63 of 192
61
Bipper_en_Chap03_pret-a-partir_ed02-2014
- with a manual gearbox, with the vehicle
stationary, put the gear lever into neutral,
then release the clutch pedal,
-
with an electronic gearbox
, with the
vehicle stationary, hold the brake pedal
down. Special cases: STOP mode unavailable
t
he S t
OP
mode is not invoked when:
-
the driver's door is open,
-
the driver's seat belt is not fastened,
-
reverse gear is engaged,
-
some special conditions (battery
charge, engine temperature, particle
filter regeneration, braking assistance,
ambient temperature...) where the engine
is needed to assure control of a system.
In this case, a message appears
in the instrument panel screen,
accompanied by the "S" warning
lamp, which flashes for a
few seconds, then goes off.
This operation is perfectly normal.
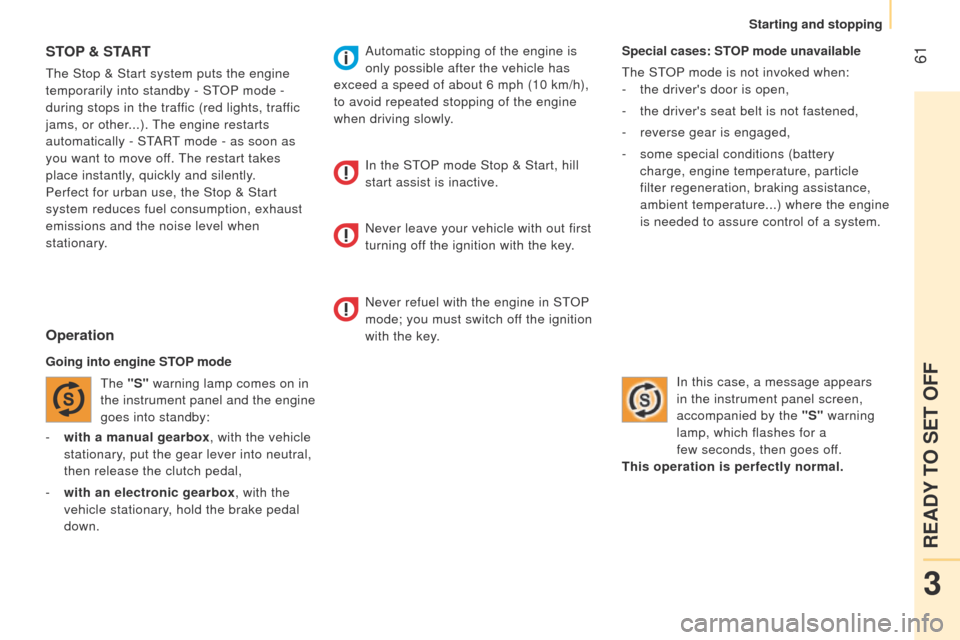
STOP & S TART
the Stop & Start system puts the engine
temporarily into standby - S t
OP
mode -
during stops in the traffic (red lights, traffic
jams, or other...).
t
he engine restarts
automatically - S
t
ARt mode - as soon as
you want to move off.
t
he restart takes
place instantly, quickly and silently.
Perfect for urban use, the Stop & Start
system reduces fuel consumption, exhaust
emissions and the noise level when
stationary.
Operation
Going into engine STOP mode
t
he "S" warning lamp comes on in
the instrument panel and the engine
goes into standby: Automatic stopping of the engine is
only possible after the vehicle has
exceed a speed of about 6 mph (10 km/h),
to avoid repeated stopping of the engine
when driving slowly.
In the S t
OP
mode Stop & Start, hill
start assist is inactive.
Never leave your vehicle with out first
turning off the ignition with the key.
Never refuel with the engine in S
t
OP
mode; you must switch off the ignition
with the key.
3
READY TO SET OFF
Starting and stopping
Page 64 of 192
62
Bipper_en_Chap03_pret-a-partir_ed02-2014
Special cases: START invoked
automatically
t
he S t
ARt mode is invoked automatically
when:
-
the vehicle's is free wheeling on a slope,
-
the engine has been stopped for around
3 minutes with Stop & Start,
-
some special conditions (battery charge,
engine temperature, braking assistance,
ambient temperature...) where the engine
is needed to assure control of a system. Good practice
With a manual gearbox in S
t
OP
mode, if a
gear is engaged without fully depressing the
clutch pedal, restarting may not take place.
A warning lamp or message is displayed
in the instrument panel asking you to fully
depress the clutch pedal to allow restarting.
With the engine stopped in S
t
OP
mode,
if the driver unfasten's their seat belt and
opens a front door, the engine can only
be restarted using the ignition key.
t
his is
indicated by an audible signal, accompanied
by flashing of the service warning lamp and
a message in the instrument panel screen.
If following an automatic restart in S
t
ARt
mode, the driver takes no action on the
the vehicle during the next
3 minutes, the
system stops the engine definitively.
t
he
engine can then only be restarted using
the key.
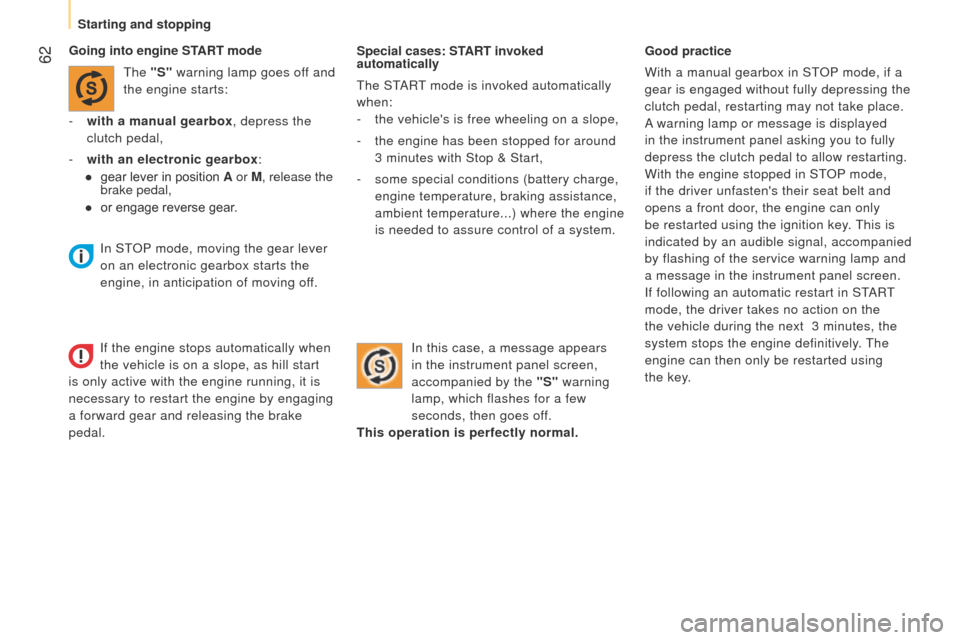
Going into engine START mode
t
he "S" warning lamp goes off and
the engine starts:
-
with a manual gearbox
, depress the
clutch pedal,
-
with an electronic gearbox
:
●
gear lever in position
A or M, release the
brake pedal,
●
or engage rever
se gear. In this case, a message appears
in the instrument panel screen,
accompanied by the "S" warning
lamp, which flashes for a few
seconds, then goes off.
This operation is perfectly normal.
In S
t
OP
mode, moving the gear lever
on an electronic gearbox starts the
engine, in anticipation of moving off.
If the engine stops automatically when
the vehicle is on a slope, as hill start
is only active with the engine running, it is
necessary to restart the engine by engaging
a forward gear and releasing the brake
pedal.
Starting and stopping
Page 65 of 192
63
Bipper_en_Chap03_pret-a-partir_ed02-2014
Deactivation
to give precedence to the control of the
temperature in the passenger compartment,
the Stop & Start system should be
deactivated to allow continuous operation of
the air conditioning.
t
he system retains the same state
(active or inactive) after switching of
and restarting the engine with the key.
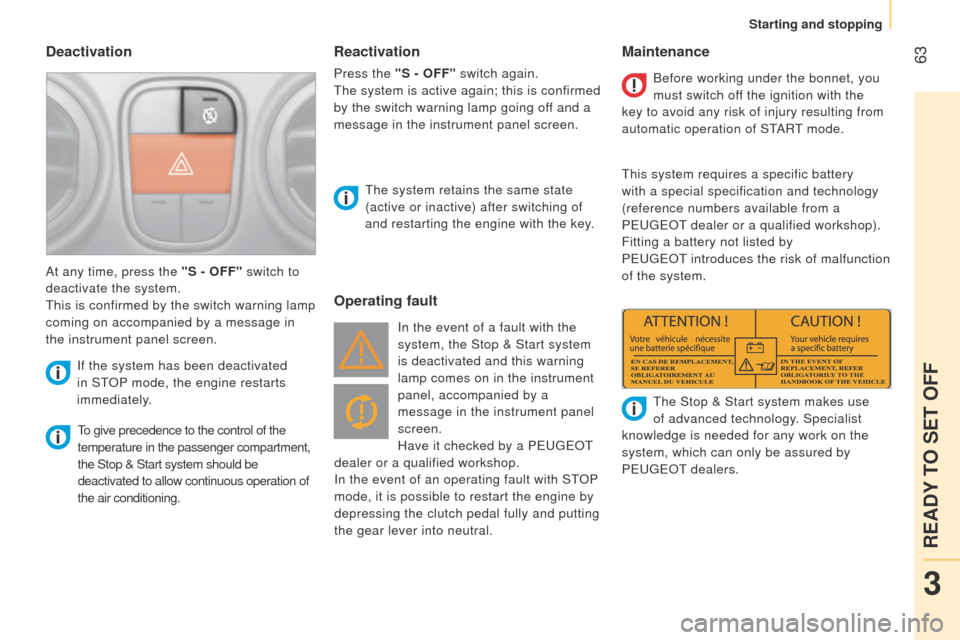
At any time, press the "S - OFF" switch to
deactivate the system.
t
his is confirmed by the switch warning lamp
coming on accompanied by a message in
the instrument panel screen.
If the system has been deactivated
in St
OP
mode, the engine restarts
immediately.
Operating fault Maintenance
In the event of a fault with the
system, the Stop & Start system
is deactivated and this warning
lamp comes on in the instrument
panel, accompanied by a
message in the instrument panel
screen.
Have it checked by a P
euge O t
dealer or a qualified workshop.
In the event of an operating fault with S
t
OP
mode, it is possible to restart the engine by
depressing the clutch pedal fully and putting
the gear lever into neutral. Before working under the bonnet, you
must switch off the ignition with the
key to avoid any risk of injury resulting from
automatic operation of S t
ARt mode.
t
his system requires a specific battery
with a special specification and technology
(reference numbers available from a
P euge O t
dealer or a qualified workshop).
Fitting a battery not listed by
P euge O t introduces the risk of malfunction
of the system.
t
he Stop & Start system makes use
of advanced technology. Specialist
knowledge is needed for any work on the
system, which can only be assured by
P
euge O t
dealers.
Reactivation
Press the "S - OFF" switch again.
t
he system is active again; this is confirmed
by the switch warning lamp going off and a
message in the instrument panel screen.
3
READY TO SET OFF
Starting and stopping