Page 61 of 211

Fig. 61 Turn signal and main beam lever in the basic position
First read and observe the introductoryinformation and safety warnings⇒
Introduction
Move the lever into the required position:
Right turn signal ⇒.
Left turn signal ⇒.
Switch on the main beam ⇒. When the main beam is switched on, an indicator lamp
in the instrument cluster lights up.
Operate the headlight flasher or switch off the main beam. The headlight flasher comes on
for as long as the lever is pulled. The indicator lamp lights up.
Return the lever to the basic position to switch off the current function.
Lane change flash
To operate the lane change flash, push the lever up or down to the point where you incur resistance
and then release the lever. The turn signal flashes three times.
This lane change flash function can be deactivated at a qualified workshop.
The turn signal will only work when the ignition is switched on. The hazard warning lights
also work when the ignition is switched off ⇒ In an emergency.
If one turn signal fails, the indicator lamp will start flashing twice as fast.
The main beam headlights can only be switched on if the dipped beam headlights are
already on.
Switching lights on and off
Fig. 62 Next to the steering wheel: examples of the various light switches
First read and observe the introductoryinformation and safety warnings⇒
Introduction
Observe any country-specific regulations when using vehicle lighting.
Incorrect use of turn signals, a failure to use turn signals, or forgetting to switch off a turn
signal can confuse other road users. This can lead to accidents and serious injuries.
\f
Page 94 of 211

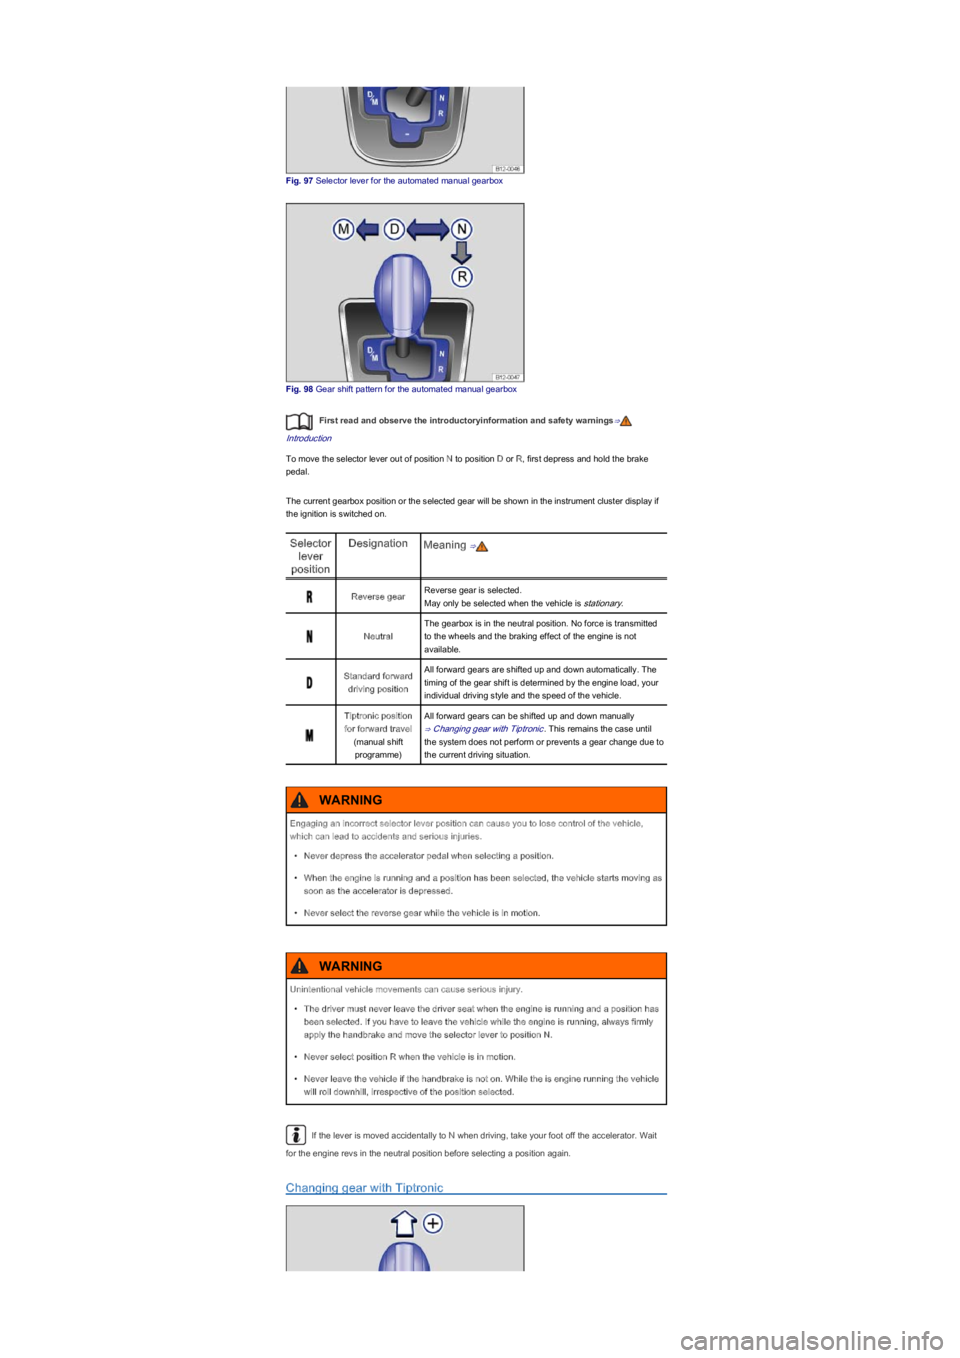
Fig. 97 Selector lever for the automated manual gearbox
Fig. 98 Gear shift pattern for the automated manual gearbox
First read and observe the introductoryinformation and safety warnings⇒
Introduction
To move the selector lever out of position N to position D or R, first depress and hold the brake
pedal.
The current gearbox position or the selected gear will be shown in the instrument cluster display if
the ignition is switched on.
Selector
lever
position
DesignationMeaning ⇒
Reverse gearReverse gear is selected.
May only be selected when the vehicle is stationary.
Neutral
The gearbox is in the neutral position. No force is transmitted
to the wheels and the braking effect of the engine is not
available.
Standard forward
driving position
All forward gears are shifted up and down automatically. The
timing of the gear shift is determined by the engine load, your
individual driving style and the speed of the vehicle.
Tiptronic position
for forward travel
(manual shift
programmeyf
All forward gears can be shifted up and down manually
⇒ Changing gear with Tiptronic. This remains the case until
the system does not perform or prevents a gear change due to
the current driving situation.
If the lever is moved accidentally to N when driving, take your foot off the accelerator. Wait
for the engine revs in the neutral position before selecting a position again.
Changing gear with Tiptronic
Engaging an incorrect selector lever position can cause you to lose control of the vehicle,
which can lead to accidents and serious injuries.
\f
Page 189 of 211

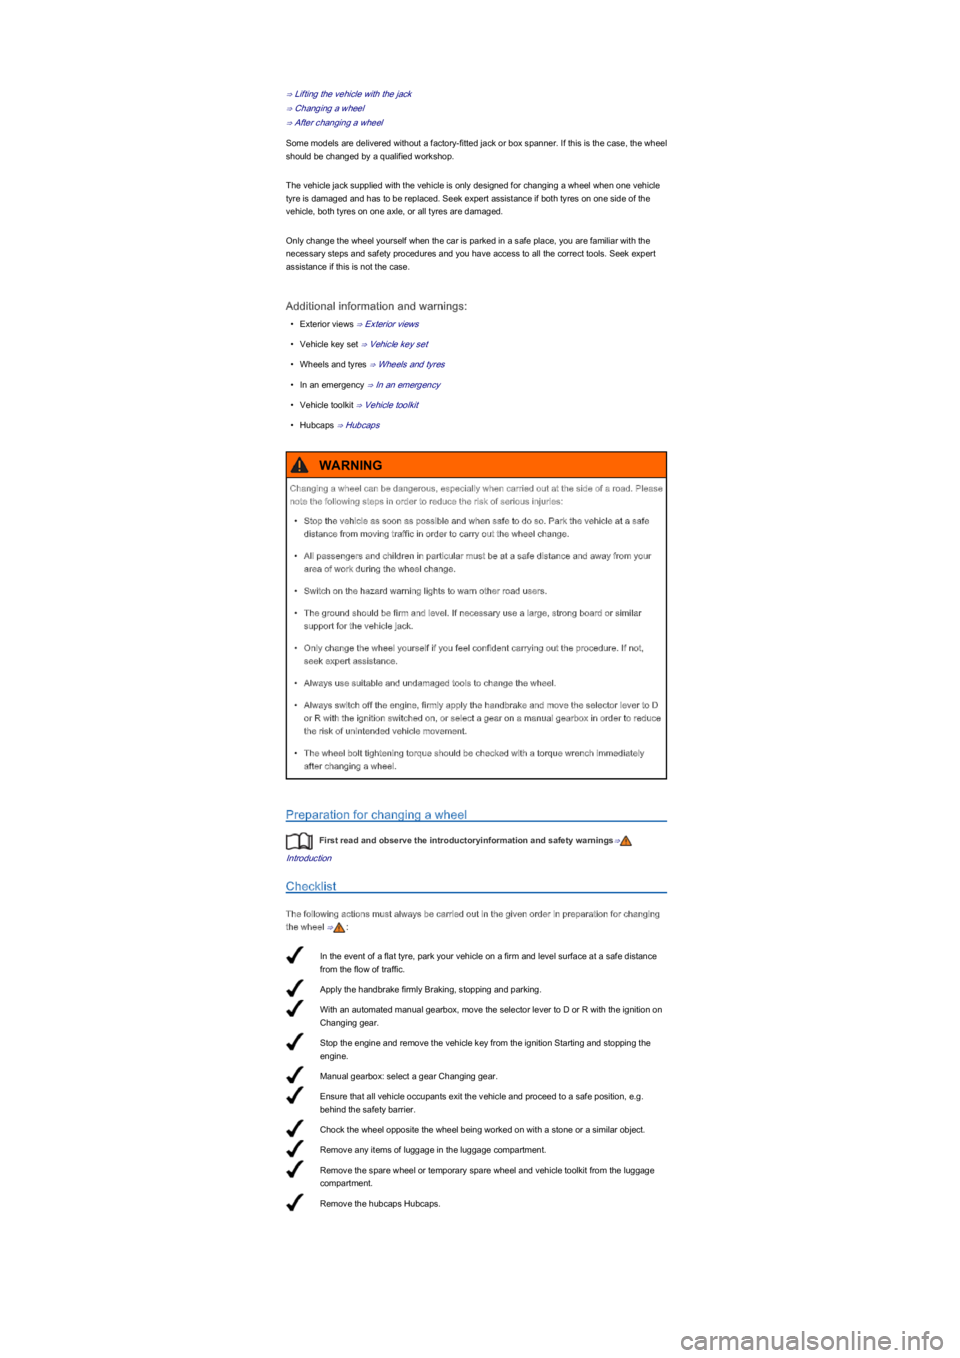
In the event of a flat tyre, park your vehicle on a firm and level surface at a safe distance
from the flow of traffic.
Apply the handbrake firmly Braking, stopping and parking.
With an automated manual gearbox, move the selector lever to D or R with the ignition on
Changing gear.
Stop the engine and remove the vehicle key from the ignition Starting and stopping the
engine.
Manual gearbox: select a gear Changing gear.
Ensure that all vehicle occupants exit the vehicle and proceed to a safe position, e.g.
behind the safety barrier.
Chock the wheel opposite the wheel being worked on with a stone or a similar object.
Remove any items of luggage in the luggage compartment.
Remove the spare wheel or temporary spare wheel and vehicle toolkit from the luggage
compartment.
Remove the hubcaps Hubcaps.
⇒ Lifting the vehicle with the jack
⇒ Changing a wheel
⇒ After changing a wheel
Some models are delivered without a factory-fitted jack or box spanner. If this is the case, the wheel
should be changed by a qualified workshop.
The vehicle jack supplied with the vehicle is only designed for changing a wheel when one vehicle
tyre is damaged and has to be replaced. Seek expert assistance if both tyres on one side of the
vehicle, both tyres on one axle, or all tyres are damaged.
Only change the wheel yourself when the car is parked in a safe place, you are familiar with the
necessary steps and safety procedures and you have access to all the correct tools. Seek expert
assistance if this is not the case.
Additional information and warnings:
\f
Page 191 of 211

Find a firm and level surface suitable for lifting the vehicle.
Stop the engine, select a gear on a manual gearbox or with an automated manual
gearbox, move the selector lever to D or R with the ignition switched onChanging gear
then apply the handbrake firmly Braking, stopping and parking.
Chock the wheel diagonally opposite using the collapsible chocks or other suitable objects.
Loosen the wheel bolts on the wheel that is being changed Wheel bolts.
Find the jacking point under the vehicle which is closest to the wheel that is being
changed.
Raise the vehicle jack until it just fits under the jacking point of the vehicle.
Ensure that the foot of the jack is resting securely on the ground with its whole surface and
that the foot of the jack is positioned precisely, i.e. vertically beneath the point of
application .
Position the vehicle jack. At the same time, continue to crank the claw up until it is in
position around the vertical rib underneath the vehicle .
Lifting the vehicle with the jack
Fig. 154 Jacking points for the vehicle jack (mirrored on the right-hand side of the vehicleyf
Fig. 155 Vehicle jack at the rear left-hand side of the vehicle
First read and observe the introductoryinformation and safety warnings⇒
Introduction
The jack may be applied only at the jacking points shown (markings on the bodyyf� ⇒ Fig. 154.
Always use the jacking point closest to the wheel you are working on ⇒.
Raise the vehicle using only the designated jacking points.
Checklist
To ensure your own safety and that of your passengers, observe the following actions in the
specified order ⇒:
Incorrectly tightened wheel bolts can loosen while the vehicle is in motion and cause
accidents, serious injury, and loss of control of the vehicle.
\f