Page 89 of 359

89
2. ROUTE GUIDANCE
3
NAVIGATION SYSTEM
PRIUS_Navi_OM47805U_(U)
12.08.07 17:59
5. SETTING ROUTE
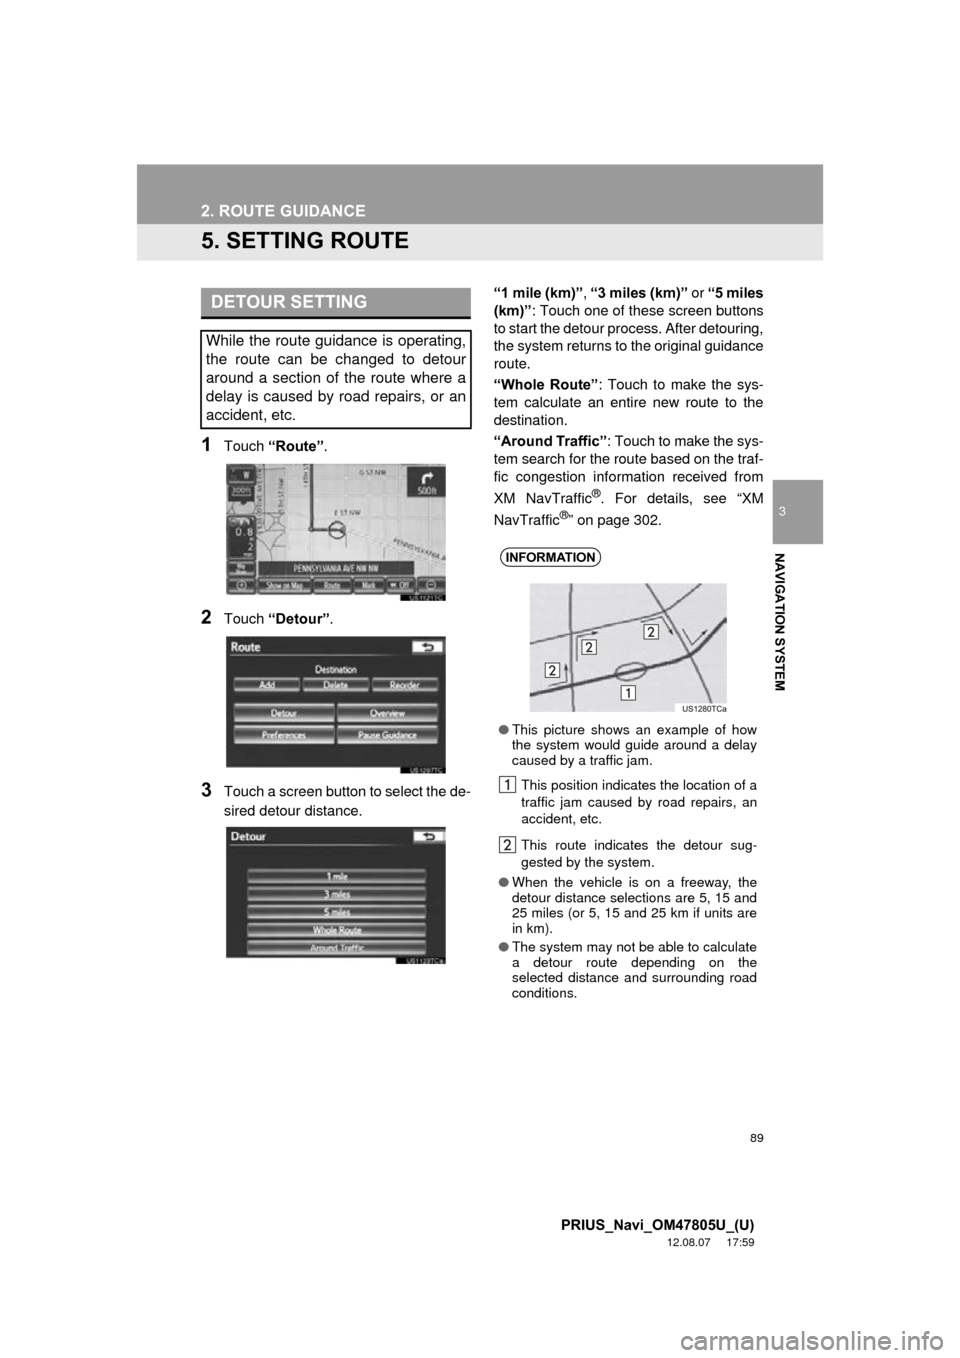
1Touch “Route” .
2Touch “Detour” .
3Touch a screen button to select the de-
sired detour distance. “1 mile (km)”
, “3 miles (km)” or “5 miles
(km)” : Touch one of these screen buttons
to start the detour pr ocess. After detouring,
the system returns to the original guidance
route.
“Whole Route” : Touch to make the sys-
tem calculate an entire new route to the
destination.
“Around Traffic” : Touch to make the sys-
tem search for the route based on the traf-
fic congestion information received from
XM NavTraffic
®. For details, see “XM
NavTraffic®” on page 302.
DETOUR SETTING
While the route guidance is operating,
the route can be changed to detour
around a section of the route where a
delay is caused by road repairs, or an
accident, etc.
INFORMATION
● This picture shows an example of how
the system would guide around a delay
caused by a traffic jam.
This position indicates the location of a
traffic jam caused by road repairs, an
accident, etc.
This route indicates the detour sug-
gested by the system.
● When the vehicle is on a freeway, the
detour distance selections are 5, 15 and
25 miles (or 5, 15 and 25 km if units are
in km).
● The system may not be able to calculate
a detour route depending on the
selected distance and surrounding road
conditions.
Page 106 of 359
106
3. ADDRESS BOOK
PRIUS_Navi_OM47805U_(U)
12.08.07 17:59
3Touch either or to adjust the
direction. Then touch “OK”.
■TO CHANGE “Name”
1Touch “Edit”.
2Enter the name using the alphanumer-
ic keys.
Up to 70 characters can be entered.
3Touch “OK”.
The previous screen will be displayed.
■DISPLAYING ADDRESS BOOK EN-
TRY NAMES
1Touch “On” to display the name on the
map and touch “Off” to not display it.
■TO CHANGE “Location”
1Touch “Edit”.
2Touch one of the 8 directional screen
buttons to move the cursor to the
desired point on the map.
3Touch “OK”.
The previous screen will be displayed.
INFORMATION
●The bell sounds only when the vehicle
approaches this point in the direction
that has been set.
Page 111 of 359
111
3. ADDRESS BOOK
3
NAVIGATION SYSTEM
PRIUS_Navi_OM47805U_(U)
12.08.07 17:59
■TO CHANGE “Location”
1Touch “Edit”.
2Touch one of the 8 directional screen
buttons to move the cursor to the
desired point on the map.
3Touch “OK”.
The previous screen will be displayed.
■TO CHANGE “Size”
1Touch “Edit”.
2Touch either or to change
the size of the area to be avoided.
3Touch “OK”.
The previous screen will be displayed.
Page 115 of 359

115
4. SETUP
3
NAVIGATION SYSTEM
PRIUS_Navi_OM47805U_(U)
12.08.07 17:59
To reset all setup items, touch “Default”.
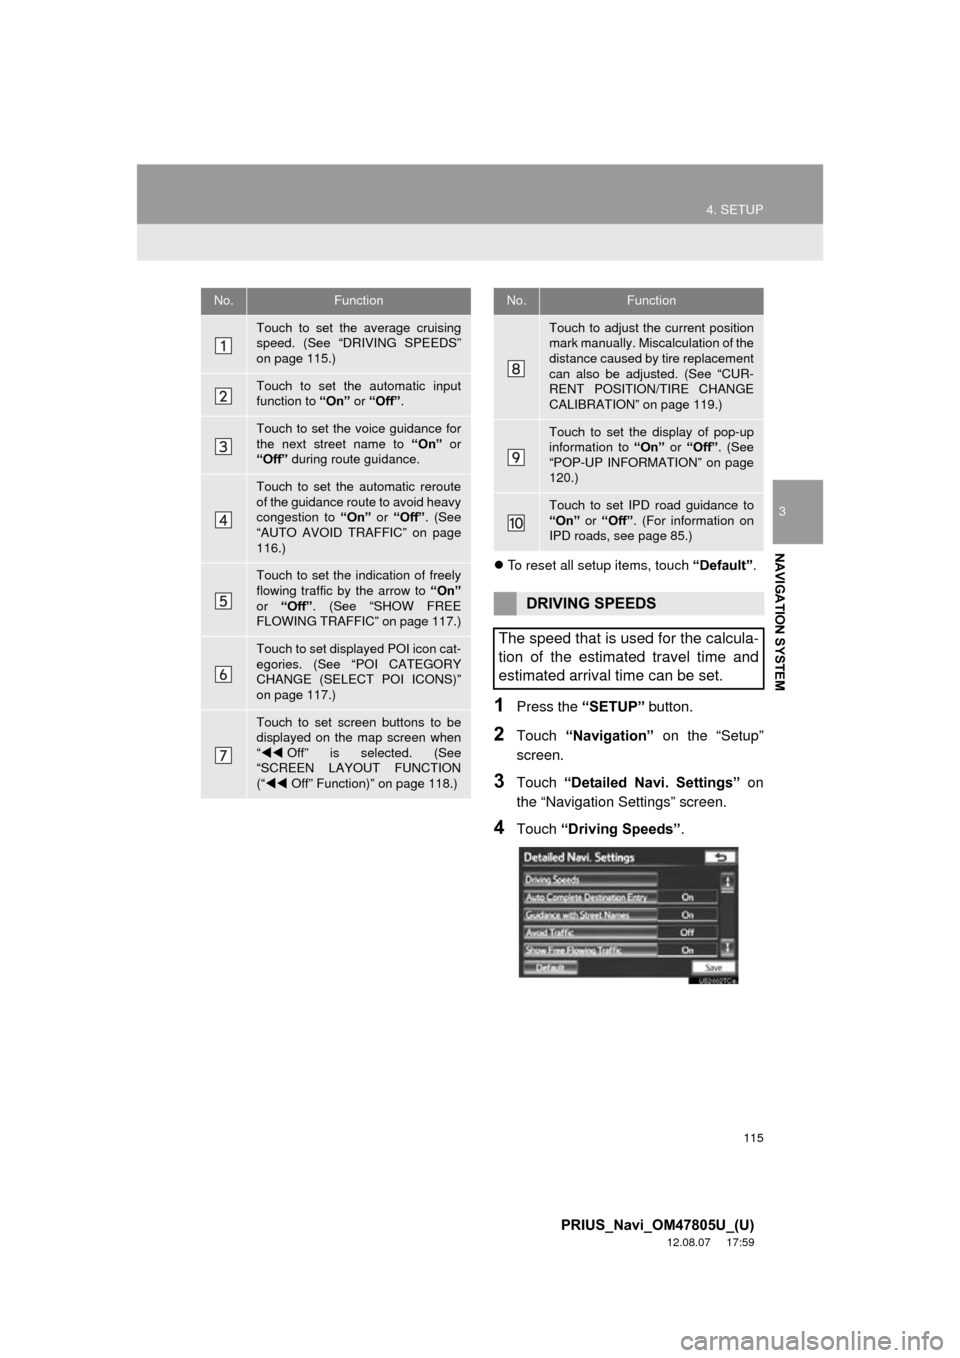
1Press the “SETUP” button.
2Touch “Navigation” on the “Setup”
screen.
3Touch “Detailed Navi. Settings” on
the “Navigation Settings” screen.
4Touch “Driving Speeds” .
No.Function
Touch to set the average cruising
speed. (See “DRIVING SPEEDS”
on page 115.)
Touch to set the automatic input
function to “On” or “Off” .
Touch to set the voice guidance for
the next street name to “On” or
“Off” during route guidance.
Touch to set the automatic reroute
of the guidance route to avoid heavy
congestion to “On” or “Off” . (See
“AUTO AVOID TRAFFIC” on page
116.)
Touch to set the indication of freely
flowing traffic by the arrow to “On”
or “Off” . (See “SHOW FREE
FLOWING TRAFFIC” on page 117.)
Touch to set displayed POI icon cat-
egories. (See “POI CATEGORY
CHANGE (SELECT POI ICONS)”
on page 117.)
Touch to set screen buttons to be
displayed on the map screen when
“ Off” is selected. (See
“SCREEN LAYOUT FUNCTION
(“ Off” Function)” on page 118.)
Touch to adjust the current position
mark manually. Miscalculation of the
distance caused by tire replacement
can also be adjusted. (See “CUR-
RENT POSITION/TIRE CHANGE
CALIBRATION” on page 119.)
Touch to set the display of pop-up
information to “On” or “Off” . (See
“POP-UP INFORMATION” on page
120.)
Touch to set IPD road guidance to
“On” or “Off” . (For information on
IPD roads, see page 85.)
DRIVING SPEEDS
The speed that is used for the calcula-
tion of the estimated travel time and
estimated arrival time can be set.
No.Function
Page 118 of 359
118
4. SETUP
PRIUS_Navi_OM47805U_(U)
12.08.07 17:59
6Touch the desired group.
If the desired POI category is not on the
screen, touch “List All Categories” to list
all POI categories.
7Touch the desired category.
The screen returns to the “Favorite POI
Categories” screen.
8Touch “OK”.
1Press the “SETUP” button.
2Touch “Navigation” on the “Setup”
screen.
3Touch “Detailed Navi. Settings” on
the “Navigation Settings” screen.
4Touch ““Off” Function” .
5Touch the screen buttons to be turned
off. The selected screen buttons will be
dimmed.
To set the setting as a default, touch
“Default” .
6Touch “OK”.
The previous screen will be displayed.
7Touch “Save” .
SCREEN LAYOUT FUNCTION
(“ Off” Function)
Each screen button and current street
name on the map screen can be dis-
played or hidden.
Page 119 of 359
119
4. SETUP
3
NAVIGATION SYSTEM
PRIUS_Navi_OM47805U_(U)
12.08.07 17:59
1Press the “SETUP” button.
2Touch “Navigation” on the “Setup”
screen.
3Touch “Detailed Navi. Settings” on
the “Navigation Settings” screen.
4Touch “Calibration” .
5Touch the desired screen button.
■POSITION/DIRECTION CALIBRA-
TION
1Touch “Position / Direction” .
2Touch one of the 8 directional screen
buttons to move the cursor to the
desired point on the map.
3Touch “OK”.
CURRENT POSITION/TIRE
CHANGE CALIBRATION
The current position mark can be ad-
justed manually. Miscalculation of the
distance caused by tire replacement
can also be adjusted.
For additional information on the accu-
racy of a current position, see “LIMITA-
TIONS OF THE NAVIGATION
SYSTEM” on page 128.
When driving, the current position
mark will be automatically corrected by
GPS signals. If GPS reception is poor
due to location, the current position
mark can be adjusted manually.
Page 126 of 359
126
4. SETUP
PRIUS_Navi_OM47805U_(U)
12.08.07 17:59
■TO EDIT “Location”
1Touch “Edit” next to “Location”.
2Touch one of the 8 directional screen
buttons to move the cursor to the
desired point on the map screen.
3Touch “OK”.
The previous screen will be displayed.
■TO EDIT “Phone #”
(PHONE NUMBER)
1Touch “Edit” next to “Phone #”.
2Enter the number using number keys.
3Touch “OK”.
The previous screen will be displayed.
Page 158 of 359
158
2. SETUP
PRIUS_Navi_OM47805U_(U)
12.08.07 17:59
1Touch “Call Volume” on the “Phone
Sound Settings” screen.
2Touch “-” or “+” to adjust the call vol-
ume.
3Touch “OK”.
1Touch “Ring Tone Volume” on the
“Phone Sound Settings” screen.
2Touch “-” or “+” to adjust the ring tone
volume.
3Touch “OK”.
1Touch “Ring Tone” on the “Phone
Sound Settings” screen.
2Touch the screen button correspond-
ing to the desired ring tone.
Ring tones can be heard by touching the
screen buttons.
3Touch “OK”.
1Touch “Default” on the “Phone Sound
Settings” screen.
2Touch “Yes”.
CALL VOLUME SETTING
RING TONE VOLUME SETTING
RING TONE SETTING
INITIALIZING THE SETTINGS
The settings can be initialized.