Page 111 of 359
111
3. ADDRESS BOOK
3
NAVIGATION SYSTEM
PRIUS_Navi_OM47805U_(U)
12.08.07 17:59
■TO CHANGE “Location”
1Touch “Edit”.
2Touch one of the 8 directional screen
buttons to move the cursor to the
desired point on the map.
3Touch “OK”.
The previous screen will be displayed.
■TO CHANGE “Size”
1Touch “Edit”.
2Touch either or to change
the size of the area to be avoided.
3Touch “OK”.
The previous screen will be displayed.
Page 115 of 359

115
4. SETUP
3
NAVIGATION SYSTEM
PRIUS_Navi_OM47805U_(U)
12.08.07 17:59
To reset all setup items, touch “Default”.
1Press the “SETUP” button.
2Touch “Navigation” on the “Setup”
screen.
3Touch “Detailed Navi. Settings” on
the “Navigation Settings” screen.
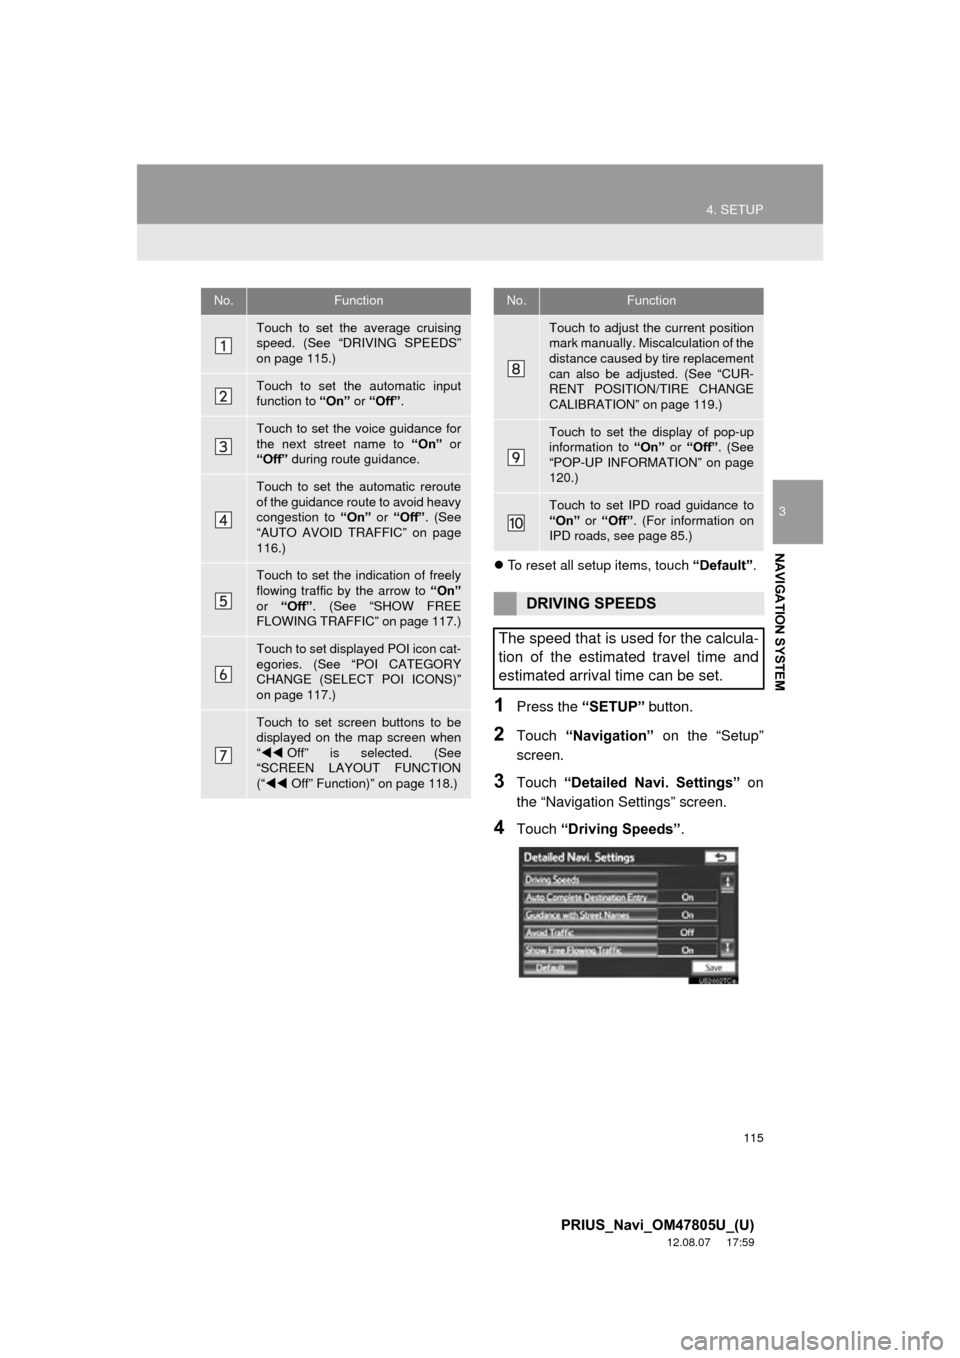
4Touch “Driving Speeds” .
No.Function
Touch to set the average cruising
speed. (See “DRIVING SPEEDS”
on page 115.)
Touch to set the automatic input
function to “On” or “Off” .
Touch to set the voice guidance for
the next street name to “On” or
“Off” during route guidance.
Touch to set the automatic reroute
of the guidance route to avoid heavy
congestion to “On” or “Off” . (See
“AUTO AVOID TRAFFIC” on page
116.)
Touch to set the indication of freely
flowing traffic by the arrow to “On”
or “Off” . (See “SHOW FREE
FLOWING TRAFFIC” on page 117.)
Touch to set displayed POI icon cat-
egories. (See “POI CATEGORY
CHANGE (SELECT POI ICONS)”
on page 117.)
Touch to set screen buttons to be
displayed on the map screen when
“ Off” is selected. (See
“SCREEN LAYOUT FUNCTION
(“ Off” Function)” on page 118.)
Touch to adjust the current position
mark manually. Miscalculation of the
distance caused by tire replacement
can also be adjusted. (See “CUR-
RENT POSITION/TIRE CHANGE
CALIBRATION” on page 119.)
Touch to set the display of pop-up
information to “On” or “Off” . (See
“POP-UP INFORMATION” on page
120.)
Touch to set IPD road guidance to
“On” or “Off” . (For information on
IPD roads, see page 85.)
DRIVING SPEEDS
The speed that is used for the calcula-
tion of the estimated travel time and
estimated arrival time can be set.
No.Function
Page 116 of 359

116
4. SETUP
PRIUS_Navi_OM47805U_(U)
12.08.07 17:59
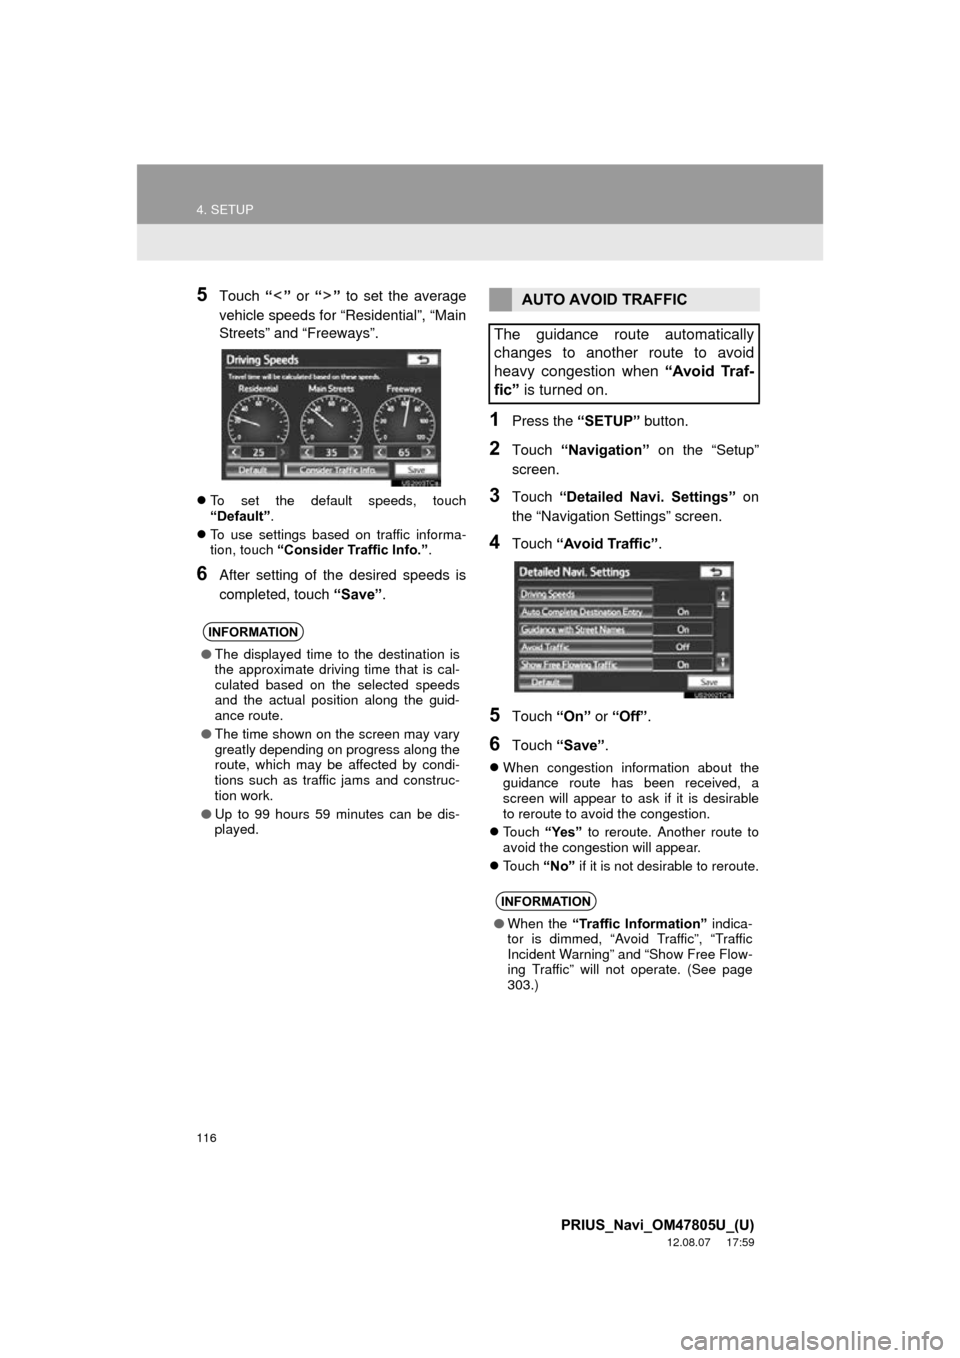
5Touch “” or “” to set the average
vehicle speeds for “Residential”, “Main
Streets” and “Freeways”.
To set the default speeds, touch
“Default”.
To use settings based on traffic informa-
tion, touch “Consider Traffic Info.” .
6After setting of the desired speeds is
completed, touch “Save”.
1Press the “SETUP” button.
2Touch “Navigation” on the “Setup”
screen.
3Touch “Detailed Navi. Settings” on
the “Navigation Settings” screen.
4Touch “Avoid Traffic” .
5Touch “On” or “Off” .
6Touch “Save” .
When congestion information about the
guidance route has been received, a
screen will appear to ask if it is desirable
to reroute to avoid the congestion.
Touch “Yes” to reroute. Another route to
avoid the congestion will appear.
Touch “No” if it is not desirable to reroute.
INFORMATION
●The displayed time to the destination is
the approximate driving time that is cal-
culated based on the selected speeds
and the actual position along the guid-
ance route.
● The time shown on the screen may vary
greatly depending on progress along the
route, which may be affected by condi-
tions such as traffic jams and construc-
tion work.
● Up to 99 hours 59 minutes can be dis-
played.
AUTO AVOID TRAFFIC
The guidance route automatically
changes to another route to avoid
heavy congestion when “Avoid Traf-
fic” is turned on.
INFORMATION
●When the “Traffic Information” indica-
tor is dimmed, “Avoid Traffic”, “Traffic
Incident Warning” and “Show Free Flow-
ing Traffic” will not operate. (See page
303.)
Page 118 of 359
118
4. SETUP
PRIUS_Navi_OM47805U_(U)
12.08.07 17:59
6Touch the desired group.
If the desired POI category is not on the
screen, touch “List All Categories” to list
all POI categories.
7Touch the desired category.
The screen returns to the “Favorite POI
Categories” screen.
8Touch “OK”.
1Press the “SETUP” button.
2Touch “Navigation” on the “Setup”
screen.
3Touch “Detailed Navi. Settings” on
the “Navigation Settings” screen.
4Touch ““Off” Function” .
5Touch the screen buttons to be turned
off. The selected screen buttons will be
dimmed.
To set the setting as a default, touch
“Default” .
6Touch “OK”.
The previous screen will be displayed.
7Touch “Save” .
SCREEN LAYOUT FUNCTION
(“ Off” Function)
Each screen button and current street
name on the map screen can be dis-
played or hidden.
Page 120 of 359

120
4. SETUP
PRIUS_Navi_OM47805U_(U)
12.08.07 17:59
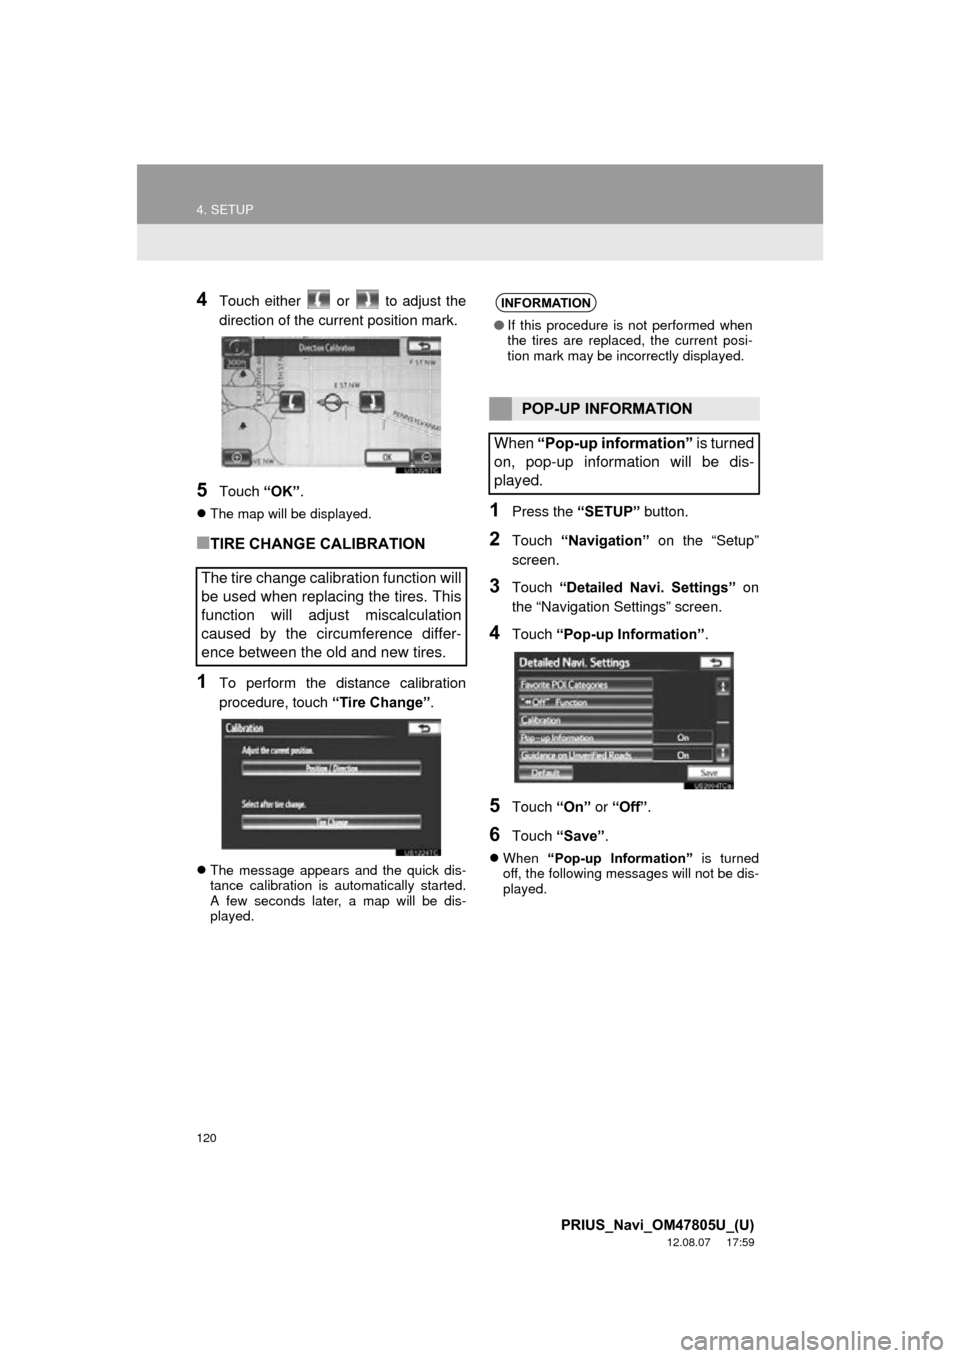
4Touch either or to adjust the
direction of the current position mark.
5Touch “OK”.
The map will be displayed.
■TIRE CHANGE CALIBRATION
1To perform the distance calibration
procedure, touch “Tire Change”.
The message appears and the quick dis-
tance calibration is automatically started.
A few seconds later, a map will be dis-
played.
1Press the “SETUP” button.
2Touch “Navigation” on the “Setup”
screen.
3Touch “Detailed Navi. Settings” on
the “Navigation Settings” screen.
4Touch “Pop-up Information” .
5Touch “On” or “Off” .
6Touch “Save” .
When “Pop-up Information” is turned
off, the following messages will not be dis-
played.
The tire change calibration function will
be used when replacing the tires. This
function will adjust miscalculation
caused by the circumference differ-
ence between the old and new tires.
INFORMATION
● If this procedure is not performed when
the tires are replaced, the current posi-
tion mark may be incorrectly displayed.
POP-UP INFORMATION
When “Pop-up information” is turned
on, pop-up information will be dis-
played.
Page 122 of 359
122
4. SETUP
PRIUS_Navi_OM47805U_(U)
12.08.07 17:59
2. VEHICLE SETTINGS
1Press the “SETUP” button.
2Touch “Vehicle” .
3Touch “Maintenance” .
4Touch the desired screen button.
Setting maintenance information. (See
page 122.)
Setting dealer. (See page 124.)
1Press the “SETUP” button.
2Touch “Vehicle” on the “Setup”
screen.
3Touch “Maintenance” on the “Vehicle
Settings” screen.
4Touch the desired screen button.
When the vehicle needs to be serviced,
the screen button color will change to
orange.
MAINTENANCE
When the navigation system is turned
on, the “Maintenance Reminder”
screen displays when it is time to re-
place a part or certain components.
(See page 26.)
MAINTENANCE INFORMATION
SETTING
Page 124 of 359

124
4. SETUP
PRIUS_Navi_OM47805U_(U)
12.08.07 17:59
6Touch “OK”.
The screen then returns to the
“Maintenance” screen.
1Press the “SETUP” button.
2Touch “Vehicle” on the “Setup”
screen.
3Touch “Maintenance” on the “Vehicle
Settings” screen.
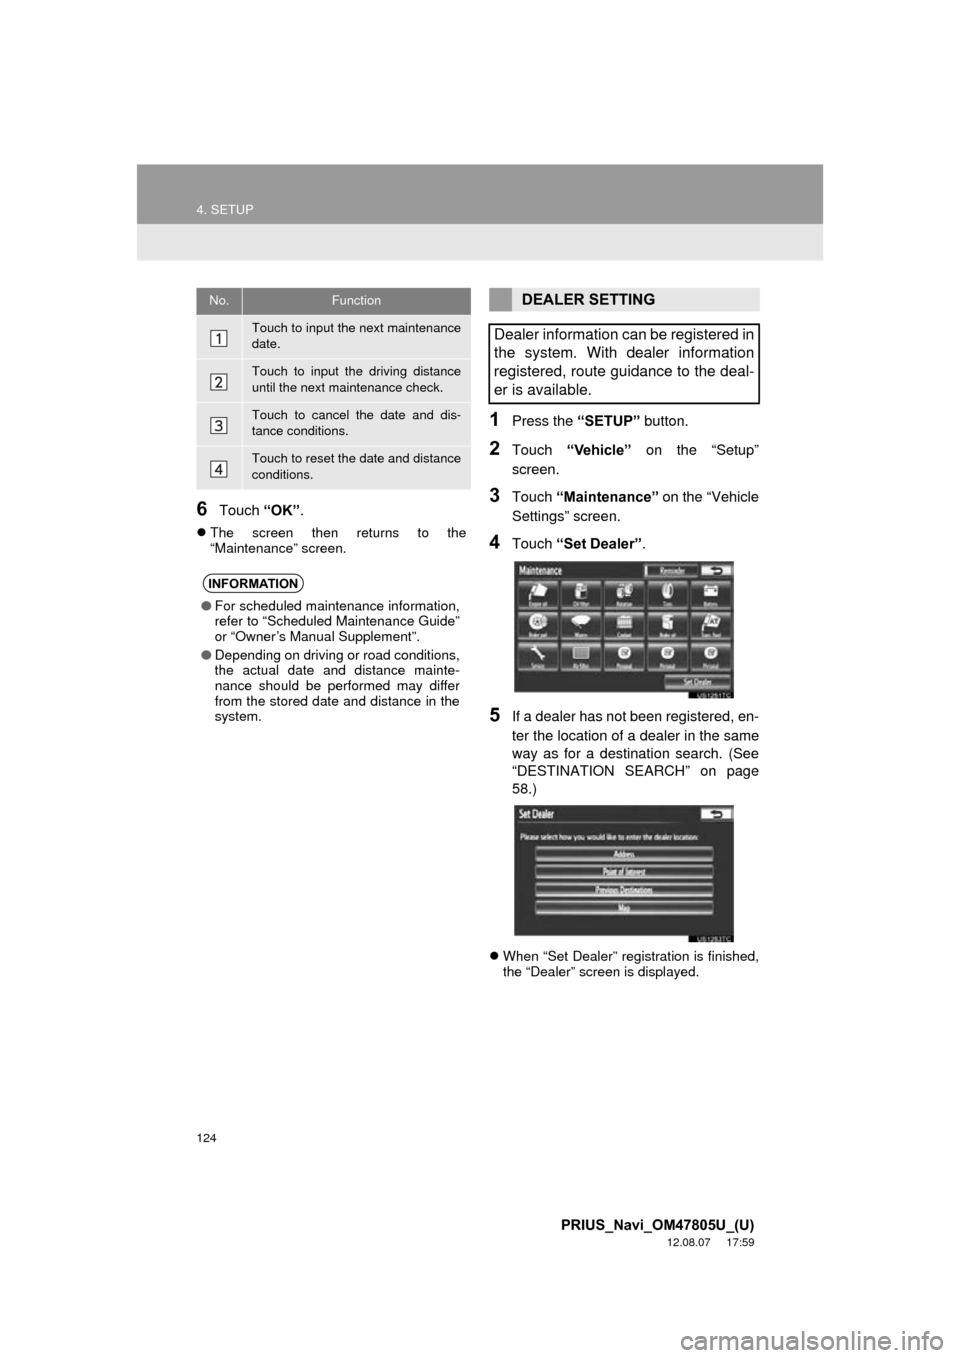
4Touch “Set Dealer” .
5If a dealer has not been registered, en-
ter the location of a dealer in the same
way as for a destination search. (See
“DESTINATION SEAR CH” on page
58.)
When “Set Dealer” registration is finished,
the “Dealer” screen is displayed.
No.Function
Touch to input the next maintenance
date.
Touch to input the driving distance
until the next maintenance check.
Touch to cancel the date and dis-
tance conditions.
Touch to reset the date and distance
conditions.
INFORMATION
●For scheduled maintenance information,
refer to “Scheduled Maintenance Guide”
or “Owner’s Manual Supplement”.
● Depending on driving or road conditions,
the actual date and distance mainte-
nance should be performed may differ
from the stored date and distance in the
system.
DEALER SETTING
Dealer information can be registered in
the system. With dealer information
registered, route guidance to the deal-
er is available.
Page 125 of 359
125
4. SETUP
3
NAVIGATION SYSTEM
PRIUS_Navi_OM47805U_(U)
12.08.07 17:59
6Touch “Edit” next to the item to be ed-
ited.■TO EDIT “Dealer” OR “Contact”
1Touch “Edit” next to “Dealer” or “Con-
tact”.
2Enter the name using the alphanumer-
ic keys.
Up to 70 characters can be entered for
dealer and 24 characters for contact.
3Touch “OK”.
The previous screen will be displayed.
No.Function
Touch to enter the name of a dealer.
(See page 125.)
Touch to enter the name of a dealer
member. (See page 125.)
Touch to set the location. (See page
126.)
Touch to enter the phone number.
(See page 126.)
Touch to delete the dealer informa-
tion displayed on the screen.
Touch to set the displayed dealer as
a destination. (See “STARTING
ROUTE GUIDANCE” on page 76.)