Page 390 of 512
3906-3. Do-it-yourself maintenance
AVALON_HV_U (OM41451U)
Check the wattage of the light bulb to be replaced. (P. 460)
■Front
Light bulbs
You may replace the following bulbs by yourself. The difficulty
level of replacement varies de pending on the bulb. If necessary
bulb replacement seems difficul t to perform, contact your
Toyota dealer.
For more information about repl acing other light bulbs, contact
your Toyota dealer.
Preparing for light bulb replacement
Bulb locations
Headlight low beam (halogen bulb)
Headlight high beam and daytime running light (vehicles with
halogen bulbs for low beams)
Headlight high beam (vehicles with discharge bulbs for low
beams)
Fog light (if equipped)
Front turn signal/parking light1
2
3
4
Page 392 of 512
3926-3. Do-it-yourself maintenance
AVALON_HV_U (OM41451U)■
Headlight low beam (halogen bulb)
Unplug the connector while
pressing the lock release.
Turn the bulb base counter-
clockwise.
Set the new light bulb.
Align the 3 tabs on the light bulb
with the mounting, and insert.
Turn it clockwise to set.
Set the connector.
After installing the connector,
shake the bulb base gently to
check that it is not loose, turn
the headlights on once and visu-
ally confirm that no light is leak-
ing through the mounting.
Replacing light bulbs
1
2
3
4
Page 393 of 512
3936-3. Do-it-yourself maintenance
6
Maintenance and care
AVALON_HV_U (OM41451U)■
Headlight high beam and daytim
e running light (vehicles with
halogen bulbs for low beams)/Headlight high beam (vehicles
with discharge bulbs for low beams)
Unplug the connector while
pressing the lock release.
Turn the bulb base counter-
clockwise.
Set the new light bulb.
Align the 3 tabs on the light bulb
with the mounting, and insert.
Turn it clockwise to set.
Set the connector.
After installing the connector,
shake the bulb base gently to
check that it is not loose, turn
the headlights on once and visu-
ally confirm that no light is leak-
ing through the mounting.
1
2
3
4
Page 401 of 512
4016-3. Do-it-yourself maintenance
6
Maintenance and care
AVALON_HV_U (OM41451U)■
License plate light
Remove the cover.
To prevent damaging the vehi-
cle, wrap the flathead screw-
driver with a tape.
Remove the lens.
Insert a properly sized screw-
driver into the hole of the lens,
and pry off the lens as shown in
the illustration.
To prevent damaging the vehi-
cle, wrap the screwdriver with a
tape.
Remove the light bulb.
When installing, reverse the steps listed.
■Replacing the following bulbs
If any of the lights listed below has burnt out, have it replaced by
your Toyota dealer.
● Headlight low beams (discharge bulb)
● Daytime running lights (vehic les with discharge headlights)
● Side marker lights
● Side turn signal lights
● Stop/tail lights
● High mounted stoplight
● Outer foot lights (if equipped)
1
2
3
4
Page 403 of 512

4036-3. Do-it-yourself maintenance
6
Maintenance and care
AVALON_HV_U (OM41451U)
CAUTION
■Replacing light bulbs
●Turn off the lights. Do not attempt to replace the bulb immediately after
turning off the lights.
The bulbs become very hot and may cause burns.
● Do not touch the glass portion of the light bulb with bare hands. Hold the
bulb by the plastic or metal portion.
If the bulb is scratched or dropped, it may blow out or crack.
● Fully install light bulbs and any parts used to secure them. Failure to do so
may result in heat damage, fire, or water entering the headlight unit. This
may damage the headlights or cause condensation to build up on the lens.
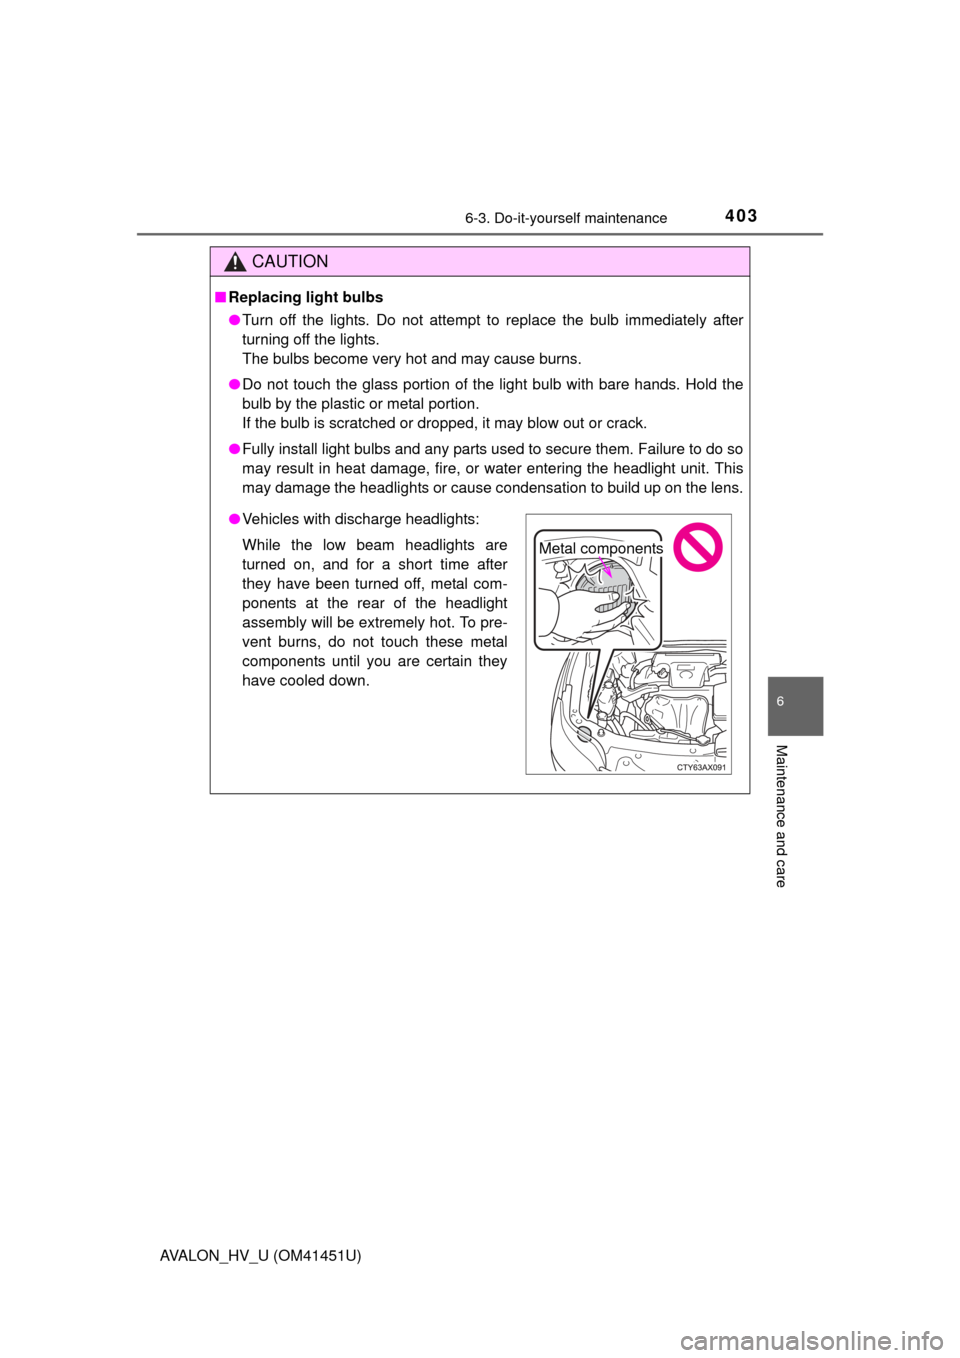
●Vehicles with discharge headlights:
While the low beam headlights are
turned on, and for a short time after
they have been turned off, metal com-
ponents at the rear of the headlight
assembly will be extremely hot. To pre-
vent burns, do not touch these metal
components until you are certain they
have cooled down.
Metal components
Page 414 of 512

4147-2. Steps to take in an emergency
AVALON_HV_U (OM41451U)
After taking the specified steps to correct the suspected problem,
check that the warning light goes off.
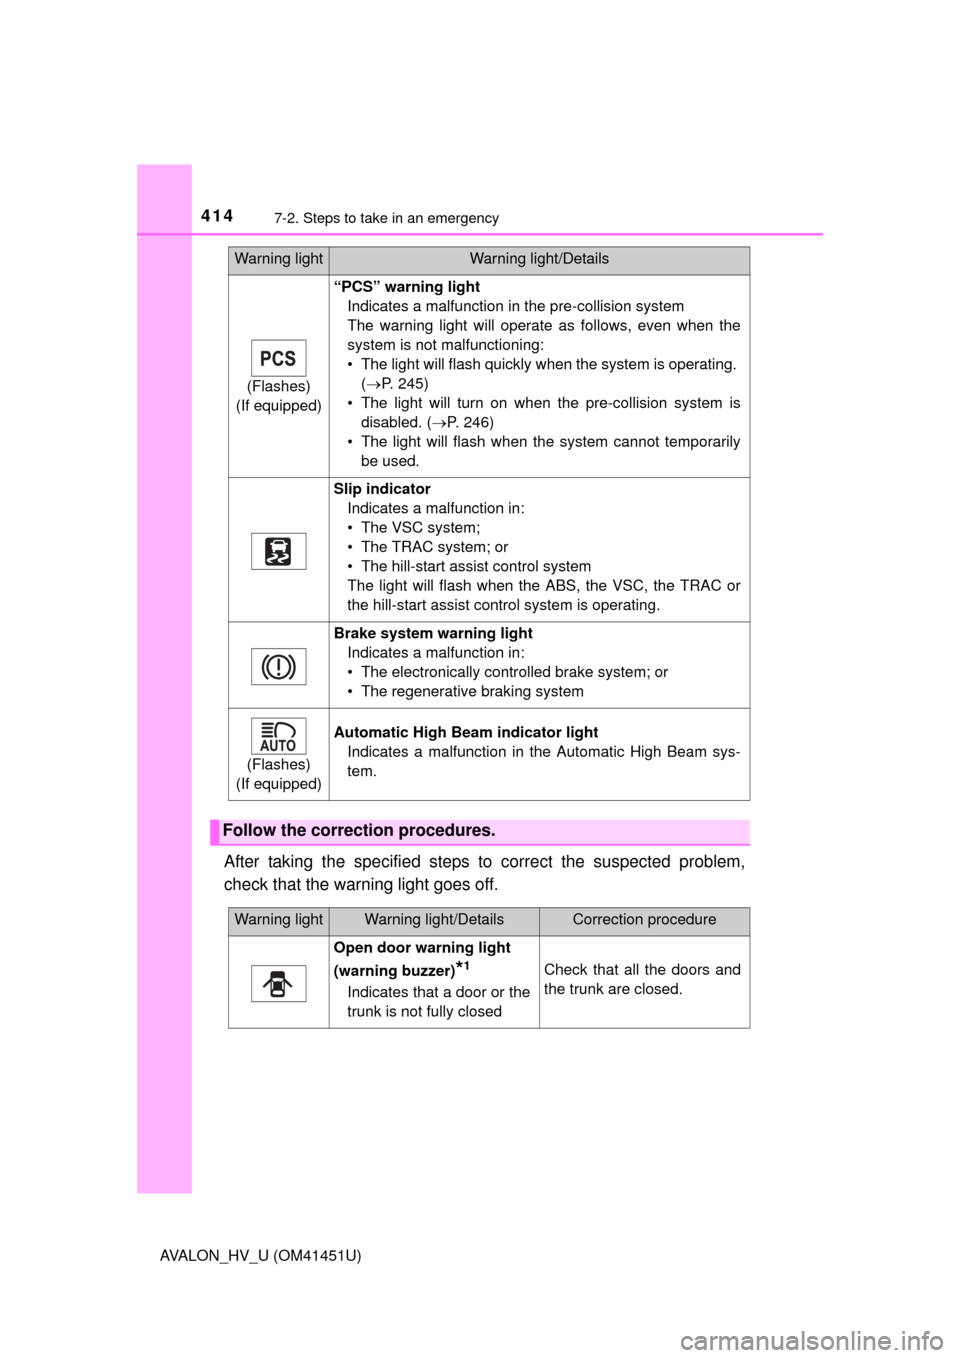
(Flashes)
(If equipped)
“PCS” warning light Indicates a malfunction in the pre-collision system
The warning light will operate as follows, even when the
system is not malfunctioning:
• The light will flash quickly when the system is operating. (P. 245)
• The light will turn on when the pre-collision system is disabled. ( P. 246)
• The light will flash when the system cannot temporarily be used.
Slip indicatorIndicates a malfunction in:
• The VSC system;
• The TRAC system; or
• The hill-start assist control system
The light will flash when the ABS, the VSC, the TRAC or
the hill-start assist control system is operating.
Brake system warning light Indicates a malfunction in:
• The electronically controlled brake system; or
• The regenerative braking system
(Flashes)
(If equipped)
Automatic High Beam indicator light Indicates a malfunction in the Automatic High Beam sys-
tem.
Follow the correction procedures.
Warning lightWarning light/Details
Warning lightWarning light/DetailsCorrection procedure
Open door warning light
(warning buzzer)
*1
Indicates that a door or the
trunk is not fully closed
Check that all the doors and
the trunk are closed.
Page 460 of 512
4608-1. Specifications
AVALON_HV_U (OM41451U)A: D4S discharge bulbs
B: HB3L+ halogen bulbs
C: HB3 halogen bulbs
D: H11 halogen bulbs E: Wedge base bulbs (amber)F: Wedge base bulbs (clear)
G: Double end bulbs
*: If equipped
Light bulbs
Light bulbsBulb No.WTy p e
Exterior
Headlights Low beam (discharge bulbs)
Low beam (halogen bulbs)
High beam
9005
900535
60
60A
B
C
Fog lights*55D
Front turn signal/parking lights7444NA28/8E
Side marker lightsW5W5F
Side turn signal lightsWY5W5E
Rear turn signal lights92116F
Back-up lights92116F
License plate lightsW5W5F
Interior Interior/front personal lights W6W 6
F
Interior/rear personal lights 8
F
Vanity lights70651.4G
Door courtesy lights1685F
Trunk light1943.8F