Page 211 of 768
2113-3. Adjusting the seats
UK_AURIS/AURIS_HV_EE (OM12F76E)
3
Operation of each component
Vertical adjustment
Up
Pull the head restraints up.
Down
Push the head restraint down while
pressing the lock release button.
Removing the head restraints
Adjusting the height of the head restraints
Adjusting the rear seat head restraint
Always raise the head restraint one level from the stowed position when
using.
Head restraints
Head restraints are provided for all seats.
Lock release button
1
2
Pull the head restraint up while pressing
the lock release button.
Make sure that the head restraints are
adjusted so that the center of the head
restraint is closest to the top of your ears.
Lock release button
Page 212 of 768
2123-3. Adjusting the seats
UK_AURIS/AURIS_HV_EE (OM12F76E)
CAUTION
Head restraint precautions
Observe the following precautions regarding the head restraints. Failure to
do so may result in death or serious injury.
Use the head restraints designed for each respective seat.
Adjust the head restraints to the correct position at all times.
After adjusting the head restraints, push down on them and make sure
they are locked in position.
Do not drive with the head restraints removed.
Page 241 of 768

2414-1. Before driving
UK_AURIS/AURIS_HV_EE (OM12F76E)
4
Driving
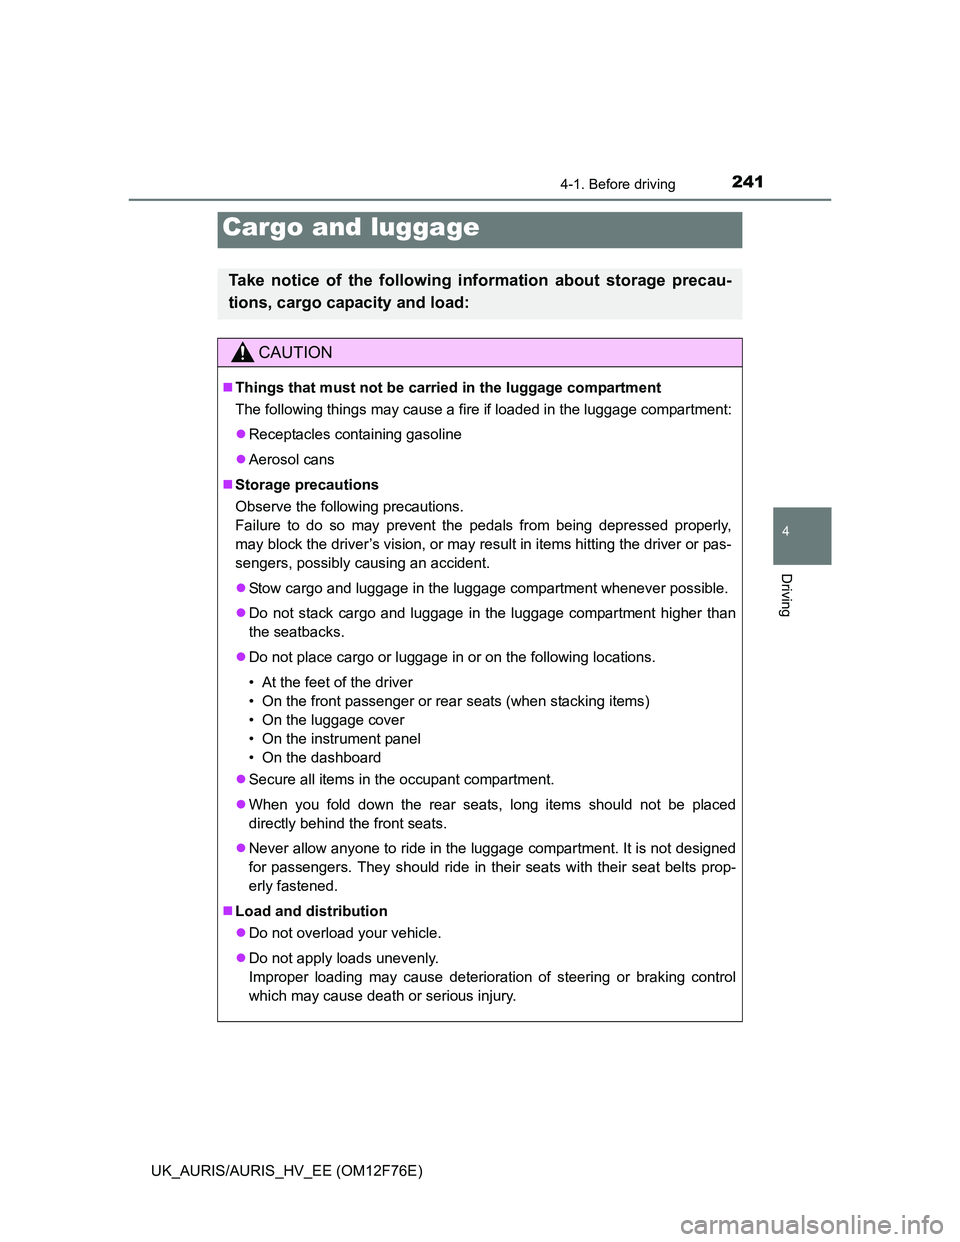
Cargo and luggage
Take notice of the following information about storage precau-
tions, cargo capacity and load:
CAUTION
Things that must not be carried in the luggage compartment
The following things may cause a fire if loaded in the luggage compartment:
Receptacles containing gasoline
Aerosol cans
Storage precautions
Observe the following precautions.
Failure to do so may prevent the pedals from being depressed properly,
may block the driver’s vision, or may result in items hitting the driver or pas-
sengers, possibly causing an accident.
Stow cargo and luggage in the luggage compartment whenever possible.
Do not stack cargo and luggage in the luggage compartment higher than
the seatbacks.
Do not place cargo or luggage in or on the following locations.
• At the feet of the driver
• On the front passenger or rear seats (when stacking items)
• On the luggage cover
• On the instrument panel
• On the dashboard
Secure all items in the occupant compartment.
When you fold down the rear seats, long items should not be placed
directly behind the front seats.
Never allow anyone to ride in the luggage compartment. It is not designed
for passengers. They should ride in their seats with their seat belts prop-
erly fastened.
Load and distribution
Do not overload your vehicle.
Do not apply loads unevenly.
Improper loading may cause deterioration of steering or braking control
which may cause death or serious injury.
Page 311 of 768
3114-3. Operating the lights and wipers
UK_AURIS/AURIS_HV_EE (OM12F76E)
4
Driving
The level of the headlights can be adjusted according to the number
of passengers and the loading condition of the vehicle.
Raises the level of the head-
lights
Lowers the level of the head-
lights
Guide to dial settings
Manual headlight leveling dial (vehicles with halogen headlights)
1
2
Occupancy and luggage load conditionsDial position
OccupantsLuggage load
Except
hybrid
modelHybrid
model
DriverNone00
Driver and front passen-
gerNone00
All seats occupiedNone1.51.5
All seats occupiedFull luggage loading2.52.0
DriverFull luggage loading3.53.0
Page 401 of 768

4015-1. Using the air conditioning system and defogger
UK_AURIS/AURIS_HV_EE (OM12F76E)
5
Interior features
Press .
The air conditioning system begins to operate. Air outlets and fan
speed are automatically adjusted according to the temperature
setting.
Turn clockwise to increase the temperature and turn
counterclockwise to decrease the temperature.
When is pressed (the indicator is on) or the passenger’s
side temperature control dial is turned, the temperature for the driver
and passenger seats can be adjusted separately.
To adjust the fan speed, press “” on to increase the fan
speed and “” to decrease the fan speed.
Press to turn the fan off.
To adjust the temperature setting, turn clockwise to
increase the temperature and turn counterclockwise to
decrease the temperature.
When is pressed (the indicator is on) or the passenger’s
side temperature control dial is turned, the temperature for the driver
and passenger seats can be adjusted separately.
To change the air outlets, press “” or “” on .
The air outlets used are switched each time either side of the button is
pressed.
Using the automatic air conditioning system
Adjusting the settings manually
1
2
1
2
3
Page 468 of 768
4685-4. Using the storage features
UK_AURIS/AURIS_HV_EE (OM12F76E)Luggage cover storage
The luggage cover can be stowed on the back of the rear seats.
Insert one side of the luggage cover into the gap between the back of the
rear seat and deck side trim.
While moving the luggage cover toward the back of the rear seat, insert
the other side of the luggage cover.
Make sure that the luggage cover is securely installed.
When using the luggage cover, reverse the steps listed.
1
2
Page 492 of 768

4926-1. Maintenance and care
UK_AURIS/AURIS_HV_EE (OM12F76E)
NOTICE
Cleaning detergents
Do not use the following types of detergent, as they may discolor the vehi-
cle interior or cause streaks or damage to painted surfaces:
• Non-seat portions: Organic substances such as benzene or gasoline,
alkaline or acidic solutions, dye, and bleach
• Seats: Alkaline or acidic solutions, such as thinner, benzene, and alco-
hol
Do not use polish wax or polish cleaner. The instrument panel’s or other
interior part’s painted surface may be damaged.
Preventing damage to leather surfaces
Observe the following precautions to avoid damage to and deterioration of
leather surfaces:
Remove any dust or dirt from leather surfaces immediately.
Do not expose the vehicle to direct sunlight for extended periods of time.
Park the vehicle in the shade, especially during summer.
Do not place items made of vinyl, plastic, or containing wax on the uphol-
stery, as they may stick to the leather surface if the vehicle interior heats
up significantly.
Water on the floor
Do not wash the vehicle floor with water.
Vehicle systems such as the audio system may be damaged if water comes
into contact with electrical components such as the audio system above or
under the floor of the vehicle. Water may also cause the body to rust.
Cleaning the inside of the rear window
Do not use glass cleaner to clean the rear window, as this may cause
damage to the rear window defogger heater wires. Use a cloth dampened
with lukewarm water to gently wipe the window clean. Wipe the window in
strokes running parallel to the heater wires.
Be careful not to scratch or damage the heater wires.
Page 752 of 768

752Alphabetical index
UK_AURIS/AURIS_HV_EE (OM12F76E)
Back door ................................ 202
Back-up lights
Replacing light bulb............... 567
Wattage................................. 734
Battery .............................. 520, 526
Checking ....................... 520, 526
If the 12-volt battery is
discharged .......................... 695
If the vehicle has discharged
battery................................. 688
Preparing and checking
before winter ....................... 380
Warning light ................. 598, 613
Battery (traction battery) ........... 84
Bluetooth
®
Audio system*
Hands-free system*
(for cellular phone)
Bottle holders........................... 459
Brake
Emergency brake signal ....... 369
Fluid ...................................... 729
Parking brake ........................ 306
Warning light ................. 597, 601
Brake assist.............................. 368
Break-in tips ............................ 229
Brightness control
Meter light control ......... 124, 130Care................................... 486, 490
Aluminum wheels.................. 487
Exterior ................................. 486
Interior................................... 490
Seat belts .............................. 491
Cargo hooks............................. 463
CD player .................................. 420
Chains....................................... 382
Child restraint system ............... 59
Baby seats, definition.............. 59
Baby seats, installation ........... 69
Child seats, definition.............. 59
Child seats, installation ........... 69
Installing CRS with ISOFIX
rigid anchors ......................... 73
Installing CRS with
seat belts .............................. 69
Installing CRS with top strap... 74
Junior seats, definition ............ 59
Junior seats, installation ......... 71
Child safety ................................ 58
Airbag precautions .................. 48
Battery precautions ....... 521, 694
Child restraint system ............. 59
How your child should wear
the seat belt .......................... 43
Installing child restraints ......... 68
Panoramic roof shade
precautions ......................... 484
Power window lock switch .... 219
Power window precautions ... 222
Rear door child-protectors .... 200
Removed electronic key
battery precautions ............. 542
Seat belt precautions .............. 45
Seat heater precautions........ 477
BC