2013 SUZUKI ERTIGA brake
[x] Cancel search: brakePage 93 of 207

Downloaded from www.Manualslib.com manuals search engine 4-4
DRIVING TIPS
60MK0-14E
Driving on Slippery Roads
60G089S
Under wet road conditions you should
drive at a lower speed than on dry roads
due to possible slippage of tires during
braking. When driving on icy, snow-cov-
ered, or muddy roads, reduce your speed
and avoid sudden acceleration, abrupt
braking, or sharp steering movements.
Tire ChainsTire chains should only be used if they are
needed to increase traction or are required
by law. Make sure that the chains you use
are the correct size for your vehicle’s tires.
Also make sure that there is enough clear-
ance between the fenders and the chains
as installed on the tires.
Install the chains on the front tires tightly,
according to the chain manufacturer’s
instructions. Retighten the chains after
driving about 1.0 km (1/2 mile) if neces-
sary. With the chains installed, drive slowly.
WARNING
Try not to hold the brake pedal down
too long or too often while going
down a steep or long hill. This could
cause the brakes to overheat, result-
ing in reduced braking efficiency.
Failure to take this precaution could
result in loss of vehicle control.
NOTICE
When descending a down hill,
NEVER turn the ignition key to the
“OFF” position. Emission control
system and automatic transaxle dam-
age may result.
NOTICE
If you hear the chains hitting
against the vehicle body while driv-
ing, stop and tighten them.
If your vehicle is equipped with full
wheel caps, remove the wheel caps
before installing the chains or the
wheel caps can be damaged by the
chain bands.
Page 94 of 207

Downloaded from www.Manualslib.com manuals search engine 4-5DRIVING TIPS
60MK0-14E
If Your Vehicle Gets StuckIf your vehicle gets stuck in snow, mud, or
sand, follow the directions below:
1) Shift the transaxle back and forth
between a forward range (or first gear
for manual transaxle) and reverse. This
will create a rocking motion which may
give you enough momentum to free the
vehicle. Press gently on the accelerator
to keep wheel spinning to a minimum
wheel rpm. Remove your foot from the
accelerator while shifting.
Do not race the engine. Excessive
wheel spin will cause the tires to dig
deeper, making it more difficult to free
the vehicle.
2) If your vehicle remains stuck after a few
minutes of rocking, get another vehicle
to pull your vehicle out.
54G638S
WARNING
Do not allow anyone to stand near the
vehicle when you are rocking it, and
do not spin the wheels faster than an
indicated 40 km/h (25 mph) on the
speedometer. Personal injury and/ or
vehicle damage may result from spin-
ning the wheels too fast.
NOTICE
Do not continue rocking the vehicle
for more than a few minutes. Pro-
longed rocking can cause engine
overheating or transaxle damage.
WARNING
In addition to following the driving
tips in this section, it is important to
observe the following precautions.
Make sure your tires are in good
condition and always maintain the
specified tire pressure. Refer to
“Tires” in the “INSPECTION AND
MAINTENANCE” section for
details.
(Continued)
WARNING
(Continued)
Do not use tires other than those
specified by SUZUKI. Never use dif-
ferent sizes or types of tires on the
front and rear wheels. For informa-
tion regarding the specified tires,
refer to the Tire Information Label
located on the driver’s door lock
pillar.
Never use oversized tires or special
shock absorbers and springs to
raise (jack up) your vehicle. This
will change the handling character-
istics. Oversized tires may also rub
against the fender over bumps,
causing vehicle damage or tire fail-
ure.
After driving through water, test the
brakes while driving at a slow
speed to see if they have main-
tained their normal effectiveness. If
the brakes are less effective than
normal, dry them by repeatedly
applying the brakes while driving
slowly until the brakes have
regained their normal effective-
ness.
Page 145 of 207

Downloaded from www.Manualslib.com manuals search engine INSPECTION AND MAINTENANCE
7
60MK0-14E
60G410
INSPECTION AND MAINTENANCEMaintenance Schedule ....................................................... 7-2
Periodic Maintenance Schedule ........................................ 7-2
Maintenance Recommended under Severe
Driving Conditions .............................................................. 7-5
Drive Belt ............................................................................. 7-7
Engine Oil and Filter ........................................................... 7-7
Engine Coolant .................................................................... 7-11
Air Cleaner ........................................................................... 7-13
Spark Plugs ......................................................................... 7-13
Gear Oil ................................................................................ 7-15
Clutch Pedal ........................................................................ 7-16
Automatic Transaxle (AT) Fluid ......................................... 7-16
Brakes .................................................................................. 7-17
Steering ................................................................................ 7-19
Tires ...................................................................................... 7-20
Battery .................................................................................. 7-22
Fuses .................................................................................... 7-23
Headlight Aiming ................................................................. 7-26
Bulb Replacement ............................................................... 7-26
Wiper Blades ....................................................................... 7-31
Windshield Washer Fluid ................................................... 7-35
Air Conditioning System .................................................... 7-35
Page 146 of 207

Downloaded from www.Manualslib.com manuals search engine 7-1INSPECTION AND MAINTENANCE
60MK0-14E
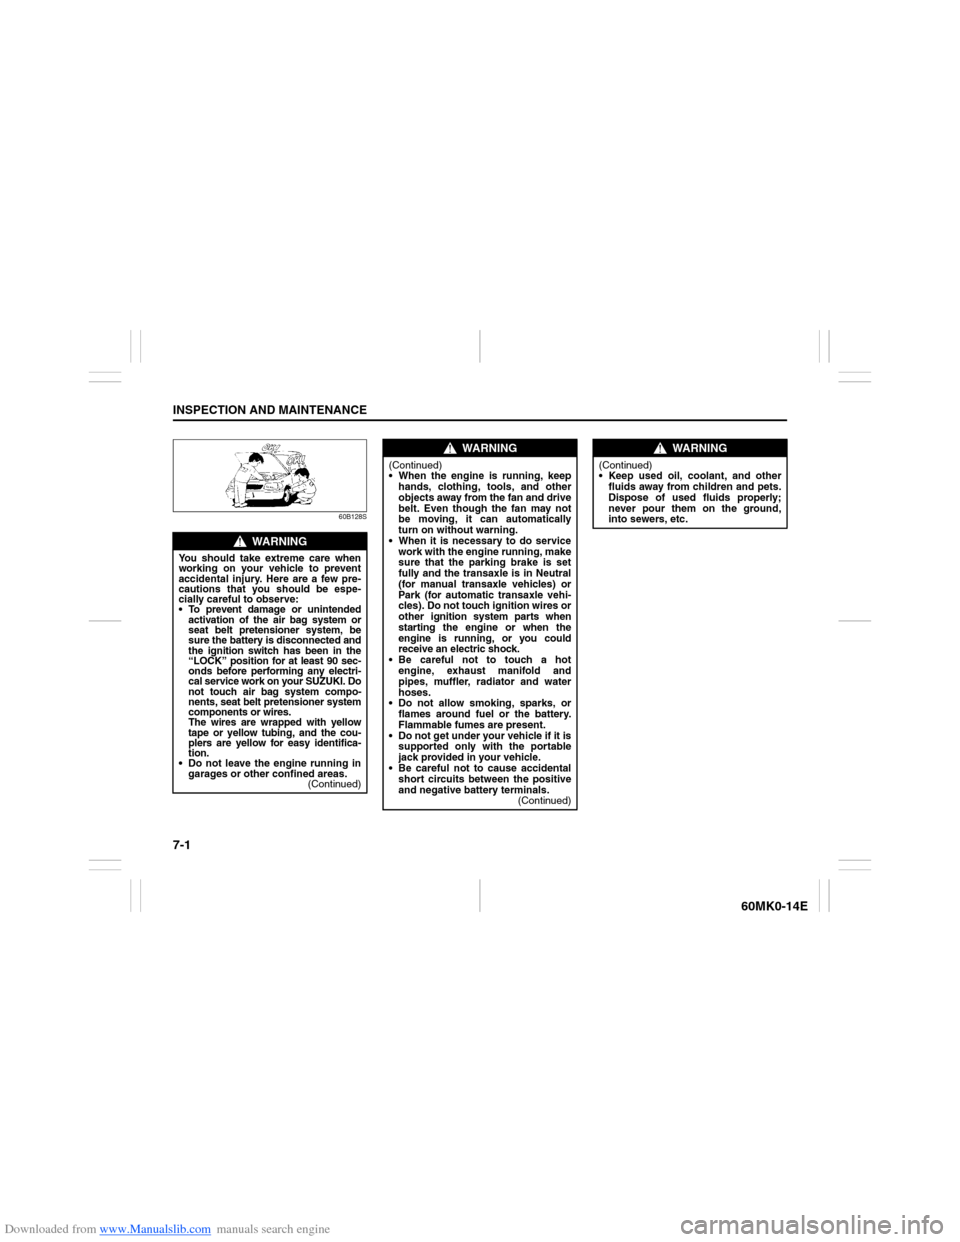
60B128S
WARNING
You should take extreme care when
working on your vehicle to prevent
accidental injury. Here are a few pre-
cautions that you should be espe-
cially careful to observe:
To prevent damage or unintended
activation of the air bag system or
seat belt pretensioner system, be
sure the battery is disconnected and
the ignition switch has been in the
“LOCK” position for at least 90 sec-
onds before performing any electri-
cal service work on your SUZUKI. Do
not touch air bag system compo-
nents, seat belt pretensioner system
components or wires.
The wires are wrapped with yellow
tape or yellow tubing, and the cou-
plers are yellow for easy identifica-
tion.
Do not leave the engine running in
garages or other confined areas.
(Continued)
WARNING
(Continued)
When the engine is running, keep
hands, clothing, tools, and other
objects away from the fan and drive
belt. Even though the fan may not
be moving, it can automatically
turn on without warning.
When it is necessary to do service
work with the engine running, make
sure that the parking brake is set
fully and the transaxle is in Neutral
(for manual transaxle vehicles) or
Park (for automatic transaxle vehi-
cles). Do not touch ignition wires or
other ignition system parts when
starting the engine or when the
engine is running, or you could
receive an electric shock.
Be careful not to touch a hot
engine, exhaust manifold and
pipes, muffler, radiator and water
hoses.
Do not allow smoking, sparks, or
flames around fuel or the battery.
Flammable fumes are present.
Do not get under your vehicle if it is
supported only with the portable
jack provided in your vehicle.
Be careful not to cause accidental
short circuits between the positive
and negative battery terminals.
(Continued)
WARNING
(Continued)
Keep used oil, coolant, and other
fluids away from children and pets.
Dispose of used fluids properly;
never pour them on the ground,
into sewers, etc.
Page 149 of 207

Downloaded from www.Manualslib.com manuals search engine 7-4
INSPECTION AND MAINTENANCE
60MK0-14E
*Interval: This interval should be judged by odome-
ter reading or months, whichever comes first.km (x1000) 15 30 45 60 75 90
miles (x1000)9 1827364554
months 12 24 36 48 60 72BRAKE
*5-1. Brake discs and pads (front)IIIIII
Brake drums and shoes (rear)
–
I
–
I
–
I
*5-2. Brake hoses and pipes–I–I–I
5-3.
Brake fluid
Check, *Replacement
–
R
–
R
–
R
5-4. Brake lever and cable Check, *Adjustment (1st 15000 km only) I–––––
CHASSIS AND BODY
*6-1. Clutch (pedal and fluid level)IIIIII6-2.
Tires/Wheels
I
I
I
I
I
I
*6-3. Drive axle boots–– I –– I
*6-4.
Suspension system
–
I
–
I
–
I
*6-5. Steering system–I–I–I
*6-6.
Manual transaxle oil
(I: 1st 15000 km only)
I
–
R
–
–
R
6-7. Automatic transaxle Fluid level – I – I – I
* Fluid change
Replace every 165000 km (99000 miles)
* Fluid hose – – – I – –
6-8.
All latches, hinges and locks
–
I
–
I
–
I
*6-9. Air conditioner filter element (if equipped) – I R – I R
WARNING
The shock absorbers are filled with high pressure gas. Never attempt to disassemble them or throw them into a fire. Avoid
storing them near a heater or heating device. When scrapping the absorber, the gas must be released from the absorber
safely. Ask your dealer for assistance.
Page 160 of 207

Downloaded from www.Manualslib.com manuals search engine 7-15INSPECTION AND MAINTENANCE
60MK0-14E
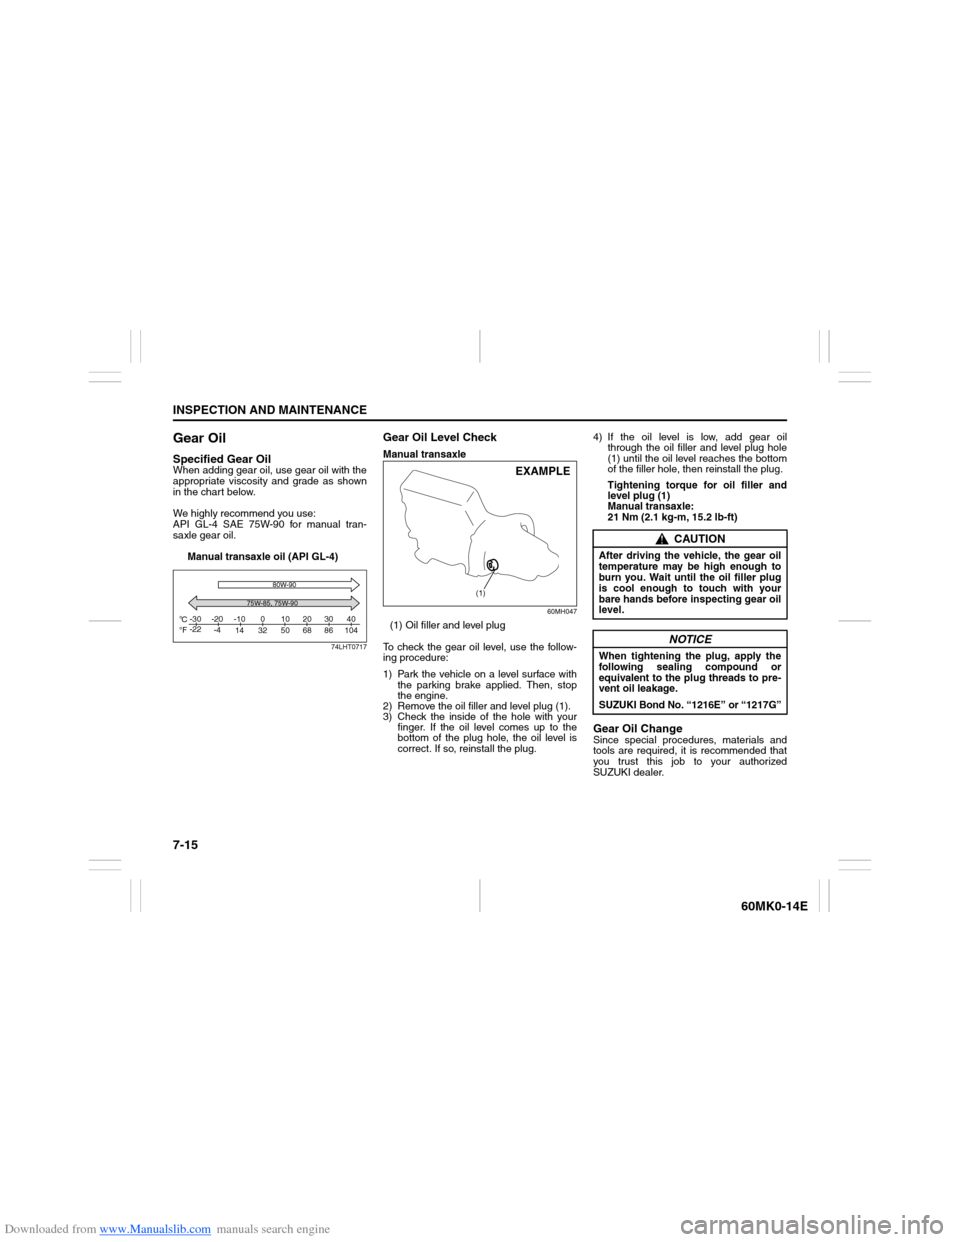
Gear OilSpecified Gear OilWhen adding gear oil, use gear oil with the
appropriate viscosity and grade as shown
in the chart below.
We highly recommend you use:
API GL-4 SAE 75W-90 for manual tran-
saxle gear oil.
Manual transaxle oil (API GL-4)
74LHT0717
Gear Oil Level CheckManual transaxle
60MH047
(1) Oil filler and level plug
To check the gear oil level, use the follow-
ing procedure:
1) Park the vehicle on a level surface with
the parking brake applied. Then, stop
the engine.
2) Remove the oil filler and level plug (1).
3) Check the inside of the hole with your
finger. If the oil level comes up to the
bottom of the plug hole, the oil level is
correct. If so, reinstall the plug.4) If the oil level is low, add gear oil
through the oil filler and level plug hole
(1) until the oil level reaches the bottom
of the filler hole, then reinstall the plug.
Tightening torque for oil filler and
level plug (1)
Manual transaxle:
21 Nm (2.1 kg-m, 15.2 lb-ft)
Gear Oil ChangeSince special procedures, materials and
tools are required, it is recommended that
you trust this job to your authorized
SUZUKI dealer.
C
Fo o-30
-22-20
-4-10
14 32 50 68 86 104010203040
75W-85, 75W-9080W-90
(1)
EXAMPLE
CAUTION
After driving the vehicle, the gear oil
temperature may be high enough to
burn you. Wait until the oil filler plug
is cool enough to touch with your
bare hands before inspecting gear oil
level.
NOTICE
When tightening the plug, apply the
following sealing compound or
equivalent to the plug threads to pre-
vent oil leakage.
SUZUKI Bond No. “1216E” or “1217G”
Page 161 of 207

Downloaded from www.Manualslib.com manuals search engine 7-16
INSPECTION AND MAINTENANCE
60MK0-14E
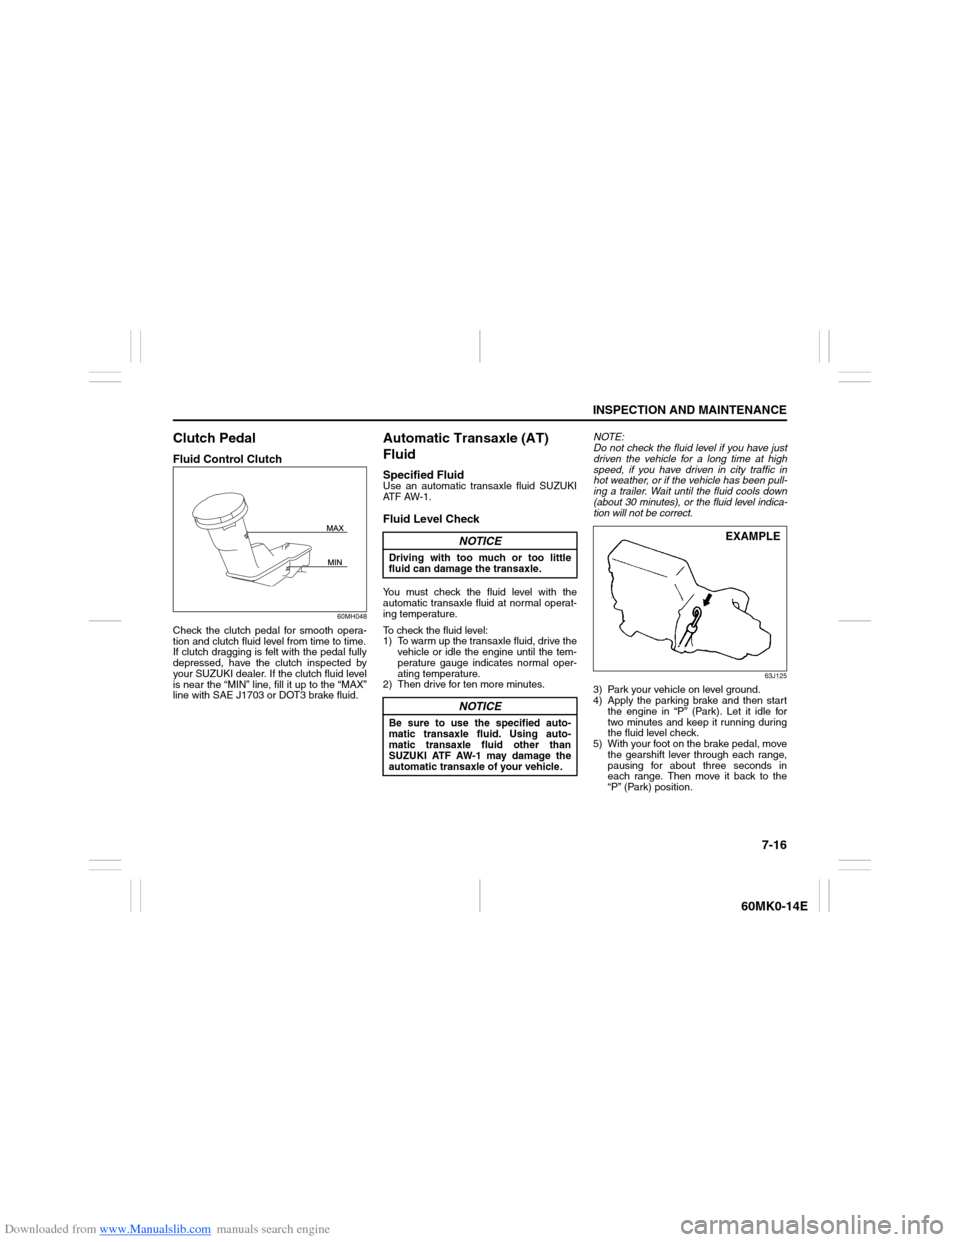
Clutch PedalFluid Control Clutch
60MH048
Check the clutch pedal for smooth opera-
tion and clutch fluid level from time to time.
If clutch dragging is felt with the pedal fully
depressed, have the clutch inspected by
your SUZUKI dealer. If the clutch fluid level
is near the “MIN” line, fill it up to the “MAX”
line with SAE J1703 or DOT3 brake fluid.
Automatic Transaxle (AT)
FluidSpecified FluidUse an automatic transaxle fluid SUZUKI
AT F A W - 1 .Fluid Level CheckYou must check the fluid level with the
automatic transaxle fluid at normal operat-
ing temperature.
To check the fluid level:
1) To warm up the transaxle fluid, drive the
vehicle or idle the engine until the tem-
perature gauge indicates normal oper-
ating temperature.
2) Then drive for ten more minutes.NOTE:
Do not check the fluid level if you have just
driven the vehicle for a long time at high
speed, if you have driven in city traffic in
hot weather, or if the vehicle has been pull-
ing a trailer. Wait until the fluid cools down
(about 30 minutes), or the fluid level indica-
tion will not be correct.
63J125
3) Park your vehicle on level ground.
4) Apply the parking brake and then start
the engine in “P” (Park). Let it idle for
two minutes and keep it running during
the fluid level check.
5) With your foot on the brake pedal, move
the gearshift lever through each range,
pausing for about three seconds in
each range. Then move it back to the
“P” (Park) position.
NOTICE
Driving with too much or too little
fluid can damage the transaxle.
NOTICE
Be sure to use the specified auto-
matic transaxle fluid. Using auto-
matic transaxle fluid other than
SUZUKI ATF AW-1 may damage the
automatic transaxle of your vehicle.
EXAMPLE
Page 162 of 207

Downloaded from www.Manualslib.com manuals search engine 7-17INSPECTION AND MAINTENANCE
60MK0-14E
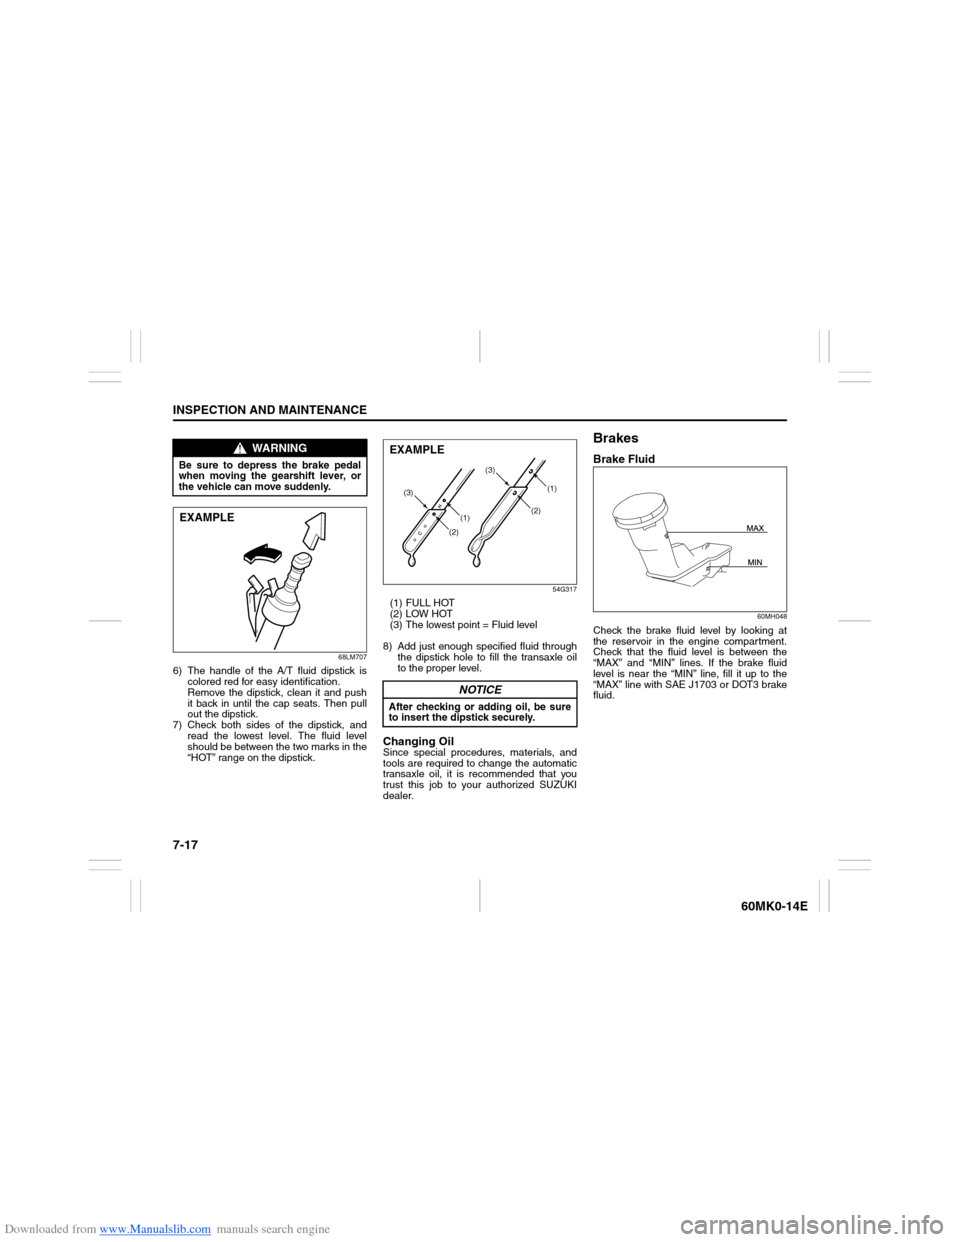
68LM707
6) The handle of the A/T fluid dipstick is
colored red for easy identification.
Remove the dipstick, clean it and push
it back in until the cap seats. Then pull
out the dipstick.
7) Check both sides of the dipstick, and
read the lowest level. The fluid level
should be between the two marks in the
“HOT” range on the dipstick.
54G317
(1) FULL HOT
(2) LOW HOT
(3) The lowest point = Fluid level
8) Add just enough specified fluid through
the dipstick hole to fill the transaxle oil
to the proper level.Changing OilSince special procedures, materials, and
tools are required to change the automatic
transaxle oil, it is recommended that you
trust this job to your authorized SUZUKI
dealer.
BrakesBrake Fluid
60MH048
Check the brake fluid level by looking at
the reservoir in the engine compartment.
Check that the fluid level is between the
“MAX” and “MIN” lines. If the brake fluid
level is near the “MIN” line, fill it up to the
“MAX” line with SAE J1703 or DOT3 brake
fluid.
WARNING
Be sure to depress the brake pedal
when moving the gearshift lever, or
the vehicle can move suddenly.EXAMPLE
NOTICE
After checking or adding oil, be sure
to insert the dipstick securely.
(1)(2) (3)(1)
(2)(3)
EXAMPLE