2013 SUZUKI ERTIGA stop start
[x] Cancel search: stop startPage 90 of 207

Downloaded from www.Manualslib.com manuals search engine 4-1DRIVING TIPS
60MK0-14E
52D078S
Running-in Catalytic Converter
80G106
The purpose of the catalytic converter is to
minimize the amount of harmful pollutants
in your vehicle’s exhaust. Use of leaded
fuel in vehicles equipped with catalytic
converters is prohibited, because lead
deactivates the pollutant-reducing compo-
nents of the catalyst system.
The converter is designed to last the life of
the vehicle under normal usage and when
unleaded fuel is used. No special mainte-
nance is required on the converter. How-
ever, it is very important to keep the engine
properly tuned. Engine misfiring, which
can result from an improperly tuned
engine, may cause overheating of the cat-
alyst. This may result in permanent heat
damage to the catalyst and other vehicle
components.
WARNING
Wear Your Seat Belts at All Times.
Even though air bags are equipped
at the front seating positions, the
driver and all passengers should
be properly restrained at all times,
using the seat belts provided. Refer
to the “Seat Belts and Child
Restraint Systems” section for
instructions on proper use of the
seat belts.
Never drive while under the influ-
ence of alcohol or other drugs.
Alcohol and drugs can seriously
impair your ability to drive safely,
greatly increasing the risk of injury
to yourself and others. You should
also avoid driving when you are
tired, sick, irritated, or under
stress.
NOTICE
The future performance and reliabil-
ity of the engine depends on the care
and restraint exercised during its
early life. It is especially important to
observe the following precautions
during the initial 960 km (600 miles)
of vehicle operation.
After starting, do not race the
engine. Warm it up gradually.
Avoid prolonged vehicle operation
at a constant speed. Moving parts
will break in better if you vary your
speed.
Start off from a stop slowly. Avoid
full throttle starts.
Avoid hard braking, especially dur-
ing the first 320 km (200 miles) of
driving.
Do not drive slowly with the trans-
axle in a high gear.
Drive the vehicle at moderate
engine speeds.
Do not tow a trailer during the first
960 km (600 miles) of vehicle oper-
ation.
EXAMPLE
Page 91 of 207

Downloaded from www.Manualslib.com manuals search engine 4-2
DRIVING TIPS
60MK0-14E
54G584S
Improving Fuel EconomyThe following instructions will help you
improve fuel economy.
Avoid excessive idling
If you are to wait for more than a minute
while you are parked, stop the engine and
start it again later. When warming up a
cold engine, allow the engine to idle until
the temperature gauge pointer comes up
to the “C” position (if the idling is not pro-
hibited). In this position, the engine is suffi-
ciently warm for starting off.
Avoid “fast” starts
Fast starts away from lights or stop signs
will consume fuel unnecessarily and
shorten engine life. Start off slowly.
Avoid unnecessary stops
Avoid unnecessary deceleration and stop-
ping. Try to maintain a slow, steady speed
whenever possible. Slowing down and then
accelerating again uses more fuel.
Keep a steady cruising speed
Keep as constant a speed as road and traf-
fic conditions will permit.
NOTICE
To avoid damaging catalyst or other
vehicle damage:
Maintain the engine in the proper
operating condition.
In the event of an engine malfunc-
tion, particularly one involving
engine misfiring or other apparent
loss of performance, have the vehi-
cle serviced promptly.
Do not turn off the engine or inter-
rupt the ignition when the transaxle
is in gear and the vehicle is in
motion.
Do not try to start the engine by
pushing or towing the vehicle, or
coasting down a hill.
Do not idle the engine with any
spark plug wires disconnected or
removed, such as during diagnos-
tic testing.
Do not idle the vehicle for pro-
longed periods if idling seems
rough or there are other malfunc-
tions.
Do not allow the fuel tank to get
near the empty level.
Avoid driving your vehicle at exces-
sively high engine speed in or
around the red zone of the tachom-
eter (if equipped).
WARNING
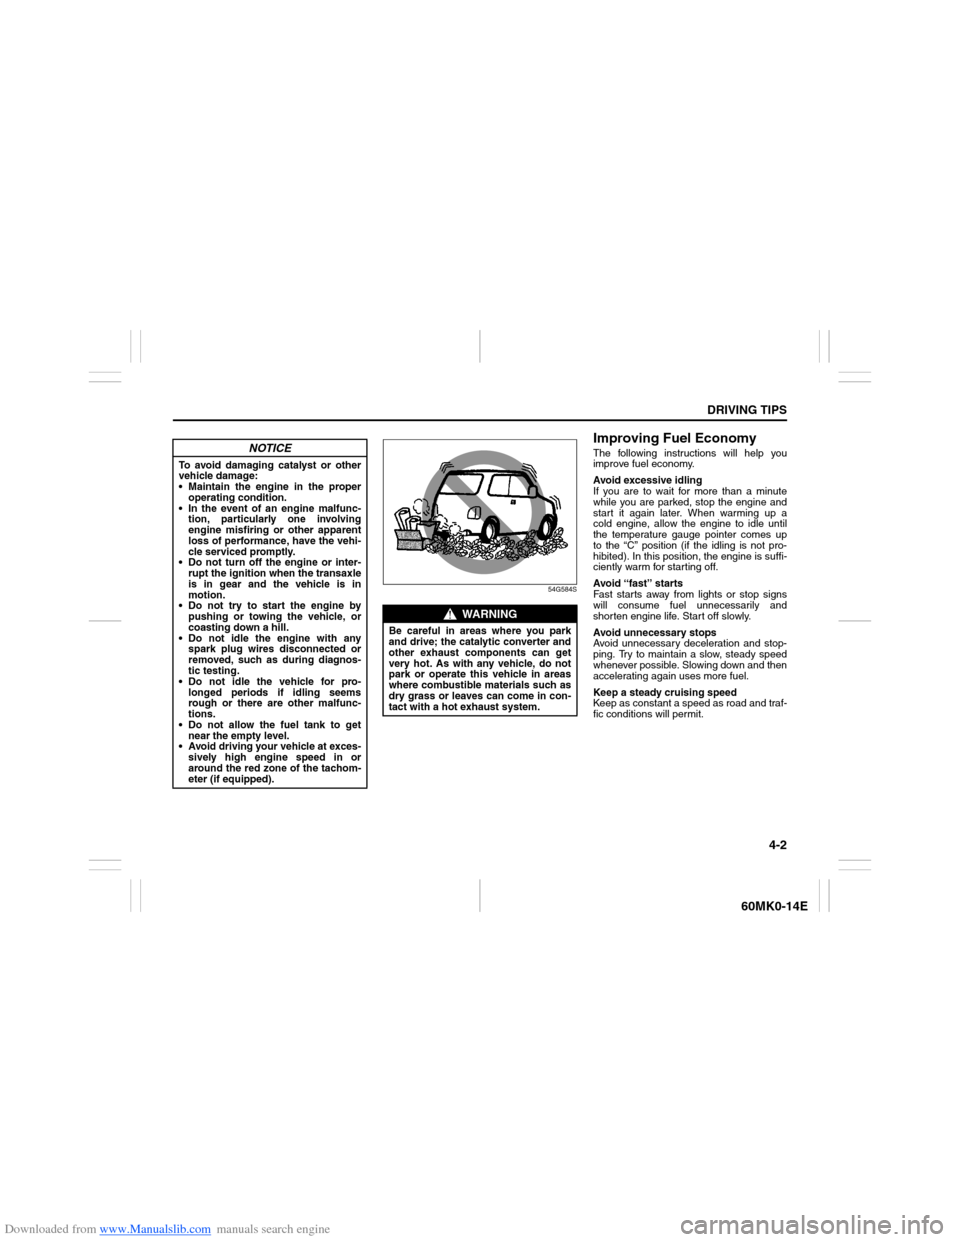
Be careful in areas where you park
and drive; the catalytic converter and
other exhaust components can get
very hot. As with any vehicle, do not
park or operate this vehicle in areas
where combustible materials such as
dry grass or leaves can come in con-
tact with a hot exhaust system.
Page 109 of 207

Downloaded from www.Manualslib.com manuals search engine 5-14
OTHER CONTROLS AND EQUIPMENT
60MK0-14E
Selecting the FM band
Press the FM button (1).
Each time the button is pressed, the recep-
tion band will change as follows:
Selecting the AM band
Press the AM button (2).
Seek tuning
Press the seek Up button (3) or the seek
Down button (4).
The unit stops searching for a station at a
frequency where a broadcast station is
available.
Manual tuning
Turn the TUNE FOLDER PUSH SOUND
knob (5).
The frequency being received is displayed.Preset memory
1) Select the desired station.
2) Hold down a desired button ([1] to [6])
of the Preset buttons (6) to which you
want to store the station for 2 seconds
or longer.
Auto store
Hold down the AS button (7) for 2 seconds
or longer.
Six stations in good reception will automat-
ically be stored to the Preset buttons (5) in
order, starting from a station whose fre-
quency is the lowest.
NOTE:
Auto store can be released by pressing
AS button (7) while auto store is under
way.
When the auto store is performed, the
station previously stored in the memory
at the position is overwritten.
When there are fewer than 6 stations that
can be stored even if 1 round of auto
store operation is performed, no station
will be stored at the remaining Preset
buttons (6).
6 stations can be preset for FM1 and
FM2 in common, and 6 stations for AM in
auto store mode.Auto store mode on/off
Press the AS button (7).
Each time the button is pressed, the mode
is switched as follows:
Radio Reception
Radio reception can be affected by envi-
ronment, atmospheric conditions, or radio
signal’s power and distance from the sta-
tion. Nearby mountains and buildings may
interfere or deflect radio reception, causing
poor reception. Poor reception or radio
static can also be caused by electric cur-
rent from overhead wires or high voltage
power lines. FM1 FM2
AS mode on AS mode off
Page 153 of 207

Downloaded from www.Manualslib.com manuals search engine 7-8
INSPECTION AND MAINTENANCE
60MK0-14E
Oil Level Check
80G064
It is important to keep the engine oil at the
correct level for proper lubrication of your
vehicle’s engine. Check the oil level with
the vehicle on a level surface. The oil level
indication may be inaccurate if the vehicle
is on a slope. The oil level should be
checked either before starting the engine
or at least 5 minutes after stopping the
engine.
The handle of the engine oil dipstick is col-
ored yellow for easy identification.
52D084
Pull out the oil dipstick, wipe oil off with a
clean cloth, insert the dipstick all the way
into the engine, then remove it again. The
oil on the stick should be between the
upper and lower limits shown on the stick.
If the oil level indication is near the lower
limit, add enough oil to raise the level to the
upper limit.
Refilling
81A147
Remove the oil filler cap and pour oil slowly
through the filler hole to bring the oil level
to the upper limit on the dipstick. Be careful
not to overfill. Too much oil is almost as
bad as too little oil. After refilling, start the
engine and allow it to idle for about a
minute. Stop the engine, wait about 5 min-
utes and check the oil level again.
EXAMPLE
NOTICE
Failure to check the oil level regularly
could lead to serious engine trouble
due to insufficient oil.EXAMPLE
Upper
Lower
Close Open
EXAMPLE
Page 156 of 207

Downloaded from www.Manualslib.com manuals search engine 7-11INSPECTION AND MAINTENANCE
60MK0-14E
Refill with Oil and Check for Leaks1) Pour oil through the filler hole and
install the filler cap.
For the approximate capacity of the oil,
refer to the “Capacities” item in the
“SPECIFICATIONS” section.
2) Start the engine and look carefully for
leaks at the oil filter and drain plug. Run
the engine at various speeds for at least
5 minutes.
3) Stop the engine and wait about 5 min-
utes. Check the oil level again and add
oil if necessary. Check for leaks again.
Engine CoolantSelection of CoolantTo maintain optimum performance and
durability of your engine, use SUZUKI
Genuine Coolant or equivalent.
This type of coolant is best for your cooling
system as it:
Helps maintain proper engine tempera-
ture.
Gives proper protection against freezing
and boiling.
Gives proper protection against corro-
sion and rust.Failure to use the proper coolant can dam-
age your cooling system. Your authorized
SUZUKI dealer can help you select the
proper coolant.
NOTICE
When replacing the oil filter, it is
recommended that you use a genu-
ine SUZUKI replacement filter. If
you use an aftermarket filter, make
sure it is of equivalent quality and
follow the manufacturer’s instruc-
tions.
Oil leaks from around the oil filter
or drain plug indicate incorrect
installation or gasket damage. If
you find any leaks or are not sure
that the filter has been properly
tightened, have the vehicle
inspected by your SUZUKI dealer.
NOTICE
To avoid damaging your cooling sys-
tem:
Always use a high quality ethylene
glycol base non-silicate type cool-
ant diluted with distilled water at
the correct mixture concentration.
Make sure that the proper mix is 50/
50 coolant to distilled water and in
no case higher than 70/30. Concen-
trations greater than 70/30 coolant
to distilled water will cause over-
heating conditions.
Do not use straight coolant nor
plain water.
Do not add extra inhibitors or addi-
tives. They may not be compatible
with your cooling system.
Do not mix different types of base
coolants. Doing so may result in
accelerated seal wear and/or the
possibility of severe overheating
and extensive engine/automatic
transaxle damage.
Page 170 of 207

Downloaded from www.Manualslib.com manuals search engine 7-25INSPECTION AND MAINTENANCE
60MK0-14E
Fuses under the Dash Board
74LHT0711
60MK033
EXAMPLE
(1)
(12)(10)
(13)
(36) (2) (3)
(4)
(5)(6)
(7) (8)(9)
(11) (14) (15)
(16) (17) (18) (19) (20) (21) (22)
(23) (24) (25) (26) (27) (28) (29)
(30) (31) (32) (33) (34) (35) (37)
(38)
(39)
(40)
PRIMARY FUSE
(1) 30 A Belt
(2) – Blank
(3) – Blank
(4) 20 A Rear defogger
(5) – Blank
(6) – Blank
(7) – Blank
(8) 7.5 A Starting Signal
(9) 15 A ACC-2
(10) 30 A Power window
(11) 10 A Hazard
(12) – Blank
(13) 15 A Ignition coil
(14) 10 A ABS control module
(15) 15 A ACC
(16) – Blank
(17) 15 A Horn
(18) 10 A Stop light
(19) 10 A Air bag
(20) 10 A Back-up light
(21) 15 A Rear wiper / Washer
(22) 25 A Front wiper
(23) 7.5 A Dome light
(24) – Blank
(25) 7.5 A RR fog lamp
(26) – Blank
(27) 7.5 A Ignition-1 signal
(28) – Blank
(29) – Blank
(30) 15 A Radio
(31) 10 A Tail lamp
(32) 20 A D/L
(33) 7.5 A Cruise control
(34) 10 A Meter
(35) 7.5 A Ignition-2 signal
(36) – Blank
(37) – Blank
(38) – Blank
(39) 7.5 A Rear blower fan
(40) – Blank