2013 SUZUKI ERTIGA change wheel
[x] Cancel search: change wheelPage 65 of 207

Downloaded from www.Manualslib.com manuals search engine 2-50
BEFORE DRIVING
60MK0-14E
Odometer
When the ignition switch is in the “ON”
position, the display (D) shows the odome-
ter.
The odometer records the total distance
the vehicle has been driven.
Clock
When the ignition switch is in the “ON”
position, the display (E) shows the time.To change the time indication:
1) Push the trip meter selector knob (1)
and the indicator selector knob (2)
together.
2) To change the hour indication, turn the
indicator selector knob (2) left or right
repeatedly when the hour indication
blinks. To change the hour indication
quickly, turn and hold the indicator
selector knob (2). To set the hour indi-
cation, push the indicator selector knob
(2) and the minute indication will blink.
3) To change the minute indication, turn
the indicator selector knob (2) left or
right repeatedly when the minute indi-
cation blinks. To change the minute
indication quickly, turn and hold the
indicator selector knob (2). To set the
minute indication, push the indicator
selector knob (2).
NOTE:
When you reconnect the negative (–) ter-
minal to the battery, the clock indication will
be reinitialized. Change the indication
again to your preference.
Lighting Control Lever
65D611
NOTICE
Keep track of your odometer reading
and check the maintenance schedule
regularly for required services.
Increased wear or damage to certain
parts can result from failure to per-
form required services at the proper
mileage intervals.
WARNING
If you attempt to adjust the display
while driving, you could lose control
of the vehicle.
Do not attempt to adjust the display
while driving.
WARNING
To avoid possible injury, do not oper-
ate controls by reaching through the
steering wheel.
Page 68 of 207

Downloaded from www.Manualslib.com manuals search engine 2-53BEFORE DRIVING
60MK0-14E
Lane change signal
60MK014
Sometimes, such as when changing lanes,
the steering wheel is not turned far enough
to cancel the turn signal. For convenience,
you can flash the turn signal by moving the
lever part way and holding it there. The
lever will return to its normal position when
you release it.
NOTE:
The turn signal and its indicator flash three
times even if you return the lever immedi-
ately after moving it.
Hazard Warning Switch
74LHT0229
Push in the hazard warning switch to acti-
vate the hazard warning lights. All turn sig-
nal lights and both turn signal indicators
will flash simultaneously. To turn off the
lights, push the switch again.
Use the hazard warning lights to warn
other traffic during emergency parking or
when your vehicle could otherwise become
a traffic hazard.
Windshield Wiper and Washer
Lever
57L21128
EXAMPLE
WARNING
To avoid possible injury, do not oper-
ate controls by reaching through the
steering wheel.
Page 76 of 207

Downloaded from www.Manualslib.com manuals search engine 3-3OPERATING YOUR VEHICLE
60MK0-14E
making it appear that the oil level has not
changed.
You should also be aware that the diluting
ingredients evaporate out when the vehicle
is subsequently driven at high speeds,
such as on an expressway, making it
appear that oil is excessively consumed
after high-speed driving.
Ignition Switch
65D61160B041
The ignition switch has the following four
positions:
LOCK
This is the normal parking position. It is the
only position in which the key can be
removed.
WARNING
To avoid possible injury, do not oper-
ate controls by reaching through the
steering wheel.
EXAMPLE
Page 84 of 207

Downloaded from www.Manualslib.com manuals search engine 3-11OPERATING YOUR VEHICLE
60MK0-14E
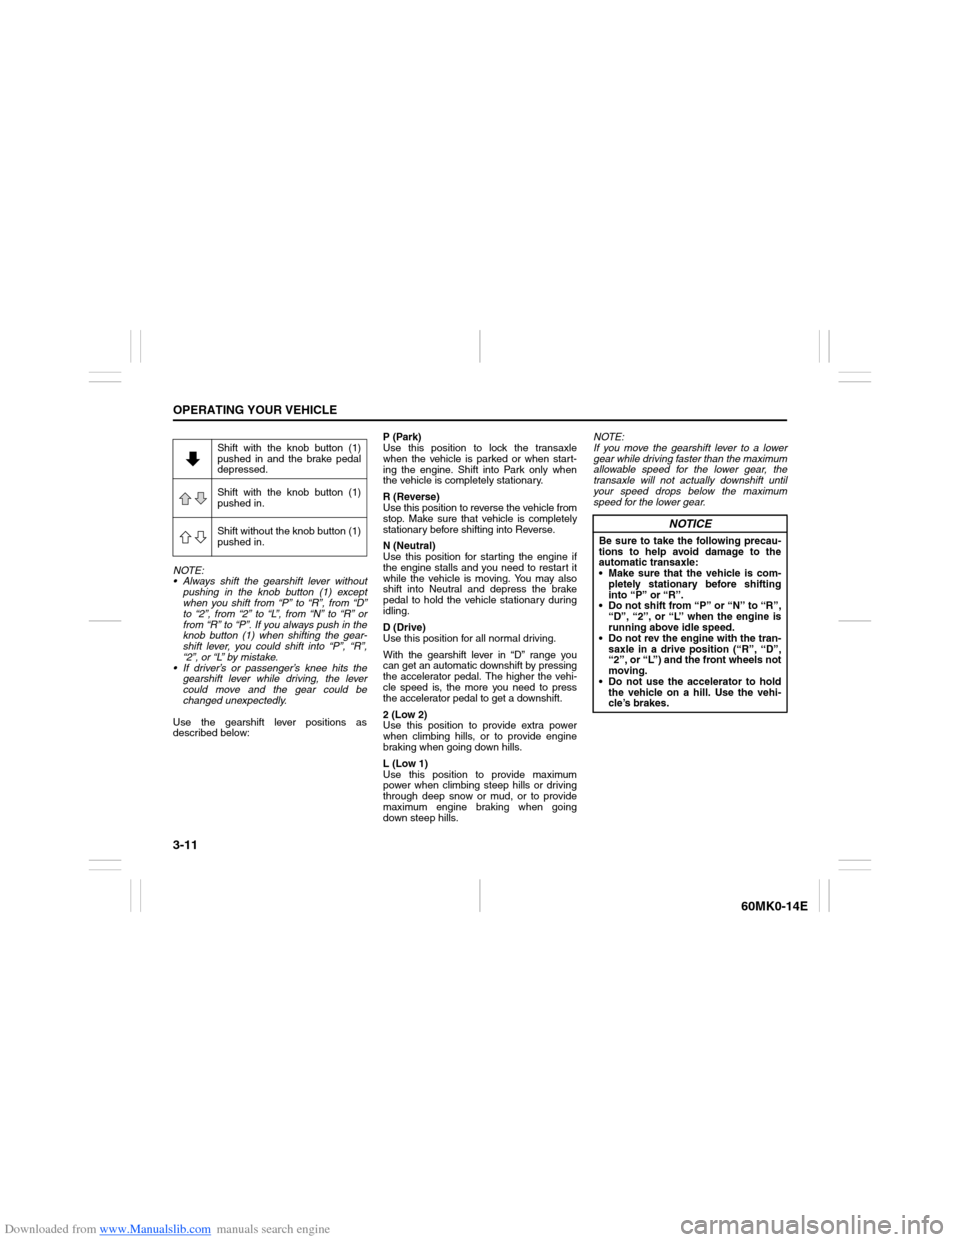
NOTE:
Always shift the gearshift lever without
pushing in the knob button (1) except
when you shift from “P” to “R”, from “D”
to “2”, from “2” to “L”, from “N” to “R” or
from “R” to “P”. If you always push in the
knob button (1) when shifting the gear-
shift lever, you could shift into “P”, “R”,
“2”, or “L” by mistake.
If driver’s or passenger’s knee hits the
gearshift lever while driving, the lever
could move and the gear could be
changed unexpectedly.
Use the gearshift lever positions as
described below:P (Park)
Use this position to lock the transaxle
when the vehicle is parked or when start-
ing the engine. Shift into Park only when
the vehicle is completely stationary.
R (Reverse)
Use this position to reverse the vehicle from
stop. Make sure that vehicle is completely
stationary before shifting into Reverse.
N (Neutral)
Use this position for starting the engine if
the engine stalls and you need to restart it
while the vehicle is moving. You may also
shift into Neutral and depress the brake
pedal to hold the vehicle stationary during
idling.
D (Drive)
Use this position for all normal driving.
With the gearshift lever in “D” range you
can get an automatic downshift by pressing
the accelerator pedal. The higher the vehi-
cle speed is, the more you need to press
the accelerator pedal to get a downshift.
2 (Low 2)
Use this position to provide extra power
when climbing hills, or to provide engine
braking when going down hills.
L (Low 1)
Use this position to provide maximum
power when climbing steep hills or driving
through deep snow or mud, or to provide
maximum engine braking when going
down steep hills.NOTE:
If you move the gearshift lever to a lower
gear while driving faster than the maximum
allowable speed for the lower gear, the
transaxle will not actually downshift until
your speed drops below the maximum
speed for the lower gear. Shift with the knob button (1)
pushed in and the brake pedal
depressed.
Shift with the knob button (1)
pushed in.
Shift without the knob button (1)
pushed in.
NOTICE
Be sure to take the following precau-
tions to help avoid damage to the
automatic transaxle:
Make sure that the vehicle is com-
pletely stationary before shifting
into “P” or “R”.
Do not shift from “P” or “N” to “R”,
“D”, “2”, or “L” when the engine is
running above idle speed.
Do not rev the engine with the tran-
saxle in a drive position (“R”, “D”,
“2”, or “L”) and the front wheels not
moving.
Do not use the accelerator to hold
the vehicle on a hill. Use the vehi-
cle’s brakes.
Page 87 of 207

Downloaded from www.Manualslib.com manuals search engine 3-14
OPERATING YOUR VEHICLE
60MK0-14E
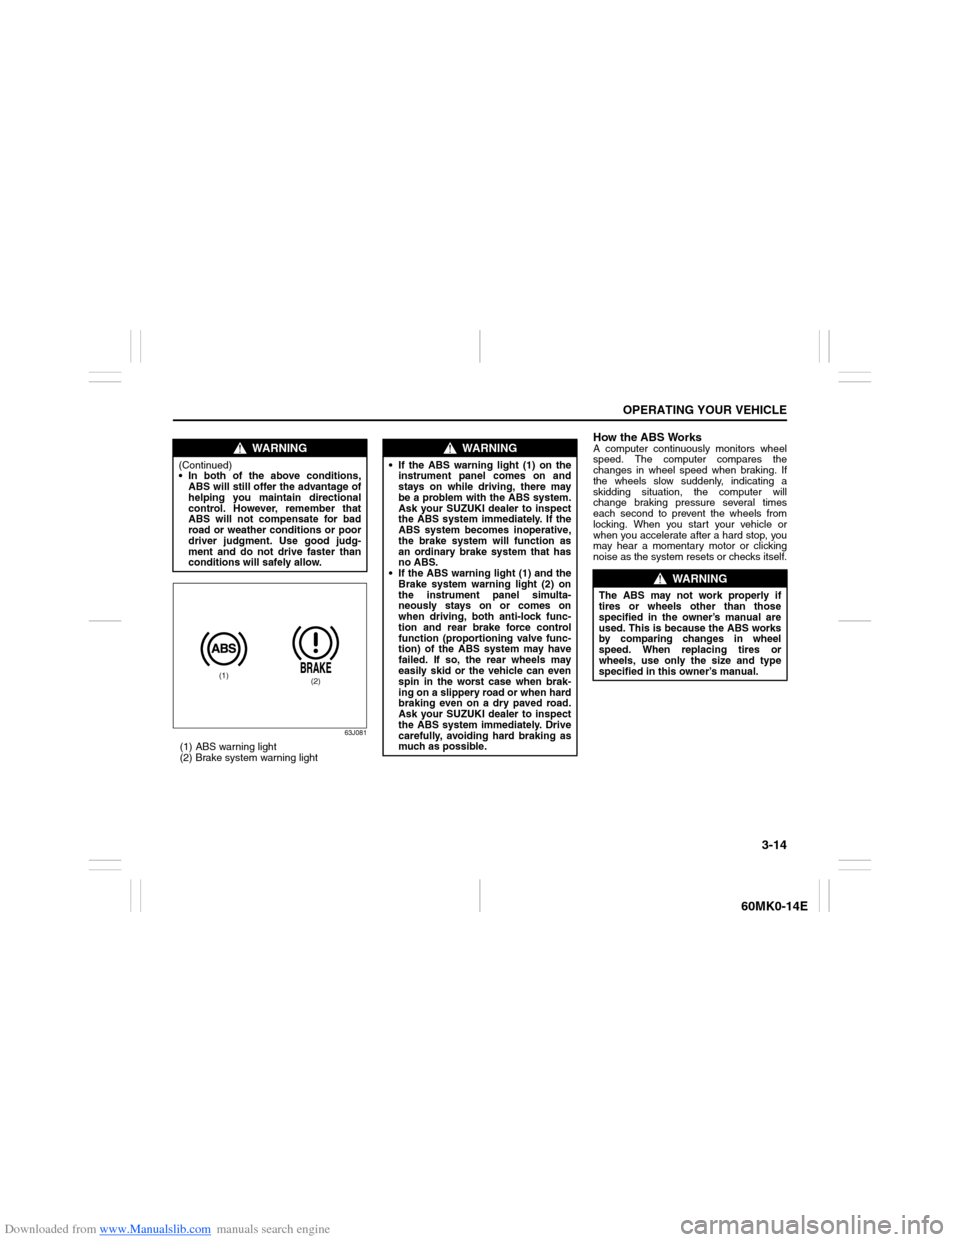
63J081
(1) ABS warning light
(2) Brake system warning light
How the ABS WorksA computer continuously monitors wheel
speed. The computer compares the
changes in wheel speed when braking. If
the wheels slow suddenly, indicating a
skidding situation, the computer will
change braking pressure several times
each second to prevent the wheels from
locking. When you start your vehicle or
when you accelerate after a hard stop, you
may hear a momentary motor or clicking
noise as the system resets or checks itself.
WARNING
(Continued)
In both of the above conditions,
ABS will still offer the advantage of
helping you maintain directional
control. However, remember that
ABS will not compensate for bad
road or weather conditions or poor
driver judgment. Use good judg-
ment and do not drive faster than
conditions will safely allow.
(1)
(2)
WARNING
If the ABS warning light (1) on the
instrument panel comes on and
stays on while driving, there may
be a problem with the ABS system.
Ask your SUZUKI dealer to inspect
the ABS system immediately. If the
ABS system becomes inoperative,
the brake system will function as
an ordinary brake system that has
no ABS.
If the ABS warning light (1) and the
Brake system warning light (2) on
the instrument panel simulta-
neously stays on or comes on
when driving, both anti-lock func-
tion and rear brake force control
function (proportioning valve func-
tion) of the ABS system may have
failed. If so, the rear wheels may
easily skid or the vehicle can even
spin in the worst case when brak-
ing on a slippery road or when hard
braking even on a dry paved road.
Ask your SUZUKI dealer to inspect
the ABS system immediately. Drive
carefully, avoiding hard braking as
much as possible.
WARNING
The ABS may not work properly if
tires or wheels other than those
specified in the owner’s manual are
used. This is because the ABS works
by comparing changes in wheel
speed. When replacing tires or
wheels, use only the size and type
specified in this owner’s manual.
Page 94 of 207

Downloaded from www.Manualslib.com manuals search engine 4-5DRIVING TIPS
60MK0-14E
If Your Vehicle Gets StuckIf your vehicle gets stuck in snow, mud, or
sand, follow the directions below:
1) Shift the transaxle back and forth
between a forward range (or first gear
for manual transaxle) and reverse. This
will create a rocking motion which may
give you enough momentum to free the
vehicle. Press gently on the accelerator
to keep wheel spinning to a minimum
wheel rpm. Remove your foot from the
accelerator while shifting.
Do not race the engine. Excessive
wheel spin will cause the tires to dig
deeper, making it more difficult to free
the vehicle.
2) If your vehicle remains stuck after a few
minutes of rocking, get another vehicle
to pull your vehicle out.
54G638S
WARNING
Do not allow anyone to stand near the
vehicle when you are rocking it, and
do not spin the wheels faster than an
indicated 40 km/h (25 mph) on the
speedometer. Personal injury and/ or
vehicle damage may result from spin-
ning the wheels too fast.
NOTICE
Do not continue rocking the vehicle
for more than a few minutes. Pro-
longed rocking can cause engine
overheating or transaxle damage.
WARNING
In addition to following the driving
tips in this section, it is important to
observe the following precautions.
Make sure your tires are in good
condition and always maintain the
specified tire pressure. Refer to
“Tires” in the “INSPECTION AND
MAINTENANCE” section for
details.
(Continued)
WARNING
(Continued)
Do not use tires other than those
specified by SUZUKI. Never use dif-
ferent sizes or types of tires on the
front and rear wheels. For informa-
tion regarding the specified tires,
refer to the Tire Information Label
located on the driver’s door lock
pillar.
Never use oversized tires or special
shock absorbers and springs to
raise (jack up) your vehicle. This
will change the handling character-
istics. Oversized tires may also rub
against the fender over bumps,
causing vehicle damage or tire fail-
ure.
After driving through water, test the
brakes while driving at a slow
speed to see if they have main-
tained their normal effectiveness. If
the brakes are less effective than
normal, dry them by repeatedly
applying the brakes while driving
slowly until the brakes have
regained their normal effective-
ness.
Page 125 of 207

Downloaded from www.Manualslib.com manuals search engine 5-30
OTHER CONTROLS AND EQUIPMENT
60MK0-14E
Remote Audio Controls
(if equipped)Controlling of basic functions of the audio
system is available using the switches on
the steering wheel.
60MK036
Adjusting the volume
To increase the volume, hold down “+”
of the VOL switch (1). The volume will
keep on being increased until the
switch is released.
To decrease the volume, hold down “-”
of the VOL switch (1). The volume will
keep on being decreased until the
switch is released.
To mute the sound, press the switch
(2).
Selecting the mode
Press the switch (3).
Each time the button is pressed, the mode
will change as follows:
It is possible to turn on the audio system by
pressing the switch (3).Selecting the radio station (FM1, FM2,
AM mode)
To select the next preset station, press
“ ” of the switch (4) only for a moment.
To select the previous preset station,
press “ ” of the switch (4) only for a
moment.
To scan a higher frequency radio sta-
tion, press “ ” of the switch (4) for 1
second or longer.
To scan a lower frequency radio sta-
tion, press “ ” of the switch (4) for 1
second or longer.
Selecting the track (CD, USB (iPod
®),
mode)
To skip to the next track, press “ ” of
the switch (4) only for a moment.
To skip to the previous track, press “ ”
of the switch (4) twice only for a
moment.
When the switch (4) is pushed down
once only for a moment, the track cur-
rently being played will start from the
beginning again.
Fast forwarding/Rewinding a track
To fast forward, press “ ” of the switch
(4) for 1 second or longer.
To fast rewind, press “ ” of the switch
(4) for 1 second or longer.
(2)
(3)
(1)
(4)
FM1 (Radio)
FM2 (Radio)
CD
USB (iPod
®)
AM (Radio)
<
<
<<
<
<
<<
Page 149 of 207

Downloaded from www.Manualslib.com manuals search engine 7-4
INSPECTION AND MAINTENANCE
60MK0-14E
*Interval: This interval should be judged by odome-
ter reading or months, whichever comes first.km (x1000) 15 30 45 60 75 90
miles (x1000)9 1827364554
months 12 24 36 48 60 72BRAKE
*5-1. Brake discs and pads (front)IIIIII
Brake drums and shoes (rear)
–
I
–
I
–
I
*5-2. Brake hoses and pipes–I–I–I
5-3.
Brake fluid
Check, *Replacement
–
R
–
R
–
R
5-4. Brake lever and cable Check, *Adjustment (1st 15000 km only) I–––––
CHASSIS AND BODY
*6-1. Clutch (pedal and fluid level)IIIIII6-2.
Tires/Wheels
I
I
I
I
I
I
*6-3. Drive axle boots–– I –– I
*6-4.
Suspension system
–
I
–
I
–
I
*6-5. Steering system–I–I–I
*6-6.
Manual transaxle oil
(I: 1st 15000 km only)
I
–
R
–
–
R
6-7. Automatic transaxle Fluid level – I – I – I
* Fluid change
Replace every 165000 km (99000 miles)
* Fluid hose – – – I – –
6-8.
All latches, hinges and locks
–
I
–
I
–
I
*6-9. Air conditioner filter element (if equipped) – I R – I R
WARNING
The shock absorbers are filled with high pressure gas. Never attempt to disassemble them or throw them into a fire. Avoid
storing them near a heater or heating device. When scrapping the absorber, the gas must be released from the absorber
safely. Ask your dealer for assistance.