2013 SUBARU FORESTER change time
[x] Cancel search: change timePage 113 of 436

Instruments and controlsInformation display ............................................ 3-26
Outside temperature indicator ............................ 3-27
Current fuel consumption (if equipped) ............... 3-27
Average fuel consumption .................................. 3-28
To turn off fuel consumption indicator display ............................................................. 3-28
Light control switch ........................................... 3-29
Headlights. ......................................................... 3-29
High/low beam change (dimmer) ......................... 3-30
Headlight flasher ................................................ 3-30
Daytime running light system (if equipped) ... ...... 3-30
Automatic headlight beam leveler (models with HID headlights) ................................................ 3-31 Turn signal lever
................................................ 3-31
Illumination brightness control ......................... 3-31
Front fog light switch (if equipped) .................. 3-32
Wiper and washer .............................................. 3-33
Windshield wiper and washer switches .............. 3-34
Rear window wiper and washer switch ............... 3-35
Mirrors ................................................................ 3-36
Inside mirror ...................................................... 3-36
Auto-dimming mirror/compass (if equipped) ....... 3-36
Auto-dimming mirror/compass with HomeLink
®(if equipped) .................................................... 3-38
Outside mirrors ................................................. 3-43
Defogger and deicer .......................................... 3-44
Tilt/telescopic steering wheel ........................... 3-46
Horn .................................................................... 3-47
Page 118 of 436

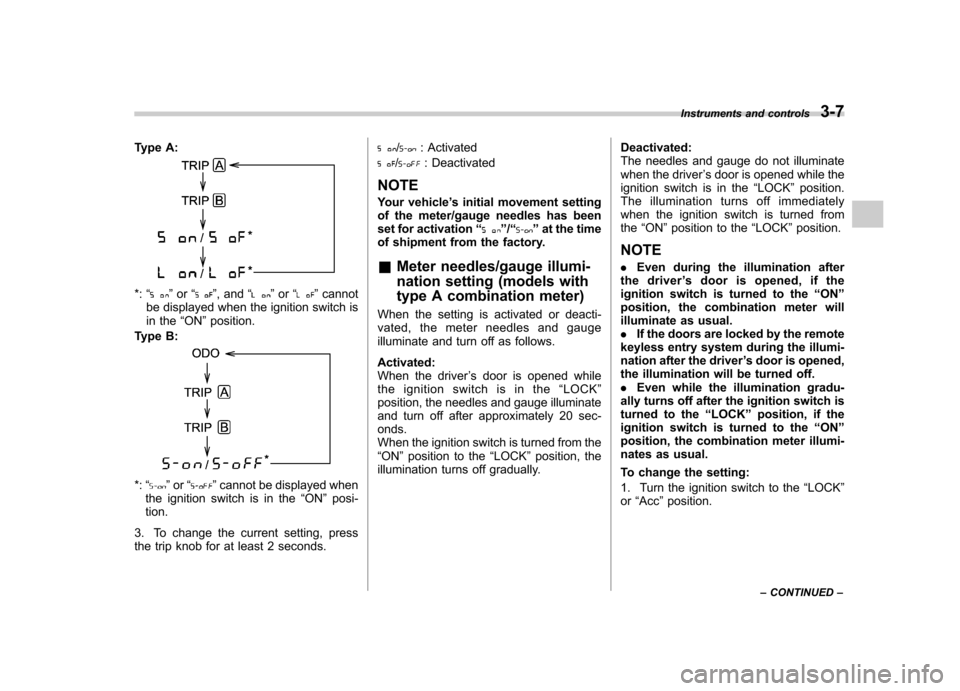
Type A:
*:“”or “”, and “”or “”cannot
be displayed when the ignition switch is
in the “ON ”position.
Type B:
*: “”or “”cannot be displayed when
the ignition switch is in the “ON ”posi-
tion.
3. To change the current setting, press
the trip knob for at least 2 seconds.
/: Activated
/: Deactivated
NOTE
Your vehicle ’s initial movement setting
of the meter/gauge needles has been
set for activation “
”/“” at the time
of shipment from the factory.
& Meter needles/gauge illumi-
nation setting (models with
type A combination meter)
When the setting is activated or deacti-
vated, the meter needles and gauge
illuminate and turn off as follows. Activated:
When the driver ’s door is opened while
the ignition switch is in the “LOCK ”
position, the needles and gauge illuminate
and turn off after approximately 20 sec-onds.
When the ignition switch is turned from the“ ON ”position to the “LOCK ”position, the
illumination turns off gradually. Deactivated:
The needles and gauge do not illuminate
when the driver
’s door is opened while the
ignition switch is in the “LOCK ”position.
The illumination turns off immediately
when the ignition switch is turned fromthe “ON ”position to the “LOCK ”position.
NOTE . Even during the illumination after
the driver ’s door is opened, if the
ignition switch is turned to the “ON ”
position, the combination meter will
illuminate as usual.. If the doors are locked by the remote
keyless entry system during the illumi-
nation after the driver ’s door is opened,
the illumination will be turned off.. Even while the illumination gradu-
ally turns off after the ignition switch is
turned to the “LOCK ”position, if the
ignition switch is turned to the “ON ”
position, the combination meter illumi-
nates as usual.
To change the setting:
1. Turn the ignition switch to the “LOCK ”
or “Acc ”position. Instruments and controls
3-7
– CONTINUED –
Page 119 of 436

3-8Instruments and controls
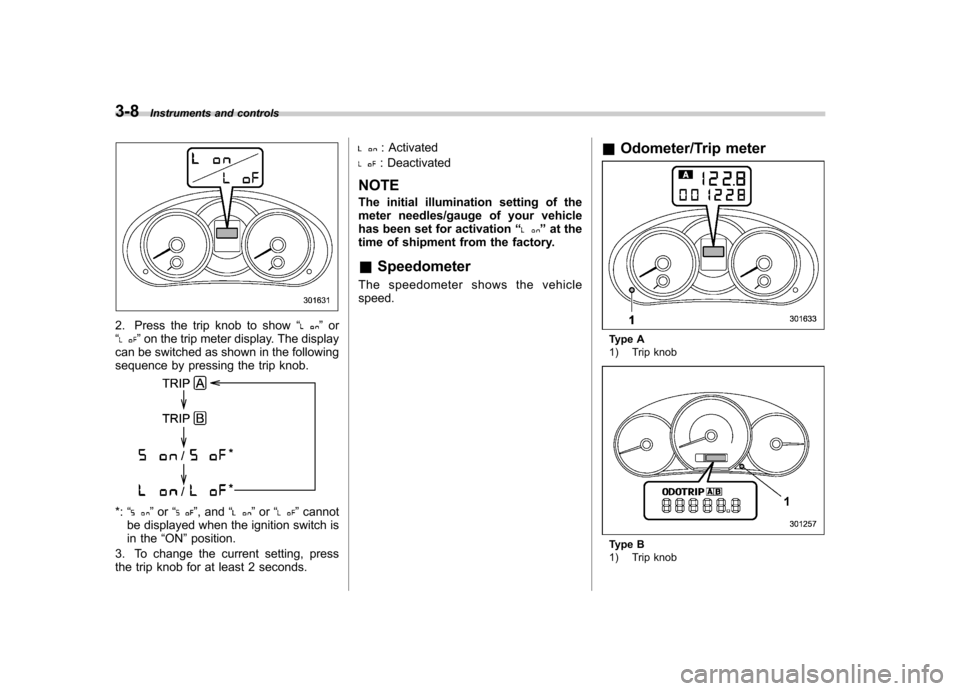
2. Press the trip knob to show “”or
“” on the trip meter display. The display
can be switched as shown in the following
sequence by pressing the trip knob.
*: “”or “”, and “”or “”cannot
be displayed when the ignition switch is
in the “ON ”position.
3. To change the current setting, press
the trip knob for at least 2 seconds.
: Activated
: Deactivated
NOTE
The initial illumination setting of the
meter needles/gauge of your vehicle
has been set for activation “
”at the
time of shipment from the factory.
& Speedometer
The speedometer shows the vehicle speed. &
Odometer/Trip meter
Type A
1) Trip knob
Type B
1) Trip knob
Page 135 of 436

3-24Instruments and controls
function normally. &SPORT mode indicator
light (AT models)
When the select lever is moved to the
manual gate, the SPORT mode is se-
lected and the indicator light illuminates.
Refer to “SPORT mode ”F 7-20.
& Select lever and gear posi-
tion indicator (AT models)
Type A
Type B
This indicator shows the position of the
select lever.
When the manual mode is selected, the
gear position indicator (which shows the
current gear selection) and the upshift/
downshift indicator light up. Refer to“ Automatic transmission ”F 7-15.
& Turn signal indicator lights
These lights show the operation of the turn
signal or lane change signal.
If the indicator lights do not blink or blink
rapidly, any of the turn signal light bulbs
may be burned out. Replace the bulb as
soon as possible. Refer to “Replacing
bulbs ”F 11-45. &
High beam indicator light
This light shows that the headlights are in
the high beam mode.
This indicator light also illuminates when
the headlight flasher is operated. &Cruise control indica-
tor light
This light illuminates when the “CRUISE ”
main switch is pressed to activate the
cruise control function. For details, refer to“ To set cruise control ”F 7-32.
CAUTION
If the CHECK ENGINE warning light/
malfunction indicator light illumi-
nates, the cruise control indicator
light flashes at the same time. At
this time, avoid driving at high
speed and have your vehicle in-
spected at a SUBARU dealer as
soon as possible.
NOTE
If you press the “CRUISE ”main switch
button while turning the ignition switch “ ON ”, the cruise control function is
deactivated and the cruise control
Page 136 of 436

indicator light flashes. To reactivate the
cruise control function, turn the igni-
tion switch back to the“Acc ”or
“ LOCK ”position, and then turn it again
to the “ON ”position.
& Cruise control set in-
dicator light
This light illuminates when vehicle cruising
speed has been set. &Front fog light indicator
light (if equipped)
This indicator light is on while the front fog
lights are on. & Headlight indicator light
This indicator light illuminates when the
headlight switch is placed in the “”or
“” position. Clock
The clock shows the time while the
ignition switch is in the
“Acc ”or “ON ”
position.
The time changes by 1 minute each time the “+ ” button or “� ” button is pressed.
Pressing the “+ ” button moves the dis-
played time forward, while pressing the “� ”
button moves the displayed time back.
Pressing and holding either button
changes the displayed time continuously.
CAUTION
To ensure safety, do not attempt to
set the time while driving, as an
accident from inadequate attention
to the road could result.
NOTE
If the battery is disconnected, the time
will be erased. After reconnecting the
battery, set the correct time. Instruments and controls
3-25
Page 139 of 436

3-28Instruments and controls
NOTE
The indicated values vary in accor-
dance with changes in the vehicle ’s
running conditions. Also, the indicated
values may differ slightly from the
actual values and should thus be
treated only as a guide. & Average fuel consumption
1) U.S.-spec. models
2) Except U.S.-spec. models
This display shows the average rate of
fuel consumption since the trip meter was
last reset.
When either of the trip meter displays is
reset, the corresponding average fuel
consumption value is also reset. NOTE .
The indicated values vary in accor-
dance with changes in the vehicle ’s
running conditions. Also, the indicated
values may differ slightly from the
actual values and should thus be
treated only as a guide.. After either trip meter display is
reset, the average fuel consumption
corresponding to that trip meter dis-
play is not shown until the vehicle has
subsequently covered a distance of 1
mile (or 1 km). & To turn off fuel consumption
indicator display
The fuel consumption indicator display
can be turned off.
To turn off this display, turn the ignition
switch to the “LOCK ”position and press
the “+ ” button adjacent to the information
display for approximately 5 seconds. The
information display and the clock display
will blink for 3 seconds and then the fuel
consumption display will turn off.
To restore the indicator, once again pressthe “+ ” button for approximately 5 sec-
onds. NOTE . The initial display setting of the fuel
consumption indicator of your vehicle has been set to operational at the time
of shipment from the factory..
The average fuel consumption is
calculated even while the indicator is
not displayed.. Even if you turn off the fuel con-
sumption indicator, the fuel consump-
tion indicator will automatically turn on
when the battery voltage is stopped
and then reapplied due to battery
replacement or fuse replacement.
Page 141 of 436

3-30Instruments and controls
&High/low beam change (dim- mer)
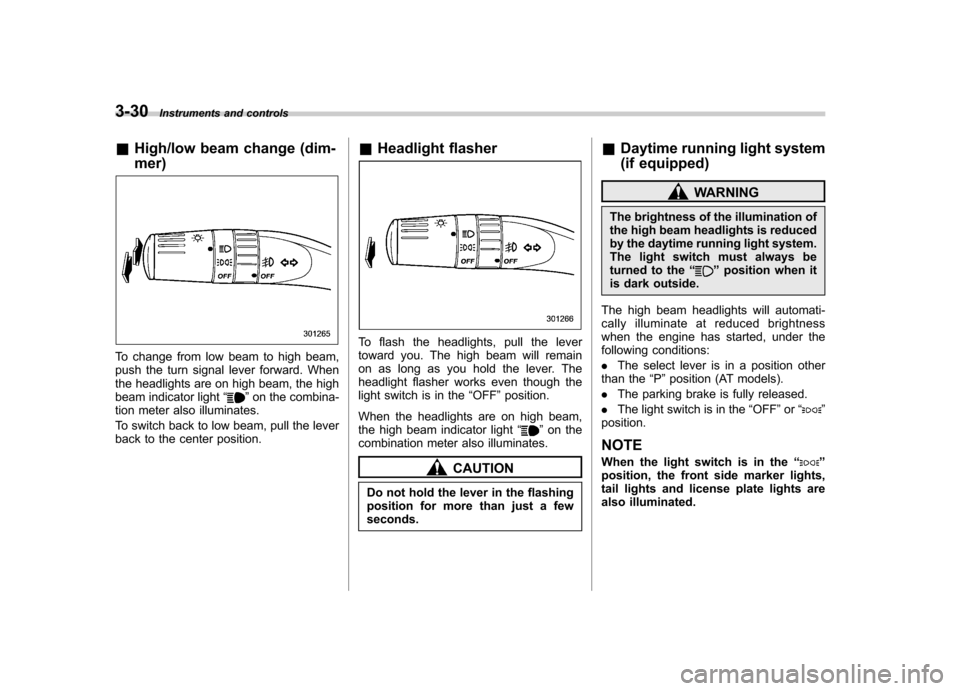
To change from low beam to high beam,
push the turn signal lever forward. When
the headlights are on high beam, the high
beam indicator light “
”on the combina-
tion meter also illuminates.
To switch back to low beam, pull the lever
back to the center position. &
Headlight flasher
To flash the headlights, pull the lever
toward you. The high beam will remain
on as long as you hold the lever. The
headlight flasher works even though the
light switch is in the “OFF ”position.
When the headlights are on high beam,
the high beam indicator light “
”on the
combination meter also illuminates.
CAUTION
Do not hold the lever in the flashing
position for more than just a fewseconds. &
Daytime running light system
(if equipped)
WARNING
The brightness of the illumination of
the high beam headlights is reduced
by the daytime running light system.
The light switch must always be
turned to the “
”position when it
is dark outside.
The high beam headlights will automati-
cally illuminate at reduced brightness
when the engine has started, under the
following conditions: . The select lever is in a position other
than the “P ”position (AT models).
. The parking brake is fully released.
. The light switch is in the “OFF ”or “
”
position.
NOTE
When the light switch is in the “
”
position, the front side marker lights,
tail lights and license plate lights are
also illuminated.
Page 170 of 436

heated interior. This results in quicker
cooling by the air conditioner. Keep the
windows closed during the operation of
the air conditioner for maximum cooling
efficiency. &Lubrication oil circulation in
the refrigerant circuit
Operate the air conditioner compressor at
a low engine speed (at idle or low driving
speeds) a few minutes each month during
the off-season to circulate its oil. & Checking air conditioning
system before summer sea-son
Check the air conditioner unit for refriger-
ant leaks, hose conditions, and proper
operation each spring. Have the air con-
ditioning system checked by your
SUBARU dealer. & Cooling and dehumidifying in
high humidity and low tem-
perature weather conditions
Under certain weather conditions (high
relative humidity, low temperatures, etc.) a
small amount of water vapor emission
from the air outlets may be noticed. This
condition is normal and does not indicate
any problem with the air conditioning system.
& Air conditioner compressor
shut-off when engine is
heavily loaded
To improve acceleration and gas mileage,
the air conditioner compressor is designed
to temporarily shut off during air condi-
tioner operation whenever the accelerator
pedal is fully depressed such as during
rapid acceleration or when driving on a
steep upgrade. & Refrigerant for your climate
control system
Your air conditioner uses ozone friendly
refrigerant HFC134a. Therefore, the meth-
od of adding, changing or checking the
refrigerant is different from the method for
CFC12 (freon). Consult your SUBARU
dealer for service. Repairs needed as a
result of using the wrong refrigerant are
not covered under warranty. Air filtration system
Replace the filter element according to the
replacement schedule as follows. This
schedule should be followed to maintain
the filter
’s dust collection ability. Under
extremely dusty conditions, the filter
should be replaced more frequently. It is
recommended that you have your filter
checked or replaced by your SUBARU
dealer. For replacement, use only a
genuine SUBARU air filter kit.
Replacement schedule: Every 12 months or 7,500 miles (12,000
km) whichever comes first
CAUTION
Contact your SUBARU dealer if the
following occurs, even if it is not yet
time to change the filter. – Reduction of the airflow through
the vents.
– Windshield gets easily fogged ormisted.
NOTE
The filter can influence the air condi-
tioning, heating and defroster perfor- Climate control
4-11
– CONTINUED –