2013 SUBARU FORESTER CD player
[x] Cancel search: CD playerPage 197 of 436
5-24Audio
!Loading all the magazine (full disc
loading mode)
1. If you continue to press the
button for more than 1.5 seconds, the
player will produce beep sound and will
enter the full disc loading mode.
2. When the disc number indicator
flashes and “ALL LOAD ”indicator illumi-
nates, insert a disc within 15 seconds. If a
disc is successfully loaded during this
period, the disc number indicator will stop
blinking and will steadily light.
3. When the loading of a disc is com-
plete, the next disc number indicator will
blink. Then repeat step 2.
4. When the magazine is filled with discs
by repeating steps 2 and 3, the player will
start playback of the discs, beginning with
the one inserted first.
If you fail to insert any disc during each 15
seconds interval, the full disc loading
mode will be canceled, and the player will
start playback of the disc inserted first. & How to play back a CD
! When there is no CD inserted
Properly insert a CD. Refer to “How to
insert a CD (type A, C and D) ”F 5-23 /
“ How to insert a CD(s) (type B) ”F 5-23.
When a CD is loaded, the player will start
playback of the CD, beginning with the first track. !
When CD is in the player (type A)
When thebutton is pressed, the
player will start playback. ! When there are CDs loaded (type B)
Press a desired one of the disc select
buttons (from
to) the disc
number indicator of which steadily lights
up. The player will then start playback of
the selected CD, beginning with the firsttrack.
If a disc that the player cannot read has
been loaded, the player will display themessage “CHECK DISC ”.
! When CD is in the player (type C
and D)
Each brief press of the
button
changes the modes in the following sequence.
*: For type C audio, “BT-A ”is displayed.
When the CD mode is selected, the player
will start playback. &
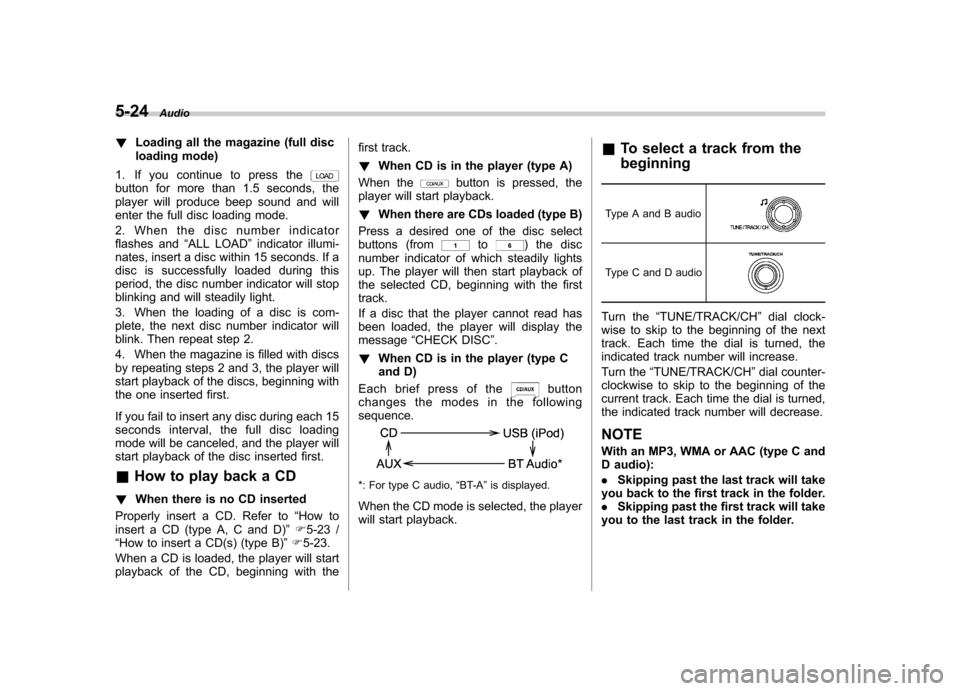
To select a track from the beginning
Type A and B audio
Type C and D audio
Turn the “TUNE/TRACK/CH ”dial clock-
wise to skip to the beginning of the next
track. Each time the dial is turned, the
indicated track number will increase.
Turn the “TUNE/TRACK/CH ”dial counter-
clockwise to skip to the beginning of the
current track. Each time the dial is turned,
the indicated track number will decrease.
NOTE
With an MP3, WMA or AAC (type C and
D audio): . Skipping past the last track will take
you back to the first track in the folder. . Skipping past the first track will take
you to the last track in the folder.
Page 198 of 436
&Fast-forwarding and rewind- ing
Fast-forward-ing Rewinding
Type A and B audio
Type C audio
Type D audio
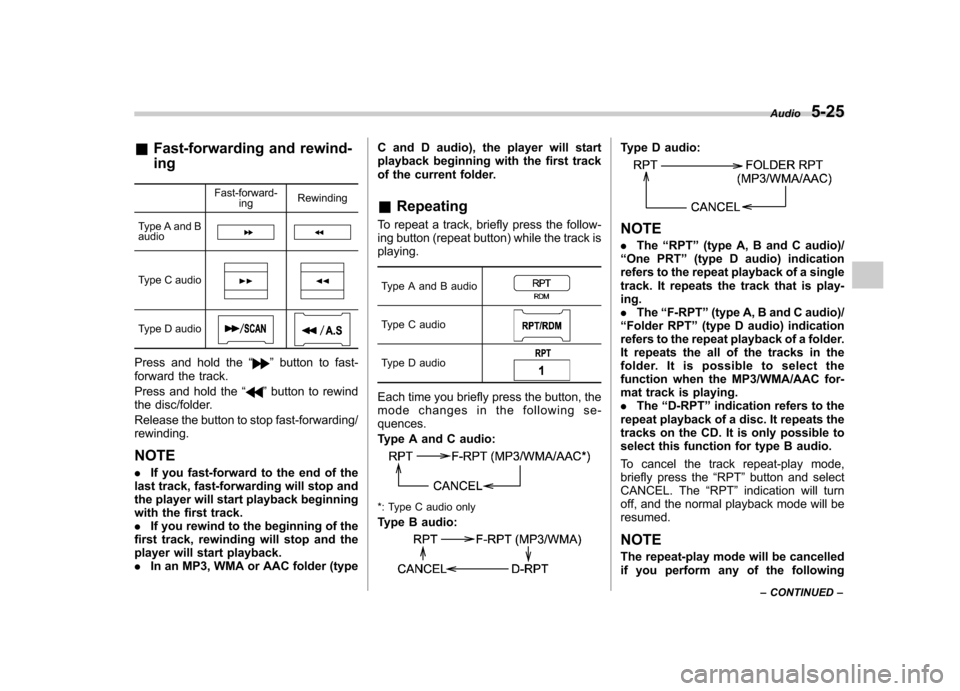
Press and hold the “”button to fast-
forward the track.
Press and hold the “
”button to rewind
the disc/folder.
Release the button to stop fast-forwarding/ rewinding.
NOTE . If you fast-forward to the end of the
last track, fast-forwarding will stop and
the player will start playback beginning
with the first track.. If you rewind to the beginning of the
first track, rewinding will stop and the
player will start playback.. In an MP3, WMA or AAC folder (type C and D audio), the player will start
playback beginning with the first track
of the current folder. &
Repeating
To repeat a track, briefly press the follow-
ing button (repeat button) while the track isplaying.
Type A and B audio
Type C audio
Type D audio
Each time you briefly press the button, the
mode changes in the following se-quences.
Type A and C audio:
*: Type C audio only
Type B audio:
Type D audio:
NOTE . The “RPT ”(type A, B and C audio)/
“ One PRT ”(type D audio) indication
refers to the repeat playback of a single
track. It repeats the track that is play-ing.. The “F-RPT ”(type A, B and C audio)/
“ Folder RPT ”(type D audio) indication
refers to the repeat playback of a folder.
It repeats the all of the tracks in the
folder. It is possible to select the
function when the MP3/WMA/AAC for-
mat track is playing.. The “D-RPT ”indication refers to the
repeat playback of a disc. It repeats the
tracks on the CD. It is only possible to
select this function for type B audio.
To cancel the track repeat-play mode,
briefly press the “RPT ”button and select
CANCEL. The “RPT ”indication will turn
off, and the normal playback mode will beresumed.
NOTE
The repeat-play mode will be cancelled
if you perform any of the following Audio
5-25
– CONTINUED –
Page 201 of 436
5-28Audio
&Folder selection
NOTE . Selecting folders in this way is
possible only within a single disc. . Only MP3/WMA/AAC folders are re-
cognized when an attempt to select the
next or previous folder is made. If no
appropriate folder exists on the disc,
pressing the “
”or “”side of the
“ FOLDER/PTY/CAT ”button starts play-
back beginning with the first track.
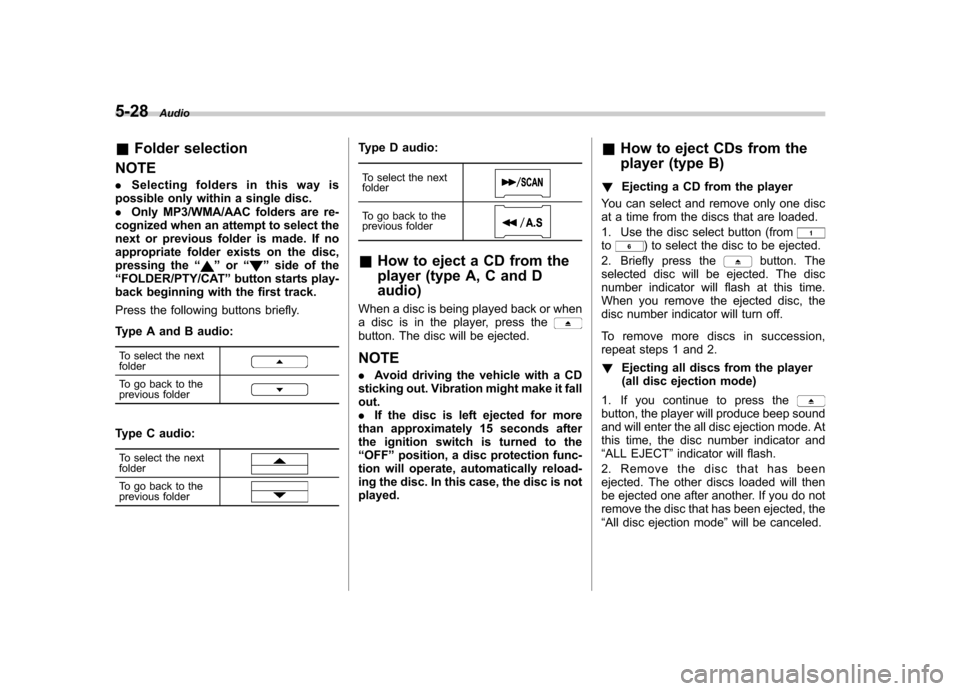
Press the following buttons briefly.
Type A and B audio:
To select the next folder
To go back to the
previous folder
Type C audio:
To select the next folder
To go back to the
previous folder
Type D audio:
To select the next folder
To go back to the
previous folder
& How to eject a CD from the
player (type A, C and Daudio)
When a disc is being played back or when
a disc is in the player, press the
button. The disc will be ejected. NOTE . Avoid driving the vehicle with a CD
sticking out. Vibration might make it fall out.. If the disc is left ejected for more
than approximately 15 seconds after
the ignition switch is turned to the“ OFF ”position, a disc protection func-
tion will operate, automatically reload-
ing the disc. In this case, the disc is not played. &
How to eject CDs from the
player (type B)
! Ejecting a CD from the player
You can select and remove only one disc
at a time from the discs that are loaded.
1. Use the disc select button (from
to) to select the disc to be ejected.
2. Briefly press the
button. The
selected disc will be ejected. The disc
number indicator will flash at this time.
When you remove the ejected disc, the
disc number indicator will turn off.
To remove more discs in succession,
repeat steps 1 and 2. ! Ejecting all discs from the player
(all disc ejection mode)
1. If you continue to press the
button, the player will produce beep sound
and will enter the all disc ejection mode. At
this time, the disc number indicator and“ ALL EJECT ”indicator will flash.
2. Remove the disc that has been
ejected. The other discs loaded will then
be ejected one after another. If you do not
remove the disc that has been ejected, the“ All disc ejection mode ”will be canceled.
Page 202 of 436
NOTE .Avoid driving the vehicle with a CD
sticking out. Vibration might make it fall out.. If you press the
button while
the player is in all disc ejection mode,
the mode will be cancelled following
ejection of the disc that is currently
being ejected.. If you press the
button orbutton while the player is in all disc
ejection mode, the player will draw in
the discs that have been ejected and
play them. & When the following mes-
sages are displayed
If one of the following messages is
displayed while operating the CD player,
determine the cause based on the follow-
ing information. If you cannot clear those
messages, please contact your SUBARU
dealer. ! When “PUSH EJECT ”is displayed
Press the
button to eject the disc.
Check the disc for damage or deformation
and also check that the correct disc is
inserted. Do not try to eject the disc
forcibly. Mini CDs (i.e., 8 cm/3 inch CDs)
are not supported, and if inserted, they will
be immediately ejected and this message will be displayed. If the disc cannot be
ejected or this message remains dis-
played, please contact your SUBARU
dealer. !
When “CHECK DISC ”is displayed
Press the
button to eject the disc.
Check that the disc is not damaged or
scratched, and also check that the disc is
inserted correctly. This message may
appear when using some CD-RW discs.
Check that the disc type (i.e., 8 cm/3 inch
mini CDs are not supported) and data
format are correct. This player can only
play MP3, WMA (all models) and AAC
(type C and D audio) data formats. If the
disc cannot be ejected or this message
remains displayed, please contact your
SUBARU dealer. Auxiliary input jack (if
equipped)
1) Models without Hands-free system
2) Models with Hands-free system
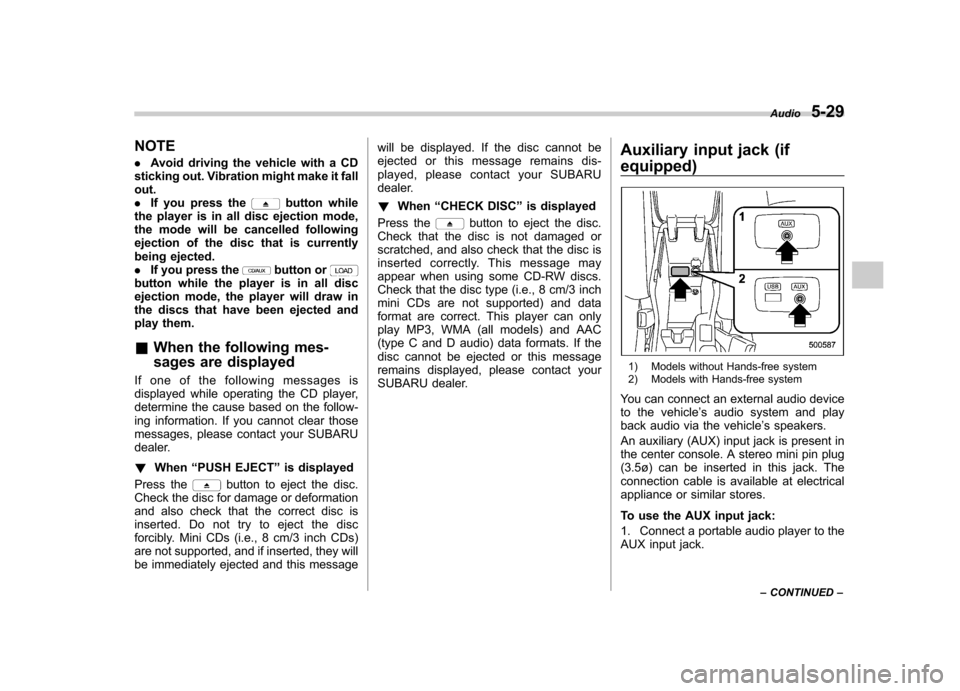
You can connect an external audio device
to the vehicle ’s audio system and play
back audio via the vehicle ’s speakers.
An auxiliary (AUX) input jack is present in
the center console. A stereo mini pin plug
(3.5ø) can be inserted in this jack. The
connection cable is available at electrical
appliance or similar stores.
To use the AUX input jack:
1. Connect a portable audio player to the
AUX input jack. Audio
5-29
– CONTINUED –
Page 203 of 436
5-30Audio
Type A and B audio
Type C and D audio
2. Press the “CD/AUX ”button on the
audio control panel to turn on the auxiliary
audio input.
3. Play back the portable audio player.
Refer to the instruction manual for the
portable audio player. NOTE . The AUX input jacks of the models
with the genuine SUBARU navigation
system are the 3.5 mm stereo jack type.
For detailed information, refer to the
Owner ’s Manual supplement for the
navigation system.. The output sound of the portable
audio player is not loud, and the sound
via the vehicle ’s speakers that are
connected to the vehicle audio set
may be very low. If you turn up the
volume of the audio set, the volume
becomes louder. However, when you
change from one portable audio player
to another one, the volume levels via
the vehicle ’s speakers may be signifi-
cantly louder compared to the prior device. To avoid a large volume differ-
ence, turn down the volume when you
change between portable audioplayers..
In some cases, when the sound
volume of the portable audio player is
low, the sound quality may become
impaired when you turn up the volume
of the vehicle audio system. In this
case, adjust the sound volume of the
portable audio player.. In some cases, noise occurs be-
cause of a bad connection between the
portable player and the vehicle audio
system. Try cleaning the stereo jack
and audio plug. . If the noise is not reduced, check for
disconnection of the cord or a malfunc-
tion of the portable player. Precautions to observe when
handling a compact disc
Use only compact discs (CDs, CD-Rs and
CD-RWs) that have the mark shown in the
following. Also, some compact discs
cannot be played.
Page 204 of 436

.You cannot use a DualDisc in the CD
player. If you insert a DualDisc into the
player, the disc may not come out again,
possibly causing the player to malfunction. . In cold and/or rainy weather, dew can
form inside the CD player, preventing
normal operation. If this happens, eject
the CD and wait for the player to dry out. . Skipping may occur when the CD
player is subjected to severe vibration
(for example, when the vehicle is driven
on a rough surface). . To remove a disc from the case, press
the center of the case and hold both
edges of the disc. If the disc surface is
touched directly, contamination could
cause poor tone quality. Do not touch the
disc surface. . Use a clean disc whenever possible. If there are deposits, wipe the disc surface
from the center outward with a dry, soft
cloth. Be sure not to use a hard cloth,
thinner, benzine, alcohol, etc. .
Do not use any disc that is scratched,
deformed, or cracked. Also, do not use
any disc that has a non-standard shape
(for example, a heart shape). Malfunctions
or problems might result. . A disc is vulnerable to heat. Never
keep it either in places exposed to direct
sunlight, near heaters or in vehicles
parked in the sun or on hot days. . Insert discs one by one into the CD
player (type B audio). Audio
5-31
– CONTINUED –
Page 207 of 436
5-34Audio
to in-vehicle equipment will be charged
when the ignition switch is in the “ON ”
or “Acc ”position. However, activation
of the iPod
®may be delayed if the
battery charge of the iPod®is low.
. If an iPod®does not activate after
operation, disconnect the connection
cable from the iPod
®and reset it. For
the resetting procedure, see the User ’s
Guide that comes with the iPod
®.
. If an iPod®and the connection cable
are connected improperly, the iPod®
cannot be powered on or will not be
recognized by in-vehicle equipment. In
this case, disconnect the connection
cable from the iPod
®, and then connect
it again.
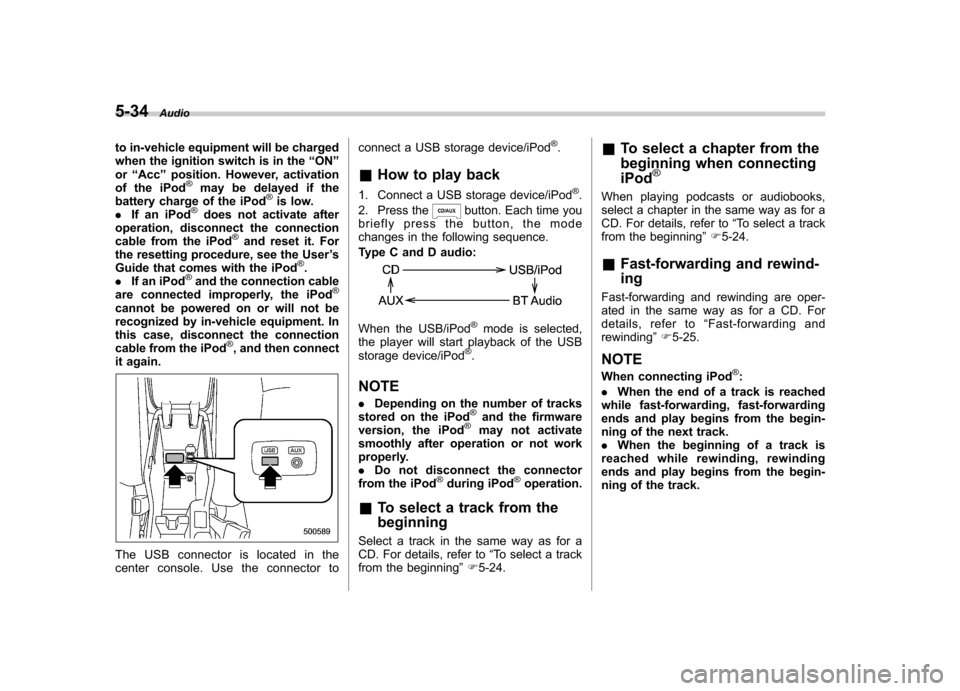
The USB connector is located in the
center console. Use the connector to connect a USB storage device/iPod
®.
& How to play back
1. Connect a USB storage device/iPod
®.
2. Press the
button. Each time you
briefly press the button, the mode
changes in the following sequence.
Type C and D audio:
When the USB/iPod®mode is selected,
the player will start playback of the USB
storage device/iPod
®.
NOTE . Depending on the number of tracks
stored on the iPod
®and the firmware
version, the iPod®may not activate
smoothly after operation or not work
properly.. Do not disconnect the connector
from the iPod
®during iPod®operation.
& To select a track from the beginning
Select a track in the same way as for a
CD. For details, refer to “To select a track
from the beginning ”F 5-24. &
To select a chapter from the
beginning when connecting iPod
®
When playing podcasts or audiobooks,
select a chapter in the same way as for a
CD. For details, refer to “To select a track
from the beginning ”F 5-24.
& Fast-forwarding and rewind- ing
Fast-forwarding and rewinding are oper-
ated in the same way as for a CD. For
details, refer to “Fast-forwarding and
rewinding ”F 5-25.
NOTE
When connecting iPod
®:
. When the end of a track is reached
while fast-forwarding, fast-forwarding
ends and play begins from the begin-
ning of the next track.. When the beginning of a track is
reached while rewinding, rewinding
ends and play begins from the begin-
ning of the track.
Page 211 of 436
5-38Audio
Models with Hands-free system
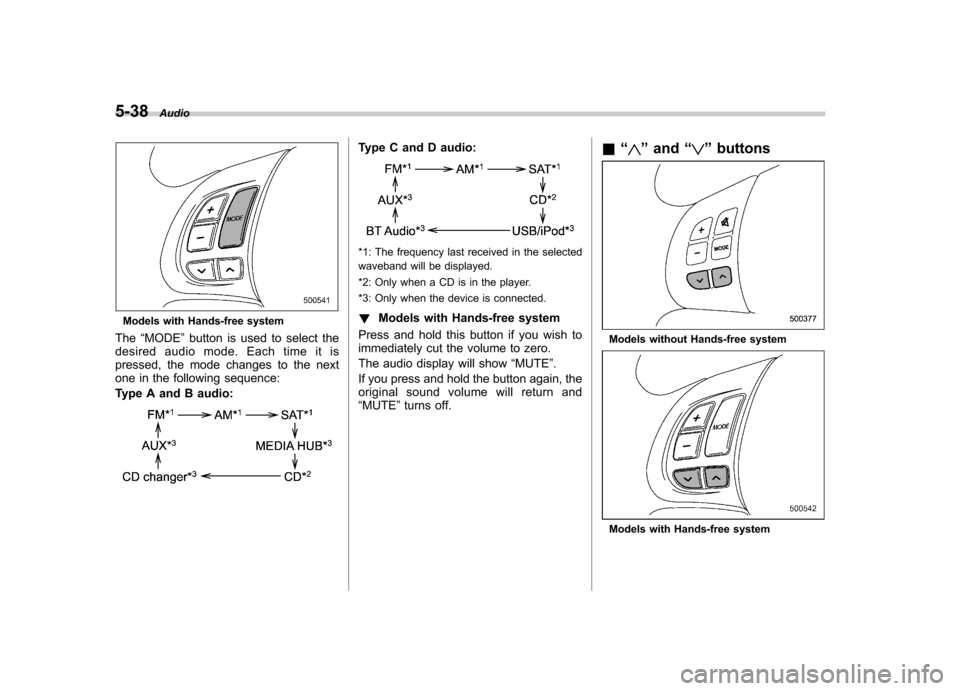
The “MODE ”button is used to select the
desiredaudiomode.Eachtimeitis
pressed, the mode changes to the next
one in the following sequence:
Type A and B audio:
Type C and D audio:
*1: The frequency last received in the selected
waveband will be displayed.
*2: Only when a CD is in the player.
*3: Only when the device is connected. ! Models with Hands-free system
Press and hold this button if you wish to
immediately cut the volume to zero.
The audio display will show “MUTE ”.
If you press and hold the button again, the
original sound volume will return and“ MUTE ”turns off. &
“
”and “”buttons
Models without Hands-free system
Models with Hands-free system