Page 340 of 484
340
4-3. Do-it-yourself maintenance
■Front side marker lightsTurn the steering wheel in the
opposite direction of the light to
be replaced.
Turn the steering wheel to a point
that allows your hand to easily fit
between the tire and fender liner.
Remove the clips and partly
remove the fender liner. To prevent damage to the vehicle,
cover the tip of the screwdriverwith a rag.
Release the light's claw. Insert the screwdriver into the
hole. While firmly pushing the
screwdriver forward, move it
towards the inside of the vehicle.
To prevent damage to the vehicle,
wrap the tip of the screwdriver
with a tape.
Pull out the lamp and turn the
lens counterclockwise.
STEP 1
STEP 2
STEP 3
STEP 4
Page 343 of 484
343
4-3. Do-it-yourself maintenance
4
Maintenance and care
■Rear side marker lightsRemove a clip and partly remove
the cover.
To prevent damage to the vehicle,
cover the tip of the screwdriver
with a rag.
Turn the bulb base counterclock-
wise.
Remove the light bulb.
When installing, reverse the steps listed.
STEP 1
STEP 2
STEP 3
STEP 4
Page 344 of 484
344
4-3. Do-it-yourself maintenance
■Rear turn signal lightsRemove a clip and partly remove
the cover.
To prevent damage to the vehicle,
cover the tip of the screwdriverwith a rag.
Turn the bulb base counterclock-
wise.
Remove the light bulb.
When installing, reverse the steps listed.
STEP 1
STEP 2
STEP 3
STEP 4
Page 345 of 484
345
4-3. Do-it-yourself maintenance
4
Maintenance and care
■Back-up lightsTurn the bulb base counterclock-
wise.
Remove the light bulb.
When installing, reverse the steps listed.
STEP 1
STEP 3 STEP 2
STEP 3
Page 346 of 484
346
4-3. Do-it-yourself maintenance
■License plate lightsRemove the trunk lid panel cover
clips and partly remove the trunk
lid panel cover.
To prevent damage to the vehicle,
cover the tip of the screwdriverwith a rag.
Turn the bulb base counterclock-
wise.
Remove the light bulb.
When installing, reverse the steps listed.
STEP 1
STEP 2
STEP 3
STEP 4
Page 394 of 484
394
5-2. Steps to take in an emergency
If the access key does not operate properly (vehicles with a keyless access with push button star t system)
Unlocking and locking the doors, unlocking the trunk lid
Use the mechanical key built in to the access keys to operate the
doors and trunk lid. ( →P. 21)
Vehicles with an alarm: An alarm will sound if the alarm is set when the
trunk lid or doors are unlocked. ( →P. 81)
Doors
Locks driver’s door
Unlocks driver’s door
Trunk lid Turn the mechanical key clock-
wise to open.
If communication between the access key and vehicle is interrupted (→ P. 30) or the access key cannot be used because the battery is
depleted, the keyless access with push button start system and
remote keyless entry system canno t be used. In such cases, the
doors and trunk lid can be opened or the engine can be started by
following the procedure below.
Page 472 of 484

472
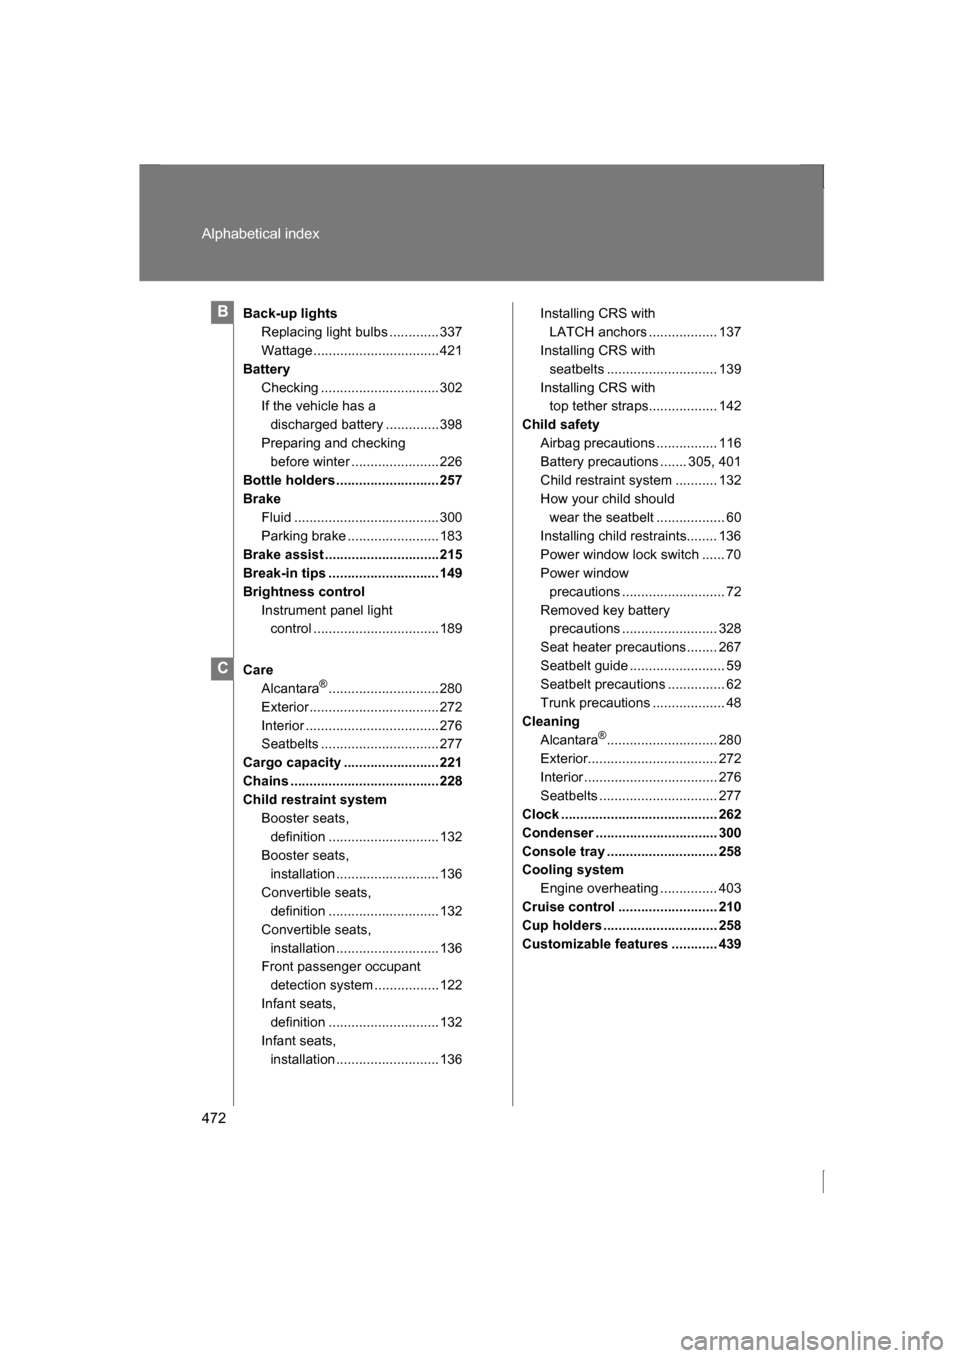
Alphabetical index
Back-up lightsReplacing light bulbs ............. 337
Wattage.................................421
Battery Checking ............................... 302
If the vehicle has a discharged battery ..............398
Preparing and checking before winter ....................... 226
Bottle holders ........................... 257
Brake Fluid ...................................... 300
Parking brake ........................ 183
Brake assist ..............................215
Break-in tips ............................. 149
Brightness control Instrument panel light control .................................189
Care Alcantara ®
............................. 280
Exterior.................................. 272
Interior ................................... 276
Seatbelts ............................... 277
Cargo capacity ......................... 221
Chains ....................................... 228
Child restraint system
Booster seats, definition ............................. 132
Booster seats,
installation ........................... 136
Convertible seats, definition ............................. 132
Convertible seats, installation ........................... 136
Front passenger occupant
detection system .................122
Infant seats, definition ............................. 132
Infant seats, installation ........................... 136 Installing CRS with
LATCH anchors .................. 137
Installing CRS with
seatbelts ............................. 139
Installing CRS with top tether straps.................. 142
Child safety
Airbag precautions ................ 116
Battery precautions ....... 305, 401
Child restraint system ........... 132
How your child should wear the seatbelt .................. 60
Installing child restraints........ 136
Power window lock switch ...... 70
Power window precautions ........................... 72
Removed key battery precautions ......................... 328
Seat heater precautions ........ 267
Seatbelt guide ......................... 59
Seatbelt precautions ............... 62
Trunk precautions ................... 48
Cleaning
Alcantara ®
............................. 280
Exterior.................................. 272
Interior ................................... 276
Seatbelts ............................... 277
Clock ......................................... 262
Condenser ................................ 300
Console tray ............................. 258
Cooling system Engine overheating ............... 403
Cruise control .......................... 210
Cup holders .............................. 258
Customizable features ............ 439B
C