Page 40 of 56

39PHONE mode*Possible displays in the Calls menudisplayMeaningMissed: shows the numbers of calls that have been receivedbut not answered.
Dialled: shows the numbers that have been dialled using themobile phone and phone manager of the infotainment sys-tem.Received: shows the numbers of the calls received by the mo-bile phone and telephone manager of the infotainment sys-tem and that have been answered.
Note
The call list display will depend on the mobile phone used.
Phonebook shortcut keys
Fig. 31
Standard repre-sentation: phonebookshortcut keys.
You can directly access the contacts in the phonebooks that start with thecharacter selected via these keys.
If there are no contacts that coincide with the chosen character, the entrythat immediately follows is displayed.
Pressing multiple times in quick succession will search for the charactersshown on the button.
To select from the remaining alphabetical letters of the buttons, press andselect the corresponding option on the A-Z button in the upper left corneror by pressing the Phone button.
Telephone setup
In the main menu PHONE, press the Setup function button.
Function button: effectSelect phone: select the phone to be paired to the infotainment system, orpress Find to connect a new device.User profile: opens the menu User profile setup ⇒ page 40.Select ring tone: select a ring tone from the list of predefined tones.Bluetooth settings: opens the menu, Bluetooth setup ⇒ page 40. Reverse order of call lists: with the checkbox selected, the call list entries areinverted (the oldest entry is shown at the top of the list).
Note
●If your phone does not support the function, Select ring tone, this menuwill be disabled.●
In these cases the melody determined in the mobile phone will sound inthe vehicle speakers when a call is received.
●
The tones may not sound if the phone set to silence/vibrate. You are ad-vised to configure your phone to audible.
Page 45 of 56

44Air Conditioning MenuAir Conditioning MenuAir conditioning
Adjust through the Easy Connect system*
Fig. 36
Standard repre-sentation: Air condition-ing menu
In the Easy Connect system it is also possible to perform various adjust-ments to the Climatronic.
Open the air conditioner menu
●
Press the Setup button
●
OR: press the MENU button in Easy Connect. With the rotating switch se-lect the air conditioner menu and open it.
On the touch screen you can see and change the current settings, for exam-ple, the temperature set for the driver and passenger sides, the air distribu-tion and the fan speed. Driver and passenger temperatures are synchron-ised with the SYNC button.
To switch a function on or off, or to select a submenu, you must press thecorresponding function button.
For more information about functions ⇒ Booklet Instructions manual, chap-ter Introduction to the Easy Connect system.FunctionbuttoneffectOFFSwitch off and switch on the Climatronic.
SETTINGS
The air conditioning settings submenu is opened. It is possi-ble to make the following adjustments:Function button Air conditioning profile.: to adjust the level ofthe fan in AUTO mode. You can choose between low, mediumand high.Function button Automatic air recirculation to switch automaticair recirculation on and off.Function button BACK function button to close the subme-nu.
Page 46 of 56

45SetupSetupSystem setup Menu (SETUP)
Introduction
Fig. 37
Standard repre-sentation: Main menu
Activate the setup main menu (SETUP)
●
Press the infotainment button, MENU, to open the System setup mainmenu.
●
Press the function button corresponding to the setup you wish to carryout.
System setup main menu (SETUP)
●
Press the infotainment button Setup, to open the System setup mainmenu.
●
Press the function button corresponding to the setup you wish to carryout.
Function button: effectDisplay switched off: with this function activated, if there is no activity in theinfotainment system after a period of time has elapsed the screen willswitch off. When you touch the screen or press an infotainment button, thescreen will light up again ⇒ page 46.
Screen setup: change screen setup ⇒ page 46.Sound setup: Adjust volume and sound setup ⇒ page 47.Idioma/Language: Set the desired language for the texts and announce-ments.Date and time: adjust time and date setup ⇒ page 46.Units: adjust units of measurement ⇒ page 47.Bluetooth settings*: Adjust Bluetooth setupFactory settings: ⇒ page 47.System information: indication of the system information (device number,hardware and software version).Copyright: message with radio software licensing information.
Note
For all the infotainment systems to work properly, it is important to set thecorrect time and date in the vehicle.
Page 48 of 56

47SetupUnits1)●
Press the infotainment button, Setup to open the System setup mainmenu.
●
Press the function button, Units.
Factory settings
Restoring default settings
When you reset the settings to the vehicle's default setup, all the data en-tered is deleted accordingly, in addition to the setup configured.
●
Scroll through the list below and press the lower function button,Factory settings.
●
Select the required setting or the option All.
●
Confirm the safety question that appears by pressing the function but-ton Reset.
Note
The music files stored on the unit's hard disk must be manually deleted.
Sound and volume setup
Introduction
Depending on the country, the unit and the vehicle equipment, there maybe differences in the variety of settings.
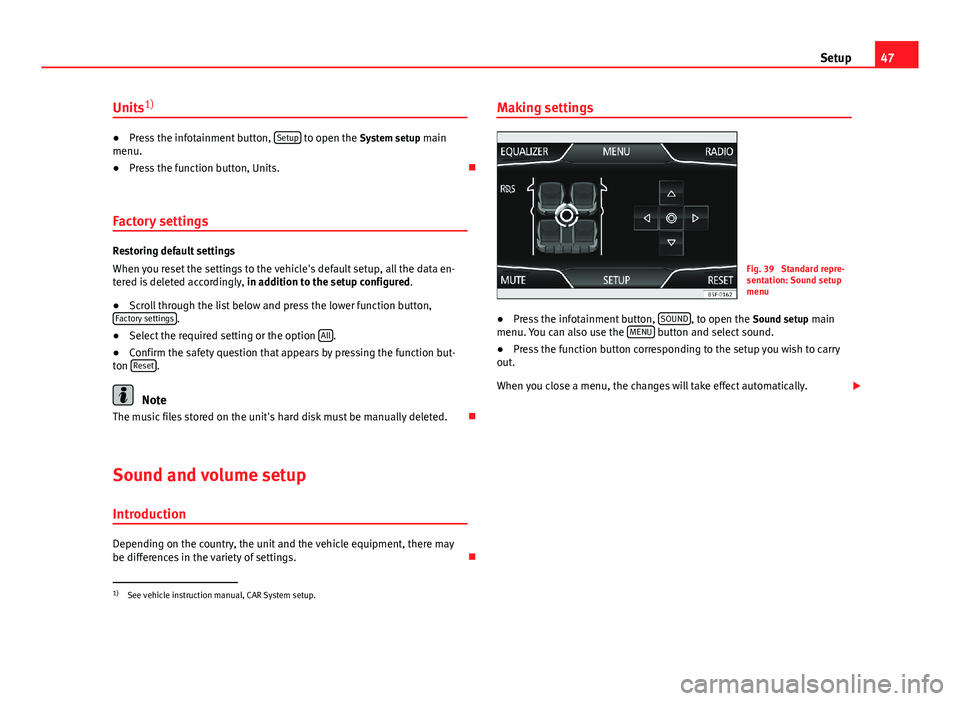
Making settingsFig. 39
Standard repre-sentation: Sound setupmenu
●
Press the infotainment button, SOUND, to open the Sound setup mainmenu. You can also use the MENU button and select sound.
●
Press the function button corresponding to the setup you wish to carryout.
When you close a menu, the changes will take effect automatically.
1)
See vehicle instruction manual, CAR System setup.
Page:
< prev 1-8 9-16 17-24