2013 Seat Leon 5D infotainment
[x] Cancel search: infotainmentPage 2 of 56

Table of ContentsGeneral information . . . . . . . . . . . . . . . .2
Important Information . . . . . . . . . . . . . .
3
Introduction . . . . . . . . . . . . . . . . . . . . . . . . . .
4
Before using the unit for the first time . . . . . .
4
Safety notes . . . . . . . . . . . . . . . . . . . . . . . . . . . . . .
4
Unit overview . . . . . . . . . . . . . . . . . . . . . . . . . . . . .
6
General information on operating the unit . .
8
Audio mode . . . . . . . . . . . . . . . . . . . . . . . . . . .
12
Radio mode . . . . . . . . . . . . . . . . . . . . . . . . . . . . . . .
12
Media mode . . . . . . . . . . . . . . . . . . . . . . . . . . . . . .
20
USB/AUX-IN multimedia interface* . . . . . . . . .
28
PHONE mode* . . . . . . . . . . . . . . . . . . . . . . . .
31
Introduction to telephone management . . . . .
31
Places with special regulations . . . . . . . . . . . . .
32
Linking and connecting your mobile phone tothe infotainment system . . . . . . . . . . . . . . . . . . .
32
General information . . . . . . . . . . . . . . . . . . . . . . .
34
Bluetooth® . . . . . . . . . . . . . . . . . . . . . . . . . . . . . . .
34
Description of the telephone manager . . . . . .
34
PHONE main menu . . . . . . . . . . . . . . . . . . . . . . . .
35
Phone management function buttons . . . . . . .
36
Active call . . . . . . . . . . . . . . . . . . . . . . . . . . . . . . . . .
36
Enter Telephone number menu . . . . . . . . . . . . .
37Phonebook (contacts) menu . . . . . . . . . . . . . . .38
Call lists menu . . . . . . . . . . . . . . . . . . . . . . . . . . . .
38
Phonebook shortcut keys . . . . . . . . . . . . . . . . . .
39
Telephone setup . . . . . . . . . . . . . . . . . . . . . . . . . .
39
Bluetooth setup . . . . . . . . . . . . . . . . . . . . . . . . . . .
40
User profile setup . . . . . . . . . . . . . . . . . . . . . . . . .
40
CAR menu . . . . . . . . . . . . . . . . . . . . . . . . . . . . .
41
Introduction to managing the CAR menu . . . .
41
Air Conditioning Menu . . . . . . . . . . . . .
44
Air conditioning . . . . . . . . . . . . . . . . . . . . . . . . . . .
44
Setup . . . . . . . . . . . . . . . . . . . . . . . . . . . . . . . . . . .
45
System setup Menu (SETUP) . . . . . . . . . . . . . . .
45
Sound and volume setup . . . . . . . . . . . . . . . . . .
47
Abbreviations . . . . . . . . . . . . . . . . . . . . . . . .
49
Abbreviations . . . . . . . . . . . . . . . . . . . . . . . . . . . . .
49
Index . . . . . . . . . . . . . . . . . . . . . . . . . . . . . . . . . . .
511Table of Contents
Page 5 of 56

4IntroductionIntroductionBefore using the unit for the first timeBefore using the unit for the first time, carry out the following steps. Thiswill enable you to use the unit safely and make full use of the functions itprovides:Observe the basic safety notes .⇒ page 4.Familiarise yourself with the unit overview.⇒ page 6.Use suitable data media for Media mode.⇒ page 20.
Safety notes
WARNINGAccidents and injuries can occur if the driver is distracted. Operating theinfotainment system while driving can distract your attention from thetraffic.
●
Always drive carefully and responsibly.
●
Select volume settings that allow you to easily hear signals from out-side the vehicle at all times (e.g. emergency service sirens).
●
Setting the volume too high may damage your hearing. This also ap-plies if you are exposed to high volumes for short periods only.
WARNINGThe volume level may suddenly change when you switch audio source orconnect a new audio source.●
Reduce the base volume before switching audio source or connectinga new audio source ⇒ page 9.
WARNINGConnecting, inserting or removing a data medium while the vehicle is inmotion can distract you from the road and lead to accidents.WARNINGConnecting leads for external devices may obstruct the driver.●
Arrange the connecting leads so that they do not obstruct the driver.WARNINGExternal devices that are placed loose in the vehicle or not properly se-cured could be flung though the interior and cause injuries during a sud-den driving or braking manoeuvre, or in the event of an accident.
●
You should never position or attach an external device on a door, onthe windscreen or above or near to the areas marked “AIRBAG” on thesteering wheel, the dash panel and the seat backrests, or between theseareas and the vehicle occupants. External devices can cause serious in-jury in an accident, especially when the airbags inflate.
Page 7 of 56

6IntroductionUnit overviewFig. 1
Overview of the control elements
The unit with the infotainment system is supplied in various versions,whose controls may differ in terms of their labelling and function ⇒ Fig. 1.
Page 8 of 56

7Introduction Rotary/push knob:
–Press to turn the unit on/off ⇒ page 8.
–Turn to adjust the volume ⇒ page 8.
Infotainment buttons: Press to activate a range of functions.
–RADIO: Switches to radio mode and change frequency band in radiomode ⇒ page 12.
–MEDIA: switches to Media mode or switches between different mediamodes (CD, SD card, AUX-IN) ⇒ page 20.
–SOUND: To adjust the sound and volume setup ⇒ page 47.
–PHONE*: change to Phone mode ⇒ page 31.
–TP*: switch on/off traffic programs ⇒ page 16.
–CAR: to activate the system and vehicle setup ⇒ page 41.
–MENU: go to main menu ⇒ page 45 ⇒ Fig. 37.
–EJECT: to eject a CD ⇒ page 24.
–MUTE: Silences the unit ⇒ page 9.
Touchscreen.
Setting knob: The function of this knob depends on the mode that iscurrently active.
CD slot* ⇒ page 24.
Memory card slot.
123456
Page 9 of 56

8IntroductionGeneral information on operating the unit
Introduction
Note
●Lightly pressing the buttons or briefly pressing the touchscreen is suffi-cient to operate the unit.●
It is possible that not all the functions and function buttons are availa-ble as the software of the unit responds to the specific characteristics ofeach market. A missing function button on the screen is not the result of anerror in the unit.
●
Due to country-specific legislation, certain functions cannot be selectedon the screen when the vehicle is travelling above a certain speed.
●
Using a mobile phone inside the vehicle can cause noise in the speak-ers.
●
There may be restrictions on the use of Bluetooth devices in some coun-tries. Information is available from the local authorities.
●
In some vehicles equipped with a parking distance warning system, thevolume of the audio source is automatically lowered when the gear is en-gaged.
●
If the steering wheel includes the voice control button, this function isnot viable with this radio model, hence it has no functionality whatsoever.
Rotary push knobs and buttons
Rotary/push knobs
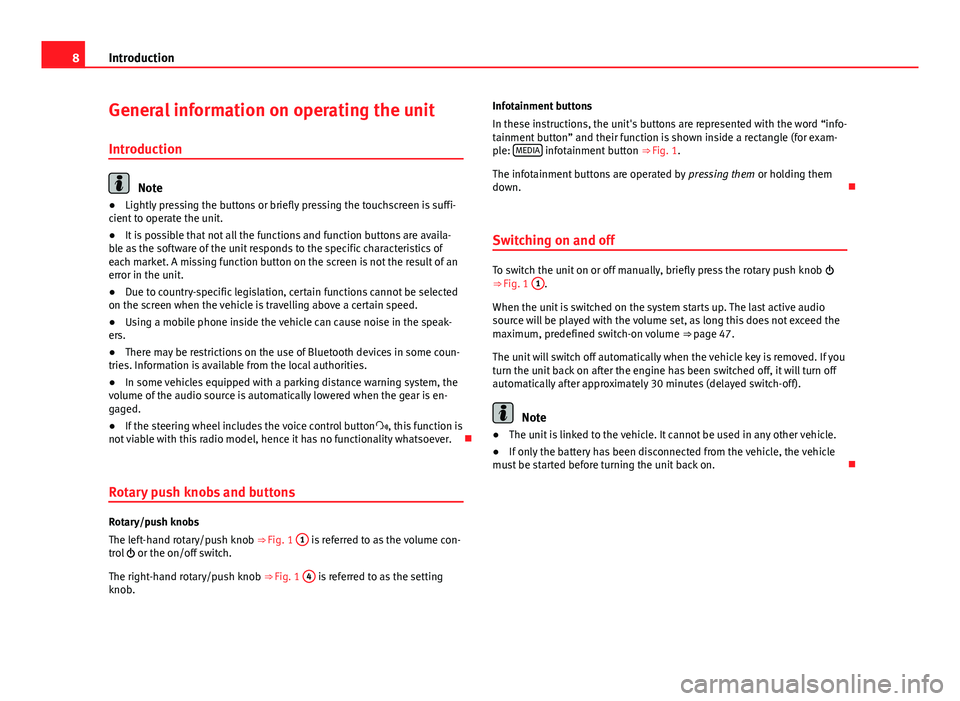
The left-hand rotary/push knob ⇒ Fig. 1
1
is referred to as the volume con-trol or the on/off switch.
The right-hand rotary/push knob ⇒ Fig. 1
4
is referred to as the settingknob.
Infotainment buttons
In these instructions, the unit's buttons are represented with the word “info-tainment button” and their function is shown inside a rectangle (for exam-ple: MEDIA infotainment button ⇒ Fig. 1.
The infotainment buttons are operated by pressing them or holding themdown.
Switching on and off
To switch the unit on or off manually, briefly press the rotary push knob ⇒ Fig. 1
1
.
When the unit is switched on the system starts up. The last active audiosource will be played with the volume set, as long this does not exceed themaximum, predefined switch-on volume ⇒ page 47.
The unit will switch off automatically when the vehicle key is removed. If youturn the unit back on after the engine has been switched off, it will turn offautomatically after approximately 30 minutes (delayed switch-off).
Note
●The unit is linked to the vehicle. It cannot be used in any other vehicle.●
If only the battery has been disconnected from the vehicle, the vehiclemust be started before turning the unit back on.
Page 10 of 56

9IntroductionAdjusting the base volumeeffectuseIncrease the vol-ume.Turn the volume control clockwise or turn the thumbwheel upwards on the multifunction steeringwheel ⇒ Booklet Instruction Manual.
Lower the vol-ume.Turn the volume control anticlockwise or the thumb-wheel downwards on the multifunction steeringwheel.
The volume modification is shown on the screen with a bar. During this timethe unit cannot be operated.
It is possible to preset certain volume settings and adjustments⇒ page 47.
Silence the unit
●
Turn the volume control anticlockwise until you see .
●
OR: Press the MUTE infotainment button or the SILENCE function button⇒ Fig. 31).
While the unit is in silence, the active media source is stopped. is dis-played on the screen.
Note
If the basic playback volume of an audio source has been increased sub-stantially, lower the volume before changing to another audio source.
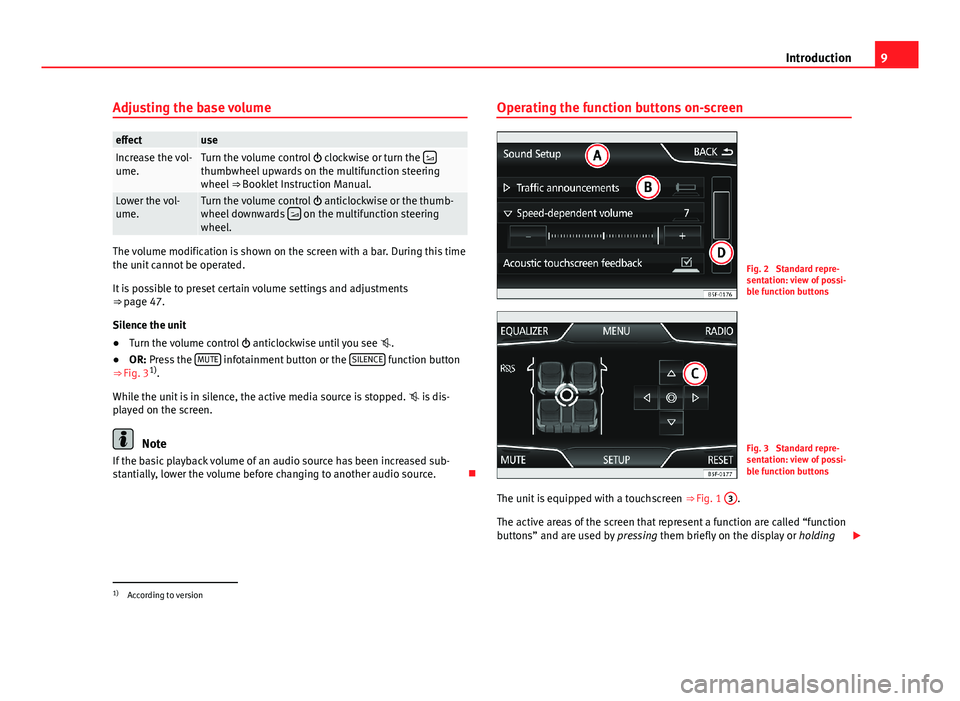
Operating the function buttons on-screenFig. 2
Standard repre-sentation: view of possi-ble function buttons
Fig. 3
Standard repre-sentation: view of possi-ble function buttons
The unit is equipped with a touchscreen ⇒ Fig. 1
3
.
The active areas of the screen that represent a function are called “functionbuttons” and are used by pressing them briefly on the display or holding
1)
According to version
Page 12 of 56

11Introduction●Moving through a list, line-by-line: turn the setting knob.●
To quickly scan through a long list: Place your finger on the scroll markerand move it downwards over the screen without losing contact. Lift your fin-ger off the screen when you reach the desired position.
Additional information and display options
The information on the screen can vary depending on the settings and maydiffer from the descriptions shown here.
The main screens show the current time and outdoor temperature.
All information is displayed just after fully starting up the infotainment sys-tem.
Page 13 of 56

12Audio modeAudio modeRadio mode
Introduction
Note
●Multi-storey car parks, tunnels, high buildings and mountains can im-pair radio signals.●
Foil or metal-coated stickers attached to the windows may affect recep-tion on vehicles with a window aerial.
RADIO main menu
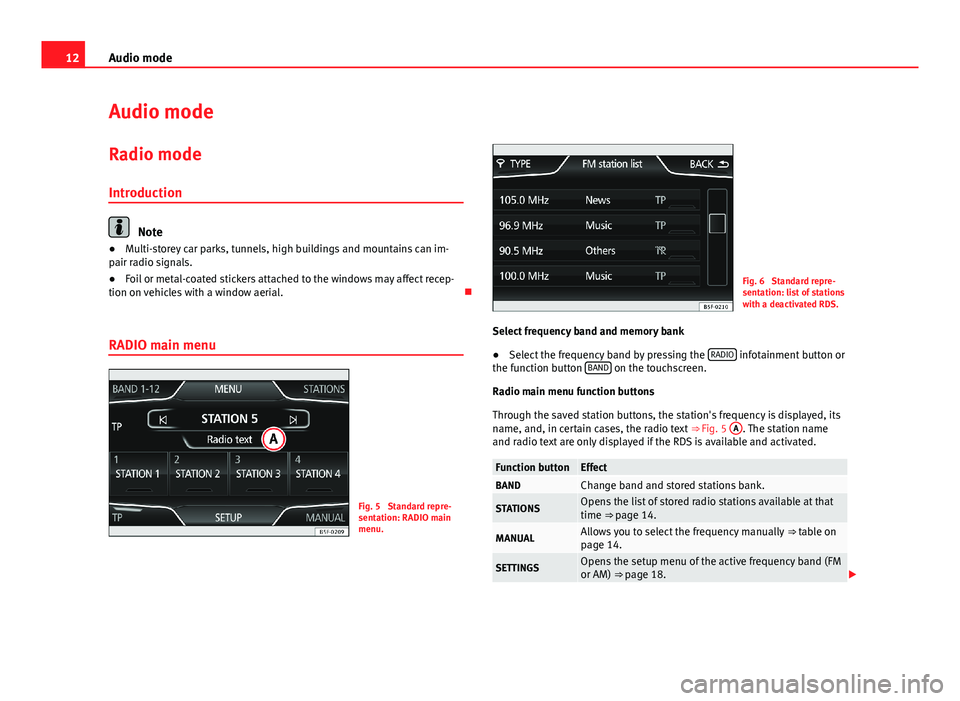
Fig. 5
Standard repre-sentation: RADIO mainmenu.
Fig. 6
Standard repre-sentation: list of stationswith a deactivated RDS.
Select frequency band and memory bank
●
Select the frequency band by pressing the RADIO infotainment button orthe function button BAND on the touchscreen.
Radio main menu function buttons
Through the saved station buttons, the station's frequency is displayed, itsname, and, in certain cases, the radio text ⇒ Fig. 5
A
. The station nameand radio text are only displayed if the RDS is available and activated.
Function buttonEffectBANDChange band and stored stations bank.STATIONSOpens the list of stored radio stations available at thattime ⇒ page 14.MANUALAllows you to select the frequency manually ⇒ table onpage 14.SETTINGSOpens the setup menu of the active frequency band (FMor AM) ⇒ page 18.