2013 RENAULT KANGOO fuel pump
[x] Cancel search: fuel pumpPage 145 of 204

13B-145V1 MR-376-X76-13B000$130.mif
13B
DCM 1.2 Injection
Program no.: 4C
Vdiag No.: 08
Tool command Diagnostic tool title Comments
RZ001Fault memoryThis command is used for clearing the computer's stored
faults
RZ002EGR programming adaptivesUse this command when replacing the EGR valve (not
applicable to K9K796 Euro 2).
RZ004Pressure regulation adaptivesUse this command when simultaneously replacing the four
injectors and after replacing/retightening the accelerometer.
It enables you to reset the injector adaptives.
RZ005ProgrammingThis command enables you to reinitialise the entire computer
configuration.
AC001Preheating unitActivating this controls the preheating unit to test the heater
plug supply.
AC002EGR solenoid valveActivating this enables an audible check of the mechanical
operation of the EGR valve (not applicable to K9K796
Euro 2).
AC004Turbocharging solenoid valveActivating this enables an audible check of the operation of
the turbocharging solenoid valve.
AC005Cylinder 1 injectorActivating this enables an audible check of the injector on
cylinder 1.
AC006Cylinder 2 injectorRunning this allows you to you listen to the injector on
cylinder 2 when operating.
AC007Cylinder 3 injectorActivating this enables an audible check of the injector on
cylinder 3.
AC008Cylinder 4 injectorActivating this enables an audible check of the injector on
cylinder 4.
AC010High pressure pumpActivating this lets you listen to the operation of the high-
pressure pump.
AC028Static testActivating this enables fault finding to be run on the EGR,
high pressure pump and water in fuel warning light circuits
DIESEL INJECTION
Fault finding – Command summary table
Page 160 of 204

13B-160
AFTER REPAIRCarry out a road test followed by a check with the diagnostic tool.
V1 MR-376-X76-13B000$150.mif
DIESEL INJECTION
Fault finding – Fault Finding Chart13B
DCM 1.2 Injection
Program no.: 4C
Vdiag No.: 08
ALP5 Rough idle (pumping)
NOTESOnly address this customer complaint after a complete check with the diagnostic
tool.
Check that the tank is correctly filled and that the appropriate fuel is used.
Apply test 13 Diesel fuel conformity check.
Check the low pressure circuit by running TEST 1 Low pressure circuit check.
Using the diagnostic tool, check that the injector codes (C2I) are correctly entered on the identification screen. If
not, configure the correct injector codes using command SC002 Enter injector codes
Visually check the condition of the engine wiring harness.
Visually check that there are no leakages on the high pressure circuit by running TEST 7 High pressure circuit
sealing check.
A
DCM1.2_V08_ALP05
Page 168 of 204

13B-168
AFTER REPAIRCarry out a road test followed by a check with the diagnostic tool.
V1 MR-376-X76-13B000$150.mif
DIESEL INJECTION
Fault finding – Fault Finding Chart13B
DCM 1.2 Injection
Program no.: 4C
Vdiag No.: 08
ALP10 Engine hesitation
NOTESSpecial note:
Only consult this customer complaint after a complete check using the diagnostic tool
(see System operation, Function: Fuel supply management (advance, flow and
pressure), paragraph: flow capacity function (VLC)).
Check that the fuel tank is filled and that the appropriate fuel is used.
Apply TEST 13 Diesel fuel conformity check.
Check the low pressure circuit by running TEST 1 Low pressure circuit check.
Using the diagnostic tool, check that the injector codes (C2I) are correctly entered on the identification screen. If
not, configure the correct injector codes using command SC002 Enter injector codes
Is the engine wiring harness cut or pinched? Carry out the necessary repairs.
Is the compression in order? Carry out the necessary repairs.
Is the valve clearance set correctly? Carry out the necessary repairs.
Check the high pressure pump by running TEST 6 High pressure system check.
YES
NO
NO
YES
NO
YES
A
DCM1.2_V08_ALP10
Page 187 of 204

13B-187V1 MR-376-X76-13B000$160.mif
DIESEL INJECTION
Fault finding – Tests13B
DCM 1.2 Injection
Program no.: 4C
Vdiag No.: 08
TEST 1 Low pressure circuit check
Check the conformity of the low pressure circuit
connections
Are the low pressure circuit connections correct? Carry out the necessary repairs.
Check the condition of the priming bulb, and that it is
working properly.
Look for leaks at the unions.
Are there leaks from the hoses and unions? Carry out the necessary repairs
Check that there are no air bubbles in the diesel fuel. Bleed the low-pressure circuit.
Place a container under the filter.
– Disconnect the return hose from the filter
and plug the filter.
– Pump using the priming bulb until there is no
air left.
– Reconnect the return hose immediately. Check if there are air bubbles in the low pressure
circuit.
Low pressure circuit correct.
NO
YES
YES
NO
YES
NO
DCM1.2_V08_TEST01
Page 191 of 204

13B-191V1 MR-376-X76-13B000$160.mif
DIESEL INJECTION
Fault finding – Tests13B
DCM 1.2 Injection
Program no.: 4C
Vdiag No.: 08
TEST 6 High pressure system check
NOTESSpecial note:
Certain faults make it impossible to carry out this test - deal with these first.
WARNING
Running the starter motor for more than 5 seconds is dangerous and serves no useful
purpose.
Preliminary Checks:
– Check for the presence of fuel
– Check that there is no air in the low pressure circuit. Apply TEST 1 Low pressure circuit check.
– Ensure that the correct fuel is being used. Apply TEST 13 Diesel fuel conformity check.
The pump's capacity to produce high pressure can be checked by the following procedure:
–With the ignition off, disconnect the low pressure actuator from the pump (IMV brown connector) and
connect a test IMV or the MOT adapter. 1711 adapter.
– Electrically disconnect the four injectors.
– Switch on the ignition, connect the diagnostic tool and re-establish dialogue with the injection system.
– Go to the Main computer statuses and parameters screen.
– Run the test cold, PR064 "Coolant temperature" < 30 °C or equal to ambient temperature.
–Activate the starter for 5 seconds.
– Read the maximum rail pressure value PR038 Rail pressure during the test on the diagnostic tool.
PR038 > 1050 bar?
A
NO
B
YES
DCM1.2_V08_TEST06
Page 192 of 204

13B-192V1 MR-376-X76-13B000$160.mif
DIESEL INJECTION
Fault finding – Tests13B
DCM 1.2 Injection
Program no.: 4C
Vdiag No.: 08
IMV = fuel flow actuator
TEST 6
CONTINUED
– Switch off the ignition, reconnect the electrical
connections to the four injectors and the low-pressure
actuator.
– Switch on the ignition again, and clear the injection
faults using the diagnostic tool.
– Check if there is no fuel leak in the high pressure
circuit. Run TEST 7 High pressure circuit sealing
check
– Check the conformity of the diesel filter. Run TEST 9
Diesel fuel filter check.
– Carry out fault finding on the injectors by checking the
return flow volume of the four injectors, run TEST 8
Injector return flow.
Is TEST 8 OK?The pump can supply the operating pressure.
Switch off the ignition, reconnect the electrical
connections
to the four injectors and the low pressure
actuator. Switch on the ignition again, and clear
the injection faults using the diagnostic tool.
– Check that there is no fuel leak in the high
pressure circuit, apply TEST 7 High pressure
circuit sealing check.
– Carry out fault finding on the injectors by
checking the return flow volume of the four
injectors, run TEST 8 Injector return flow.
If TEST 8 is correct, the high pressure fuel circuit
is correct.
Replace the faulty injector(s) (see MR
388 (Logan/Sandero), MR 451
(Duster), MR 423 (Thalia 2/Symbol 2)
or MR 374 (Kangoo VLL), Mechanical,
13B, Diesel injection, Diesel injector:
Removal - Refitting).Replace the high pressure pump (see MR 388 (Logan/Sandero),
MR 451 (Duster), MR 423 (Thalia 2/Symbol 2) or MR 374
(Kangoo VLL), Mechanical, 13B, Diesel injection, High
pressure pump: Removal - Refitting).
AB
YESNO
Page 197 of 204

13B-197V1 MR-376-X76-13B000$160.mif
DIESEL INJECTION
Fault finding – Tests13B
DCM 1.2 Injection
Program no.: 4C
Vdiag No.: 08
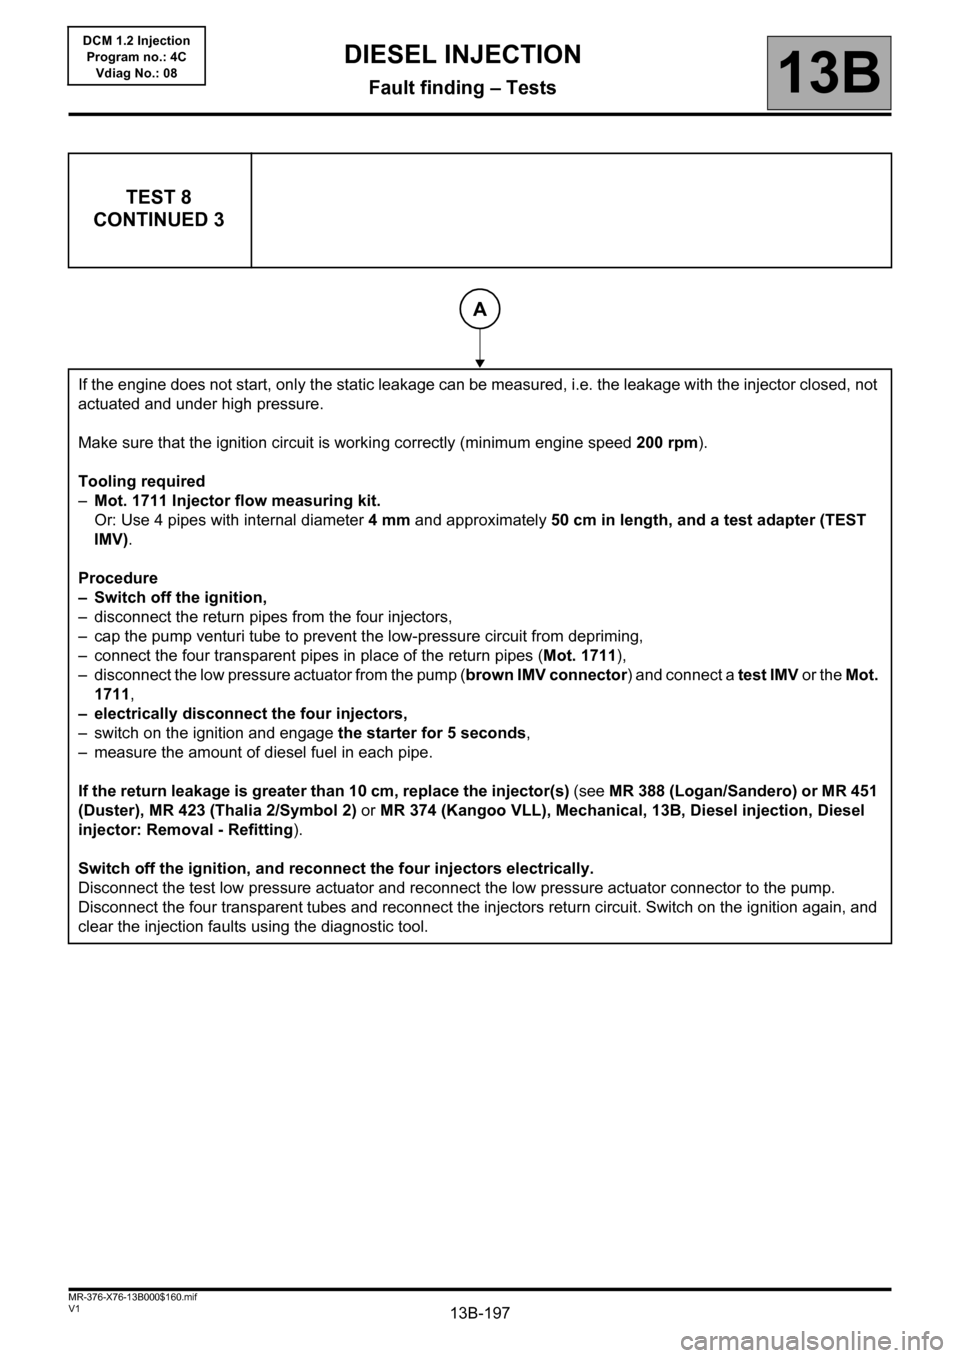
TEST 8
CONTINUED 3
If the engine does not start, only the static leakage can be measured, i.e. the leakage with the injector closed, not
actuated and under high pressure.
Make sure that the ignition circuit is working correctly (minimum engine speed 200 rpm).
Tooling required
–Mot. 1711 Injector flow measuring kit.
Or: Use 4 pipes with internal diameter 4mm and approximately 50 cm in length, and a test adapter (TEST
IMV).
Procedure
– Switch off the ignition,
– disconnect the return pipes from the four injectors,
– cap the pump venturi tube to prevent the low-pressure circuit from depriming,
– connect the four transparent pipes in place of the return pipes (Mot. 1711),
– disconnect the low pressure actuator from the pump (brown IMV connector) and connect a test IMV or the Mot.
1711,
– electrically disconnect the four injectors,
– switch on the ignition and engage the starter for 5 seconds,
– measure the amount of diesel fuel in each pipe.
If the return leakage is greater than 10 cm, replace the injector(s) (see MR 388 (Logan/Sandero) or MR 451
(Duster), MR 423 (Thalia 2/Symbol 2) or MR 374 (Kangoo VLL), Mechanical, 13B, Diesel injection, Diesel
injector: Removal - Refitting).
Switch off the ignition, and reconnect the four injectors electrically.
Disconnect the test low pressure actuator and reconnect the low pressure actuator connector to the pump.
Disconnect the four transparent tubes and reconnect the injectors return circuit. Switch on the ignition again, and
clear the injection faults using the diagnostic tool.
A
Page 202 of 204

13B-202V1 MR-376-X76-13B000$160.mif
DIESEL INJECTION
Fault finding – Tests13B
DCM 1.2 Injection
Program no.: 4C
Vdiag No.: 08
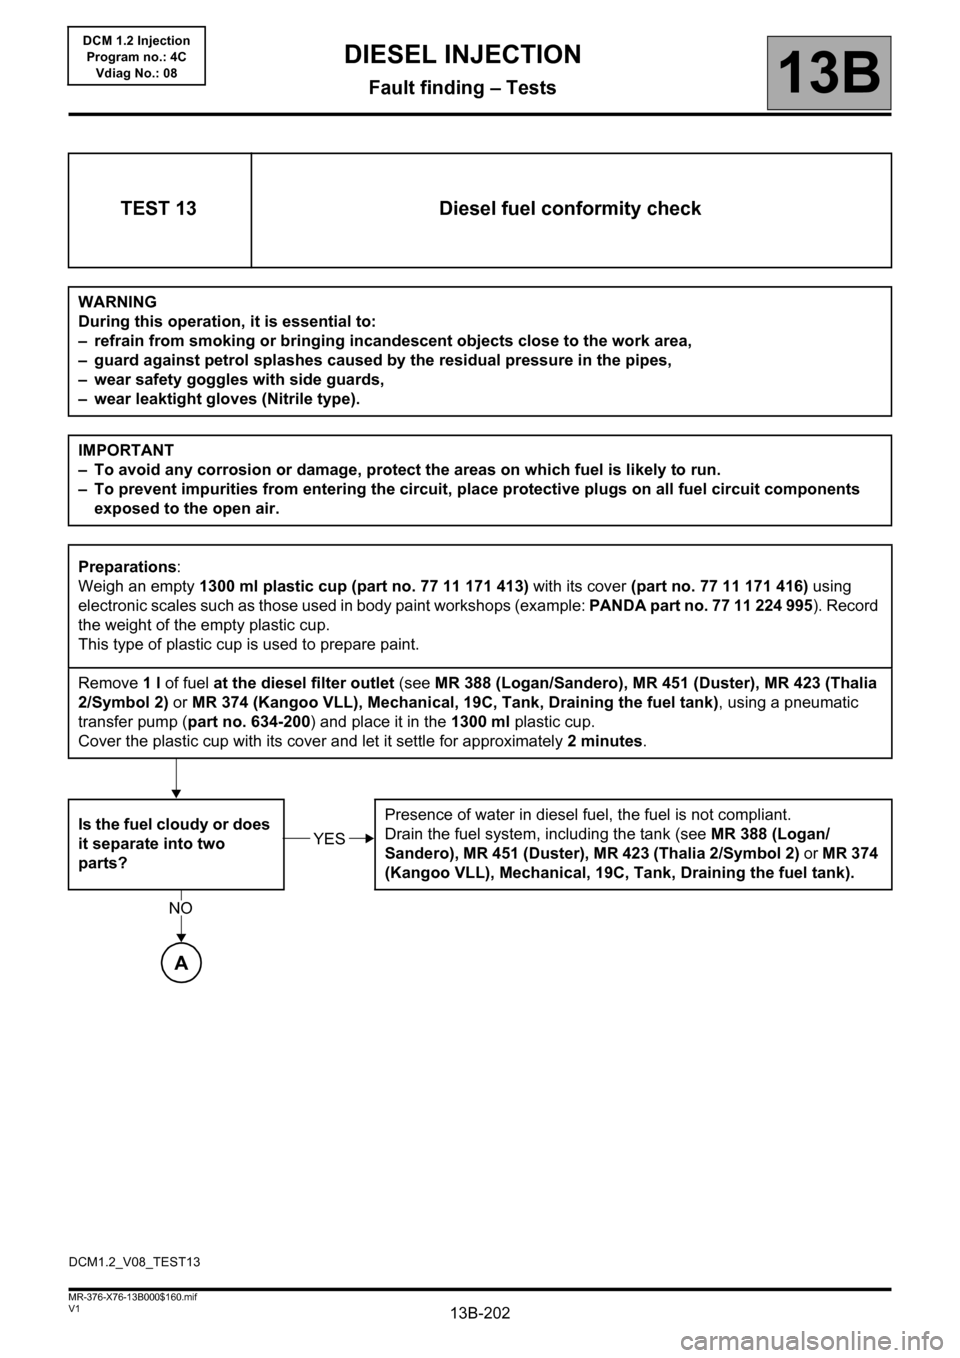
TEST 13 Diesel fuel conformity check
WARNING
During this operation, it is essential to:
– refrain from smoking or bringing incandescent objects close to the work area,
– guard against petrol splashes caused by the residual pressure in the pipes,
– wear safety goggles with side guards,
– wear leaktight gloves (Nitrile type).
IMPORTANT
– To avoid any corrosion or damage, protect the areas on which fuel is likely to run.
– To prevent impurities from entering the circuit, place protective plugs on all fuel circuit components
exposed to the open air.
Preparations:
Weigh an empty 1300 ml plastic cup (part no. 77 11 171 413) with its cover (part no. 77 11 171 416) using
electronic scales such as those used in body paint workshops (example: PANDA part no. 77 11 224 995). Record
the weight of the empty plastic cup.
This type of plastic cup is used to prepare paint.
Remove 1 l of fuel at the diesel filter outlet (see MR 388 (Logan/Sandero), MR 451 (Duster), MR 423 (Thalia
2/Symbol 2) or MR 374 (Kangoo VLL), Mechanical, 19C, Tank, Draining the fuel tank), using a pneumatic
transfer pump (part no. 634-200) and place it in the 1300 ml plastic cup.
Cover the plastic cup with its cover and let it settle for approximately 2 minutes.
Is the fuel cloudy or does
it separate into two
parts?Presence of water in diesel fuel, the fuel is not compliant.
Drain the fuel system, including the tank (see MR 388 (Logan/
Sandero), MR 451 (Duster), MR 423 (Thalia 2/Symbol 2) or MR 374
(Kangoo VLL), Mechanical, 19C, Tank, Draining the fuel tank).
YES
A
NO
DCM1.2_V08_TEST13