2013 Peugeot 508 Hybrid run flat
[x] Cancel search: run flatPage 107 of 340
4
105
Driving
Automatic release
The electric parking brake releases automatically and progressively
when you press the accelerator:FManual gearbox:
press down fully on
the clutch pedal, engage first gear or reverse, press on the accelerator pedaland move off.FElectronic gear control gearbox : select position A
, M
or Rthen press on theaccelerator pedal. F Automatic gearbox:select position D , Mor Rthen press on the accelerator pedal.
Full release o
f the parking brake is confirmed by:
- the braking warning lamp and
th
e P warning lamp in the control
lever Agoing off, A
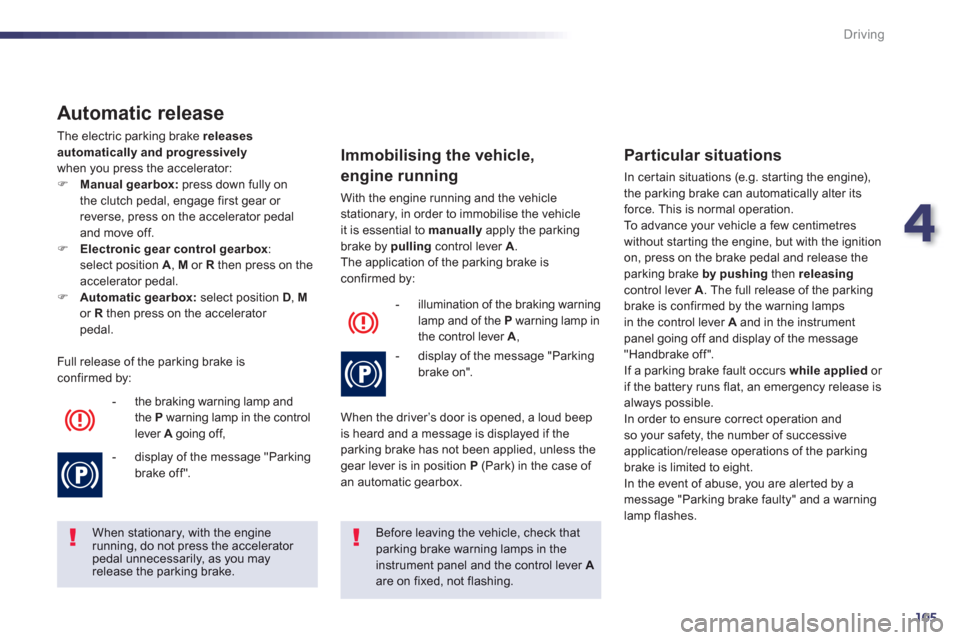
- display of the message "Parking brake off".
When stationary, with the engine running, do not press the accelerator pedal unnecessarily, as you may release the parking brake.
Before leaving the vehicle, check thatparking brake warning lamps in theinstrument panel and the control lever Aare on fixed, not flashing.
Immobilising the vehicle,
engine running
With the engine running and the vehicle
stationary, in order to immobilise the vehicle it is essential to manually
apply the parking
brake by pulling
control lever A.
The application of the parking brake is confirmed by:
- illumination o
f the braking warning
lamp and of the Pwarning lamp in
the control lever A ,
- displa
y of the message "Parkingbrake on".
When the driver’s door is opened, a loud beep
is heard and a message is displayed if theparking brake has not been applied, unless thegear lever is in position P (Park) in the case of an automatic gearbox.
Particular situations
In cer tain situations (e.g. star ting the engine),
the parking brake can automatically alter itsforce. This is normal operation.
To advance your vehicle a few centimetres
without star ting the engine, but with the ignition on, press on the brake pedal and release the
parking brake by pushing then releasingcontrol lever A
. The full release of the parking
brake is confirmed by the warning lamps in the control lever Aand in the instrument
panel going off and display of the message
"Handbrake off".
If a parking brake fault occurs while appliedor
if the battery runs flat, an emergency release is
always possible.
In order to ensure correct operation and
so your safety, the number of successive
application/release operations of the parking brake is limited to eight.
In the event of abuse, you are aler ted by a
message "Parking brake faulty" and a warning
lamp flashes.
Page 118 of 340
116
Driving
Manual operation
FSelect position M for sequentialchanging
of the six gears.FPull the lever towards the + sign to change
up a gear. FPush the lever towards the -
sign to change
down a gear.
It is only possible to change from one gear to another if the vehicle speed and engine speedpermit; otherwise, the gearbox will operate
temporarily in automatic mode.
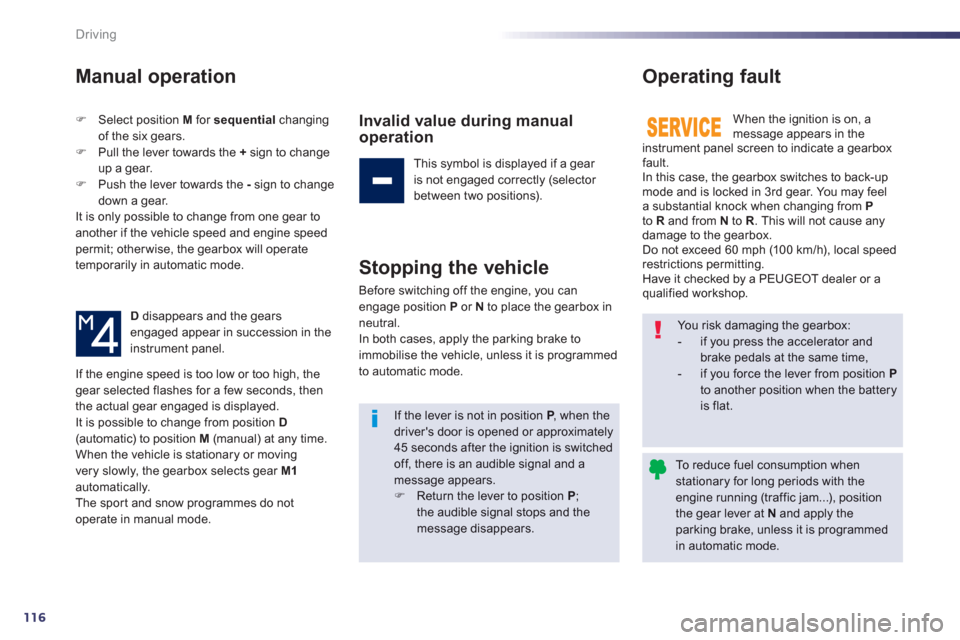
D disappears and the gears engaged appear in succession in the
instrument panel.
Invalid value during manual operation
This symbol is displayed if a gear
is not engaged correctly (selector
between two positions).
Stopping the vehicle
Before switching off the engine, you can engage position P
or Nto place the gearbox in
neutral.
In both cases, apply the parking brake to
immobilise the vehicle, unless it is programmed
to automatic mode.
Operating fault
When the ignition is on, amessage appears in the
instrument panel screen to indicate a gearboxfault.
In this case, the gearbox switches to back-up mode and is locked in 3rd gear. You may feel
a substantial knock when changing from Pto Rand from N to R
. This will not cause any
damage to the gearbox.
Do not exceed 60 mph (10 0 km/h), local speed
restrictions permitting.
Have it checked by a PEUGEOT dealer or a qualified workshop.
If the en
gine speed is too low or too high, the gear selected flashes for a few seconds, then
the actual gear engaged is displayed.
It is possible to change from position D(automatic) to position M (manual) at any time.When the vehicle is stationary or movingvery slowly, the gearbox selects gear M1automatically.
The spor t and snow programmes do not
operate in manual mode.
You risk damaging the gearbox:
- if you press the accelerator and brake pedals at the same time,
- if you force the lever from position Pto another position when the batteryis flat.If the lever is not in position P
, when the Pdriver's door is opened or approximately 45 seconds after the ignition is switchedoff, there is an audible signal and a message appears. FReturn the lever to position P;the audible signal stops and themessage disappears.
To reduce fuel consumption when stationary for long periods with the engine running (traffic jam...), positionthe gear lever at Nand apply theparking brake, unless it is programmed in automatic mode.
Page 184 of 340
182
Practical information
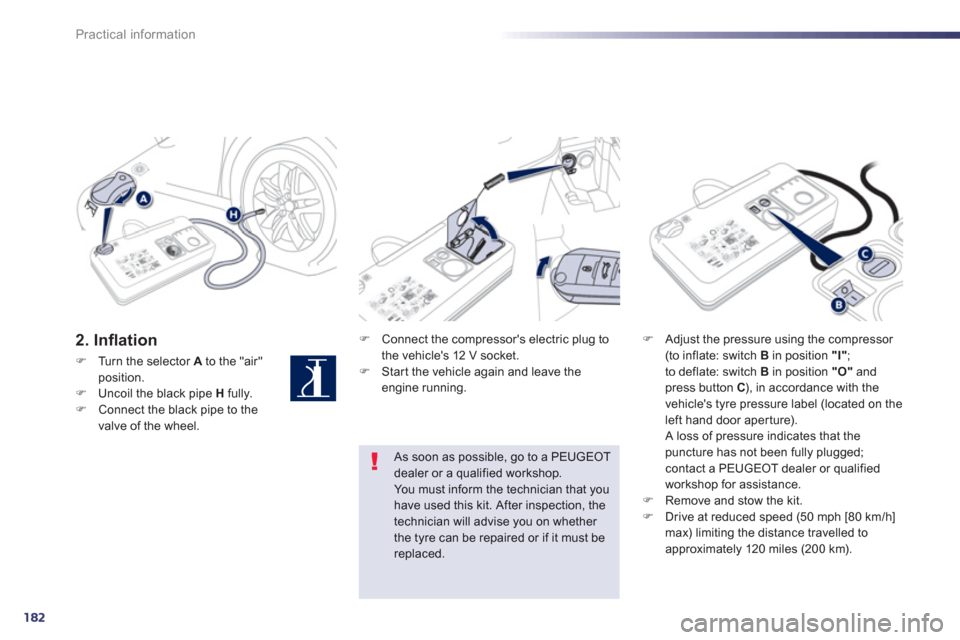
2. Infl ation F
Connect the compressor's electric plug to
the vehicle's 12 V socket.F Star t the vehicle again and leave the engine running.
F
Adjust the pressure using the compressor (to inflate: switch B
in position "I"
;
to deflate: switch B in position "O"and press button C ), in accordance with the
vehicle's tyre pressure label (located on the
left hand door aper ture).
A loss of pressure indicates that thepuncture has not been fully plugged; contact a PEUGEOT dealer or qualified
workshop for assistance.F Remove and stow the kit.F
Drive at reduced speed (50 mph [80 km/h] max) limiting the distance travelled toapproximately 120 miles (200 km).
As soon as possible, go to a PEUGEOTdealer or a qualified workshop.You must inform the technician that you have used this kit. After inspection, the technician will advise you on whether
the tyre can be repaired or if it must be replaced.
FTurn the selector Ato the "air" position.FUncoil the black pipe Hfully. FConnect the black pipe to the
valve of the wheel.
Page 185 of 340
8
183
Practical information
Removing the cartridge
F
Stow the black pipe. F
Detach the angled base from the white pipe.F
Suppor t the compressor ver tically.F
Unscrew the car tridge from the bottom.
Beware of discharges of fluid.
The expiry date of the fluid is indicated on the car tridge.
The sealant car tridge is designed for
single use; even if only partly used, itmust be replaced. After use, do not discard the car tridgeinto the environment, take it to an authorised waste disposal site or a PEUGEOT dealer.
Do not forget to obtain a new sealantcartridge, available from PEUGEOT dealers or from a qualified workshop.
Checking tyre pressures /
inflating accessories
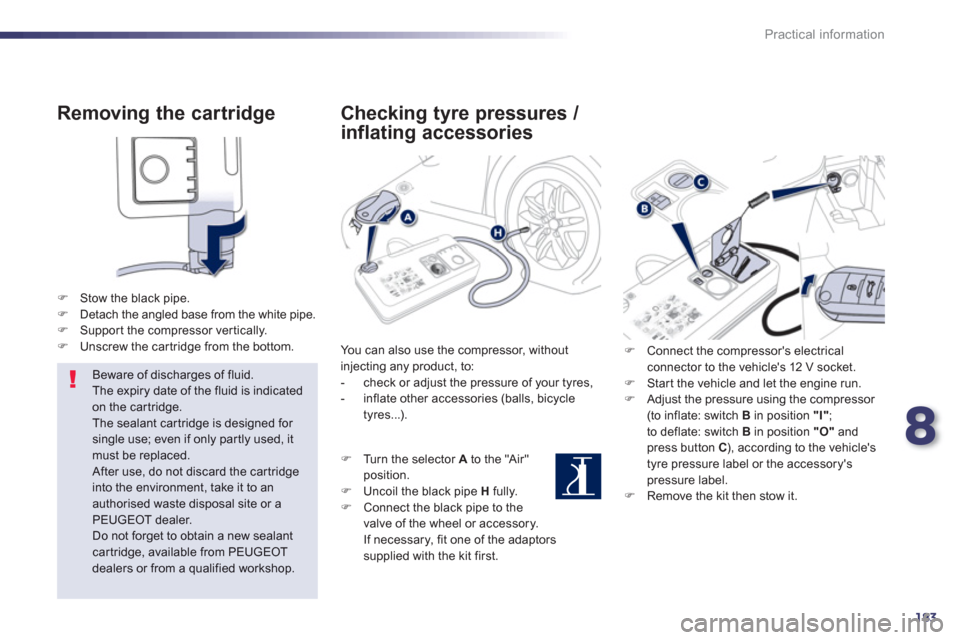
You can also use the compressor, withoutinjecting any product, to:
- check or adjust the pressure of your tyres,
- inflate other accessories (balls, bicycle
tyres...).
FT
urn the selector Ato the "Air"
position.
FUncoil the black pipe
H
fully.FConnect the black pipe to the
valve of the wheel or accessory.
If necessar
y, fit one of the adaptorssupplied with the kit first.
F Connect the compressor's electrical connector to the vehicle's 12 V socket. F
Star t the vehicle and let the engine run. F
Adjust the pressure using the compressor (to inflate: switch B
in position "I"
;
to deflate: switch B in position "O"and press button C), according to the vehicle's
tyre pressure label or the accessory'spressure label. F Remove the kit then stow it.
Page 207 of 340
8
205
Practical information
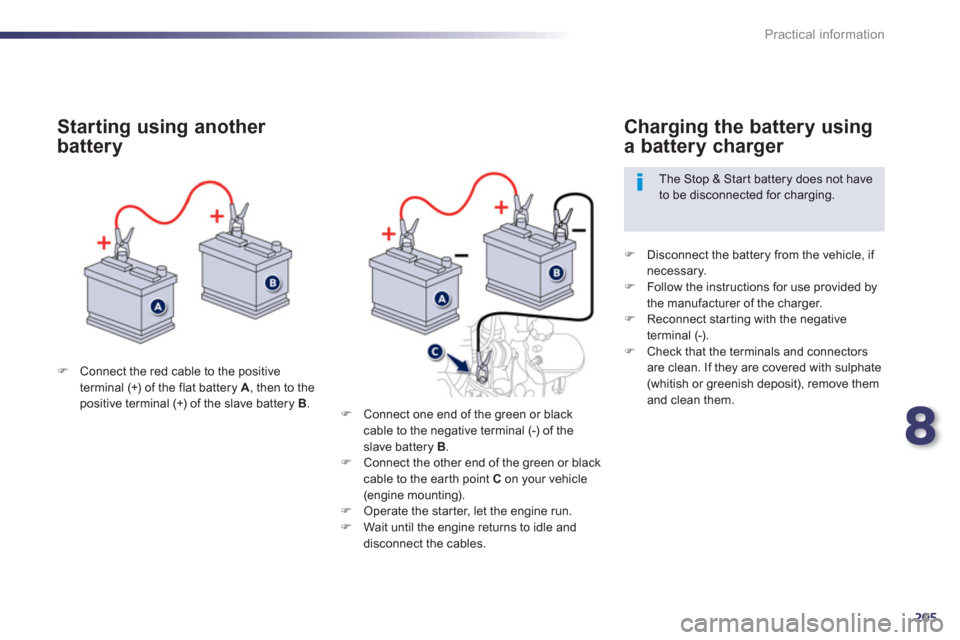
F Connect the red cable to the positive
terminal (+) of the flat battery A , then to the positive terminal (+) of the slave battery B
.
Starting using another
battery
F
Disconnect the battery from the vehicle, if necessary. F
Follow the instructions for use provided by
the manufacturer of the charger. F Reconnect starting with the negative
terminal (-). F Check that the terminals and connectors
are clean. If they are covered with sulphate (whitish or greenish deposit), remove themand clean them.
Charging the battery using
a battery charger
The Stop & Star t battery does not have to be disconnected for charging.
FConnect one end of the
green or black cable to the negative terminal (-) of theslave battery B.FConnect the other end of the green or blackcable to the ear th point C
on your vehicle (engine mounting).FOperate the star ter, let the engine run.
FWait until the engine returns to idle and
disconnect the cables.
Page 209 of 340
8
207
Practical information
System which manages the duration of use of certain functions to conserve a sufficient level
of charge in the battery.
After the engine has stopped, you can still use functions such as the audio andtelematics system, windscreen wipers, dipped
beam headlamps, cour tesy lamps, etc. for a maximum combined duration of aboutforty minutes.
Energy economy mode
Switching to economy mode
A message then appears in the instrument panel screen indicating that the vehicle has
switched to economy mode and the active
functions are put on standby.
If a telephone call is being made at this time, it
will be maintained for around 10 minutes with
the Bluetooth hands-free system of your audio
system.
Exiting economy mode
These functions are reactivated automatically
next time the vehicle is driven.
F In order to resume the use of thesefunctions immediately, star t the engine and let it run:
- for less than ten minutes, to use
the equipment for approximatelyfive minutes,
- for more than ten minutes, to use the
equipment for up to approximatelythirty minutes.
Let the engine run for the duration specified toensure that the battery charge is sufficient.
Do not repeatedly and continuously restar t theengine in order to charge the battery.
A flat battery prevents the engine from star ting (refer to the "Battery" section).