2013 NISSAN SENTRA power steering
[x] Cancel search: power steeringPage 13 of 372
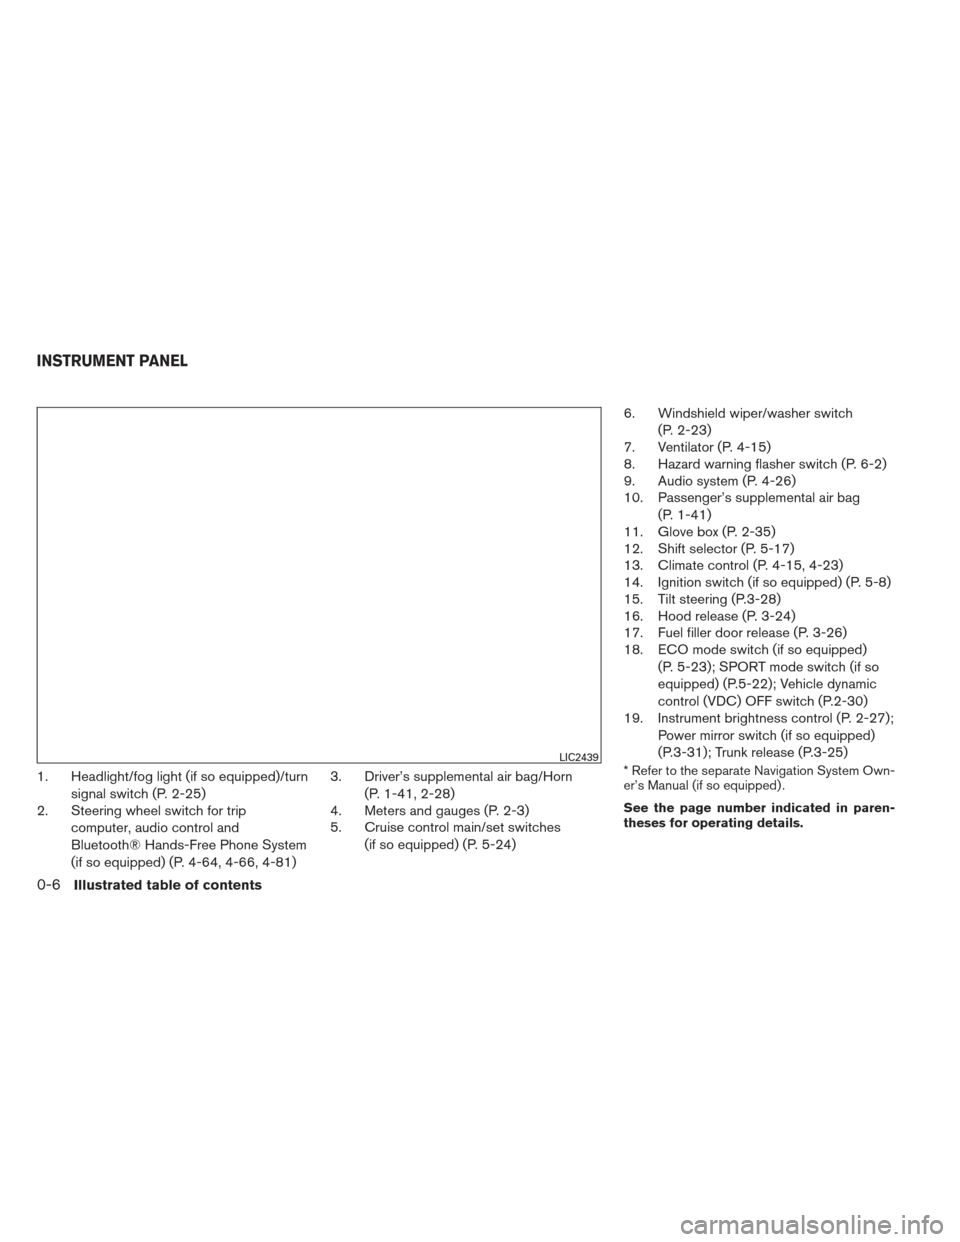
1. Headlight/fog light (if so equipped)/turnsignal switch (P. 2-25)
2. Steering wheel switch for trip
computer, audio control and
Bluetooth® Hands-Free Phone System
(if so equipped) (P. 4-64, 4-66, 4-81) 3. Driver’s supplemental air bag/Horn
(P. 1-41, 2-28)
4. Meters and gauges (P. 2-3)
5. Cruise control main/set switches
(if so equipped) (P. 5-24) 6. Windshield wiper/washer switch
(P. 2-23)
7. Ventilator (P. 4-15)
8. Hazard warning flasher switch (P. 6-2)
9. Audio system (P. 4-26)
10. Passenger’s supplemental air bag
(P. 1-41)
11. Glove box (P. 2-35)
12. Shift selector (P. 5-17)
13. Climate control (P. 4-15, 4-23)
14. Ignition switch (if so equipped) (P. 5-8)
15. Tilt steering (P.3-28)
16. Hood release (P. 3-24)
17. Fuel filler door release (P. 3-26)
18. ECO mode switch (if so equipped)
(P. 5-23); SPORT mode switch (if so
equipped) (P.5-22); Vehicle dynamic
control (VDC) OFF switch (P.2-30)
19. Instrument brightness control (P. 2-27);
Power mirror switch (if so equipped)
(P.3-31); Trunk release (P.3-25)* Refer to the separate Navigation System Own-
er’s Manual (if so equipped) .
See the page number indicated in paren-
theses for operating details.LIC2439
INSTRUMENT PANEL
0-6Illustrated table of contents
Page 15 of 372
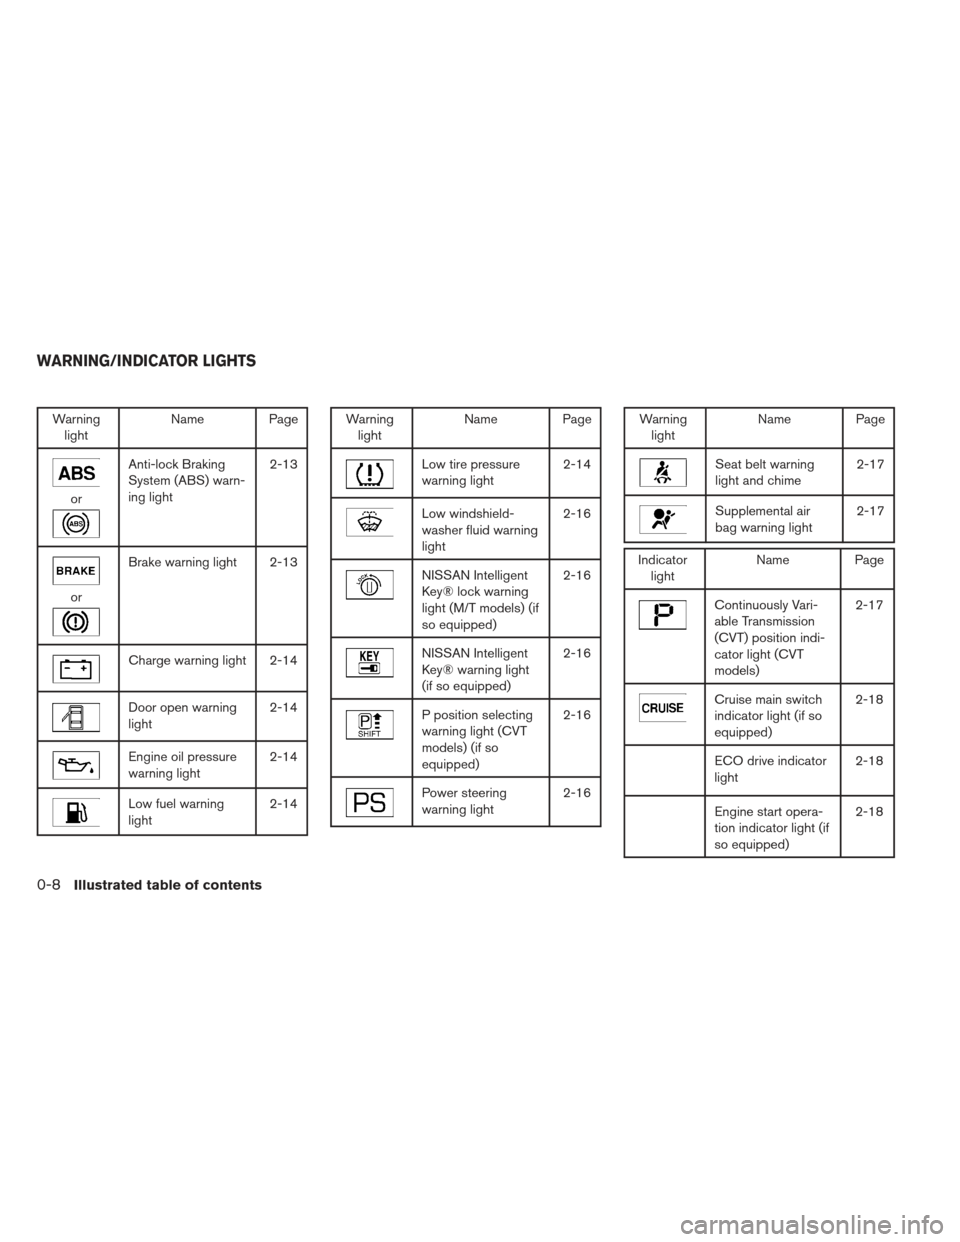
Warninglight Name Page
or
Anti-lock Braking
System (ABS) warn-
ing light 2-13
or
Brake warning light 2-13
Charge warning light 2-14
Door open warning
light
2-14
Engine oil pressure
warning light2-14
Low fuel warning
light2-14
Warning
light Name Page
Low tire pressure
warning light 2-14
Low windshield-
washer fluid warning
light2-16
NISSAN Intelligent
Key® lock warning
light (M/T models) (if
so equipped)2-16
NISSAN Intelligent
Key® warning light
(if so equipped)
2-16
P position selecting
warning light (CVT
models) (if so
equipped)2-16
Power steering
warning light
2-16
Warning
light Name Page
Seat belt warning
light and chime 2-17
Supplemental air
bag warning light2-17
Indicator
light Name Page
Continuously Vari-
able Transmission
(CVT) position indi-
cator light (CVT
models) 2-17
Cruise main switch
indicator light (if so
equipped)
2-18
ECO drive indicator
light
2-18
Engine start opera-
tion indicator light (if
so equipped)2-18
WARNING/INDICATOR LIGHTS
0-8Illustrated table of contents
Page 71 of 372
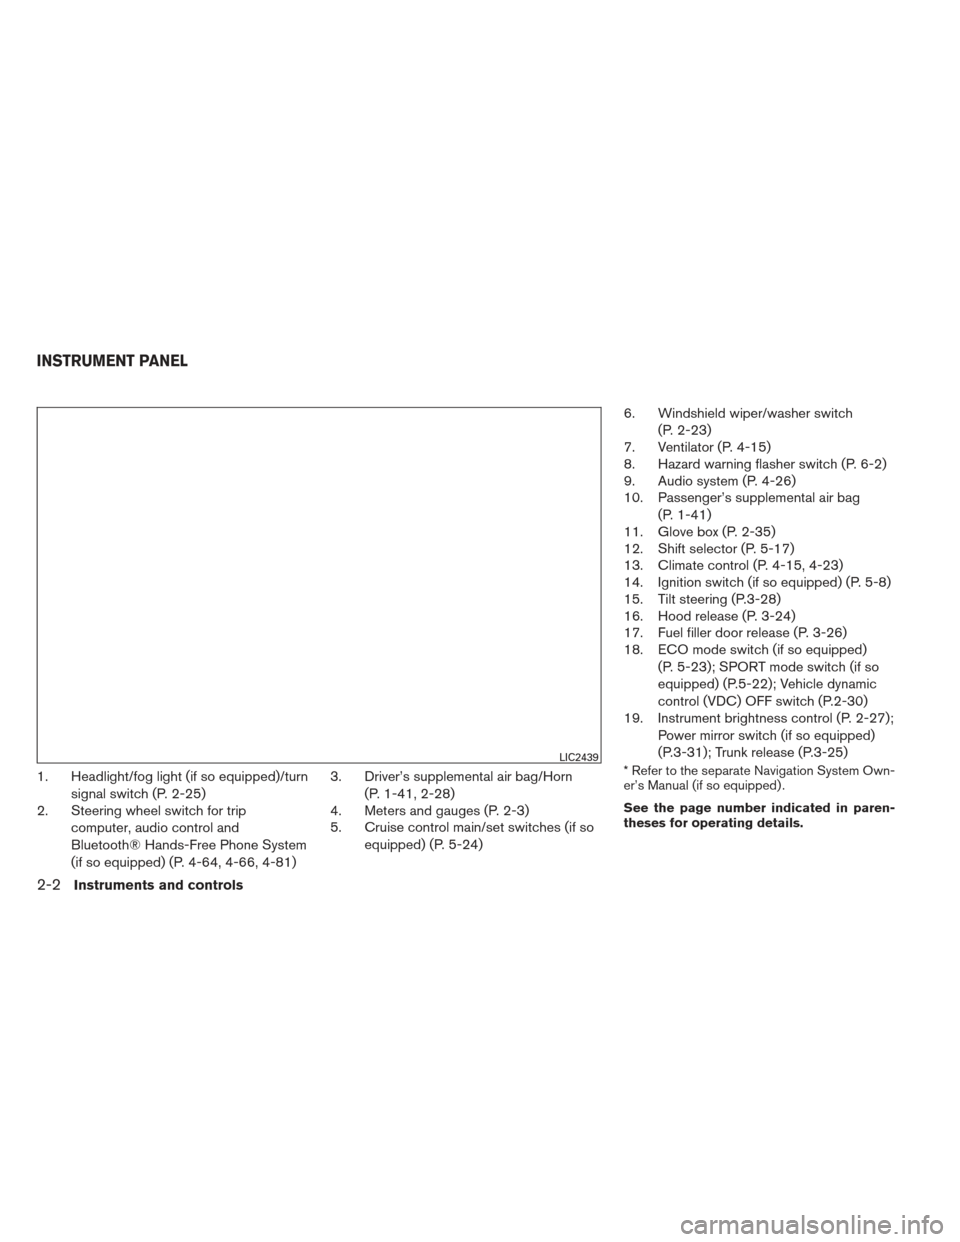
1. Headlight/fog light (if so equipped)/turnsignal switch (P. 2-25)
2. Steering wheel switch for trip
computer, audio control and
Bluetooth® Hands-Free Phone System
(if so equipped) (P. 4-64, 4-66, 4-81) 3. Driver’s supplemental air bag/Horn
(P. 1-41, 2-28)
4. Meters and gauges (P. 2-3)
5. Cruise control main/set switches (if so
equipped) (P. 5-24) 6. Windshield wiper/washer switch
(P. 2-23)
7. Ventilator (P. 4-15)
8. Hazard warning flasher switch (P. 6-2)
9. Audio system (P. 4-26)
10. Passenger’s supplemental air bag
(P. 1-41)
11. Glove box (P. 2-35)
12. Shift selector (P. 5-17)
13. Climate control (P. 4-15, 4-23)
14. Ignition switch (if so equipped) (P. 5-8)
15. Tilt steering (P.3-28)
16. Hood release (P. 3-24)
17. Fuel filler door release (P. 3-26)
18. ECO mode switch (if so equipped)
(P. 5-23); SPORT mode switch (if so
equipped) (P.5-22); Vehicle dynamic
control (VDC) OFF switch (P.2-30)
19. Instrument brightness control (P. 2-27);
Power mirror switch (if so equipped)
(P.3-31); Trunk release (P.3-25)* Refer to the separate Navigation System Own-
er’s Manual (if so equipped) .
See the page number indicated in paren-
theses for operating details.LIC2439
INSTRUMENT PANEL
2-2Instruments and controls
Page 81 of 372
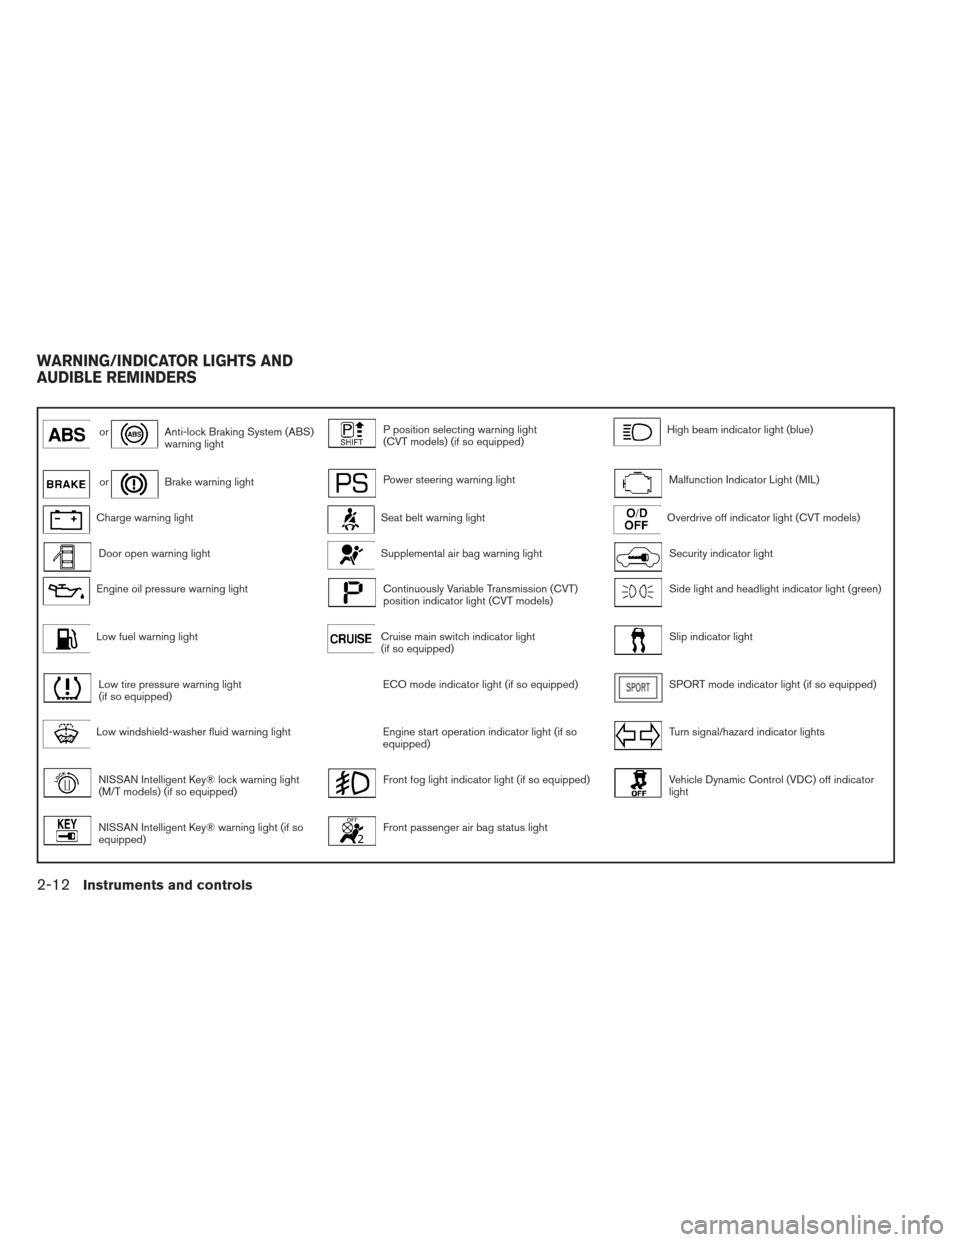
orAnti-lock Braking System (ABS)
warning lightP position selecting warning light
(CVT models) (if so equipped)High beam indicator light (blue)
orBrake warning lightPower steering warning lightMalfunction Indicator Light (MIL)
Charge warning lightSeat belt warning lightOverdrive off indicator light (CVT models)
Door open warning lightSupplemental air bag warning lightSecurity indicator light
Engine oil pressure warning lightContinuously Variable Transmission (CVT)
position indicator light (CVT models)Side light and headlight indicator light (green)
Low fuel warning lightCruise main switch indicator light
(if so equipped)Slip indicator light
Low tire pressure warning light
(if so equipped)ECO mode indicator light (if so equipped)SPORT mode indicator light (if so equipped)
Low windshield-washer fluid warning lightEngine start operation indicator light (if so
equipped)Turn signal/hazard indicator lights
NISSAN Intelligent Key® lock warning light
(M/T models) (if so equipped)Front fog light indicator light (if so equipped)Vehicle Dynamic Control (VDC) off indicator
light
NISSAN Intelligent Key® warning light (if so
equipped)Front passenger air bag status light
WARNING/INDICATOR LIGHTS AND
AUDIBLE REMINDERS
2-12Instruments and controls
Page 85 of 372
Low windshield-washer fluidwarning light
This light comes on when the windshield-washer
fluid is at a low level. Add windshield-washer fluid
as necessary. See “Windshield-washer fluid” in
the “Maintenance and do-it-yourself” section of
this manual.
NISSAN Intelligent Key® lockwarning light (M/T models) (if
so equipped)
When the ignition switch is left in the OFF posi-
tion instead of completely placing it to the LOCK
position, the Intelligent Key lock warning light
blinks red and the Intelligent Key room buzzer will
sound. The light will keep blinking until the igni-
tion switch is placed in the LOCK or ACC posi-
tion.
If the Intelligent Key lock warning light blinks and
the buzzer sounds, press the PUSH release but-
ton next to ignition knob, then turn the ignition
knob to either the LOCK or ACC position.
See “NISSAN Intelligent Key®” in the “Pre-
driving checks and adjustments” section.
NISSAN Intelligent Key®warning light (if so equipped)
The Intelligent Key warning light illuminates green
when the ignition switch can be turned. The
Intelligent Key warning light illuminates red when
the ignition switch cannot be turned.
The Intelligent Key warning light blinks red if the
Intelligent Key is taken outside of the vehicle
while the ignition switch is placed in the ACC or
ON position.
● If the Intelligent Key warning light blinks,
make sure of the location of the Intelligent
Key as soon as possible. The Intelligent Key
should be carried by the driver while operat-
ing the vehicle.
● The Intelligent Key warning light turns off
about 10 seconds after the Intelligent Key is
brought inside the vehicle.
The Intelligent Key warning light blinks green
indicating that the Intelligent Key battery is almost
discharged.
See “NISSAN Intelligent Key®” in the “Pre-
driving checks and adjustments” section.
P position selecting warning light (CVT models) (if so
equipped)
The light blinks red and the warning buzzer
sounds if you are outside of the vehicle with the
Intelligent Key and the engine is off, but the shift
selector is not in the P (Park) position.
When the warning light blinks, place the ignition
switch in the ON position, move the shift selector
to the P position, then place the ignition switch in
the LOCK position.
Power steering warning light
WARNING
● If the engine is not running or is turned
off while driving, the power assist for
the steering will not work. Steering will
be harder to operate.
● When the power steering warning light
illuminates with the engine running,
there will be no power assist for the
steering. You will still have control of
the vehicle but the steering will be
harder to operate. Have the power
steering system checked by a NISSAN
dealer.
2-16Instruments and controls
Page 86 of 372
When the ignition switch is placed in the ON
position, the power steering warning light illumi-
nates. After starting the engine, the power steer-
ing warning light turns off. This indicates the
power steering system is operational.
If the power steering warning light illuminates
while the engine is running, it may indicate the
power steering system is not functioning properly
and may need servicing. Have the power steering
system checked by a NISSAN dealer.
When the power steering warning light illumi-
nates with the engine running, there will be no
power assist for the steering but you will still have
control of the vehicle. At this time, greater steer-
ing effort is required to operate the steering
wheel, especially in sharp turns and at low
speeds.
See “Power steering” in the “Starting and driving”
section.
Seat belt warning light andchime
The light and chime remind you to fasten your
seat belts. The light illuminates whenever the
ignition switch is placed in the ON or START
position and remains illuminated until the driver’s
seat belt is fastened. At the same time, the chime
sounds for about 6 seconds unless the driver’s
seat belt is securely fastened. The seat belt warning light may also illuminate if
the front passenger’s seat belt is not fastened
when the front passenger’s seat is occupied . For
7 seconds after the ignition switch is placed in
the ON position, the system does not activate the
warning light for the front passenger.
Refer to “Seat belts” in the “Safety—Seats, seat
belts and supplemental restraint system” section
for precautions on seat belt usage.
Supplemental air bag warning
light
When the ignition switch is placed in the ON or
START position, the supplemental air bag warn-
ing light illuminates for about 7 seconds and then
turns off. This means the system is operational.
If any of the following conditions occur, the front
air bag, side air bag, curtain air bag, and preten-
sioner seat belt systems need servicing and your
vehicle must be taken to a NISSAN dealer:
● The supplemental air bag warning light re-
mains on after approximately 7 seconds.
● The supplemental air bag warning light
flashes intermittently.
● The supplemental air bag warning light does
not come on at all. Unless checked and repaired, the supplemental
restraint system (air bag system) and/or the pre-
tensioners may not function properly. For addi-
tional details see “Supplemental restraint sys-
tem” in the “Safety—Seats, seat belts and
supplemental restraint system” section of this
manual.
WARNING
If the supplemental air bag warning light
is on, it could mean that the front air bag,
side air bag, curtain air bag systems
and/or pretensioner systems will not op-
erate in an accident. To help avoid injury
to yourself or others, have your vehicle
checked by a NISSAN dealer as soon as
possible.
INDICATOR LIGHTS
Continuously Variable
Transmission (CVT) position
indicator light (if so equipped)
When the ignition switch is placed in the ON
position, this indicator light shows the transmis-
sion shift selector position. See “Driving the ve-
hicle” in the “Starting and driving” section of this
manual.
Instruments and controls2-17
Page 114 of 372
3 Pre-driving checks and adjustments
Keys .............................................3-2NISSAN Intelligent Key® (if so equipped) .........3-2
NISSAN Vehicle Immobilizer System keys .........3-4
Doors ............................................3-4
Locking with key ................................3-5
Locking with inside lock knob ....................3-5
Locking with power door lock switch .............3-5
Automatic door locks ...........................3-6
Child safety rear door lock .......................3-6
Remote keyless entry system (if so equipped) .........3-7
How to use remote keyless entry system ..........3-8
NISSAN Intelligent Key® (if so equipped) ...........3-10
Operating range ............................... 3-12
Door locks/unlocks precaution ..................3-13
NISSAN Intelligent Key® Operation .............3-13
How to use the remote keyless entry
function ...................................... 3-16
Warning lights and audible reminders ............3-20
Warning signals ............................... 3-20Troubleshooting guide
......................... 3-22
Hood ........................................... 3-24
Trunk lid ......................................... 3-25
Trunk lid release switch ........................ 3-25
Interior trunk lid release ........................ 3-25
Fuel-filler door ................................... 3-26
Opener operation .............................. 3-26
Fuel-filler cap . . ............................... 3-26
Tilt/telescopic steering ............................ 3-28
Tilt operation .................................. 3-28
Telescopic operation ........................... 3-29
Sun visors ....................................... 3-29
Vanity mirrors . . ............................... 3-30
Card holder (driver’s side only) ..................3-30
Mirrors .......................................... 3-30
Rearview mirror (if so equipped) .................3-30
Automatic anti-glare rearview mirror
(if so equipped) ............................... 3-31
Outside mirrors ............................... 3-31
Page 211 of 372
●A new disc may be rough on the inner and
outer edges. Remove the rough edges by
rubbing the inner and outer edges with the
side of a pen or pencil as illustrated.
1. Tuning switch
2. Power on and SOURCE select switch
3. Volume control button
STEERING WHEEL SWITCH FOR
AUDIO CONTROL (if so equipped)
The audio system can be operated using the
controls on the steering wheel.
POWER on switch
With the ignition switch in the ACC or ON posi-
tion, push the SOURCE switch to turn the audio
system on.
SOURCE select switch
Push the source select switch to change the
mode in the following sequence:
AM →FM1 →FM2 →XM1 (satellite radio, if so
equipped) →XM2 (satellite radio, if so equipped)
→ XM3 (satellite radio, if so equipped) →CD* →
USB/iPod®* (if so equipped) →Bluetooth® Au-
dio* →AUX* →AM.
* These modes are only available when compat-
ible media storage is inserted into the device or
connected to the system.
Volume control switch
Push the volume control switch to increase or
decrease the volume.
Tuning switch
While the display is showing a map or audio
screen, tilt the Menu Control switch upward or
downward to select a station, track, CD or folder.
For most audio sources, tilting the switch
up/down for more than 1.5 seconds provides a
different function than a tilting up/down for less
than 1.5 seconds.
AM and FM: ● Tilt up/down for less than 1.5 seconds to
increase or decrease the preset station.
LHA2498
4-64Monitor, climate, audio, phone and voice recognition systems