2013 NISSAN MAXIMA mirror
[x] Cancel search: mirrorPage 2 of 24

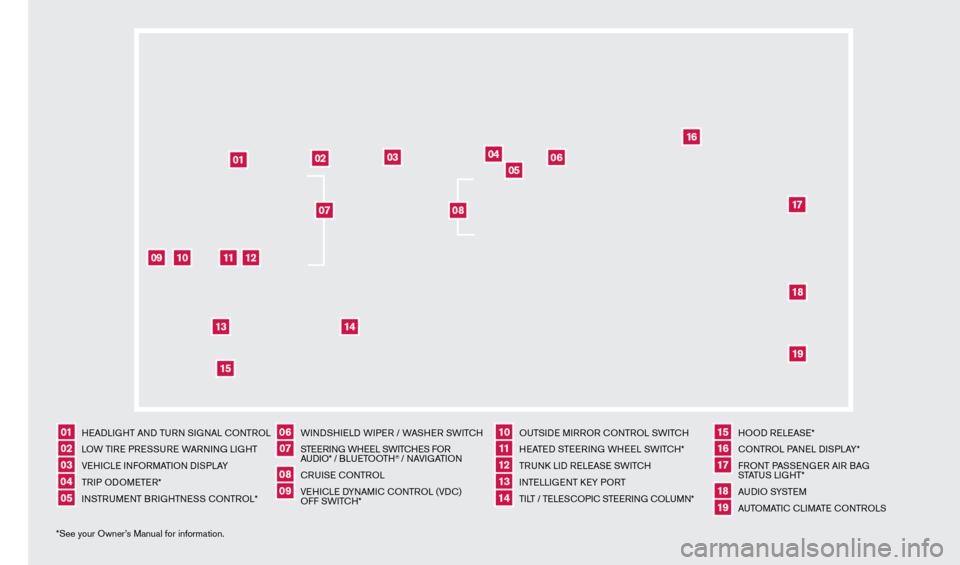
01
HEADLIGHT AND TURN SIGNAL c
O
NTROL
02
LOW TIRE PRESSURE WARNING LIGHT
03
VEHIc LE INFORMATION DISPLAY
04
TRIP ODOMETER*
05
INSTRUMENT BRIGHTNESS c
O
NTROL*
06
WINDSHIELD WIPER / WASHER SWIT
cH
07
STEERING WHEEL SWIT
cHE
S FOR
AUDIO* / B LU ETO OTH
® / NAVIGATION
08
cRUISE
cONTROL
09
VEHI
cLE D
YNAMI
c
c
O
NTROL (VD
c
)
OFF SWIT
c
H*
10
OUTSIDE MIRROR c ONTROL SWIT
c
H11 HEATED STEERING WHEEL SWIT
cH*
12
TRUN
k
LID RELEASE SWIT
cH
13
INTELLIGENT k
EY P
ORT
14
TILT / TELES
cO
PI
c
STEERING c
O
LUMN*
15
HOOD RELEASE*
16
cONTROL PANEL DISPLAY*
17
FRONT PASSENGER AIR BAG
STATUS LIGHT*
18
AU D I O SYSTE M
19
AUTOMATI
c
c
LI
MATE c
O
NTROLS
*See your Owner’s Manual for information.
02
03
05
04
01
06
09
10
11
14
12
1315
16
171819
07
08
1351487_13b_Maxima_QRG_010813b.indd 41/8/13 2:12 PM
Page 3 of 24

TABLE OF
c
O
NTENTS
EssEntial in formation
Loose Fuel
c ap
................................................2
T
ire Pressure Monitoring System (TPMS) ..........................
2
Heated Steering W
heel (if so equipped)
............................3
f
irst Driv E
fE atur
Es
N
ISSAN Intelligent k
ey® System..................................4
T
runk Lid Release
...............................................5
Seat Adjustments
..............................................
5
Automatic Drive P
ositioner (if so equipped) .........................
6
Outside Mirror
c
ontrol Switch
....................................6
St
arting/Stopping the Engine
..................................... 7
Headlight
c
ontrol Switch ........................................
7
W
indshield Wiper/Washer Switch
.................................8
Automatic
c
limate
c
ontrols (if so equipped) ........................
8
FM/AM/SiriusXM
™ Satellite Radio with cD/ DVD Player (if so equipped)...10
USB/iPod® Interface (if so equipped).............................11
c
ruise
c
ontrol . . . . . . . . . . . . . . . . . . . . . . . . . . . . . . . . . . . .\
. . . . . . . . . . . . 11
Fuel-Filler Door
...............................................
11
sy
st
E
m Gui DE
V
ehicle Information Display
......................................12
Bluetooth
® Hands-free Phone System (if so equipped) ..............12
System Operating T
ips
.......................................13
Bluetooth® System without Navigation (if so equipped) ............13
Bluetooth® System with Navigation (if so equipped)...............15
Navigation System (if so equipped)...............................17
D
VD Player (if so equipped)
.....................................19
HomeLink
® Universal Transceiver (if so equipped)...................19
• A cellular telephone should not be used for any purpose while
driving so full attention may be given to vehicle operation.
• Always wear your seat belt.
• Supplemental air bags do not replace proper seat belt usage.
• Children 12 and under should always ride in the rear seat
properly secured in child restraints or seat belts according to
their age and weight.
• Do not drink and drive.
For more information, refer to the “
s afety –– s eats, seat belts and
supplemental restraint system (section 1)”, the “
m onitor, climate,
audio, phone and voice recognition systems (section 4)” and the
“
s
tarting and driving (section 5)” of your Owner’s Manual. Additional information about your vehicle is also available in your Owner’s Manual, Navigation System Owner’s Manual and at www.nissanusa.com. To view detailed
instructional videos, go to
www.nissanownersinfo.mobi/2013/maxima or snap this barcode with an appropriate barcode reader.
1351487_13b_Maxima_QRG_010813b.indd 51/8/13 2:12 PM
Page 8 of 24

To view detailed instructional videos regarding these and other features, please go\
to www.nissanownersinfo.mobi
AUTOMATIC DRIVE POSITIONER (if so equipped)
Two positions for the driver’s seat, steering column
and outside mirrors can be stored in the automatic
drive positioner memory.
Follow these procedures to set the memory positions:
• Confirm the shift lever is in the
P (P
ar
k ) position.
•
Push the ignition switc
h to the on position.
•
Adjust the driver
’s seat, steering column and outside mirrors to the desired positions using
the adjusting switc
hes for each feature.
•
Push the
s
E
t switch within 5 seconds push the memory switch (1 or 2) for at least
1 second.
•
T
he indicator light on the memory switch you select will illuminate for approximately
5 seconds.
•
T
he driver’s seat, steering column and outside mirror positions are now set to your preference.
These memorized positions can also be linked to your NISSAN Intelligent key®.
For more information, refer to the “Pre-driving checks and adjustments (section 3)” of your Owner’s Manual.
outsiDE mirror C ontrol s W itC h
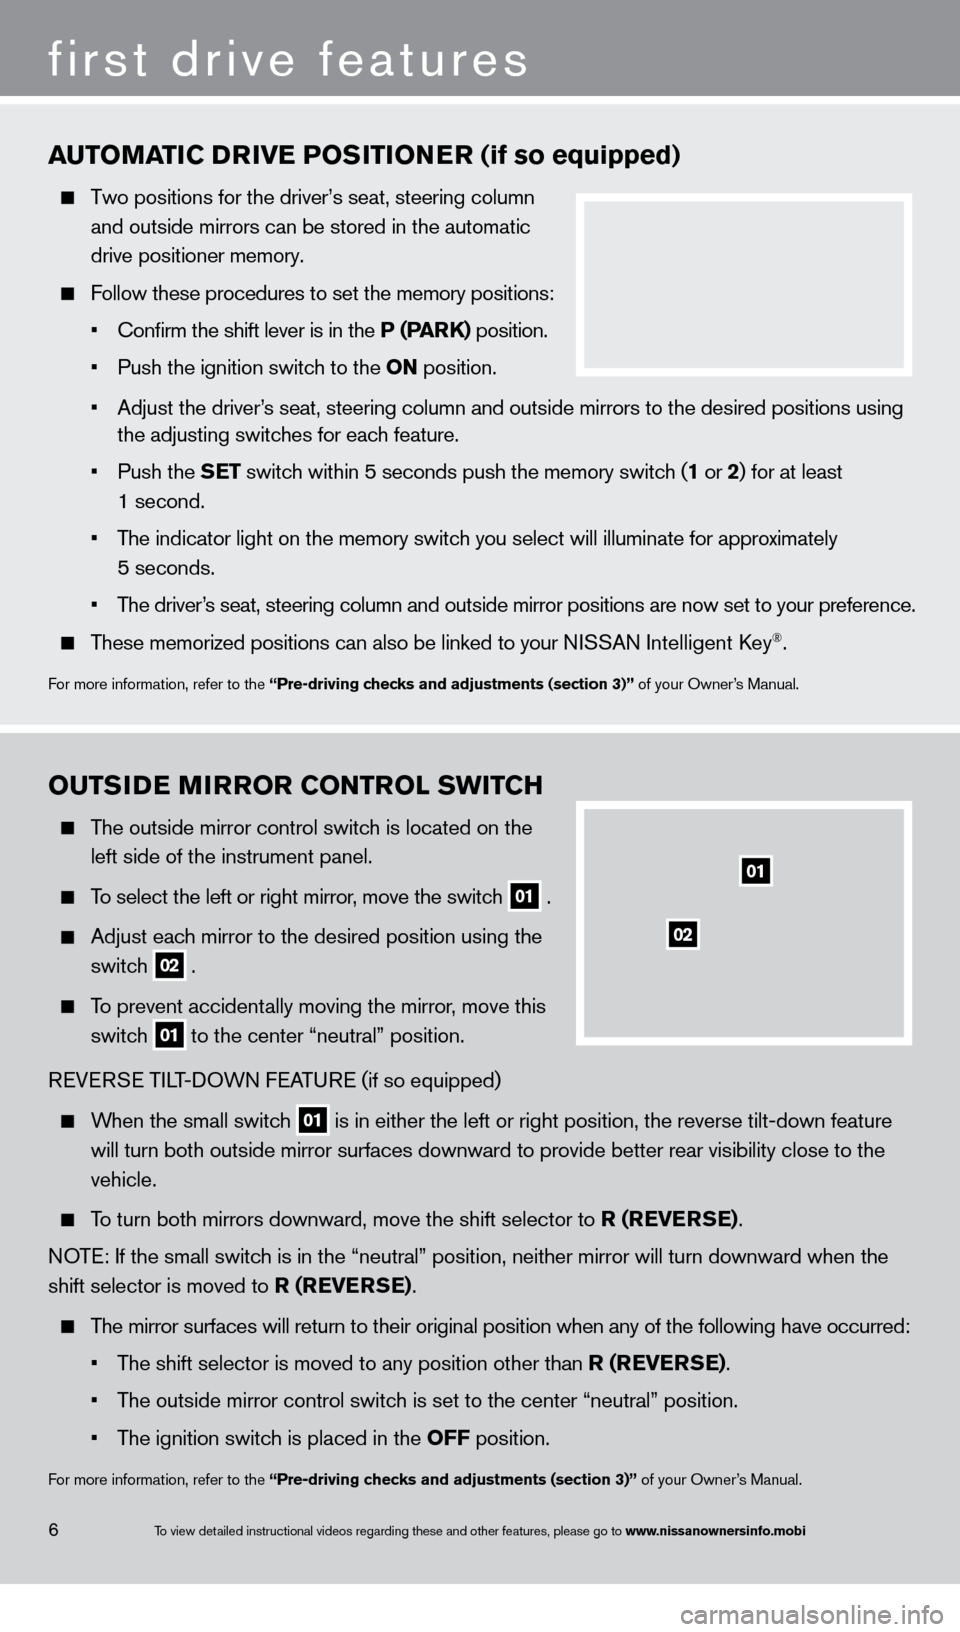
The outside mirror control switch is located on the
left side of the instrument panel.
To select the left or right mirror, move the switch
01 .
Adjust eac
h mirror to the desired position using the
switc
h
02 .
To prevent accidentally moving the mirror, move this
switc
h
01 to the center “neutral” position.
REVERSE TILT-DOWN FEATURE (if so equipped)
When the small switch
01 is in either the left or right position, the reverse tilt-down feature
will turn both outside mirror surfaces downward to provide better rear v\
isibility close to the
vehicle.
To turn both mirrors downward, move the shift selector to r ( rE v Er sE) .
NOTE: If the small switch is in the “neutral” position, neither mirror will turn downward \
when the
shift selector is moved to
r ( r
E
v E
r
s
E)
.
The mirror surfaces will return to their original position when any of th\
e following have occurred:
•
T
he shift selector is moved to any position other than r ( r
E
v E
r
s
E)
.
•
T
he outside mirror control switch is set to the center “neutral” position.
•
T
he ignition switch is placed in the off position.
For more information, refer to the “Pre-driving checks and adjustments (section 3)” of your Owner’s Manual.
6
first drive features
01
02
1351487_13b_Maxima_QRG_010813b.indd 61/8/13 2:12 PM
Page 11 of 24

To view detailed instructional videos regarding these and other features, please go\
to www.nissanownersinfo.mobi9
02 Dual Butt on/ Pas sEnG Er ’ s siD E t EmPEra turE C ontrol Dial
Press the Dua l button to turn the passenger ’s side temperature controls on or off. This
will allow the passenger
’s side temperature to be adjusted independently from the driver’s
side by turning the passenger
’s side temperature control dial.
Turn the passenger’s side temperature control dial left for cooler air or right for warmer \
air.
03 ON•OFF BUTTON/FAN SPEED CONTROL KNOB
Turn the fan speed control knob left to decrease fan speed or right to in\
crease fan speed.
Press the button to turn the system on or off.
04 moDE Button
Press the mo DE button
to cycle through the following air flow outlets:
Air flows from the center and side vents.
Air flows from the center, side and foot vents.
Air flows mainly from the foot vents.
Air flows from the defroster and foot vents.
05 air rEC irC ulation Butt on
Press the air recirculation button
to recirculate interior air inside the vehicle. The
indicator light on the button will come on. T his system is used to avoid certain outside
odors and helps to adjust the inside vehicle temperature more effectivel\
y
.
The air recirculation mode cannot be activated when the air conditioner i\
s in the front
defrosting mode or the front defrosting and foot vent mode
.
06 frEsh air intakE Butt on
Press the fresh air intake button
to draw outside air into the passenger compartment.
T
he indicator light on the button will illuminate.
07 DEfrostinG /DEf o GGi nG front anD siD E W inDoW s
Press the defroster control button to turn the system on. The A/ c automatically turns
on when the defroster mode is selected. This feature removes humidity from the air.
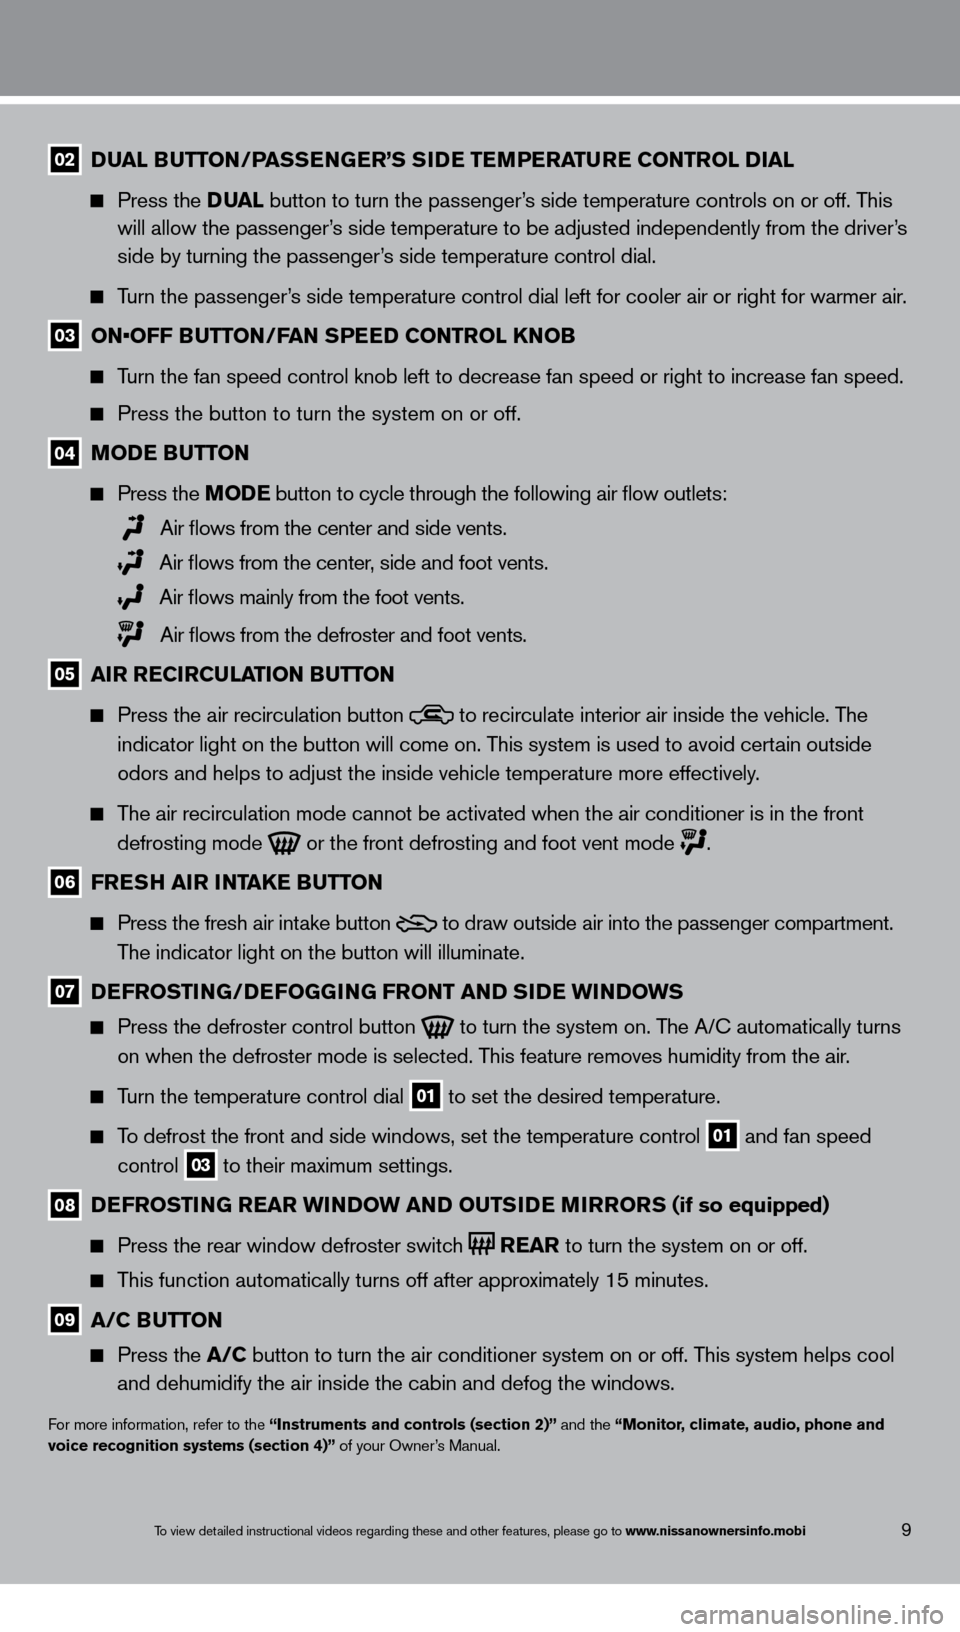
Turn the temperature control dial 01 to set the desired temperature.
To defrost the front and side windows, set the temperature control 01 and fan speed
control 03 to their maximum settings.
08 DEfrostinG
rE ar W inDoW anD outsiD E mirrors (if so equipped)
Press the rear window defroster switch
rE ar
to turn the system on or off.
This function automatically turns off after approximately 15 minutes.
09 a /C Butt on
Press the a /C button to turn the air conditioner system on or off. This system helps cool
and dehumidify the air inside the cabin and defog the windows.
For more information, refer to the “instruments and controls (section 2)” and the “monitor, climate, audio, phone and
voice recognition systems (section 4)” of your Owner’s Manual.
1351487_13b_Maxima_QRG_010813b.indd 91/8/13 2:13 PM