2013 NISSAN MAXIMA key
[x] Cancel search: keyPage 6 of 24

To view detailed instructional videos regarding these and other features, please go\
to www.nissanownersinfo.mobi4
first drive features
01
nissan intElliGEnt kE y® systEm
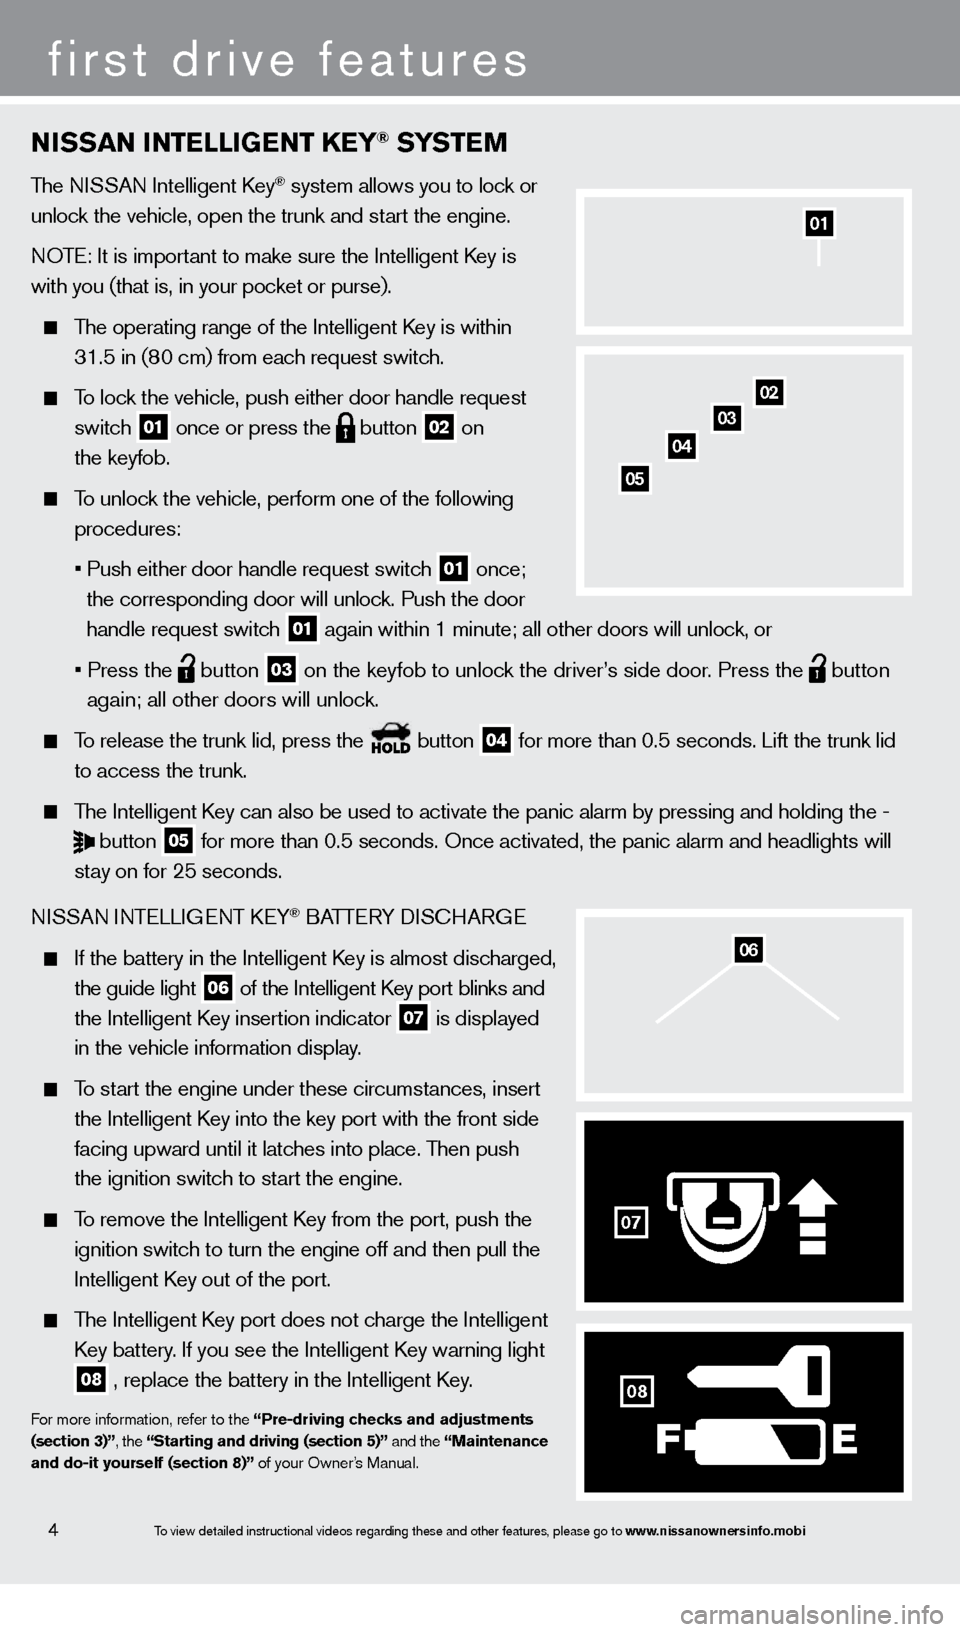
The NISSAN Intelligent key® system allows you to lock or
unlock the vehicle, open the trunk and start the engine.
NOTE: It is important to make sure the Intelligent
k
ey is
with you (that is, in your pocket or purse).
The operating range of the Intelligent key is within
31.5 in (8
0 cm) from each request switch.
To lock the vehicle, push either door handle request
switc
h
01 once or press the
button
02 on
the keyfob.
To unlock the vehicle, perform one of the following
procedures:
•
Push either door handle request switc
h
01 once;
the corresponding door will unlock. Push the door
handle request switch
01 again within 1 minute; all other doors will unlock, or
•
Press the button
03 on the keyfob to unlock the driver’s side door. Press the
button
again; all other doors will unlock.
To release the trunk lid, press the button
04 for more than 0.5 seconds. Lift the trunk lid
to access the trunk.
The Intelligent key can also be used to activate the panic alarm by pressing and holding \
the -
button
05 for more than 0.5 seconds. Once activated, the panic alarm and headlight\
s will
st
ay on for 25 seconds.
NISSAN INTELLIGENT
k
EY® BATTERY DIScHAR GE
If the battery in the Intelligent key is almost disc harged,
the guide light 06 of the Intelligent key port blinks and
the Intelligent
key insertion indicator 07 is displayed
in the vehicle information display
.
To start the engine under these circumstances, insert
the Intelligent
k
ey into the key port with the front side
facing upward until it latc
hes into place. Then push
the ignition switc
h to start the engine.
To remove the Intelligent key from the port, push the
ignition switc
h to turn the engine off and then pull the
Intelligent
k
ey out of the port.
The Intelligent key port does not c harge the Intelligent
k
ey battery
. If you see the Intelligent k
ey warning light
08 , replace the battery in the Intelligent key .
For more information, refer to the “Pre-driving checks and adjustments
(section 3)”, the “
s tarting and driving (section 5)” and the “ m aintenance
and do-it yourself (section 8)” of your Owner’s Manual.
0203
04
05
06
07
08
1351487_13b_Maxima_QRG_010813b.indd 41/8/13 2:12 PM
Page 8 of 24

To view detailed instructional videos regarding these and other features, please go\
to www.nissanownersinfo.mobi
AUTOMATIC DRIVE POSITIONER (if so equipped)
Two positions for the driver’s seat, steering column
and outside mirrors can be stored in the automatic
drive positioner memory.
Follow these procedures to set the memory positions:
• Confirm the shift lever is in the
P (P
ar
k ) position.
•
Push the ignition switc
h to the on position.
•
Adjust the driver
’s seat, steering column and outside mirrors to the desired positions using
the adjusting switc
hes for each feature.
•
Push the
s
E
t switch within 5 seconds push the memory switch (1 or 2) for at least
1 second.
•
T
he indicator light on the memory switch you select will illuminate for approximately
5 seconds.
•
T
he driver’s seat, steering column and outside mirror positions are now set to your preference.
These memorized positions can also be linked to your NISSAN Intelligent key®.
For more information, refer to the “Pre-driving checks and adjustments (section 3)” of your Owner’s Manual.
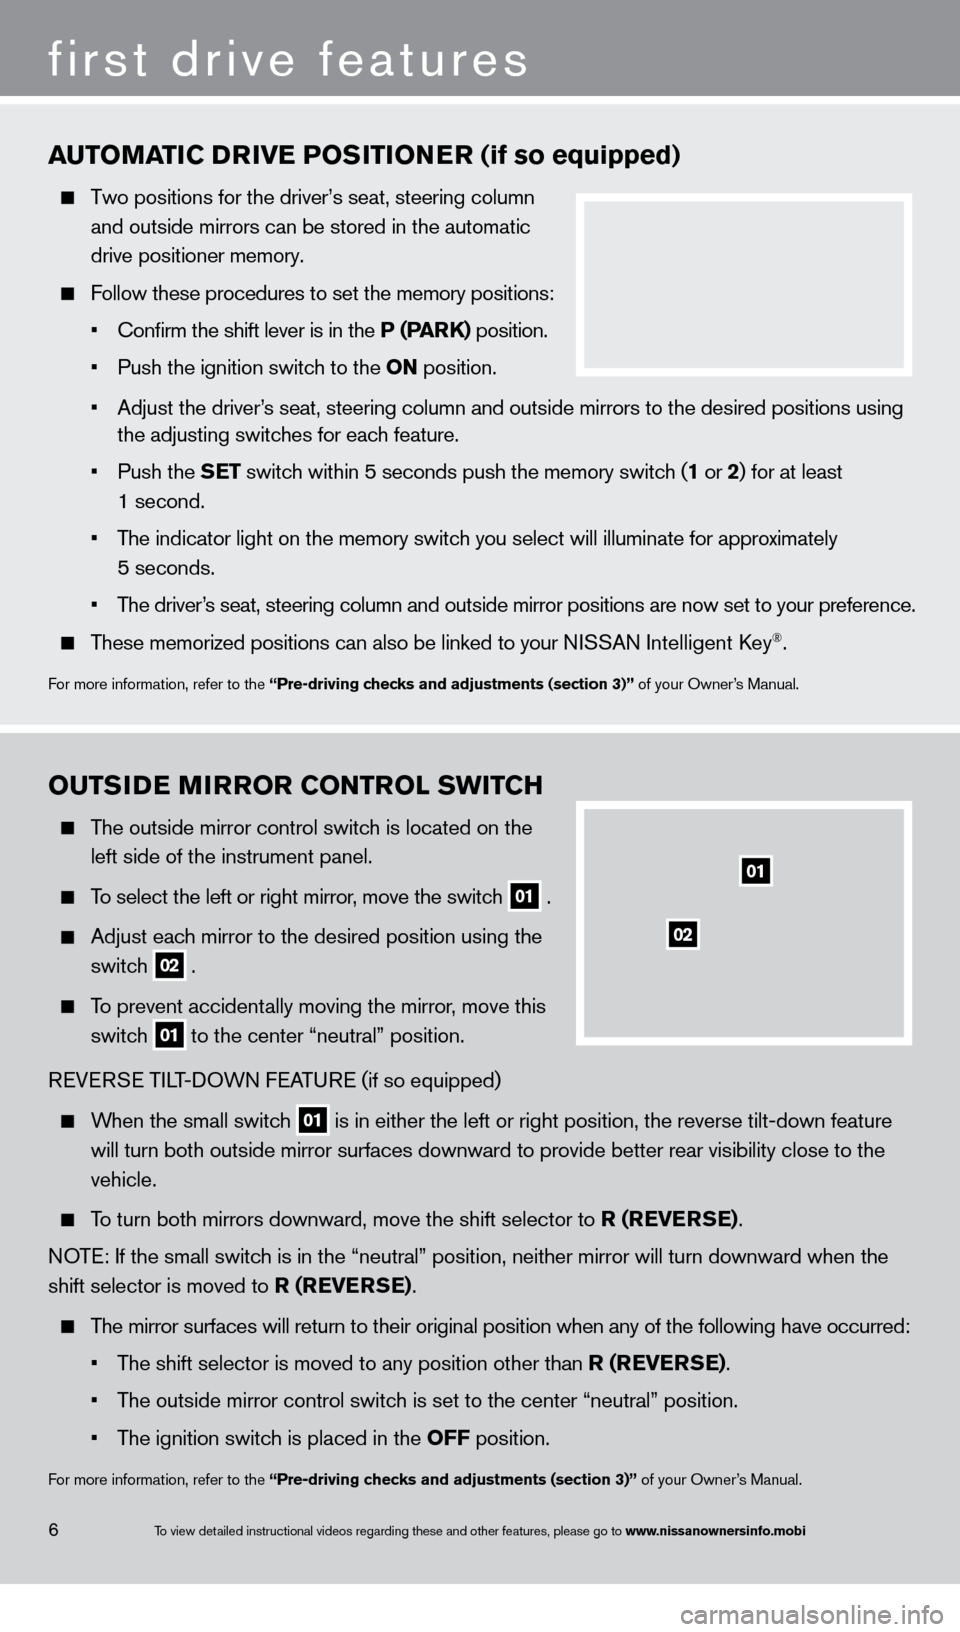
outsiDE mirror C ontrol s W itC h
The outside mirror control switch is located on the
left side of the instrument panel.
To select the left or right mirror, move the switch
01 .
Adjust eac
h mirror to the desired position using the
switc
h
02 .
To prevent accidentally moving the mirror, move this
switc
h
01 to the center “neutral” position.
REVERSE TILT-DOWN FEATURE (if so equipped)
When the small switch
01 is in either the left or right position, the reverse tilt-down feature
will turn both outside mirror surfaces downward to provide better rear v\
isibility close to the
vehicle.
To turn both mirrors downward, move the shift selector to r ( rE v Er sE) .
NOTE: If the small switch is in the “neutral” position, neither mirror will turn downward \
when the
shift selector is moved to
r ( r
E
v E
r
s
E)
.
The mirror surfaces will return to their original position when any of th\
e following have occurred:
•
T
he shift selector is moved to any position other than r ( r
E
v E
r
s
E)
.
•
T
he outside mirror control switch is set to the center “neutral” position.
•
T
he ignition switch is placed in the off position.
For more information, refer to the “Pre-driving checks and adjustments (section 3)” of your Owner’s Manual.
6
first drive features
01
02
1351487_13b_Maxima_QRG_010813b.indd 61/8/13 2:12 PM
Page 17 of 24

To view detailed instructional videos regarding these and other features, please go\
to www.nissanownersinfo.mobi
4. Say the number you wish to call starting with the area code in single digit format.
5.
W
hen you have finished speaking the phone number, the system repeats it back and
announces the available commands.
6.
S
ay: “Dial”. The system acknowledges the command and makes the call.
REcEIVING/ENDING A cA LL
When you receive a phone call, a ring tone sounds through the audio syste\
m.
To accept the call, press the button. To reject the call, press the button.
To hang up the phone at the end of a call or to disconnect during call pl\
acement, press
the button.
Bluetooth system with navigation* (if so equipped)
cONNEcTING PRO
c EDURE
NOTE: The vehicle must be stationary when connecting
the phone.
1.
Press the
s
E
ttin
G
button on the instrument panel
and select the “Bluetooth” key on the display
.
2.
Select the “
c onnect Bluetooth” key.
3.
A popup bo
x will appear on the screen, prompting
you to confirm that the connection is for the phone
system. Select the “Y
es” key.
15
*Some jurisdictions prohibit the use of cellular telephones while drivin\
g.
1351487_13b_Maxima_QRG_010813b.indd 151/8/13 2:13 PM
Page 18 of 24

4. Initiate connecting from the phone.
The connecting procedure varies according
to eac
h cellular phone model. For detailed
connecting instructions and a list of
compatible phones, please visit
www
.nissanusa.com/bluetooth.
When prompted for a PIN code, enter “1234”
from the handset. (T
he PIN code is assigned by NISSAN and cannot be changed.)
5. W
hen connecting is complete, the screen will return to the Bluetooth sett\
ings screen.
PHONEBOO
k
SE
TUP
Depending on your cell phone, the system may automatically download your\
cell phone’ s
entire phonebook to the vehicle’
s Bluetooth system.
If the phonebook does not download automatically , the vehicle phonebook may be set for
up to 40 entries.
To manually download entries:
1.
Press the
P hon
E button and select the
“V
ehicle Phonebook” key.
2.
Select the “
Add New” key at the top of the display.
T
here are different methods to input a phone
number
. Select one of the following options:
•
“Copy from Call History” to s
ave a number from
the Outgoing, Incoming or Missed
c alls lists.
•
“Copy from the Handset” to s
ave a number
t
hat has been downloaded from your handset
to the vehicle.
•
“Enter Number by K
eypad” to input the number
and name manually.
MA
k
I
NG A c
ALL
T
o make a call, follow this procedure:
1.
Press the
P hon
E
button on the instrument panel
or the button on the steering wheel. The “Phone”
menu will appear on the control panel display .
2.
Select the “V
ehicle Phonebook”, “
ca
ll History”,
“Handset
Phonebook” or “Dial Number” key.
3.
Select the desired entry from the list.
4.
Dialing begins when the entry is selected or when the “Ok
” key is selected.
16
system guide
To view detailed instructional videos regarding these and other features, please go\
to www.nissanownersinfo.mobi
1351487_13b_Maxima_QRG_010813b.indd 161/8/13 2:13 PM
Page 19 of 24

17To view detailed instructional videos regarding these and other features, please go\
to www.nissanownersinfo.mobi
REcEIVING/ENDING A cA LL
To accept the call, press the P honE button on
the instrument panel, the button on the steering
wheel or touc
h the “Answer” key.
To reject the call, touch the “Reject c all” key on the
display or press and hold the button on the
steering wheel.
To hang-up, press the button or touch the
“Hang-Up” key
.
For more information, refer to the “monitor, climate, audio, phone and
voice recognition systems (section 4)” of your Owner’s Manual or
visit www.nissanusa.com/bluetooth.
01
03
050607081011
1213
02
04
09
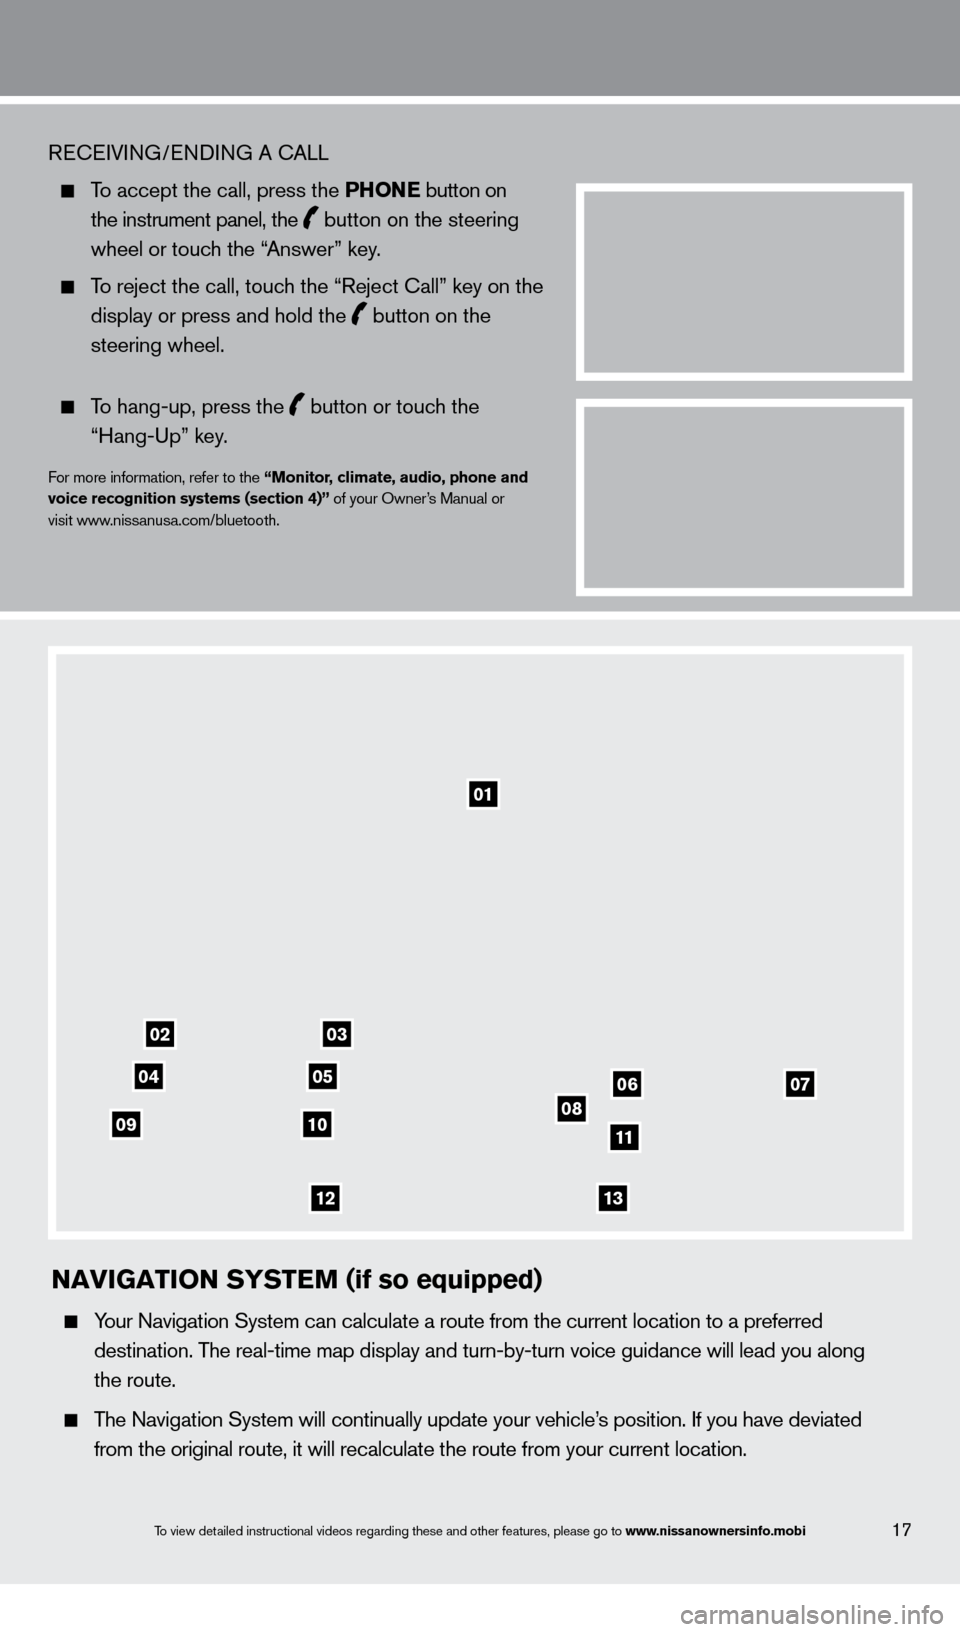
naviGation syst E m (if so equipped)
Your Navigation System can calculate a route from the current location to\
a preferred
destination. T
he real-time map display and turn-by-turn voice guidance will lead you a\
long
the route.
The Navigation System will continually update your vehicle’s position. If you have deviated
from the original route, it will recalculate the route from your current\
location.
1351487_13b_Maxima_QRG_010813b.indd 171/8/13 2:13 PM