2013 NISSAN LEAF phone
[x] Cancel search: phonePage 3 of 28
TABLE OF CONTENTS
New SYSTeM FeaT ureS
Remote Functions . . . . . . . . . . . . . . . . . . . . . . . . . . . . . . . . . . . . . . . . . . . . . . 2
Approac
hing Vehicle Sound for Pedestrians (VSP) System . . . . . . . . . . . .2
Solar Cell Module (if so equipped)
. . . . . . . . . . . . . . . . . . . . . . . . . . . . . . . .2
Around V
iew
® Monitor (if so equipped) . . . . . . . . . . . . . . . . . . . . . . . . . . . . . 2 Shift Control System . . . . . . . . . . . . . . . . . . . . . . . . . . . . . . . . . . . . . . . . . . . . 4
Heated Seats . . . . . . . . . . . . . . . . . . . . . . . . . . . . . . . . . . . . . . . . . . . . . . . . . . 4 Charge P
ort Lid . . . . . . . . . . . . . . . . . . . . . . . . . . . . . . . . . . . . . . . . . . . . . . . . 4
eS
S
eNTI
a
L INFO r
M
a
TI
ON
Cold W
eather Range . . . . . . . . . . . . . . . . . . . . . . . . . . . . . . . . . . . . . . . . . . . . 5
Parking in Extremely Cold W
eather . . . . . . . . . . . . . . . . . . . . . . . . . . . . . . . . 5
Quic
k Charge in Cold Weather (if so equipped)
. . . . . . . . . . . . . . . . . . . . .5 Li-ion B
attery Temperature Gauge . . . . . . . . . . . . . . . . . . . . . . . . . . . . . . . . . 6
Li-ion B
attery Life . . . . . . . . . . . . . . . . . . . . . . . . . . . . . . . . . . . . . . . . . . . . . . . 6
Li-ion B
attery Gauges . . . . . . . . . . . . . . . . . . . . . . . . . . . . . . . . . . . . . . . . . . . 6
P
ower Limitation Indicator Light . . . . . . . . . . . . . . . . . . . . . . . . . . . . . . . . . . . 7
T
ire Pressure Monitoring System (TPMS) with Easy Fill Tire Alert . . . . . . .7
Instrument Panel Cloc
k . . . . . . . . . . . . . . . . . . . . . . . . . . . . . . . . . . . . . . . . . . 8
FI
rST DrIV
e
F ea
T
ure
S N
ISSAN Intelligent Key
® System . . . . . . . . . . . . . . . . . . . . . . . . . . . . . . . . . . 9 Rear Hatc
h Release . . . . . . . . . . . . . . . . . . . . . . . . . . . . . . . . . . . . . . . . . . . . . 9
Seat Adjustments
. . . . . . . . . . . . . . . . . . . . . . . . . . . . . . . . . . . . . . . . . . . . . 10
Outside Mirror Control Switc
h . . . . . . . . . . . . . . . . . . . . . . . . . . . . . . . . . . . 10
P
ower Meter
. . . . . . . . . . . . . . . . . . . . . . . . . . . . . . . . . . . . . . . . . . . . . . . . .
11
Electric V
ehicle (EV) System Warning Light . . . . . . . . . . . . . . . . . . . . . . .
.
11
St
arting/Stopping the Electric Vehicle (EV) System . . . . . . . . . . . . . . . . .
12
Headlight Control Switc
h . . . . . . . . . . . . . . . . . . . . . . . . . . . . . . . . . . . . . . .
12
W
indshield Wiper and Washer Switch . . . . . . . . . . . . . . . . . . . . . . . . . . . .
13
Automatic Climate Controls (if so equipped)
. . . . . . . . . . . . . . . . . . . . . . .
14
FM/AM/SiriusXM
Satellite Radio with CD Player (if so equipped) . . . . . .15 Cruise Control (if so equipped)
. . . . . . . . . . . . . . . . . . . . . . . . . . . . . . . . . .16
USB/iPOD
® Interface . . . . . . . . . . . . . . . . . . . . . . . . . . . . . . . . . . . . . . . . . .16 Li-ion B
attery Charging . . . . . . . . . . . . . . . . . . . . . . . . . . . . . . . . . . . . . . . .17
S
YST
e
M G
u
ID
e
T
rip Computer
. . . . . . . . . . . . . . . . . . . . . . . . . . . . . . . . . . . . . . . . . . . . . . . .
19
Bluetooth
® Hands-free Phone System . . . . . . . . . . . . . . . . . . . . . . . . . . . . .20
Bluetooth® System Operating Tips . . . . . . . . . . . . . . . . . . . . . . . . . . . . .20
Bluetooth® System without Navigation (if so equipped) . . . . . . . . . . . .20
Bluetooth® System with Navigation (if so equipped) . . . . . . . . . . . . . . .23 Navigation System (if so equipped) . . . . . . . . . . . . . . . . . . . . . . . . . . . . . .
.24
HomeLink
® Universal Transceiver (if so equipped) . . . . . . . . . . . . . . . . . . .25
• A cellular telephone should not be used for any purpose while
driving so full attention may be given to vehicle operation.
• Always wear your seat belt.
• Supplemental air bags do not replace proper seat belt usage.
• Children 12 and under should always ride in the rear seat
properly secured in child restraints or seat belts according to
their age and weight
.
• Do not drink and drive.
F
or more information, refer to the “Safety — Seats, seat belts and
supplemental restraint system (section 1)”, “Heater, air conditioner,
audio and phone systems (section 4)” and the “Starting and driving
(section 5)” of your Owner’s Manual and the “Bluetooth
® Hands-free
Phone System (section 7)” and the “audio systems (section 4)” of your
Navigation System Owner’s Manual
.
Additional information about your vehicle is also available in your Owner’s Manual, Navigation System Owner’s Manual and at www
.
nissanusa . com .
To view detailed
instructional videos, go to
www.nissanownersinfo.mobi/2013/leaf or snap this barcode with an appropriate barcode reader.
1275820_13_Leaf_QRG_Text-Insert_121912.indd 112/19/12 10:10 AM
Page 4 of 28
arOuND VIew® MONITOr
(if so equipped)
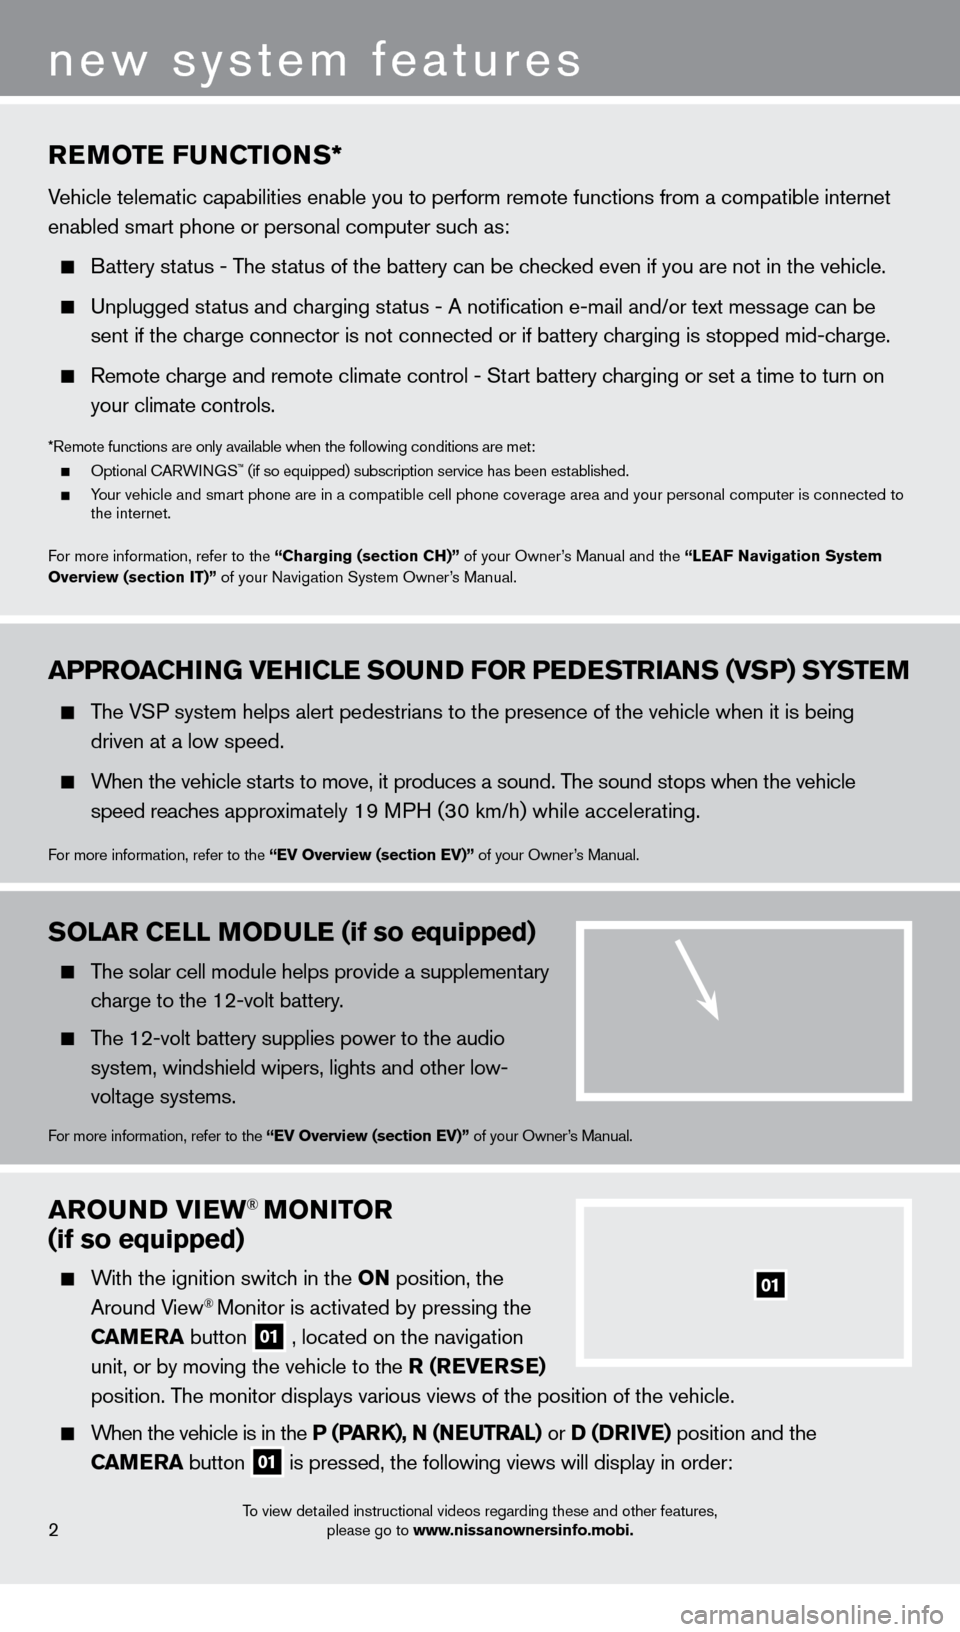
With the ignition switch in the ON position, the
Around View® Monitor is activated by pressing the
C
a
M
e
ra
button
01 , located on the navigation
unit, or by moving the vehicle to the r ( re V erSe )
position
.
The monitor displays various views of the position of the vehicle .
When the vehicle is in the P (ParK), N (Ne u T ra L) or D (DrIV e ) position and the
C
a
M
e
ra button
01 is pressed, the following views will display in order:
01
To view detailed instructional videos regarding these and other features,
please go to www.nissanownersinfo.mobi.2
new system features
aPPrOaCH ING V eH ICL e SO uN D FO r P eDeST rI a NS (VSP) SYST eM
The VSP system helps alert pedestrians to the presence of the vehicle when it is being
driven at a low speed
.
When the vehicle starts to move, it produces a sound . The sound stops when the vehicle
s
peed reaches approximately 19 MPH (30 km/h) while accelerating .
For more information, refer to the “eV Overview (section eV)” of your Owner’s Manual .
reMOTe F uN CTIONS*
Vehicle telematic capabilities enable you to perform remote functions from a compatible internet
enabled smart phone or personal computer such as:
Battery status - The status of the battery can be checked even if you are not in the vehicle.
Unplugged status and charging status - A notification e-mail and/or text message can be
sent if the c
harge connector is not connected or if battery charging is stopped mid-charge.
Remote charge and remote climate control - Start battery charging or set a time to turn on
y
our climate controls .
*Remote functions are only available when the following conditions are met: Optional CARWINGS™ (if so equipped) subscription service has been established. Your vehicle and smart phone are in a compatible cell phone coverage area and your personal computer is connected to
the internet .
F
or more information, refer to the “Charging (section CH)” of your Owner’s Manual and the “ Lea
F
Navigation System
Overview (section IT)”
of your Navigation System Owner’s Manual .
SOLar CeLL MODuL e (if so equipped)
The solar cell module helps provide a supplementary
charge to the 12-volt battery.
The 12-volt battery supplies power to the audio system, windshield wipers, lights and other low-
voltage systems
.
For more information, refer to the “eV Overview (section eV)” of your Owner’s Manual .
1275820_13_Leaf_QRG_Text-Insert_121912.indd 212/19/12 10:10 AM
Page 16 of 28
03
01
11
02
05
04
14
first drive features
To view detailed instructional videos regarding these and other features, please go to www.nissanownersinfo.mobi.
auTOMaTIC CLIM aT e CONT rOLS (if so equipped)
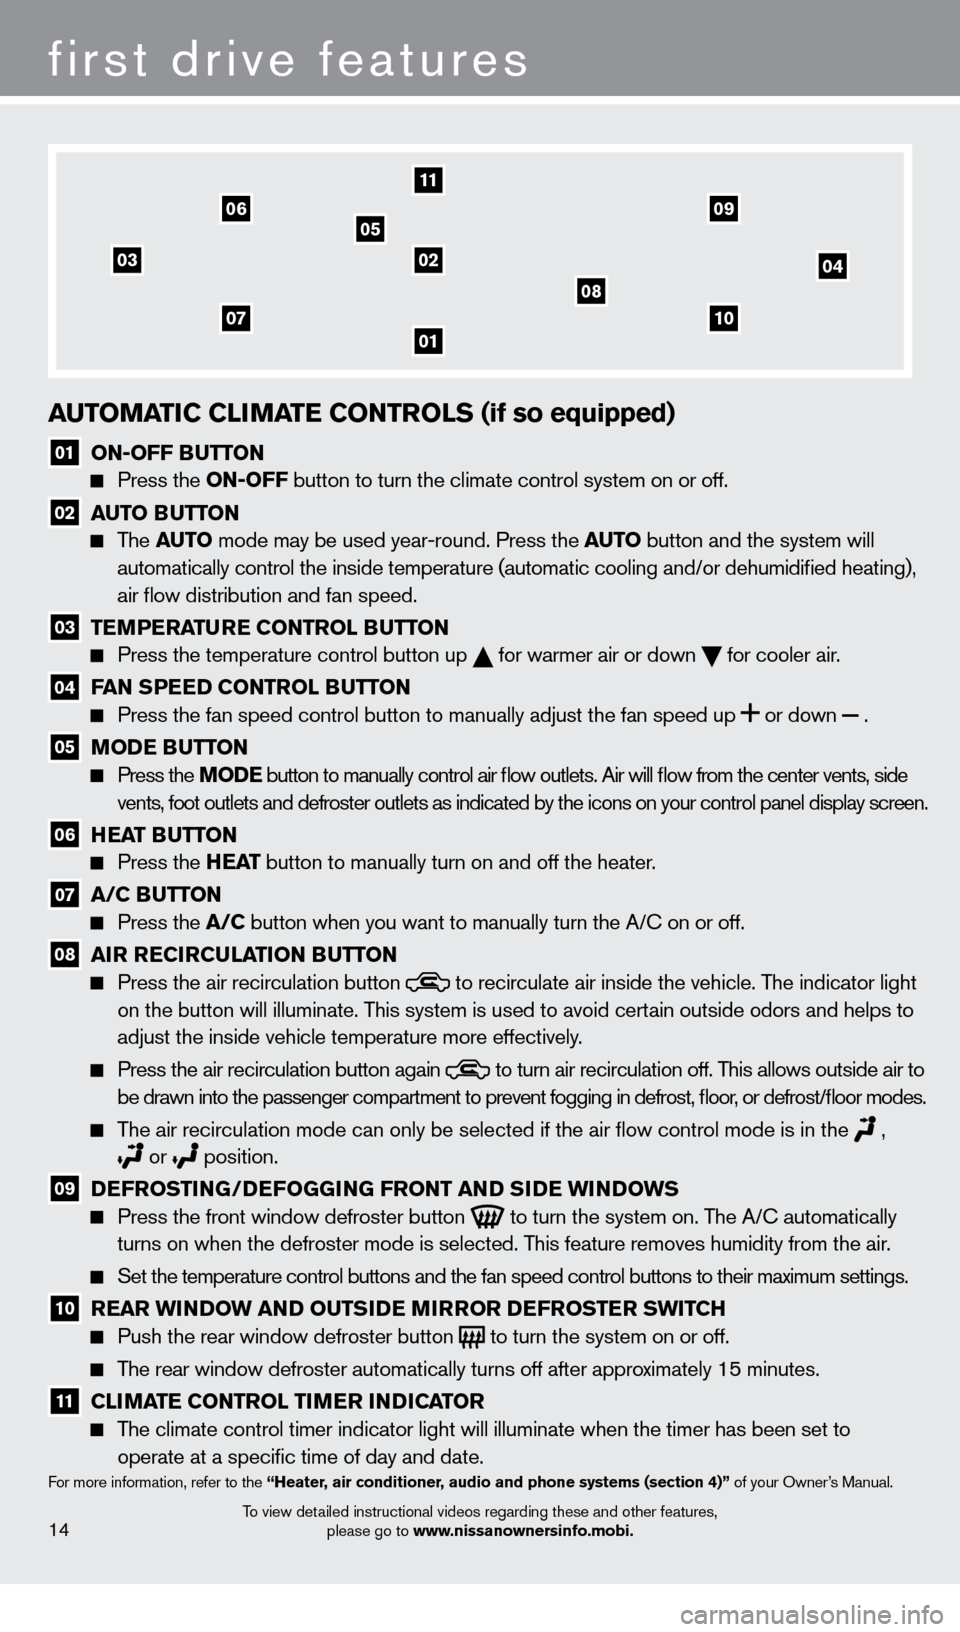
01 ON-OFF BuTTON Press the
ON-OFF button to turn the climate control system on or off.
02 au TO Bu TTON The
auTO mode may be used year-round. Press the auT O button and the system will
automatically control the inside temperature (automatic cooling and/or \
dehumidified heating),
air flow distribution and fan speed.
03 T eM P eraT ure CONT rOL Bu TTON Press the temperature control button up
for warmer air or down
for cooler air .
04 Fa N SP eeD CONT rOL Bu TTON Press the fan speed control button to manually adjust the fan s
peed
up
or
down
.
05 MODe Bu TTON Press the MODe
button to manually control air flow outlets. Air will flow from the center vents, side
vents, foot outlets and defroster outlets as indicated by the icons on your control panel display screen.
06 HeaT Bu TTON Press the
He a T button to manually turn on and off the heater.
07 a /C Bu TTON Press the
a /C button when you want to manually turn the A/C on or off.
08 a Ir reCIrC uL aTI ON Bu TTON Press the air recirculation button to recirculate air inside the vehicle . The indicator light
on the button will illuminate. T
his system is used to avoid certain outside odors and helps to
adjust the inside vehicle temperature more effectively
.
Press the air recirculation button again to turn air recirculation off . This allows outside air to
be drawn into the passenger compartment to prevent fogging in d efrost, floor, or defrost/floor modes.
The air recirculation mode can only be selected if the air flow control mode is in the ,
or position .
09 DeF rOSTI NG/DeF OGGING F rONT a ND SIDe w INDOw S Press the front window defroster button
to turn the system on . The A/C automatically
turns on when the defroster mode is selected . This feature removes humidity from the air .
Set the temperature control buttons and the fan speed control b uttons to their maximum settings.
10 rear w INDOw a ND O u TSIDe MIr rO r DeF rOST er S w ITCH Push the rear window defroster button to turn the system on or off .
The rear window defroster automatically turns off after approximately 15 minutes .
11 CLIM aT e CONT rOL TI Me r INDICaT O r
The climate control timer indicator light will illuminate when the timer has been set to
operate at a specific time of day and date .
For more information, refer to the “Heater, air conditioner, audio and phone systems (section 4)” of your Owner’s Manual .
0710
08
0609
1275820_13_Leaf_QRG_Text-Insert_121912.indd 1412/19/12 10:11 AM
Page 18 of 28
CruISe CONT rOL (if so equipped)
The cruise control system enables you to set a
constant cruising speed once the vehicle has
reached 25 MPH (40 km/h)
.
The system will automatically maintain the set speed
until you t
ap the brake pedal, accelerate, cancel or
turn the system off
.
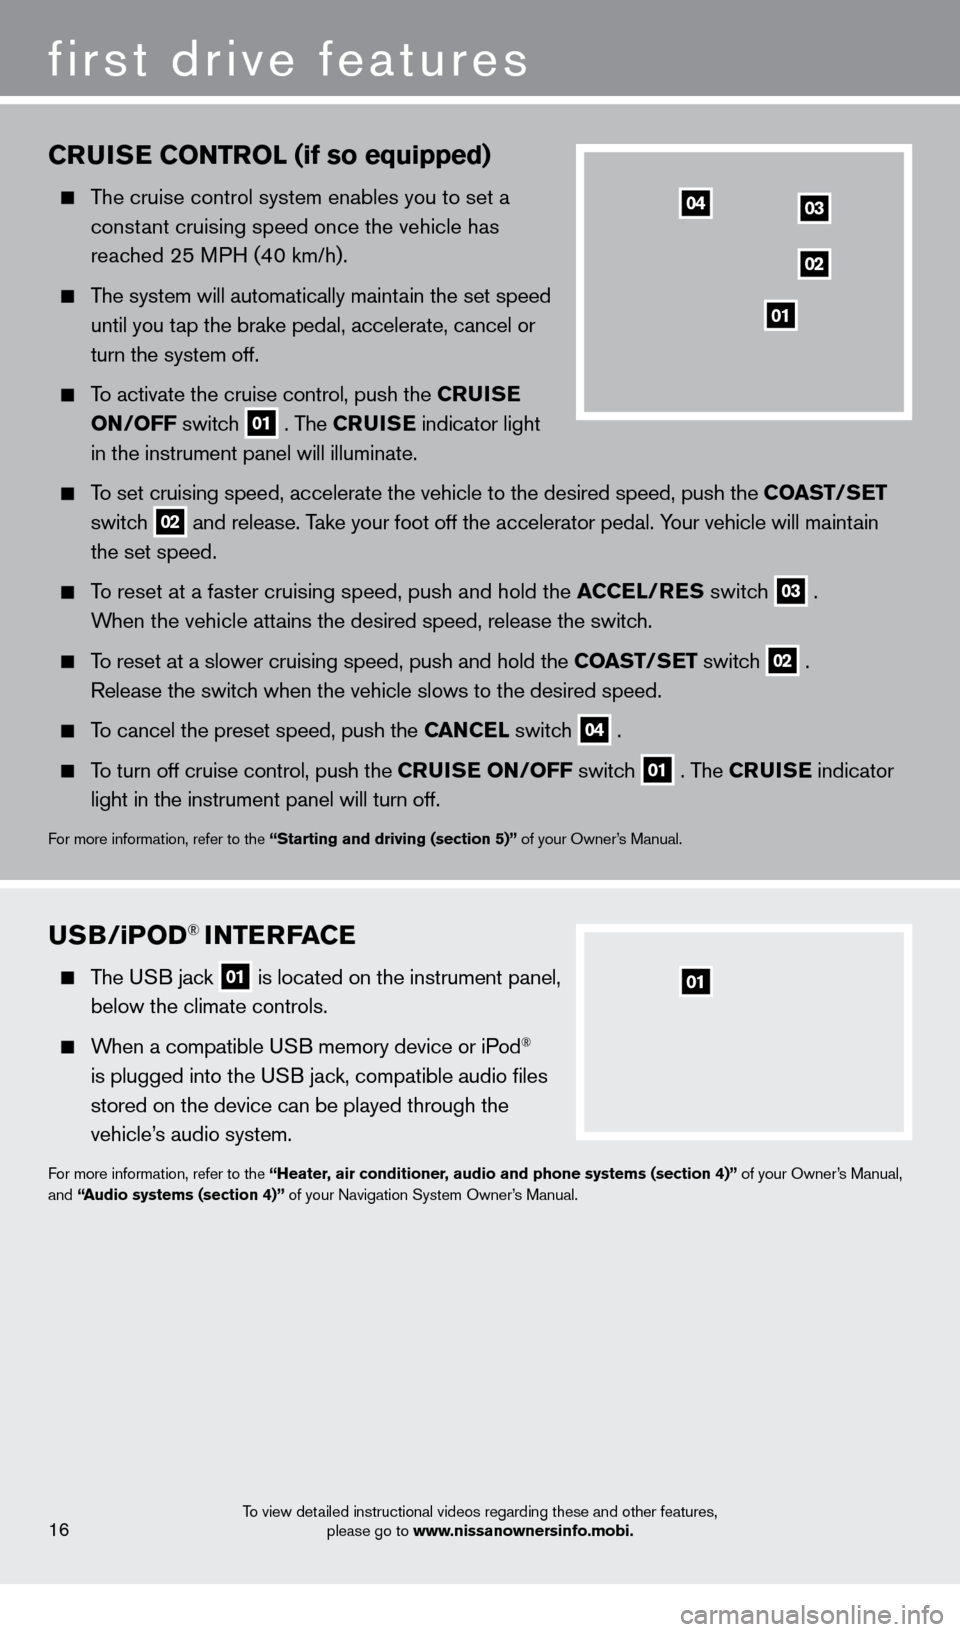
To activate the cruise control, push the Cru IS e
ON
/OFF switch
01 . The Cru IS e indicator light
in the instrument panel will illuminate .
To set cruising speed, accelerate the vehicle to the desired speed, push \
the COa ST/Se T
switc
h
02 and release . Take your foot off the accelerator pedal . Your vehicle will maintain
the set speed .
To reset at a faster cruising speed, push and hold the aC Ce L/ re S switch
03 .
When the vehicle attains the desired speed, release the switch
.
To reset at a slower cruising speed, push and hold the COa ST/Se T switch
02 .
Release the switch when the vehicle slows to the desired speed
.
To cancel the preset speed, push the Ca NC eL switch
04 .
To turn off cruise control, push the C ruI Se ON/OFF switch
01 . The Cru IS e indicator
light in the instrument panel will turn off
.
For more information, refer to the “Starting and driving (section 5)” of your Owner’s Manual .
first drive features
To view detailed instructional videos regarding these and other features,
please go to www.nissanownersinfo.mobi.16
03
02
01
04
uSB/iPOD® INTerFaC e
The USB jack
01 is located on the instrument panel,
below the climate controls.
When a compatible USB memory device or iPod®
is plugged into the USB jack, compatible audio files
stored on the device can be played through the
vehicle’s audio system
.
For more information, refer to the “Heater, air conditioner, audio and phone systems (section 4)” of your Owner’s Manual,
and “audio systems (section 4)” of your Navigation System Owner’s Manual .
01
1275820_13_Leaf_QRG_Text-Insert_121912.indd 1612/19/12 10:11 AM
Page 22 of 28
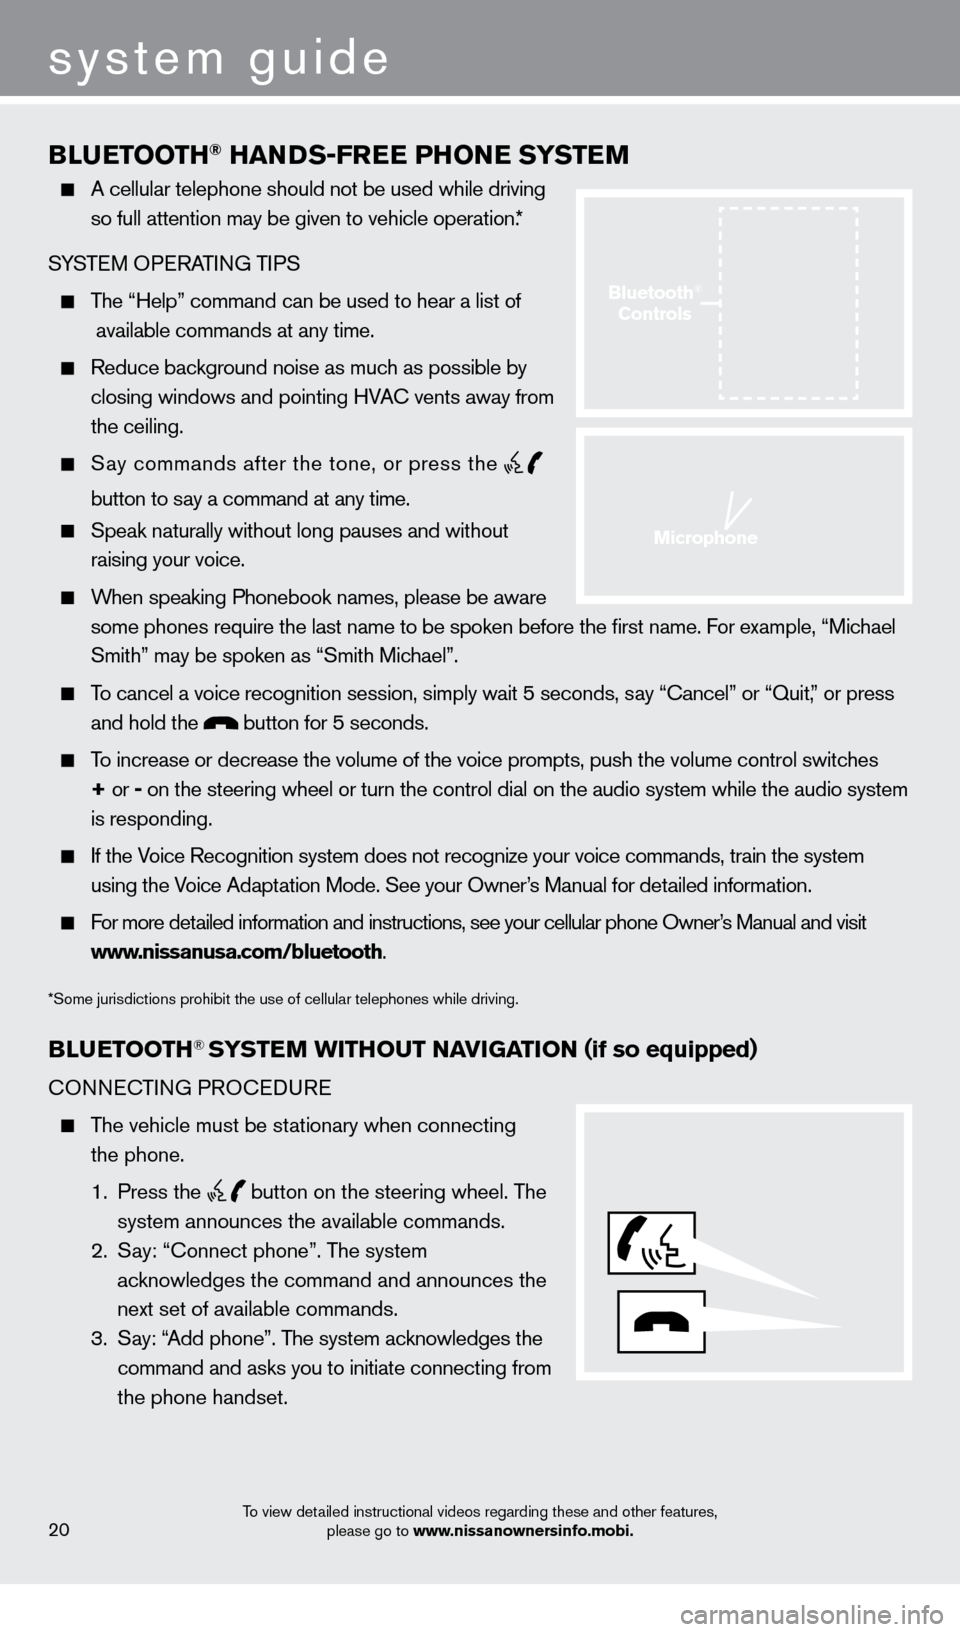
BLueTOOTH® HaNDS-Free PHONe SYST eM
A cellular telephone should not be used while driving
so full attention may be given to vehicle operation. *
SYSTEM OPERATING TIPS
The “Help” command can be used to hear a list of
available commands at any time.
Reduce bac kground noise as much as possible by
closing windows and pointing HVAC vents away from
the ceiling
.
Say commands after the tone, or press the
button to say a command at any time.
Speak naturally without long pauses and without
raising your voice .
When speaking Phonebook names, please be aware some phones require the last name to be spoken before the first name. For example, “Michael
Smith” may be spoken as “Smith Michael”.
To cancel a voice recognition session, simply wait 5 seconds, say “Cancel” or “Quit,” or press and hold the
button for 5 seconds.
To increase or decrease the volume of the voice prompts, push the volume \
control switches
+ or -
on the steering wheel or turn the control dial on the audio system while\
the audio system
is responding
.
If the Voice Recognition system does not recognize your voice commands, train the system using the Voice Adaptation Mode . See your Owner’s Manual for detailed information .
For more detailed information and instructions, see your cellular phone Owner’s Manual and visit www.nissanusa.com/bluetooth .
*Some jurisdictions prohibit the use of cellular telephones while driving.
BLue TOOTH® SYSTeM w ITHO u T NaVI G aTI ON (if so equipped)
CONNECTING PROCEDURE
The vehicle must be stationary when connecting
the phone .
1
. Press the
button on the steering wheel. The
system announces the available commands.
2
.
S
ay: “Connect phone” . The system
acknowledges the command and announces the
next set of available commands.
3
.
S
ay: “Add phone” . The system acknowledges the
command and asks you to initiate connecting from
the phone handset
.
system guide
To view detailed instructional videos regarding these and other features, please go to www.nissanownersinfo.mobi.20
Bluetooth®
Controls
Microphone
1275820_13_Leaf_QRG_Text-Insert_121912.indd 2012/19/12 10:11 AM
Page 23 of 28
To view detailed instructional videos regarding these and other features, please go to www.nissanownersinfo.mobi.21
4 . Initiate connecting from the phone:
•
T
he connecting procedure varies according to each cellular phone model . For detailed
connecting instructions and compatible phones, please visit www.nissanusa.com/bluetooth
.
•
W
hen prompted for a PIN code, enter “1234” from the handset . (The PIN code is
assigned by NISSAN and cannot be changed.)
5
.
S
ay a name for the phone when the system asks you to provide one . You can give the
phone a name of your choice
.
PHON
EBOOK SETUP
The phonebook stores up to 1,000 names for each phone paired with the system.
Depending on your cell phone, the system may automatically download your\
cell phone’ s
entire phonebook to the vehicle’
s Bluetooth® system .
If the phonebook does not download automatically , entries can be individually downloaded.
To manually download entries:
1
.
Push the
button on the steering wheel.
2.
After the tone, s ay “Phonebook”.
3
.
After the next tone, s
ay “Transfer Entry” . The system acknowledges the command and
asks you to initiate the transfer from the phone handset. The new contact phone number
will be transferred from the cellular phone to the vehicle.
•
T
he transfer procedure varies according to each cellular phone. See your cellular phone’s
owner’s manual for details
. You can also visit www.nissanusa.com/bluetooth for
instructions on transferring phone numbers from NISSAN recommended cellular phones.
4.
T
he system repeats the number and prompts you for the next command. When you have
finished entering numbers or transferring an entry
, choose “Store.”
5.
T
he system confirms the name, location and number.
MAKING A CALL FROM THE PHONEBOOK
In some cases, names stored using all U PPERCASE letters may not be recognized by
the voice recognition system
.
1
.
Press the
button.
2
. After waiting for the tone, s ay “Call” .
3.
After the next tone, speak a name of a phonebook entry
. For example “Michael Smith”.
4.
Once you have confirmed the name and location the system begins
the call.
MAKING A CALL BY PHONE NUMBER
1
.
Press the
button. A tone will sound. 2
. S
ay: “Call”
.
The system acknowledges the command and announces the next set of
available commands.
3.
S
ay: “Phone Number”. The system acknowledges the command and announces the next
set of available commands.
4.
S
ay the number you wish to call starting with the area code in single digit format.
5.
W
hen you have finished speaking the phone number, the system repeats it back and
announces the available commands.
6
.
S
ay: “Dial”
.
The system acknowledges the command and makes the call .
1275820_13_Leaf_QRG_Text-Insert_121912.indd 2112/19/12 10:11 AM
Page 24 of 28
system guide
To view detailed instructional videos regarding these and other features, please go to www.nissanownersinfo.mobi.22
RECEIVING/ENDING A CALL
When you receive a phone call, a ring tone sounds through the audio syste\
m .
To accept the call, press the button.
To reject the call, press the button.
To hang up the phone at the end of a call or to disconnect during call pl\
acement,
press the
button.
For more information, refer to the “Heater, air conditioner, audio and phone systems (section 4)” of your Owner’s Manual or
please visit www.nissanusa.com/bluetooth.
1275820_13_Leaf_QRG_Text-Insert_121912.indd 2212/19/12 10:11 AM
Page 25 of 28
BLueTOOTH® SYSTeM
w
ITH N
a
VI
G
a
TI
ON (if so equipped)
Bluetooth® Streaming Audio allows you to use a
compatible Bluetooth® phone to play audio files on
your device. Your compatible cellular phone can be
connected to the vehicle’s audio system allowing
audio files to play through the vehicle’s speakers
.
P
AIRING PROCEDURE
Make sure the vehicle is st ationary when pairing the phone .
1 .
Press the
button 01 , and select the
“Pair Phone” key .
2
.
Initiate pairing from the phone
.
•
T
he pairing procedure varies according to each
cellular phone model
. For detailed pairing
instructions and a list of compatible phones,
please visit www.nissanusa.com/bluetooth
.
•
W
hen prompted for a PIN code, enter “1234”
from the handset
.
(The PIN code is assigned
by NISSAN and cannot be changed.)
3
.
W
hen the pairing is complete, the screen will
return to the Phone menu display
.
MAK
ING A CALL
To make a call, follow this procedure:
1 .
Press the
button 01 on the steering wheel . The
“PHONE” menu will appear on the control panel display .
2.
Select the “Handset Phonebook”, “V
ehicle Phonebook”,
“Call History” or “Dial Number” key.
3 .
Select the desired entry from the list
.
4
.
Select “Call” to st
art dialing the number.
RECEIVING/ENDING A CALL
To accept the call, press the button on the steering
wheel or touch the “Answer” key
.
To reject the call, touch the “Reject Call” key .
To hang-up, press the button or touch the
“Hang-Up” key
.
*Some jurisdictions prohibit the use of cellular telephones while driving.
For more information, refer to the “Bluetooth Hands-free Phone System
(section 7)” of your Navigation System Owner’s Manual or please visit www
.niss
anusa.com/bluetooth.
To view detailed instructional videos regarding these and other features, please go to www.nissanownersinfo.mobi.23
01
1275820_13_Leaf_QRG_Text-Insert_121912.indd 2312/19/12 10:11 AM