Page 17 of 28

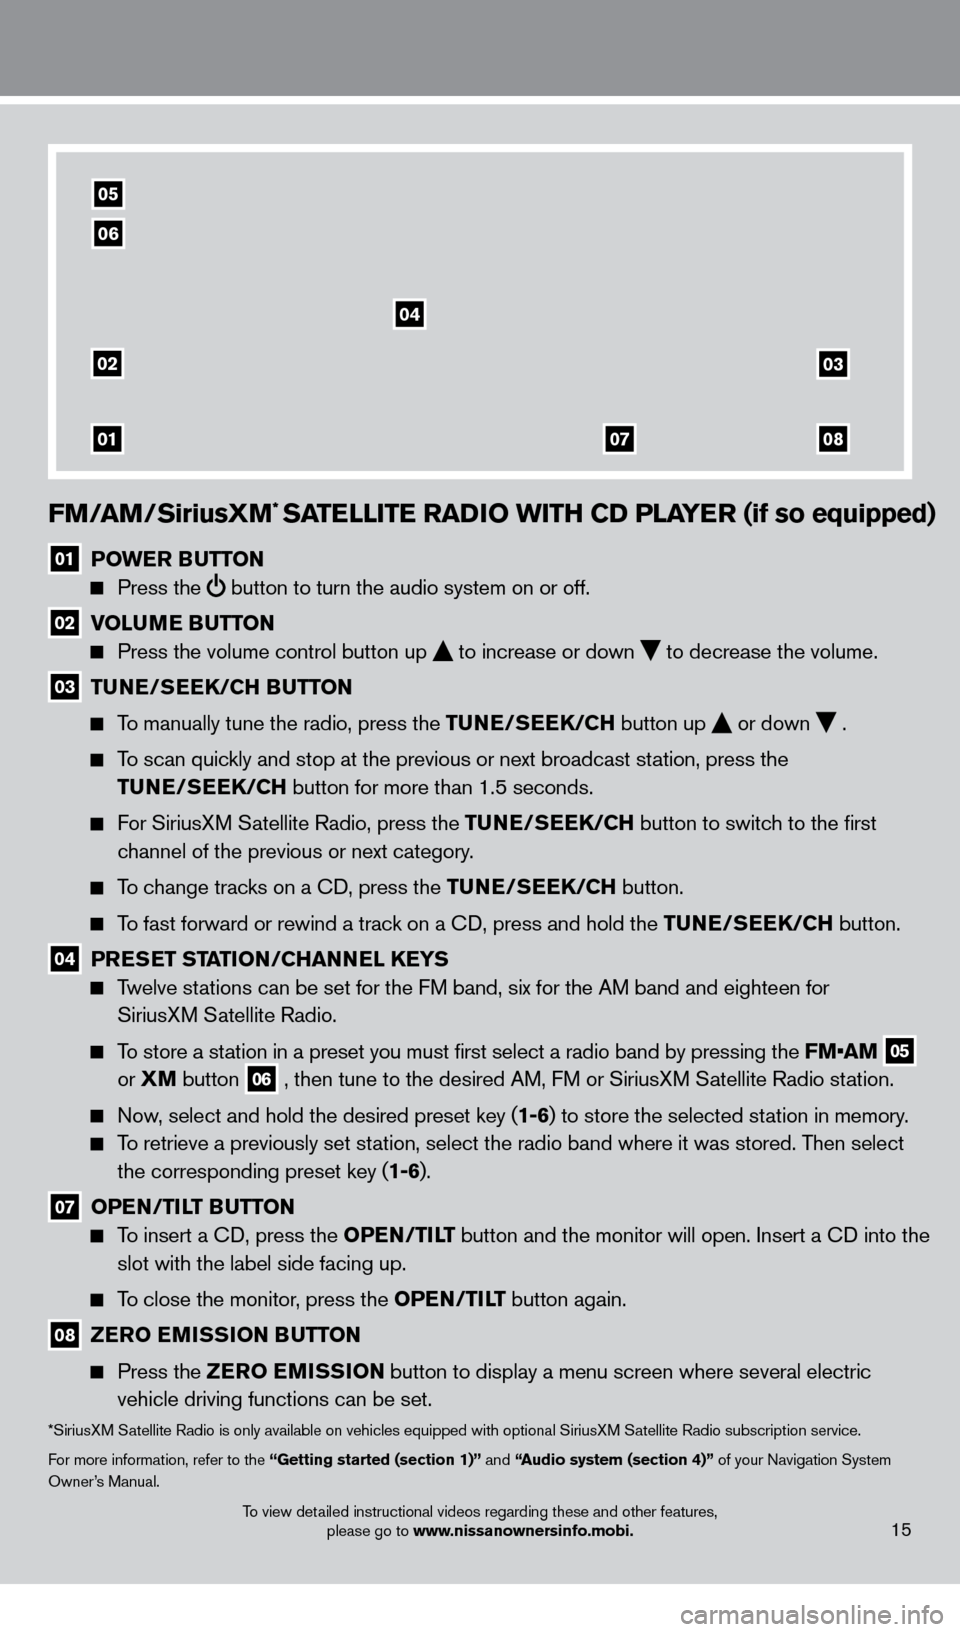
FM/aM/SiriusXM* SaTeLLIT e ra DIO w ITH CD PL aY er (if so equipped)
01 POwe r Bu TTON
Press the
button to turn the audio system on or off.
02 V OL uMe Bu TTON
Press the volume control button up
to increase or down
to decrease the volume .
03 TuNe/ Se eK/CH Bu TTON
To manually tune the radio, press the Tu
N e /S ee K/CH button up
or down
.
To scan quickly and stop at the previous or next broadcast station, press the
T
u
N e /S ee K/CH button for more than 1.5 seconds.
For SiriusXM Satellite Radio, press the Tu N e /S ee K/CH button to switch to the first
channel of the previous or next category
.
To change tracks on a CD, press the Tu N e /S ee K/CH button.
To fast forward or rewind a track on a CD, press and hold the Tu N e /S ee K/CH button.
04 PreSe T STaTI ON/CH a NNeL Ke YS
Twelve stations can be set for the FM band, six for the AM band and eighteen for
SiriusXM Satellite Radio .
To store a station in a preset you must first select a radio band by pressing the FM•AM 05
or XM
button
06 , then tune to the desired AM, FM or SiriusXM Satellite Radio station .
Now, select and hold the desired preset key (1-6) to store the selected station in memory .
To retrieve a previously set station, select the radio band where it was stored. Then select the corresponding preset key (1-6) .
07 OPeN /TILT Bu TTON
To insert a CD, press the OP eN /TILT button and the monitor will open. Insert a CD into the
slot with the label side facing up.
To close the monitor, press the OP eN /TILT button again.
08 ZerO e MISSION B uT TON
Press the
Z erO e MISSION button to display a menu screen where several electric
vehicle driving functions can be set.
*SiriusXM Satellite Radio is only available on vehicles equipped with optional SiriusXM Satellite Radio subscription service.
For more information, refer to the “Getting started (section 1)” and “
audio system (section 4)”
of your Navigation System
Owner’s Manual
.
02
01
03
0807
04
05
06
15To view detailed instructional videos regarding these and other features, please go to www.nissanownersinfo.mobi.
1275820_13_Leaf_QRG_Text-Insert_121912.indd 1512/19/12 10:11 AM
Page 21 of 28

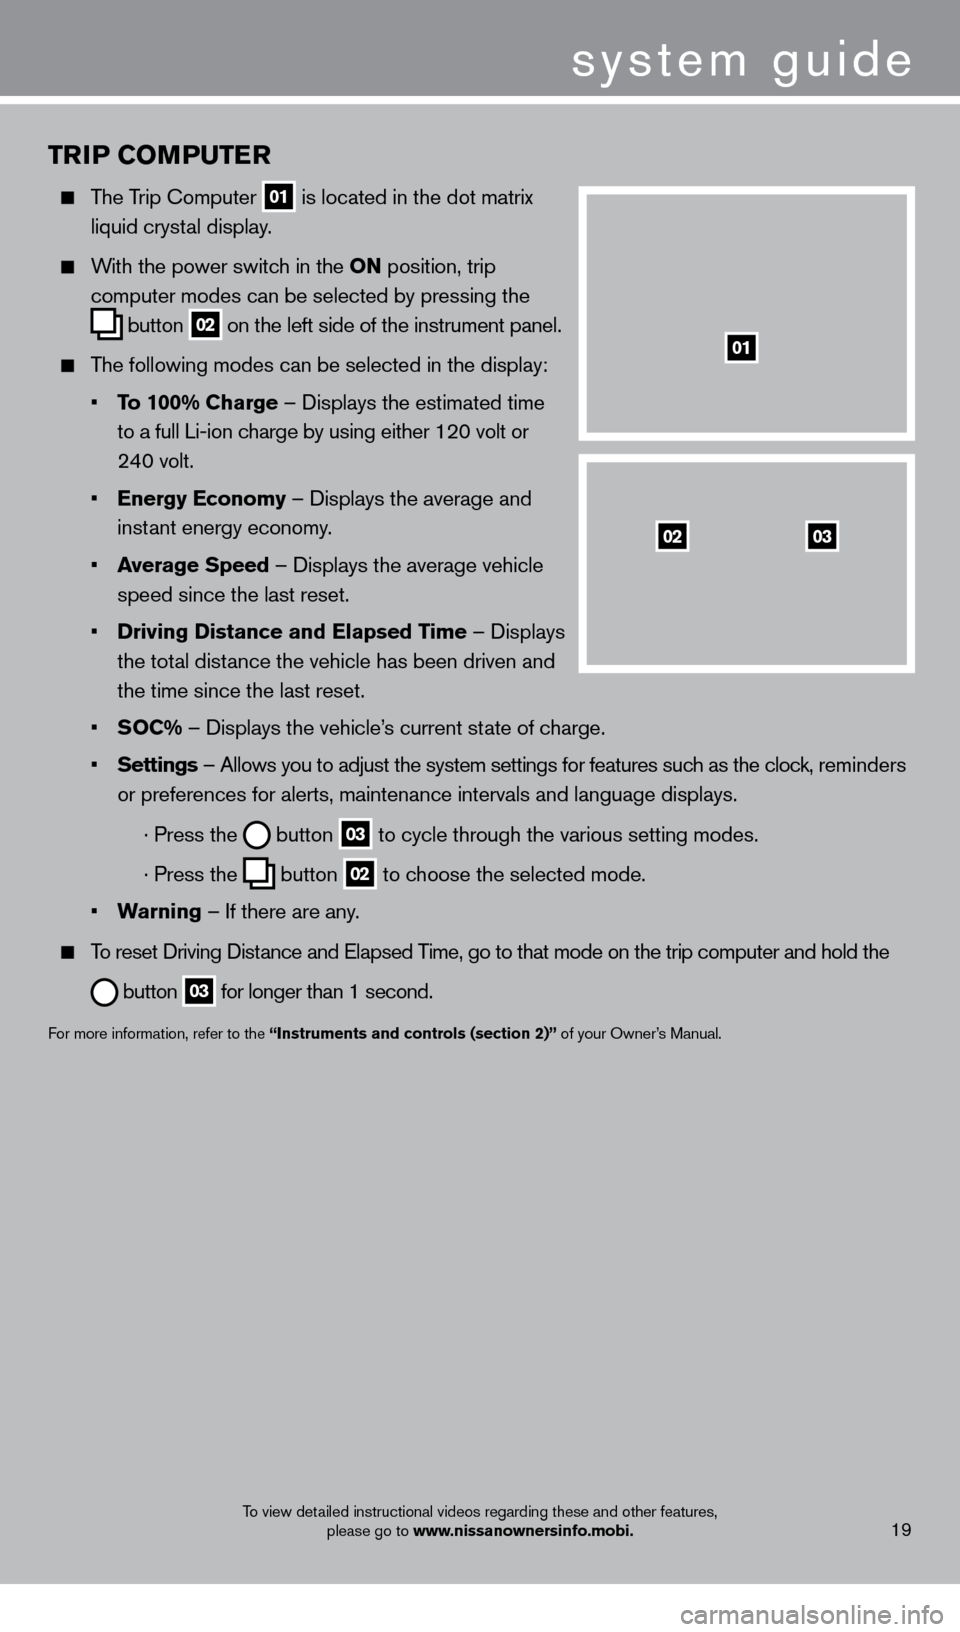
TrIP COMPu T er
The Trip Computer
01 is located in the dot matrix
liquid cryst
al display .
With the power switch in the ON position, trip
computer modes can be selected by pressing the
button
02 on the left side of the instrument panel .
The following modes can be selected in the display:
•
T
o 100% Charge – Displays the estimated time
to a full Li-ion c
harge by using either 120 volt or
24
0 volt .
•
e
nergy e conomy – Displays the average and
inst
ant energy economy
.
•
a
verage Speed
– Displays the average vehicle
speed since the last reset
.
•
Driving Distance and
e lapsed Time – Displays
the tot
al distance the vehicle has been driven and
the time since the last reset
.
•
S
OC% – Displays the vehicle’s current state of charge .
•
Settings
– Allows you to adjust the system settings for features such as the clock, reminders
or preferences for alerts, maintenance intervals and language displays
.
· Press the button
03 to cycle through the various setting modes .
· Press the button
02 to choose the selected mode .
•
w
arning
– If there are any
.
To reset Driving Distance and Elapsed Time, go to that mode on the trip computer and hold the
button 03 for longer than 1 second .
For more information, refer to the “Instruments and controls (section 2)” of your Owner’s Manual .
0302
01
system guide
To view detailed instructional videos regarding these and other features,
please go to www.nissanownersinfo.mobi.19
1275820_13_Leaf_QRG_Text-Insert_121912.indd 1912/19/12 10:11 AM
Page 25 of 28

BLueTOOTH® SYSTeM
w
ITH N
a
VI
G
a
TI
ON (if so equipped)
Bluetooth® Streaming Audio allows you to use a
compatible Bluetooth® phone to play audio files on
your device. Your compatible cellular phone can be
connected to the vehicle’s audio system allowing
audio files to play through the vehicle’s speakers
.
P
AIRING PROCEDURE
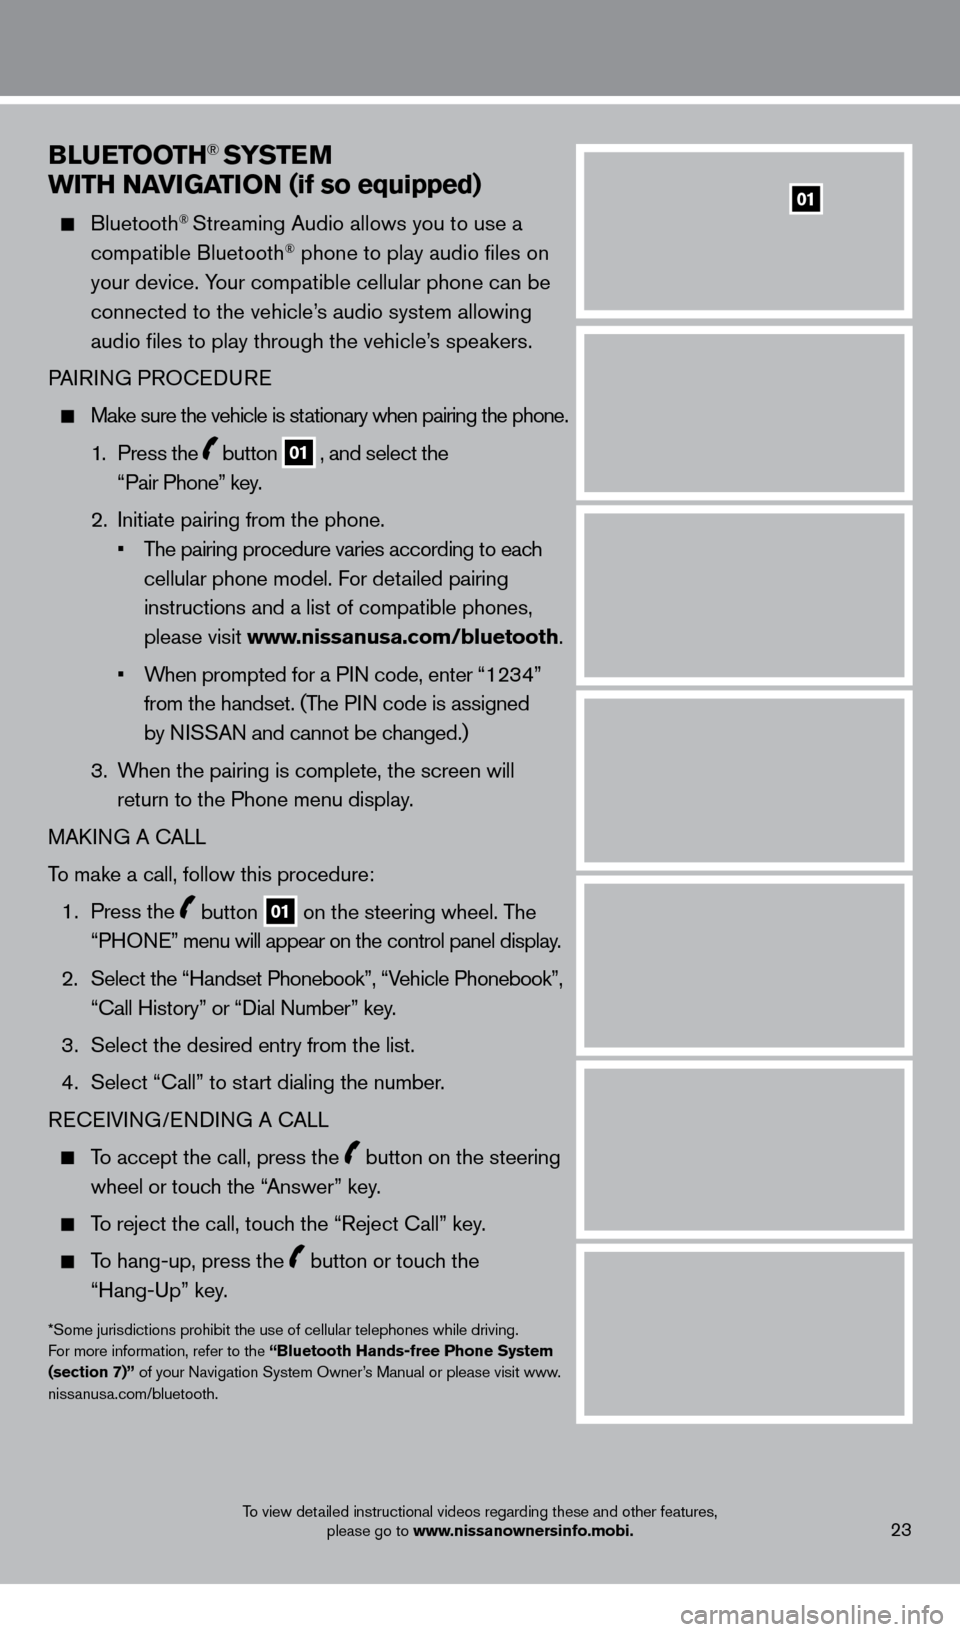
Make sure the vehicle is st ationary when pairing the phone .
1 .
Press the
button 01 , and select the
“Pair Phone” key .
2
.
Initiate pairing from the phone
.
•
T
he pairing procedure varies according to each
cellular phone model
. For detailed pairing
instructions and a list of compatible phones,
please visit www.nissanusa.com/bluetooth
.
•
W
hen prompted for a PIN code, enter “1234”
from the handset
.
(The PIN code is assigned
by NISSAN and cannot be changed.)
3
.
W
hen the pairing is complete, the screen will
return to the Phone menu display
.
MAK
ING A CALL
To make a call, follow this procedure:
1 .
Press the
button 01 on the steering wheel . The
“PHONE” menu will appear on the control panel display .
2.
Select the “Handset Phonebook”, “V
ehicle Phonebook”,
“Call History” or “Dial Number” key.
3 .
Select the desired entry from the list
.
4
.
Select “Call” to st
art dialing the number.
RECEIVING/ENDING A CALL
To accept the call, press the button on the steering
wheel or touch the “Answer” key
.
To reject the call, touch the “Reject Call” key .
To hang-up, press the button or touch the
“Hang-Up” key
.
*Some jurisdictions prohibit the use of cellular telephones while driving.
For more information, refer to the “Bluetooth Hands-free Phone System
(section 7)” of your Navigation System Owner’s Manual or please visit www
.niss
anusa.com/bluetooth.
To view detailed instructional videos regarding these and other features, please go to www.nissanownersinfo.mobi.23
01
1275820_13_Leaf_QRG_Text-Insert_121912.indd 2312/19/12 10:11 AM
Page 26 of 28

system guide
To view detailed instructional videos regarding these and other features, please go to www.nissanownersinfo.mobi.24
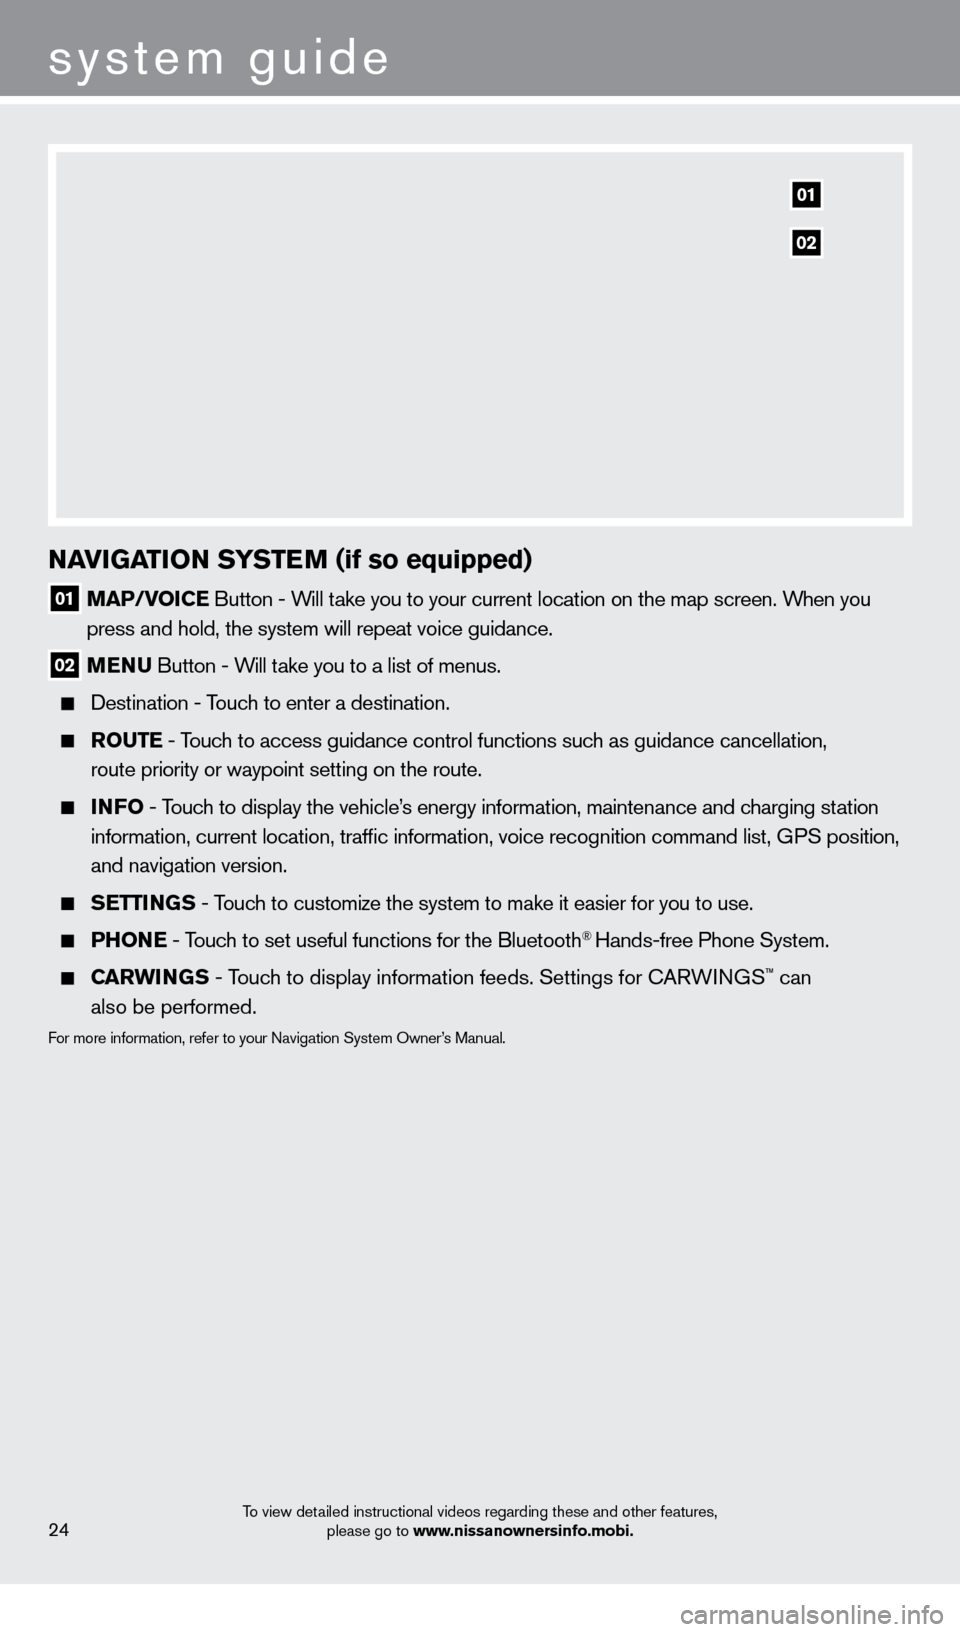
NaVIGaTION SYST eM (if so equipped)
01 Ma P/VOIC e Button - Will take you to your current location on the map screen . When you
press and hold, the system will repeat voice guidance .
02 M e N u Button - W ill take you to a list of menus .
Destination - T ouch to enter a destination .
rO u T e - Touch to access guidance control functions such as guidance cancellation,
route priority or waypoint setting on the route .
INFO - Touch to display the vehicle’s energy information, maintenance and charging station
information, current location, traffic information, voice recognition \
command list, GPS position,
and navigation version
.
Se TTINGS - Touch to customize the system to make it easier for you to use.
PHONe - Touch to set useful functions for the Bluetooth® Hands-free Phone System .
Carw INGS - Touch to display information feeds . Settings for CARWINGS™ can
also be performed.
For more information, refer to your Navigation System Owner’s Manual .
01
02
1275820_13_Leaf_QRG_Text-Insert_121912.indd 2412/19/12 10:11 AM