2013 NISSAN FRONTIER service
[x] Cancel search: servicePage 233 of 444
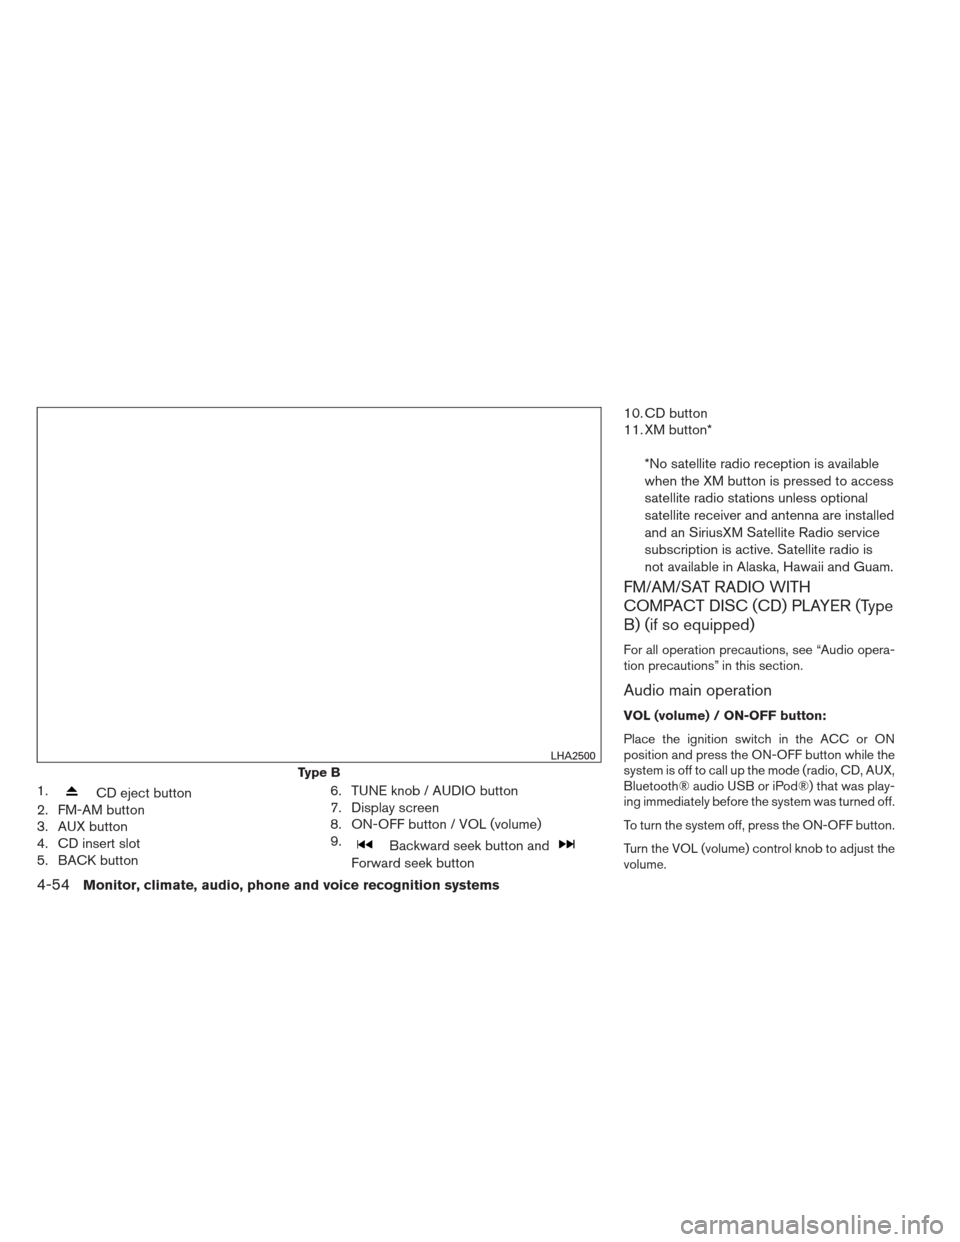
1.CD eject button
2. FM-AM button
3. AUX button
4. CD insert slot
5. BACK button 6. TUNE knob / AUDIO button
7. Display screen
8. ON-OFF button / VOL (volume)
9.
Backward seek button and
Forward seek button10. CD button
11. XM button*
*No satellite radio reception is available
when the XM button is pressed to access
satellite radio stations unless optional
satellite receiver and antenna are installed
and an SiriusXM Satellite Radio service
subscription is active. Satellite radio is
not available in Alaska, Hawaii and Guam.
FM/AM/SAT RADIO WITH
COMPACT DISC (CD) PLAYER (Type
B) (if so equipped)
For all operation precautions, see “Audio opera-
tion precautions” in this section.
Audio main operation
VOL (volume) / ON-OFF button:
Place the ignition switch in the ACC or ON
position and press the ON-OFF button while the
system is off to call up the mode (radio, CD, AUX,
Bluetooth® audio USB or iPod®) that was play-
ing immediately before the system was turned off.
To turn the system off, press the ON-OFF button.
Turn the VOL (volume) control knob to adjust the
volume.
Type B
LHA2500
4-54Monitor, climate, audio, phone and voice recognition systems
Page 235 of 444
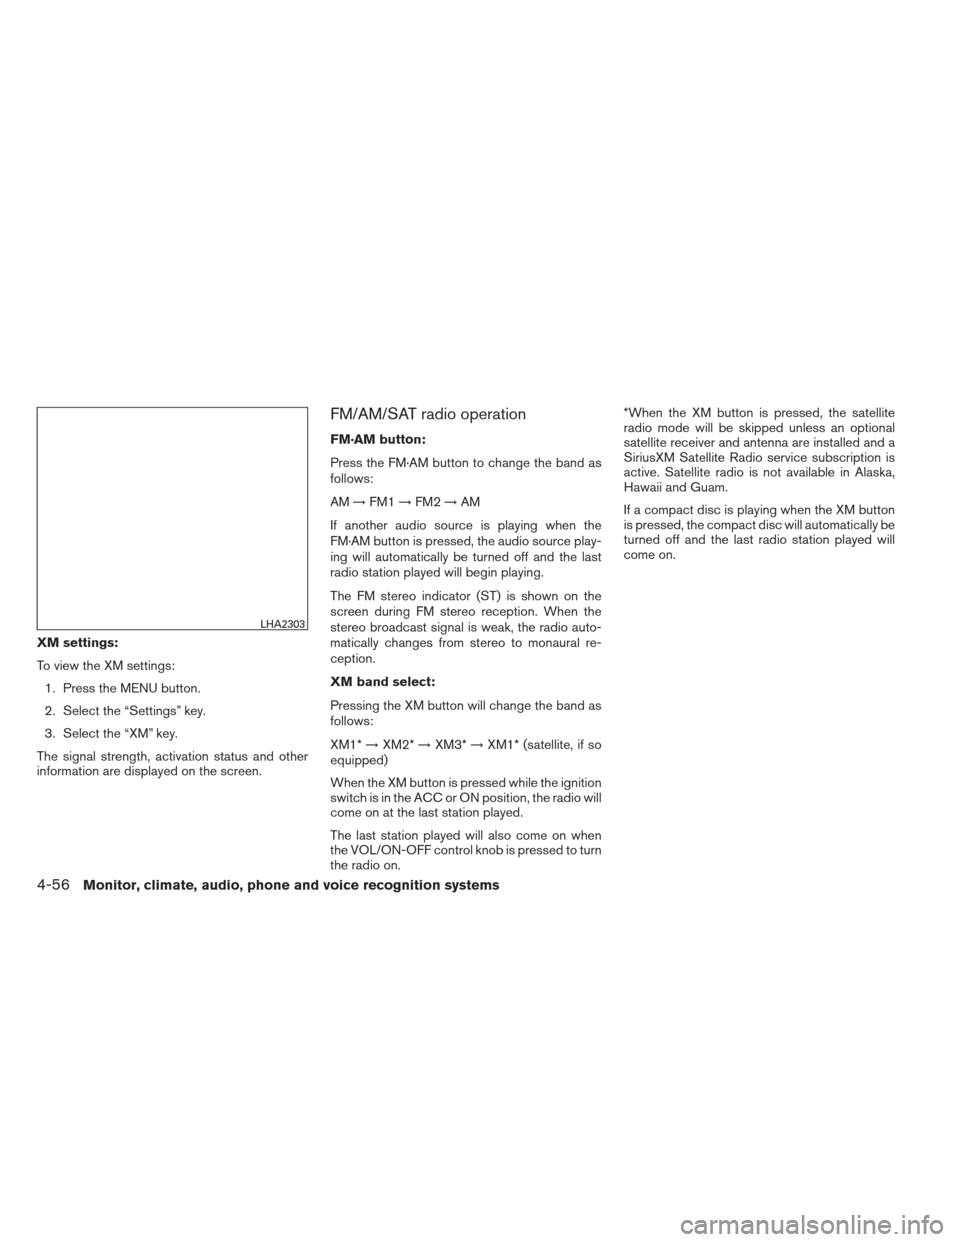
XM settings:
To view the XM settings:1. Press the MENU button.
2. Select the “Settings” key.
3. Select the “XM” key.
The signal strength, activation status and other
information are displayed on the screen.
FM/AM/SAT radio operation
FM·AM button:
Press the FM·AM button to change the band as
follows:
AM →FM1 →FM2 →AM
If another audio source is playing when the
FM·AM button is pressed, the audio source play-
ing will automatically be turned off and the last
radio station played will begin playing.
The FM stereo indicator (ST) is shown on the
screen during FM stereo reception. When the
stereo broadcast signal is weak, the radio auto-
matically changes from stereo to monaural re-
ception.
XM band select:
Pressing the XM button will change the band as
follows:
XM1* →XM2* →XM3* →XM1* (satellite, if so
equipped)
When the XM button is pressed while the ignition
switch is in the ACC or ON position, the radio will
come on at the last station played.
The last station played will also come on when
the VOL/ON-OFF control knob is pressed to turn
the radio on. *When the XM button is pressed, the satellite
radio mode will be skipped unless an optional
satellite receiver and antenna are installed and a
SiriusXM Satellite Radio service subscription is
active. Satellite radio is not available in Alaska,
Hawaii and Guam.
If a compact disc is playing when the XM button
is pressed, the compact disc will automatically be
turned off and the last radio station played will
come on.
LHA2303
4-56Monitor, climate, audio, phone and voice recognition systems
Page 251 of 444
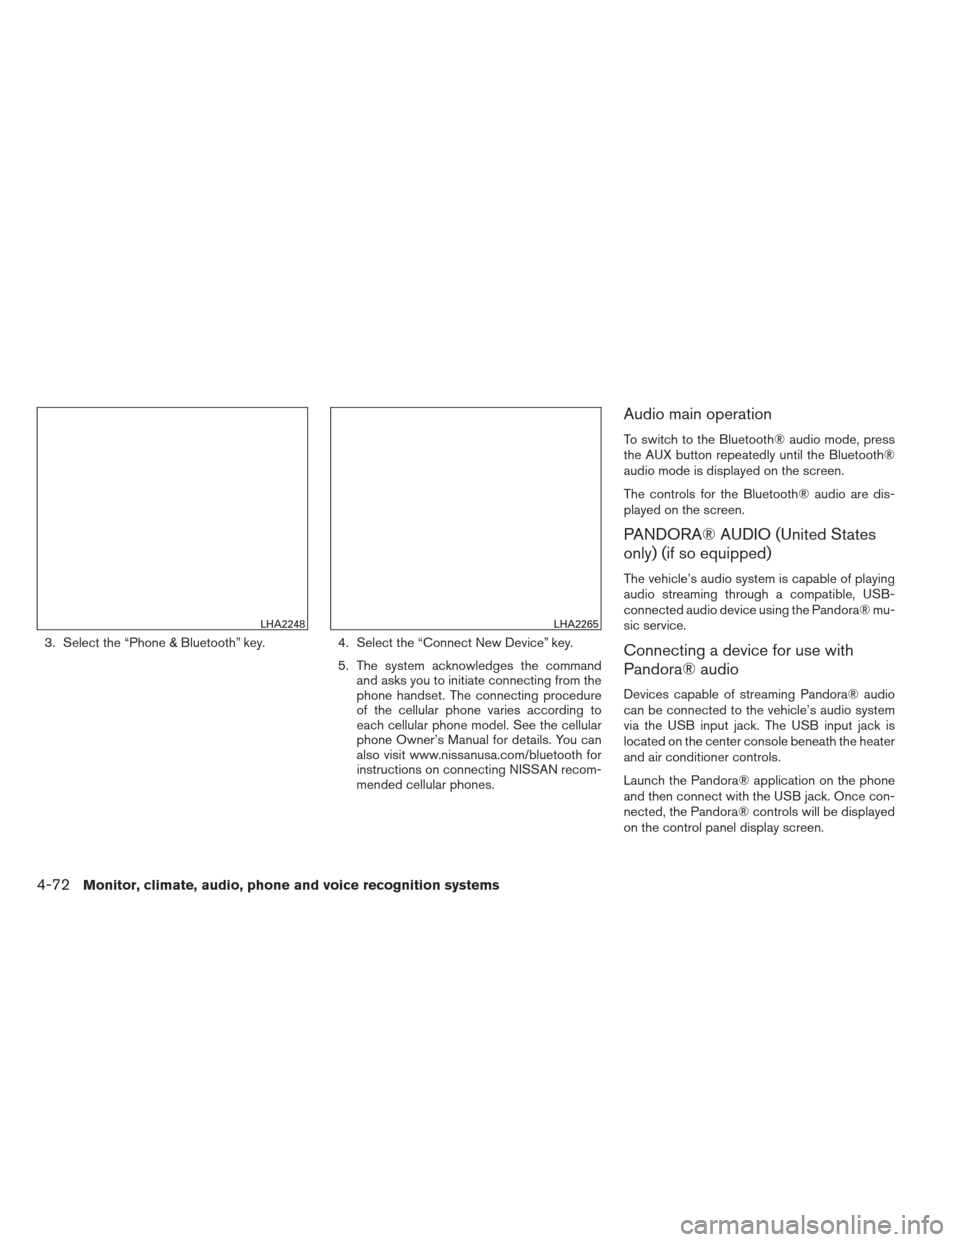
3. Select the “Phone & Bluetooth” key.4. Select the “Connect New Device” key.
5. The system acknowledges the command and asks you to initiate connecting from the
phone handset. The connecting procedure
of the cellular phone varies according to
each cellular phone model. See the cellular
phone Owner’s Manual for details. You can
also visit www.nissanusa.com/bluetooth for
instructions on connecting NISSAN recom-
mended cellular phones.
Audio main operation
To switch to the Bluetooth® audio mode, press
the AUX button repeatedly until the Bluetooth®
audio mode is displayed on the screen.
The controls for the Bluetooth® audio are dis-
played on the screen.
PANDORA® AUDIO (United States
only) (if so equipped)
The vehicle’s audio system is capable of playing
audio streaming through a compatible, USB-
connected audio device using the Pandora® mu-
sic service.
Connecting a device for use with
Pandora® audio
Devices capable of streaming Pandora® audio
can be connected to the vehicle’s audio system
via the USB input jack. The USB input jack is
located on the center console beneath the heater
and air conditioner controls.
Launch the Pandora® application on the phone
and then connect with the USB jack. Once con-
nected, the Pandora® controls will be displayed
on the control panel display screen.
LHA2248LHA2265
4-72Monitor, climate, audio, phone and voice recognition systems
Page 279 of 444
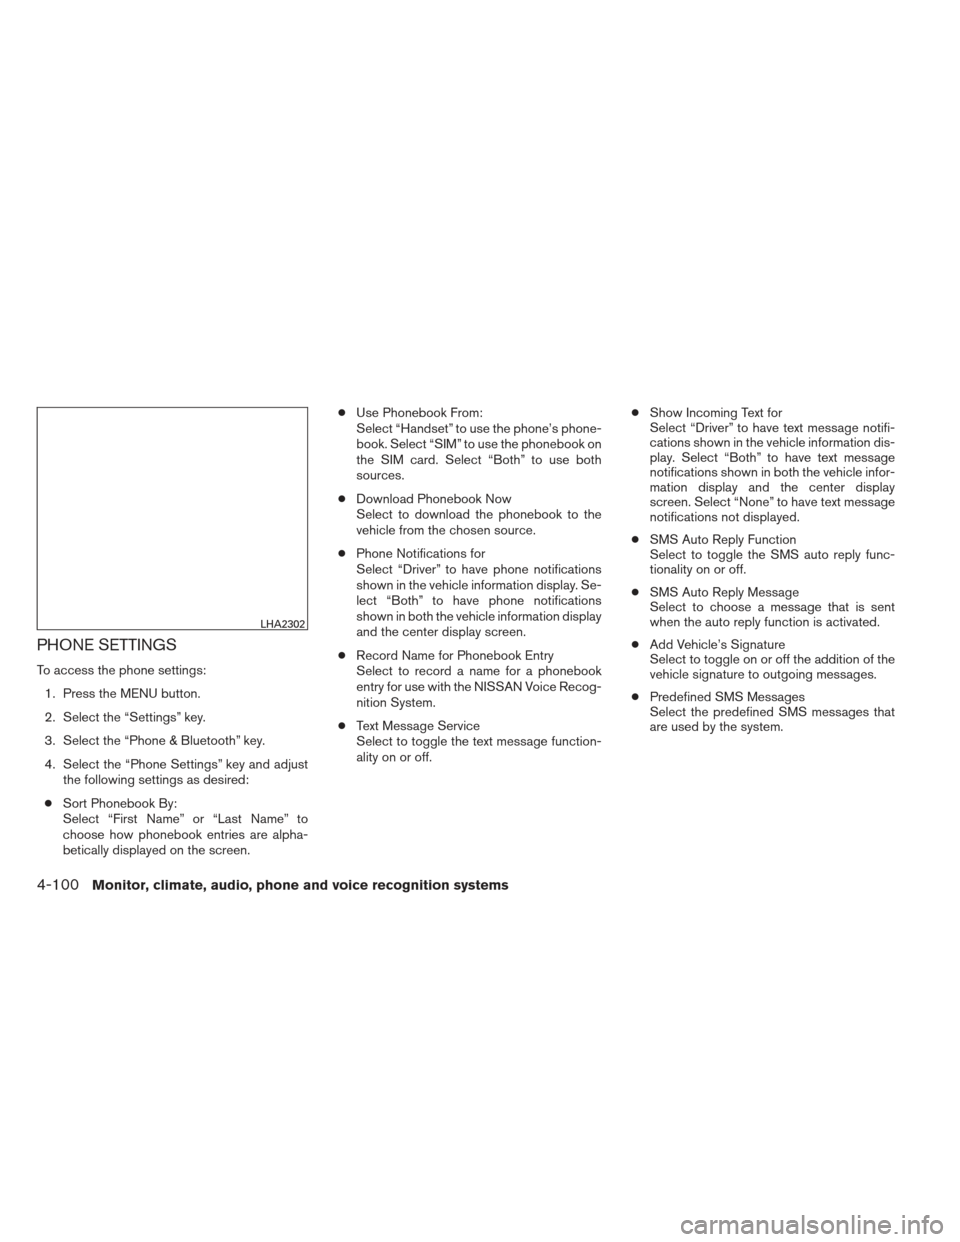
PHONE SETTINGS
To access the phone settings:1. Press the MENU button.
2. Select the “Settings” key.
3. Select the “Phone & Bluetooth” key.
4. Select the “Phone Settings” key and adjust the following settings as desired:
● Sort Phonebook By:
Select “First Name” or “Last Name” to
choose how phonebook entries are alpha-
betically displayed on the screen. ●
Use Phonebook From:
Select “Handset” to use the phone’s phone-
book. Select “SIM” to use the phonebook on
the SIM card. Select “Both” to use both
sources.
● Download Phonebook Now
Select to download the phonebook to the
vehicle from the chosen source.
● Phone Notifications for
Select “Driver” to have phone notifications
shown in the vehicle information display. Se-
lect “Both” to have phone notifications
shown in both the vehicle information display
and the center display screen.
● Record Name for Phonebook Entry
Select to record a name for a phonebook
entry for use with the NISSAN Voice Recog-
nition System.
● Text Message Service
Select to toggle the text message function-
ality on or off. ●
Show Incoming Text for
Select “Driver” to have text message notifi-
cations shown in the vehicle information dis-
play. Select “Both” to have text message
notifications shown in both the vehicle infor-
mation display and the center display
screen. Select “None” to have text message
notifications not displayed.
● SMS Auto Reply Function
Select to toggle the SMS auto reply func-
tionality on or off.
● SMS Auto Reply Message
Select to choose a message that is sent
when the auto reply function is activated.
● Add Vehicle’s Signature
Select to toggle on or off the addition of the
vehicle signature to outgoing messages.
● Predefined SMS Messages
Select the predefined SMS messages that
are used by the system.
LHA2302
4-100Monitor, climate, audio, phone and voice recognition systems
Page 289 of 444
WARNING
●Do not leave children or adults who
would normally require the assistance
of others alone in your vehicle. Pets
should also not be left alone. They
could accidentally injure themselves or
others through inadvertent operation of
the vehicle. Also, on hot, sunny days,
temperatures in a closed vehicle could
quickly become high enough to cause
severe or possibly fatal injuries to
people or animals.
● Properly secure all cargo with ropes or
straps to help prevent it from sliding or
shifting. Do not place cargo higher than
the seatbacks. In a sudden stop or col-
lision, unsecured cargo could cause
personal injury.
EXHAUST GAS (carbon monoxide)
WARNING
● Do not breathe exhaust gases; they
contain colorless and odorless carbon
monoxide. Carbon monoxide is danger-
ous. It can cause unconsciousness or
death. ●
If you suspect that exhaust fumes are
entering the vehicle, drive with all win-
dows fully open, and have the vehicle
inspected immediately.
● Do not run the engine in closed spaces
such as a garage.
● Do not park the vehicle with the engine
running for any extended length of time.
● Keep the rear vent windows, lift gates,
doors and trunk lids (if so equipped)
closed while driving, otherwise exhaust
gases could be drawn into the passen-
ger compartment. If you must drive with
one of these open, follow these
precautions:
1. Open all the windows.
2. Set the
air recirculation but-
ton to off and the fan control dial to
high to circulate the air.
● If electrical wiring or other cable con-
nections must pass to a trailer through
the seal on the lift gate or the body,
follow the manufacturer’s recommen-
dation to prevent carbon monoxide en-
try into the vehicle. ●
The exhaust system and body should be
inspected by a qualified mechanic
whenever:
a. The vehicle is raised for service.
b. You suspect that exhaust fumes are entering into the passenger
compartment.
c. You notice a change in the sound of the exhaust system.
d. You have had an accident involving damage to the exhaust system, un-
derbody, or rear of the vehicle.
● If a special body, camper, or other
equipment is added for recreational or
other usage, follow the manufacturer’s
recommendation to prevent carbon
monoxide entry into the vehicle. Do not
occupy these areas while the engine is
running even if the vehicle is parked.
Some recreational vehicle appliances
such as stoves, refrigerators, heaters,
etc. may also generate carbon
monoxide.
PRECAUTIONS WHEN STARTING
AND DRIVING
5-2Starting and driving
Page 294 of 444
5. If there is nothing in the way, steer the ve-hicle to follow the road while vehicle speed
is reduced. Do not attempt to drive the ve-
hicle back onto the road surface until vehicle
speed is reduced.
6. When it is safe to do so, gradually turn the steering wheel until both tires return to the
road surface. When all tires are on the road
surface, steer the vehicle to stay in the ap-
propriate driving lane.
● If you decide that it is not safe to return the
vehicle to the road surface based on vehicle,
road or traffic conditions, gradually slow the
vehicle to a stop in a safe place off the road.
RAPID AIR PRESSURE LOSS
Rapid air pressure loss or a “blow-out” can occur
if the tire is punctured or is damaged due to
hitting a curb or pothole. Rapid air pressure loss
can also be caused by driving on under-inflated
tires.
Rapid air pressure loss can affect the handling
and stability of the vehicle, especially at highway
speeds.
Help prevent rapid air pressure loss by maintain-
ing the correct air pressure and visually inspect
the tires for wear and damage. See “Wheels and
tires” in the “Maintenance and do-it-yourself”
section of this manual. If a tire rapidly loses air pressure or “blows-out” while driving, maintain
control of the vehicle by following the procedure
below. Please note that this procedure is only a
general guide. The vehicle must be driven as
appropriate based on the conditions of the ve-
hicle, road and traffic.
WARNING
The following actions can increase the
chance of losing control of the vehicle if
there is a sudden loss of tire air pressure.
Losing control of the vehicle may cause a
collision and result in personal injury.
●
The vehicle generally moves or pulls in
the direction of the flat tire.
● Do not rapidly apply the brakes.
● Do not rapidly release the accelerator
pedal.
● Do not rapidly turn the steering wheel.
1. Remain calm and do not over react.
2. Maintain a firm grip on the steering wheel with both hands and try to hold a straight
course. 3. When appropriate, slowly release the accel-
erator pedal to gradually slow the vehicle.
4. Gradually steer the vehicle to a safe location off the road and away from traffic if possible.
5. Lightly apply the brake pedal to gradually stop the vehicle.
6. Turn on the hazard warning flashers and either contact a roadside emergency service
to change the tire or see “Changing a flat
tire” in the “In case of emergency” section of
this manual.
DRINKING ALCOHOL/DRUGS AND
DRIVING
WARNING
Never drive under the influence of alcohol
or drugs. Alcohol in the bloodstream re-
duces coordination, delays reaction time
and impairs judgement. Driving after
drinking alcohol increases the likelihood
of being involved in an accident injuring
yourself and others. Additionally, if you
are injured in an accident, alcohol can
increase the severity of the injury.
Starting and driving5-7
Page 296 of 444
●To avoid raising the center of gravity
excessively, do not exceed the rated
capacity of the roof rack (if so
equipped) and evenly distribute the
load. Secure heavy loads in the cargo
area as far forward and as low as pos-
sible. Do not equip the vehicle with tires
larger than specified in this manual.
This could cause your vehicle to roll
over.
● Do not grip the inside or spokes of the
steering wheel when driving off-road.
The steering wheel could move sud-
denly and injure your hands. Instead
drive with your fingers and thumbs on
the outside of the rim.
● Before operating the vehicle, ensure
that the driver and all passengers have
their seat belts fastened.
● Always drive with the floor mats in
place as the floor may become hot.
● Lower your speed when encountering
strong crosswinds. With a higher center
of gravity, your NISSAN is more af-
fected by strong side winds. Slower
speeds ensure better vehicle control. ●
Do not drive beyond the performance
capability of the tires, even with 4WD
engaged (if so equipped) .
● For 4WD equipped vehicles, do not at-
tempt to raise two wheels off the
ground and shift the transmission to
any drive or reverse position with the
engine running. Doing so may result in
drivetrain damage or unexpected ve-
hicle movement which could result in
serious vehicle damage or personal
injury.
● Do not attempt to test a 4WD equipped
vehicle on a 2-wheel dynamometer
(such as the dynamometers used by
some states for emissions testing) , or
similar equipment even if the other two
wheels are raised off the ground. Make
sure you inform test facility personnel
that your vehicle is equipped with 4WD
before it is placed on a dynamometer.
Using the wrong test equipment may
result in drivetrain damage or unex-
pected vehicle movement which could
result in serious vehicle damage or per-
sonal injury.
● Accelerating quickly, sharp steering
maneuvers or sudden braking may
cause loss of control. ●If at all possible, avoid sharp turning ma-
neuvers, particularly at high speeds. Your
NISSAN four-wheel drive vehicle has a
higher center of gravity than a passenger
car. The vehicle is not designed for cor-
nering at the same speeds as passenger
cars. Failure to operate this vehicle cor-
rectly could result in loss of control
and/or a rollover accident.
● Always use tires of the same type, size,
brand, construction (bias, bias-belted,
or radial) , and tread pattern on all four
wheels. Install tire chains on the rear
wheels when driving on slippery roads
and drive carefully.
● Be sure to check the brakes immedi-
ately after driving in mud or water. See
“Brake system” later in this section for
“Wet brakes”.
● Avoid parking your vehicle on steep
hills. If you get out of the vehicle and it
rolls forward, backward or sideways,
you could be injured.
● Whenever you drive off-road through
sand, mud or water as deep as the
wheel hub, more frequent maintenance
may be required. See “Periodic mainte-
nance” in the “NISSAN Service and
Maintenance Guide.”
Starting and driving5-9
Page 322 of 444
This procedure is described in the vehicle service
manual and can be performed by a NISSAN
dealer.
ANTI-LOCK BRAKING SYSTEM
(ABS)
WARNING
●The Anti-lock Braking System (ABS) is a
sophisticated device, but it cannot pre-
vent accidents resulting from careless
or dangerous driving techniques. It can
help maintain vehicle control during
braking on slippery surfaces. Remem-
ber that stopping distances on slippery
surfaces will be longer than on normal
surfaces even with ABS. Stopping dis-
tances may also be longer on rough,
gravel or snow covered roads, or if you
are using tire chains. Always maintain a
safe distance from the vehicle in front
of you. Ultimately, the driver is respon-
sible for safety.
● Tire type and condition may also affect
braking effectiveness.
– When replacing tires, install the specified size of tires on all four
wheels. – When installing a spare tire, make
sure that it is the proper size and type
as specified on the Tire and Loading
Information label. See “Tire and
Loading Information label” in the
“Technical and consumer informa-
tion” section of this manual.
– For detailed information, see “Wheels and tires” in the “Mainte-
nance and do-it-yourself” section of
this manual.
The Anti-lock Braking System (ABS) controls the
brakes so the wheels do not lock during hard
braking or when braking on slippery surfaces.
The system detects the rotation speed at each
wheel and varies the brake fluid pressure to pre-
vent each wheel from locking and sliding. By
preventing each wheel from locking, the system
helps the driver maintain steering control and
helps to minimize swerving and spinning on slip-
pery surfaces.
Using the system
Depress the brake pedal and hold it down. De-
press the brake pedal with firm steady pressure,
but do not pump the brakes. The ABS will oper-
ate to prevent the wheels from locking up. Steer
the vehicle to avoid obstacles.
WARNING
Do not pump the brake pedal. Doing so
may result in increased stopping
distances.
Self-test feature
The ABS includes electronic sensors, electric
pumps, hydraulic solenoids and a computer. The
computer has a built-in diagnostic feature that
tests the system each time you start the engine
and move the vehicle at a low speed in forward or
reverse. When the self-test occurs, you may hear
a “clunk” noise and/or feel a pulsation in the brake
pedal. This is normal and does not indicate a
malfunction. If the computer senses a malfunc-
tion, it switches the ABS off and illuminates the
ABS warning light on the instrument panel. The
brake system then operates normally, but without
anti-lock assistance.
If the ABS warning light illuminates during the
self-test or while driving, have the vehicle
checked by a NISSAN dealer.
Normal operation
The ABS operates at speeds above3-6MPH(5
- 10 km/h). The speed varies according to road
conditions.
Starting and driving5-35