2013 NISSAN CUBE trip computer
[x] Cancel search: trip computerPage 3 of 20

TABLE OF
c
ONTE
NTS
New SYSTeM FeaTu reS
Navigation System (if so equipped)................................2
eSSeNTIaL I
NFO
rMaTION
Loose Fuel cap................................................3
Tire Pressure Monitoring System (TP
MS)
...........................3
FI
rST DrIVe FeaTu
re
S
NI
SSAN Intelligent
key® System (if so equipped)....................4
Opening the Bac
k Door
.........................................5
Front Seat Adjustments..........................................5
Rear Seat Adjustments..........................................5
Outside Mirror control Switc
h
....................................6
Starting/Stopping the Engine ....................................6
Headlight control Switc
h
........................................7
Windshield W
iper and Washer Switch
.............................8
Automatic climate controls (if so equipped) ........................9
FM
/AM/SiriusXM Satellite Radio with
cD Player (if so equipped)......11
U
SB/iPod
® Interface (if so equipped).............................12
cruise control
. . . . . . . . . . . . . . . . . . . . . . . . . . . . . . . . . . . .\
. . . . . . . . . . . . 12
Fuel-Filler Door ...............................................13
SY
ST
eM
G
uIDe
Trip computer
.
................................................14
Navigation System (if so equipped)...............................14
Bluetooth® Hands-free Phone System ............................15
• A cellular telephone should not be used for any purpose while
driving so full attention may be given to vehicle operation.
• Always wear your seat belt.
• Supplement
al air bags do not replace proper seat belt usage.
•
Children 1
2 and under should always ride in the rear seat
properly secured in child restraints or seat belts according to
their age and weight.
• Do not drink and drive.
For more information, refer to the “Safety –– Seats, seat belts and
supplemental restraint system (section 1)”, the “Heater, air conditioner,
audio and phone systems (section 4)” and the “Starting and driving
(section 5)” of your Owner’s Manual.
Additional information about your vehicle is also available in your Owner’s Manual, Navigation System Owner’s Manual and at www.nissanusa.com.
To view detailed
instructional videos, go to
www.nissanownersinfo.mobi/2013/cube or snap this barcode with an appropriate barcode reader.
1221378_13a_Cube_QRG_092112.indd 510/2/12 9:25 AM
Page 5 of 20

LOOSe FueL CaP
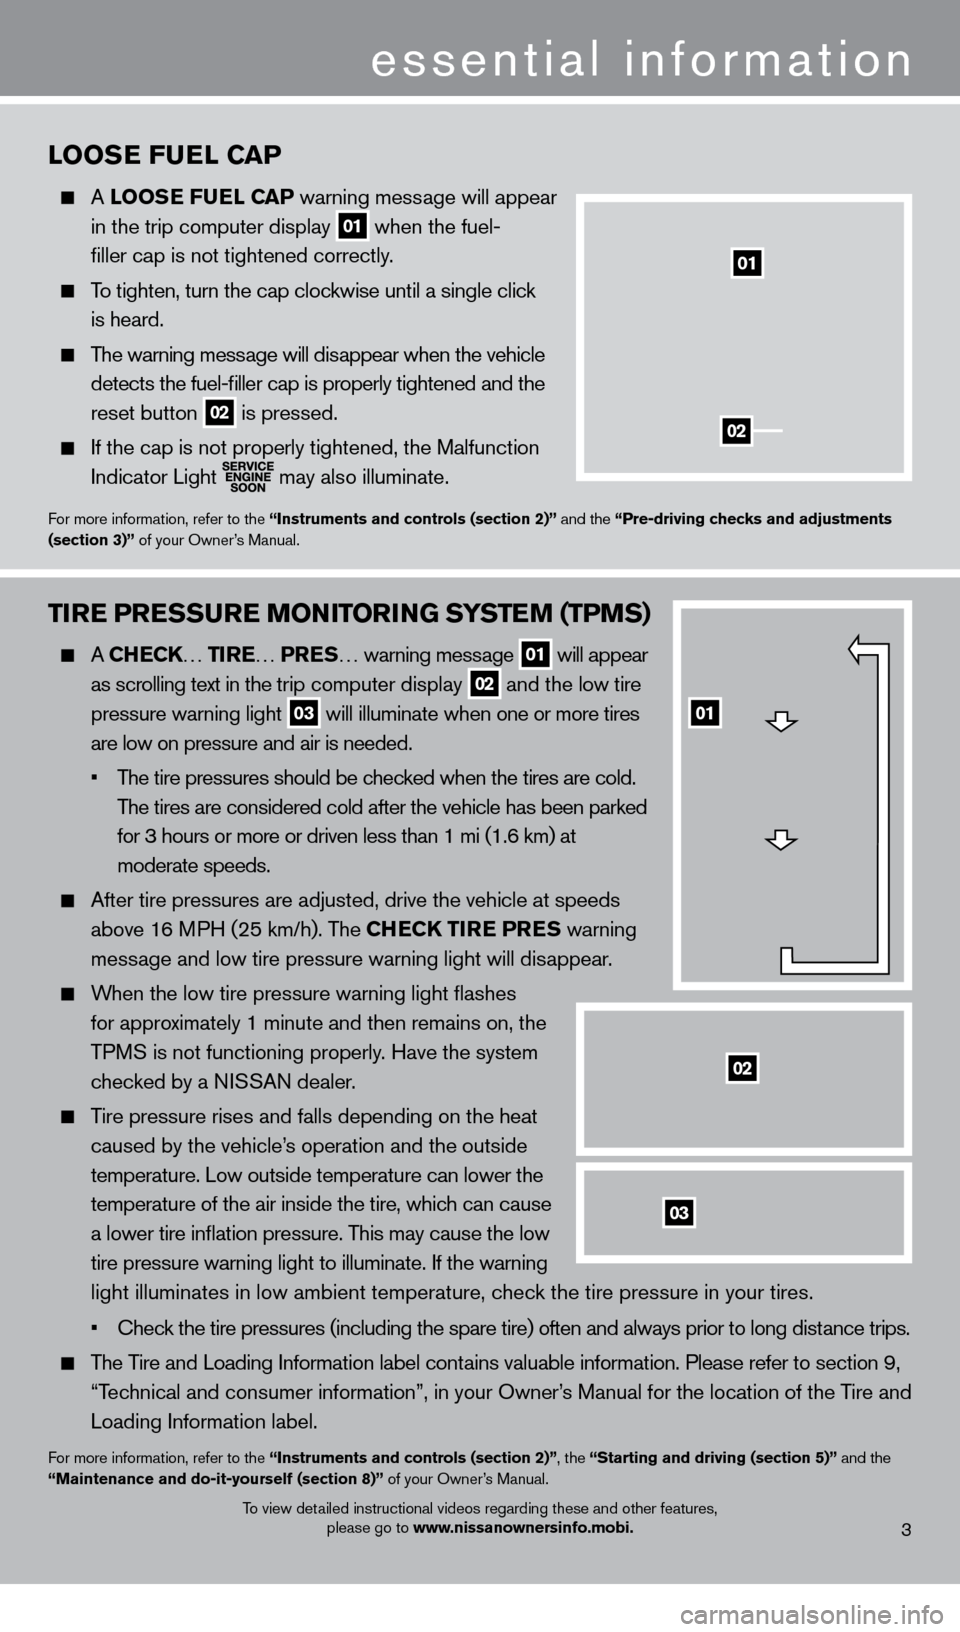
A LOOSe Fu eL CaP warning message will appear
in the trip computer display
01 when the fuel- filler cap is not tightened correctly.
To tighten, turn the cap clockwise until a single click
is heard.
The warning message will disappear when the vehicle
detects the fuel-filler cap is properly tightened and the
reset button
02 is pressed. If the cap is not properly tightened, the Malfunction
Indicator Light
may also illuminate.
For more information, refer to the “Instruments and controls (section 2)” and the “Pre-driving checks and adjustments
(section 3)” of your Owner’s Manual.
3
essential information
01
02
To view detailed instructional videos regarding these and other features,
please go to www.nissanownersinfo.mobi.
TIre PreSSur e M ONITOrIN G SYSTeM (TPMS)
A CHeCK… T Ire… PreS… warning mess age 01 will appear
as scrolling text in the tr
ip computer display 02 and the low tire
pressure warning light
03 will illuminate when one or more tires
are low on pressure and air is needed.
•
The tire pressures should be c
hecked when the tires are cold.
The tires are considered cold after the vehicle has been parked
for 3 hours or more or driven less than 1 mi (1.6 km) at
moderate speeds.
After tire pressures are adjusted, drive the vehicle at speeds
above 1 6 MPH (25 km/h). The CH
eCK TIre Pr
e
S warning
message and low tire pressure warning light will disappear.
When the low tire pressure warning light flashes
for approximately 1 minute and then remains on, the
TPM
S is not functioning properly. Have the system
chec
ked by a NISSAN dealer.
Tire pressure rises and falls depending on the heat
caused by the vehicle’s operation and the outside
temperature. Low outside temperature can lower the
temperature of the air inside the tire, which can cause
a lower tire inflation pressure. This may cause the low
tire pressure warning light to illuminate. If the warning
light illuminates in low ambient temperature, chec
k the tire pressure in your tires.
• Check the tire pressures (including the spare tire) often and alway
s prior to long distance trips.
The Tire and Loading Information label contains valuable information. Please refer to section 9,
“Tec
hnical and consumer information”, in your Owner’s Manual for the location of the Tire and
Loading Information label.
For more information, refer to the “Instruments and controls (section 2)”, the “Starting and driving (section 5)” and the
“Maintenance and do-it-yourself (section 8)” of your Owner’s Manual.
03
01
02
1221378_13a_Cube_QRG_092112.indd 710/2/12 9:25 AM
Page 16 of 20

TrIP COMPuTer
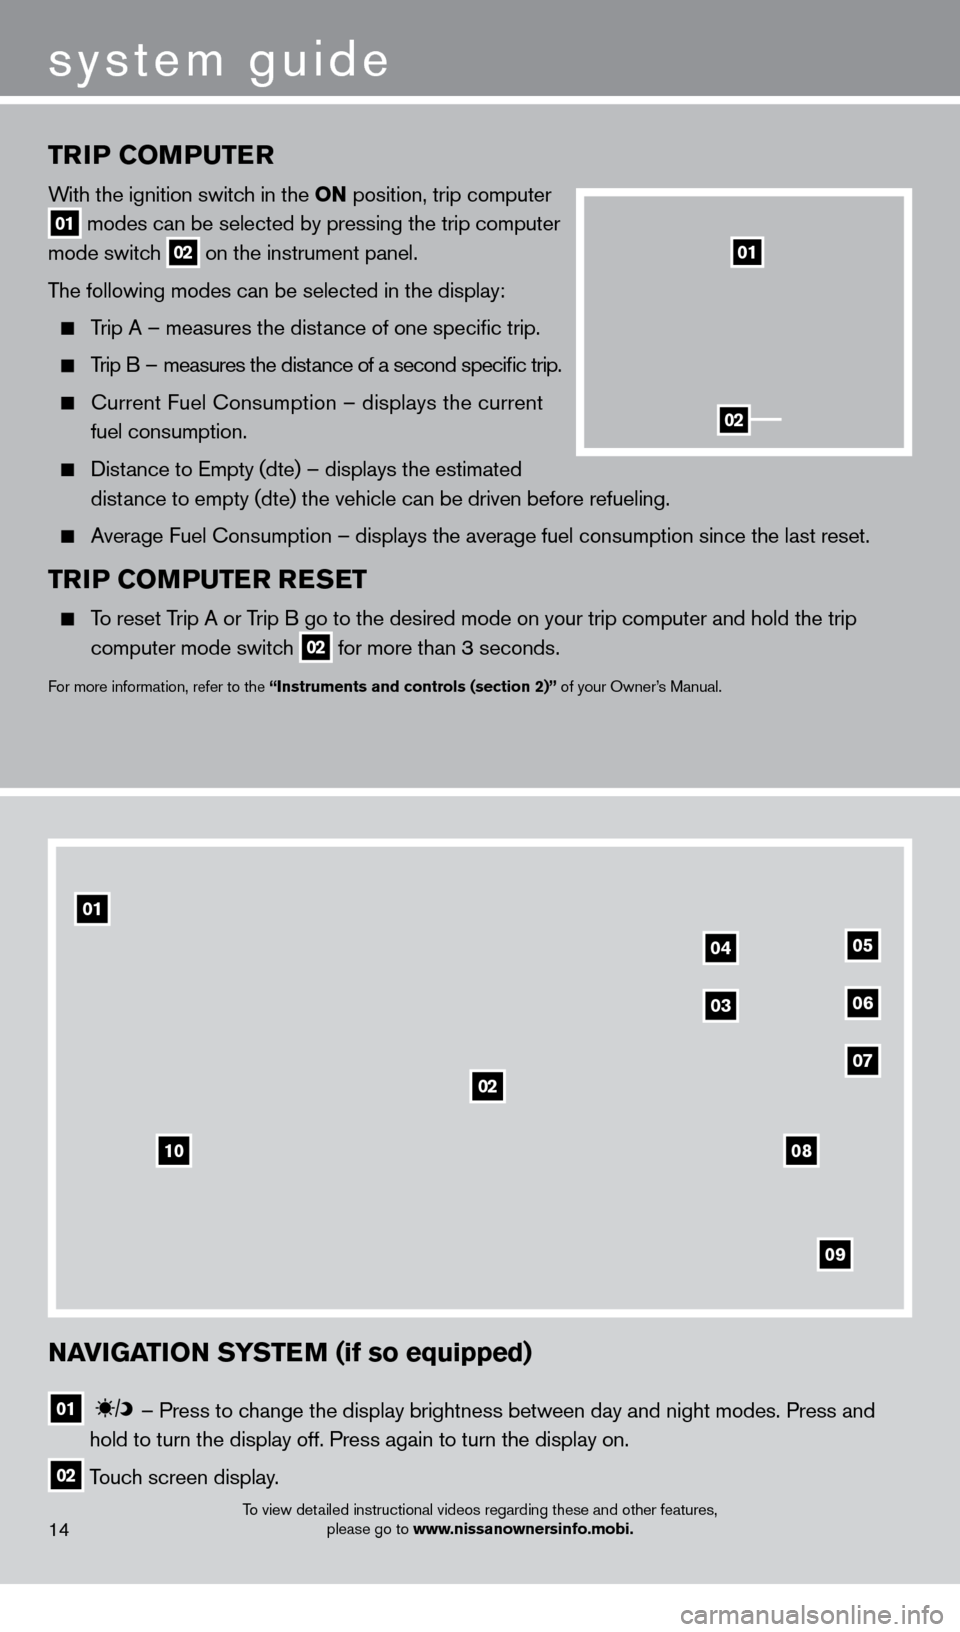
With the ignition switch in the ON position, trip computer
01 modes can be selected by pressing the trip computer
mode switch 02 on the instrument panel.
The following modes can be selected in the display:
Trip A – measures the distance of one specific trip.
Trip B – measures the distance of a second specific trip.
current Fuel consumption – displays the current
fuel consumption.
Distance to Empty (dte) – displays the estimated
dist ance to empty (dte) the vehicle can be driven before refueling.
Average Fuel consumption – displays the average fuel consumption since the last res\
et.
TrIP COMPuTer r eSeT
To reset Trip A or Trip B go to the desired mode on your trip computer and hold the trip
computer mode switc
h
02 for more than 3 seconds.
For more information, refer to the “Instruments and controls (section 2)” of your Owner’s Manual.
01
02
To view detailed instructional videos regarding these and other features, please go to www.nissanownersinfo.mobi.14
system guide
NaVIGaTION SYSTeM (if so equipped)
01 –
Press to change the display brightness between day and night modes. Press and
hold to turn the display off. Press again to turn the display on.
02 Touch screen display.
10
02
0405
0306
07
09
08
01
1221378_13a_Cube_QRG_092112.indd 2210/2/12 9:26 AM