2013 NISSAN CUBE instrument panel
[x] Cancel search: instrument panelPage 8 of 20
OuTSIDe MIrrOr CONTrOL SwIT CH
The outside mirror control switch is located on the
left side of the instrument panel.
To select the left or right mirror, move the switch
01 .
Adjust each mirror to the desired position using
the switch
02 .
To prevent accidentally moving the mirror, move this
switch
01 to the center “neutral” position.
For more information, refer to the “Pre-driving checks and adjustments
(section 3)” of your Owner’s Manual.
6
first drive features
FOLDING DOWN THE REAR BENcH SEAT
To fold the seats flat, secure the seat belts on
the seat belt hooks on the side wall. Release the
connector tongue of the rear center seat belt from
the buckle, then store the connector and seat belt
tongues on the seat belt hook.
Before folding down the seatback, tuck the seat belt
buckles into the seat cushion poc
kets.
Fold the seatback down by pulling the adjusting strap 01 .
To raise the seatback, lift up each seatback and push it to the upright position until it is latched.
After raising the seatback, pull the seat belt buc
kles out of the seat cushion pockets until they
are fully extended before using the seat belts.
For more information, refer to the “Safety — Seats, seat belts and supplemental restraint system (se\
ction 1)” of your
Owner’s Manual.
01
02
01
STarTING/STOPPING THe eNGINe
CONTINuOuSLY VarIaB Le TraN SMISSION
(NISS
aN Intelligent K
ey® models only - if so equipped)
Depress the brake pedal.
Move the shift lever to the P (ParK) position.
Push the ignition switch to start the engine.
NOTE: It is important to make sure the Intelligent
key is
with you (that is, in your poc
ket or purse).
TURNING THE ENGINE OFF
Move the shift lever to the P (ParK) position, apply
the parking brake and push the ignition switch.
To view detailed instructional videos regarding these and other features,
please go to www.nissanownersinfo.mobi.
1221378_13a_Cube_QRG_092112.indd 1010/2/12 9:26 AM
Page 9 of 20
HeaDLIGHT CONTrOL SwITCH
HEADLIGHT
cONTR
OL
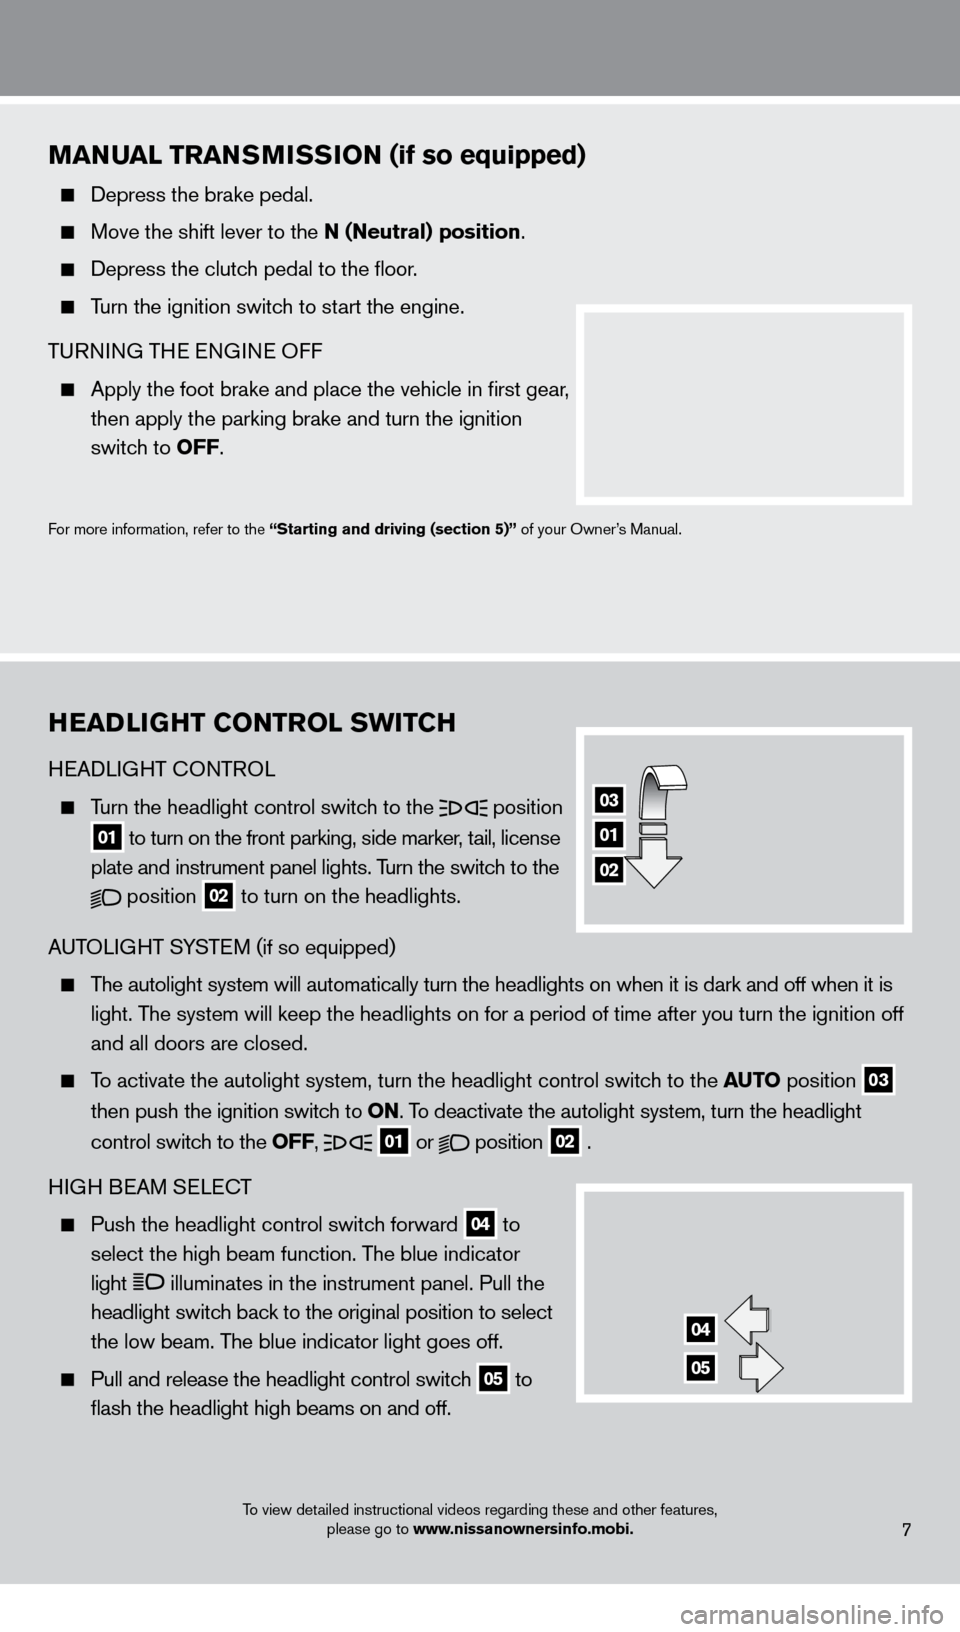
Turn the headlight control switch to the
position
01 to turn on the front parking, side marker, tail, license plate and instrument panel lights. Turn the switc
h to the
position
02 to turn on the headlights.
A UTOLIGHT SYSTEM (if so equipped)
The autolight system will automatically turn the headlights on when it is\
dark and off when it is
light. The system will keep the headlights on for a period of time after you tur\
n the ignition off
and all doors are closed.
To activate the autolight system, turn the headlight control switch to the auTO position
03
th
en push the ignition switch to ON. To deactivate the autolight system, turn the headlight
control switch to the
OFF,
01 or
position
02 .
HIGH BEAM SELE
cT
Push the headlight control switch forward
04 to
select the high beam function. The blue indicator
light
illuminates in the instrument panel. Pull the
headlight switch back to the original position to select
the low beam. The blue indicator light goes off.
Pull and release the headlight control switch 05 to flash the headlight high beams on and off.
7
MaNuaL TraNSMISSION (if so equipped)
Depress the brake pedal.
Move the shift lever to the N (Neutral) position .
Depress the clutch pedal to the floor.
Turn the ignition switch to start the engine.
T
URNING THE ENGINE OFF
Apply the foot brake and place the vehicle in first gear,
then apply the parking brake and turn the ignition
switch to
OFF.
For more information, refer to the “Starting and driving (section 5)” of your Owner’s Manual.
To view detailed instructional videos regarding these and other features, please go to www.nissanownersinfo.mobi.
03
01
02
04
05
1221378_13a_Cube_QRG_092112.indd 1110/2/12 9:26 AM
Page 14 of 20
CruISe CONTrOL
The cruise control system enables you to set a constant
cruising speed once the vehicle has reached 25
MPH (40 km/h).
The system will automatically maintain the set speed
until you t ap the brake pedal, accelerate, cancel or
turn the system off.
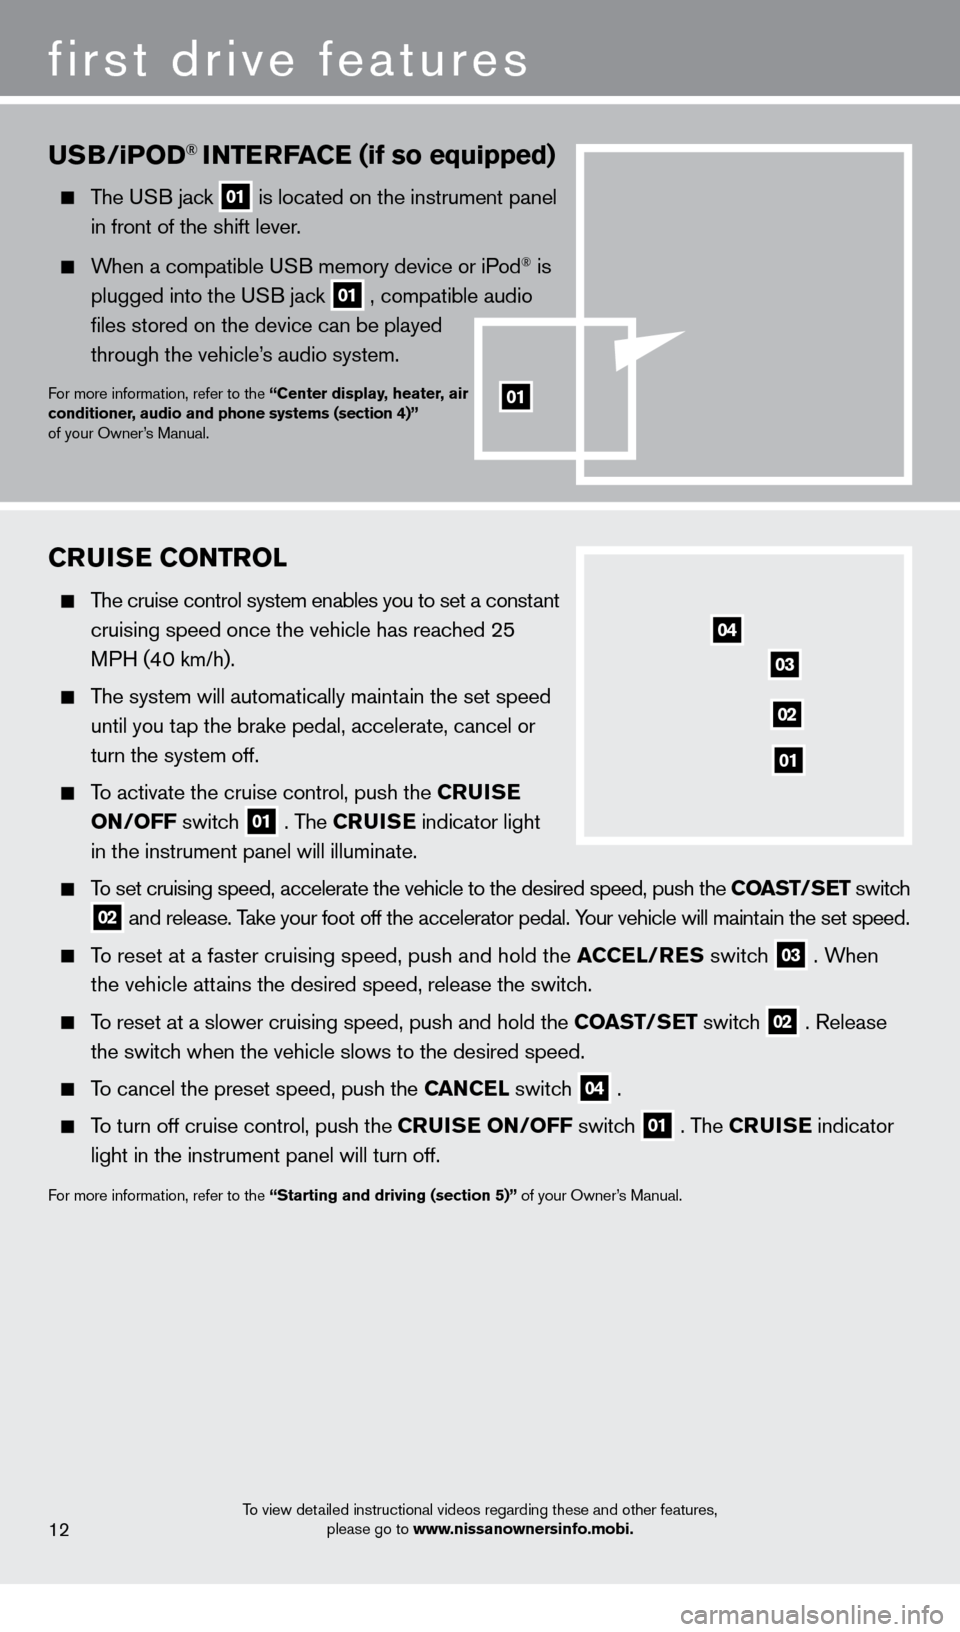
To activate the cruise control, push the CruISe
ON/OFF switch
01 . The CruISe indicator light
in the instrument panel will illuminate.
To set cruising speed, accelerate the vehicle to the desired speed, push \
the COaST/ SeT switch
02 and release. Take your foot off the accelerator pedal. Your vehicle will maintain the set speed.
To reset at a faster cruising speed, push and hold the aCCeL
/reS switc h
03 . When
the vehicle attains the desired speed, release the switch.
To reset at a slower cruising speed, push and hold the COaST/ SeT switch
02 . Release
the switch when the vehicle slows to the desired speed.
To cancel the preset speed, push the CaN CeL switc h
04 .
To turn off cruise control, push the Cr uISe ON /OFF switch
01 . The CruISe indicator
light in the instrument panel will turn off.
For more information, refer to the “Starting and driving (section 5)” of your Owner’s Manual.
uSB/iPOD® INTerFaCe (if so equipped)
The USB jack 01 is located on the instrument panel in front of the shift lever.
When a compatible USB memory device or iPod® is
plugged into the US
B jack
01 , compatible audio files stored on the device can be played
through the vehicle’s audio system.
For more information, refer to the “Center display, heater, air
conditioner, audio and phone systems (section 4)”
of your Owner’s Manual.
04
03
02
01
To view detailed instructional videos regarding these and other features, please go to www.nissanownersinfo.mobi.12
first drive features
01
1221378_13a_Cube_QRG_092112.indd 2010/2/12 9:26 AM
Page 15 of 20
FueL-FILLer D OOr
To open the fuel-filler door, pull the release
01
located on the driver’
s side instrument panel.
The fuel-filler door is located on the right, rear side of
the vehicle.
For more information, refer to the “Pre-driving checks and adjustments
(section 3)” of your Owner’s Manual.
01
To view detailed instructional videos regarding these and other features,
please go to www.nissanownersinfo.mobi.13
1221378_13a_Cube_QRG_092112.indd 2110/2/12 9:26 AM
Page 16 of 20
TrIP COMPuTer
With the ignition switch in the ON position, trip computer
01 modes can be selected by pressing the trip computer
mode switch 02 on the instrument panel.
The following modes can be selected in the display:
Trip A – measures the distance of one specific trip.
Trip B – measures the distance of a second specific trip.
current Fuel consumption – displays the current
fuel consumption.
Distance to Empty (dte) – displays the estimated
dist ance to empty (dte) the vehicle can be driven before refueling.
Average Fuel consumption – displays the average fuel consumption since the last res\
et.
TrIP COMPuTer r eSeT
To reset Trip A or Trip B go to the desired mode on your trip computer and hold the trip
computer mode switc
h
02 for more than 3 seconds.
For more information, refer to the “Instruments and controls (section 2)” of your Owner’s Manual.
01
02
To view detailed instructional videos regarding these and other features, please go to www.nissanownersinfo.mobi.14
system guide
NaVIGaTION SYSTeM (if so equipped)
01 –
Press to change the display brightness between day and night modes. Press and
hold to turn the display off. Press again to turn the display on.
02 Touch screen display.
10
02
0405
0306
07
09
08
01
1221378_13a_Cube_QRG_092112.indd 2210/2/12 9:26 AM