Page 102 of 413
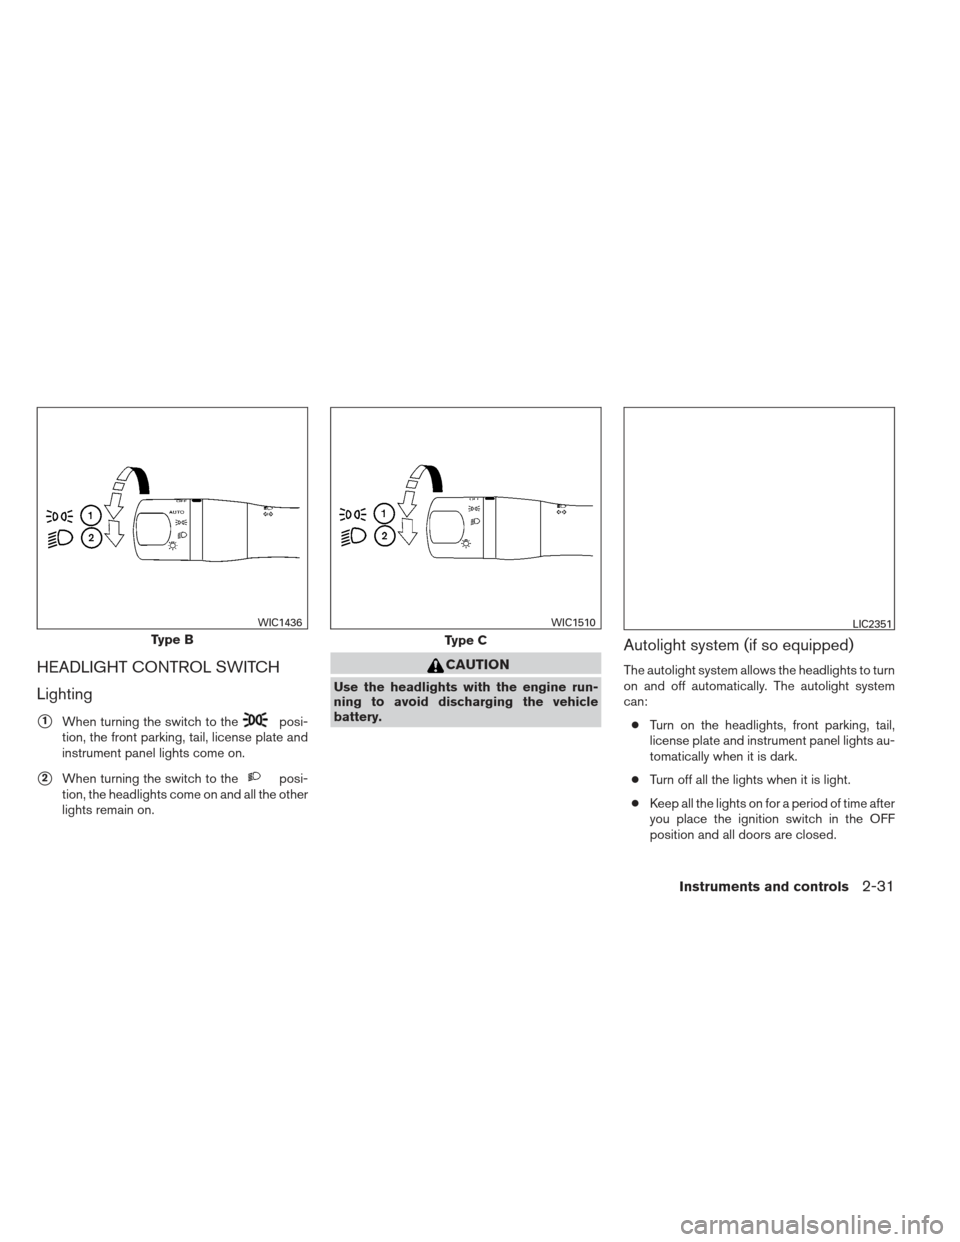
HEADLIGHT CONTROL SWITCH
Lighting
�1When turning the switch to theposi-
tion, the front parking, tail, license plate and
instrument panel lights come on.
�2When turning the switch to theposi-
tion, the headlights come on and all the other
lights remain on.
CAUTION
Use the headlights with the engine run-
ning to avoid discharging the vehicle
battery.
Autolight system (if so equipped)
The autolight system allows the headlights to turn
on and off automatically. The autolight system
can:
● Turn on the headlights, front parking, tail,
license plate and instrument panel lights au-
tomatically when it is dark.
● Turn off all the lights when it is light.
● Keep all the lights on for a period of time after
you place the ignition switch in the OFF
position and all doors are closed.
Type B
WIC1436
Type C
WIC1510LIC2351
Instruments and controls2-31
Page 103 of 413

NOTE:
Autolight activation sensitivity and the
time delay for autolight shutoff can be ad-
justed. See “Vehicle information display” in
this section.
To turn on the autolight system:1. Turn the headlight switch to the AUTO posi- tion
�1.
2. Turn the ignition switch to ON.
3. The autolight system automatically turns the headlights on and off.
Initially, if the ignition switch is turned OFF and a
door is opened and left open, the headlights
remain ON for a period of time. If another door is
opened while the headlights are on, then the
timer is reset.
To turn the autolight system off, turn the switch to
the OFF,
,orposition. Be sure you do not put anything on top of
the autolight sensor located in the top side
of the instrument panel. The autolight sen-
sor controls the autolight; if it is covered,
the autolight sensor reacts as if it is dark
out and the headlights will illuminate. If
this occurs while parked with the engine
off and the ignition switch placed in the ON
position, your vehicle’s battery could be-
come discharged.
Headlight beam select
�1To select the high beam function, push the
lever forward. The high beam lights come on
and the
light illuminates.
�2Pull the lever back to select the low beam.
�3Pulling and releasing the lever flashes the
headlight high beams on and off.
Battery saver system
If the ignition switch is placed in the OFF position
while the headlight switch is in the
orposition, the headlights will turn off after
a period of time.
LIC2318WIC1438
2-32Instruments and controls
Page 104 of 413

CAUTION
Even though the battery saver feature au-
tomatically turns off the headlights after a
period of time, you should turn the head-
light switch to the OFF position when the
engine is not running to avoid discharging
the vehicle battery.
DAYTIME RUNNING LIGHT SYSTEM
(Canada only)
The headlights automatically illuminate at a re-
duced intensity when the engine is started with
the parking brake released. The daytime running
lights operate with the headlight switch in the
OFF position or in the
position. Turn the
headlight switch to the
position for full
illumination when driving at night.
If the parking brake is applied before the engine is
started, the daytime running lights do not illumi-
nate. The daytime running lights illuminate when
the parking brake is released. The daytime run-
ning lights will remain on until the ignition switch
is placed in the OFF position.
WARNING
When the daytime running light system is
active, tail lights on your vehicle are not
on. It is necessary at dusk to turn on your
headlights. Failure to do so could cause
an accident injuring yourself and others.
INSTRUMENT BRIGHTNESS
CONTROL
Push the “+” button�Ato increase the bright-
ness of instrument panel lights when driving at
night.
Push the “-” button
�Bto decrease the bright-
ness of instrument panel lights when driving at
night.
LIC2305
Instruments and controls2-33
Page 106 of 413

The front seats are warmed by built-in heaters.1. Start the engine.
2. Push the LO or HI position of the switch, as desired. The indicator light in the switch will
illuminate.
The heater is controlled by a thermostat,
automatically turning the heater on and off.
The indicator light will remain on as long as
the switch is on.
3. When the seat is warmed or before you leave the vehicle, be sure to turn the switch
off.
WARNING
Do not use or allow occupants to use the
seat heater if you or the occupants cannot
monitor elevated seat temperatures or
have an inability to feel pain in body parts
that contact the seat. Use of the seat
heater by such people could result in se-
rious injury.
CAUTION
●The battery could run down if the seat
heater is operated while the engine is
not running.
● Do not use the seat heater for extended
periods or when no one is using the
seat.
● Do not put anything on the seat which
insulates heat, such as a blanket, cush-
ion, seat cover, etc. Otherwise, the seat
may become overheated.
● Do not place anything hard or heavy on
the seat or pierce it with a pin or similar
object. This may result in damage to the
heater.
● Any liquid spilled on the heated seat
should be removed immediately with a
dry cloth. ●
When cleaning the seat, never use
gasoline, benzine, thinner, or any simi-
lar materials.
● If any malfunctions are found or the
heated seat does not operate, turn the
switch off and have the system checked
by your NISSAN dealer.
LIC1543
HEATED SEATS (if so equipped)
Instruments and controls2-35
Page 109 of 413

CAUTION
●The outlet and plug may be hot during
or immediately after use.
● Only certain power outlets are designed
for use with a cigarette lighter unit. Do
not use any other power outlet for an
accessory lighter. See your NISSAN
dealer for additional information.
● Do not use with accessories that ex-
ceed a 12 volt, 120W (10A) power draw.
● Do not use double adapters or more
than one electrical accessory. ●
Use power outlets with the engine run-
ning to avoid discharging the vehicle
battery.
● Avoid using power outlets when the air
conditioner, headlights or rear window
defroster is on.
● Before inserting or disconnecting a
plug, be sure the electrical accessory
being used is turned OFF.
● Push the plug in as far as it will go. If
good contact is not made, the plug may
overheat or the internal temperature
fuse may open.
● When not in use, be sure to close the
cap. Do not allow water or any other
liquid to contact the outlet.
MAP POCKETSConsole box
LIC2307LIC2308
STORAGE
2-38Instruments and controls
Page 118 of 413
NOTE:
The step lights illuminate when the driver
and passenger doors are opened regard-
less of the interior light switch position.
These lights will turn off automatically after
a period of time while doors are open to
prevent the battery from becoming dis-
charged.
CAUTION
Do not use for extended periods of time
with the engine stopped. This could result
in a discharged battery.
CONSOLE LIGHT
The console light will turn on whenever the park-
ing lights or headlights are illuminated.To turn the rear personal lights on, press the
switch. To turn them off, press the switch again.
LIC2303
Rear personal lights
LIC1083
PERSONAL LIGHTS
Instruments and controls2-47
Page 119 of 413

Push the button to turn the map lights on. To turn
them off, press the button again.
CAUTION
Do not use for extended periods of time
with the engine stopped. This could result
in a discharged battery.The light illuminates when the trunk lid is opened.
When the trunk lid is closed, the light goes off.
The light will go off after a period of time if the
trunk lid is left open, unless the ignition switch is
placed in the ON position.
For bulb replacement procedures, refer to “Exte-
rior and interior lights” in the “Maintenance and
do-it-yourself” section of this manual.
The HomeLink® Universal Transceiver provides
a convenient way to consolidate the functions of
up to three individual hand-held transmitters into
one built-in device.
HomeLink® Universal Transceiver:
● Will operate most Radio Frequency (RF)
devices such as garage doors, gates, home
and office lighting, entry door locks and se-
curity systems.
● Is powered by your vehicle’s battery. No
separate batteries are required. If the vehi-
cle’s battery is discharged or is discon-
nected, HomeLink® will retain all program-
ming.
When the HomeLink® Universal Trans-
ceiver is programmed, retain the original
transmitter for future programming proce-
dures (Example: new vehicle purchases) .
Upon sale of the vehicle, the programmed
HomeLink® Universal Transceiver buttons
should be erased for security purposes. For
additional information, refer to “Program-
ming HomeLink®” later in this section.
LIC2304
MAP LIGHTS TRUNK LIGHTHOMELINK® UNIVERSAL
TRANSCEIVER (if so equipped)
2-48Instruments and controls
Page 120 of 413

WARNING
●Do not use the HomeLink® Universal
Transceiver with any garage door
opener that lacks safety stop and re-
verse features as required by federal
safety standards. (These standards be-
came effective for opener models
manufactured after April 1, 1982) . A ga-
rage door opener which cannot detect
an object in the path of a closing garage
door and then automatically stop and
reverse, does not meet current federal
safety standards. Using a garage door
opener without these features in-
creases the risk of serious injury or
death.
● During the programming procedure
your garage door or security gate will
open and close (if the transmitter is
within range) . Make sure that people or
objects are clear of the garage door,
gate, etc. that you are programming.
● Your vehicle’s engine should be turned
off while programming the HomeLink®
Universal Transceiver.
PROGRAMMING HOMELINK®
If you have any questions or are having difficulty
programming your HomeLink® buttons, refer to
the HomeLink® web site at: www.homelink.com
or call 1-800-355-3515.
NOTE:
Place the ignition switch in the ACC posi-
tion when programming HomeLink®. It is
also recommended that a new battery be
placed in the hand-held transmitter of the
device being programmed to HomeLink®
for quicker programming and accurate
transmission of the radio-frequency.
1. Position the end of your hand-held transmit- ter 1–3 inches (2–8 cm) away from the
HomeLink® surface, keeping the
HomeLink® indicator light
�1in view. 2. Using both hands, simultaneously press and
hold the desired HomeLink® button and
handheld transmitter button. DO NOT re-
lease until the HomeLink® indicator light�1
flashes slowly and then rapidly. When the
indicator light flashes rapidly, both buttons
may be released. (The rapid flashing indi-
cates successful programming.)
NOTE:
Some devices may require you to replace
Step 2 with the cycling procedure noted in
the “Programing HomeLink® for Canadian
customers and gate openers” section.
LIC2365
Instruments and controls2-49