2013 MERCEDES-BENZ SLS-CLASS flat tire
[x] Cancel search: flat tirePage 7 of 286

Blind Spot Assist
Activating/deactivating .................153
Display message ............................ 177
Notes/function .............................. 141
Brake Assist
see BAS (Brake Assist System)
Brake fluid
Display message ............................ 165
Notes ............................................. 280
Brake lamps
Display message ............................ 170
Brakes
ABS .................................................. 55
BAS .................................................. 55
Brake fluid (notes) .........................280
Display message ............................ 161
Driving tips .................................... 131
High-performance brake system ....133
Important safety notes ..................131
Maintenance .................................. 132
Warning lamp ........................ 186, 189
Breakdown
see Flat tire
see Towing away/tow-starting
Bulbs
see Changing bulbs C
California Important notice for retail
customers and lessees ....................19
Calling up a malfunction
see Display messages
Capacities
see Technical data
Car
see Vehicle
Care
Car wash ........................................ 219
Display ........................................... 225
Exhaust pipe .................................. 224
Exterior lights ................................ 224
Gear or selector lever ....................225
Matte finish ................................... 222
Notes ............................................. 219
Paint .............................................. 221
Plastic trim .................................... 225Power washer
................................ 221
Rear view camera .......................... 224
Seat belt ........................................ 226
Seat cover ..................................... 226
Sensors ......................................... 224
Soft top .......................................... 222
Steering wheel ............................... 225
Trim pieces .................................... 225
Washing by hand ........................... 220
Wheels ........................................... 221
Windows ........................................ 223
Wiper blades .................................. 223
Wooden trim .................................. 225
Car wash (care) ................................. 219
CD player/CD changer (on-board
computer) .......................................... 151
Center console Lower section .................................. 31
Upper section .................................. 30
Central locking
Automatic locking (on-board
computer) ...................................... 155
Locking/unlocking (SmartKey) ........62
Changing bulbs
Important safety notes ....................96
License plate lighting .......................97
Charge maintenance socket ............211
Children In the vehicle ................................... 51
Restraint systems ............................ 51
Child seat
Special seat belt retractor ...............53
Top Tether ....................................... 53
Cigarette lighter ................................ 199
Climate control Automatic climate control (dual-
zone) .............................................. 103
Controlling automatically ...............105
Cooling with air dehumidification ..104
Defrosting the windows .................107
Defrosting the windshield ..............106
Important safety notes ..................102
Indicator lamp ................................ 105
Maximum cooling .......................... 106
Notes on using automatic climate
control ........................................... 104
Overview of systems ......................102 Index
5ProCarManuals.com
Page 10 of 286

Emergency Tensioning Devices
Function .......................................... .50
Safety guideline s............................. 37
Emissions control
Service and warranty information ....19
Engine
Display message ............................ 172
Engine number ............................... 276
Irregular running ............................ 116
Starting .......................................... 114
Starting problems ..........................116
Starting the engine with the
SmartKey ....................................... 114
Starting with the KEYLESS-GO
start function ................................. 114
Switching off .................................. 128
Engine diagnostics warning lamp ....191
Engine electronics Problem (malfunction) ...................116
Engine oil
Adding ........................................... 216
Additives ........................................ 280
Checking the oil level ..................... 215
Checking the oil level using the
dipstick .......................................... 215
Display
message ................................ 174, 175
Filling capacity ....................... 277, 280
Notes about oil grades ................... 279
Notes on oil level/consumption ....215
Temperature (on-board computer) .157
Temperature gauge ........................ 146
Viscosity ........................................ 280
E-SELECT lever ................................... 117
ESP ®
(Electronic Stability
Program) Deactivating/activating ...................56
Display message ............................ 166
Function/notes ................................ 56
Important safety information ...........56
Warning lamp ................................. 190
ETS (Electronic Traction System) ....... 56
Exhaust check ................................... 131
Exhaust pipe (cleaning
instructions) ...................................... 224Exterior lighting
Setting options ................................ 92
see Lights
Exterior mirrors
Adjusting ......................................... 87
Dipping (automatic) .........................88
Folding in/out (automatically). ........88
Folding in/out (electrically). ............88
Folding in when locking (on-board
computer) ...................................... 156
Out of position (troubleshooting) .....88
Setting ............................................. 88
Storing settings (memory
function) .......................................... 89
Storing the parking position ............. 89 F
Filler cap see Fuel filler flap
First-aid kit ......................................... 228
Flat tire Changing a wheel/mounting the
spare wheel ................................... 232
Preparing the vehicle .....................229
Raising the vehicle .........................233
TIREFIT kit ...................................... 229
Floormat ............................................ .212
Fuel Additives ........................................ 279
Consumption statistics ..................148
Displaying the range ......................149
Driving tips .................................... 130
Fuel gauge ....................................... 27
Grade (gasoline) ............................ 278
Important safety notes ..................277
Problem (malfunction) ...................127
Refueling ........................................ 124
Tank content/reserve fuel .....277, 278
Fuel filler flap, opening/closing ....... 125
Fuel filter (display message) ............176
Fuel level Calling up the range (on-board
computer) ...................................... 149
Fuel tank
Capacity ................................ 277, 278
Problem (malfunction) ...................127
see Fuel tank 8
IndexProCarManuals.com
Page 17 of 286

Tire pressure monitoring system
Function/note s............................. 255
Restarting ...................................... 257
Warning lamp ................................. 193
Tires
Aspect ratio (definition) .................268
Average weight of the vehicle
occupants (definition) ....................267
Bar (definition) ............................... 266
Characteristics .............................. 266
Checking ........................................ 249
Definition of terms .........................266
Direction of rotatio n...................... 270
Display message ............................ 177
Distribution of the vehicle
occupants (definition) ....................269
DOT, Tire Identification Number
(TIN) .............................................. .266
DOT (Department of
Transportation) (definition) ............266
GAWR (Gross Axle Weight Rating)
(definition) ..................................... 267
GVW (Gross Vehicle Weight)
(definition) ..................................... 267
GVWR (Gross Vehicle Weight
Rating) (definition) .........................267
Important safety notes ..................248
Increased vehicle weight due to
optional equipment (definition) ......267
Kilopascal (kPa) (definition) ...........268
Labeling (overview )........................ 263
Load bearing index (definition) ......269
Load index ..................................... 265
Load index (definition) ...................268
Maximum loaded vehicle weight
(definition) ..................................... 267
Maximum load on a tire
(definition) ..................................... 268
Maximum permissible tire
pressure (definition) ....................... 268
Maximum tire loa d......................... 261
Maximum tire load (definition) .......268
Optional equipment weight
(definition) ..................................... 269
PSI (pounds per square inch)
(definition) ..................................... 268
Replacing ....................................... 269
Service life ..................................... 250Sidewall (definition)
.......................268
Speed rating (definition) ................267
Storing ........................................... 270
Structure and characteristics
(definition) ..................................... 266
Technical data ............................... 272
Temperature .................................. 262
TIN (Tire Identification Number)
(definition) ..................................... 269
Tire bead (definition) ......................268
Tire pressure (definition) ................268
Tire pressures (recommended )...... 267
Tire size (data) ............................... 270
Tire size designation, load-bearing
capacity, speed rating .................... 263
Tire tread ....................................... 249
Tire tread (definition) .....................268
Total load limit (definition) .............269
Traction ......................................... 262
Traction (definition) .......................269
Tread wea r..................................... 262
Uniform Tire Quality Grading
Standards ...................................... 261
Uniform Tire Quality Grading
Standards (definition) ....................267
Unladen weight (definition) ............268
Wear indicator (definition) .............269
Wheel rim (definition) ....................267
see Flat tire
Top Tether ............................................ 53
Tow-away alarm .................................. 59
Towing Important safety guidelines ...........242
Installing the towing eye ................243
Removing the towing eye ...............243
With the rear axle raised ................243
Towing away
With both axles on the ground .......244
Transmission
Driving tips .................................... 120
Selector lever ................................ 117
Shift range ..................................... 122
Transmission position display .........119
Transmission positions ....................119
Transporting the vehicle ..................244
Trim pieces (cleaning instructions) .225
Trip computer (on-board
computer) .......................................... 148 Index
15ProCarManuals.com
Page 132 of 286

X
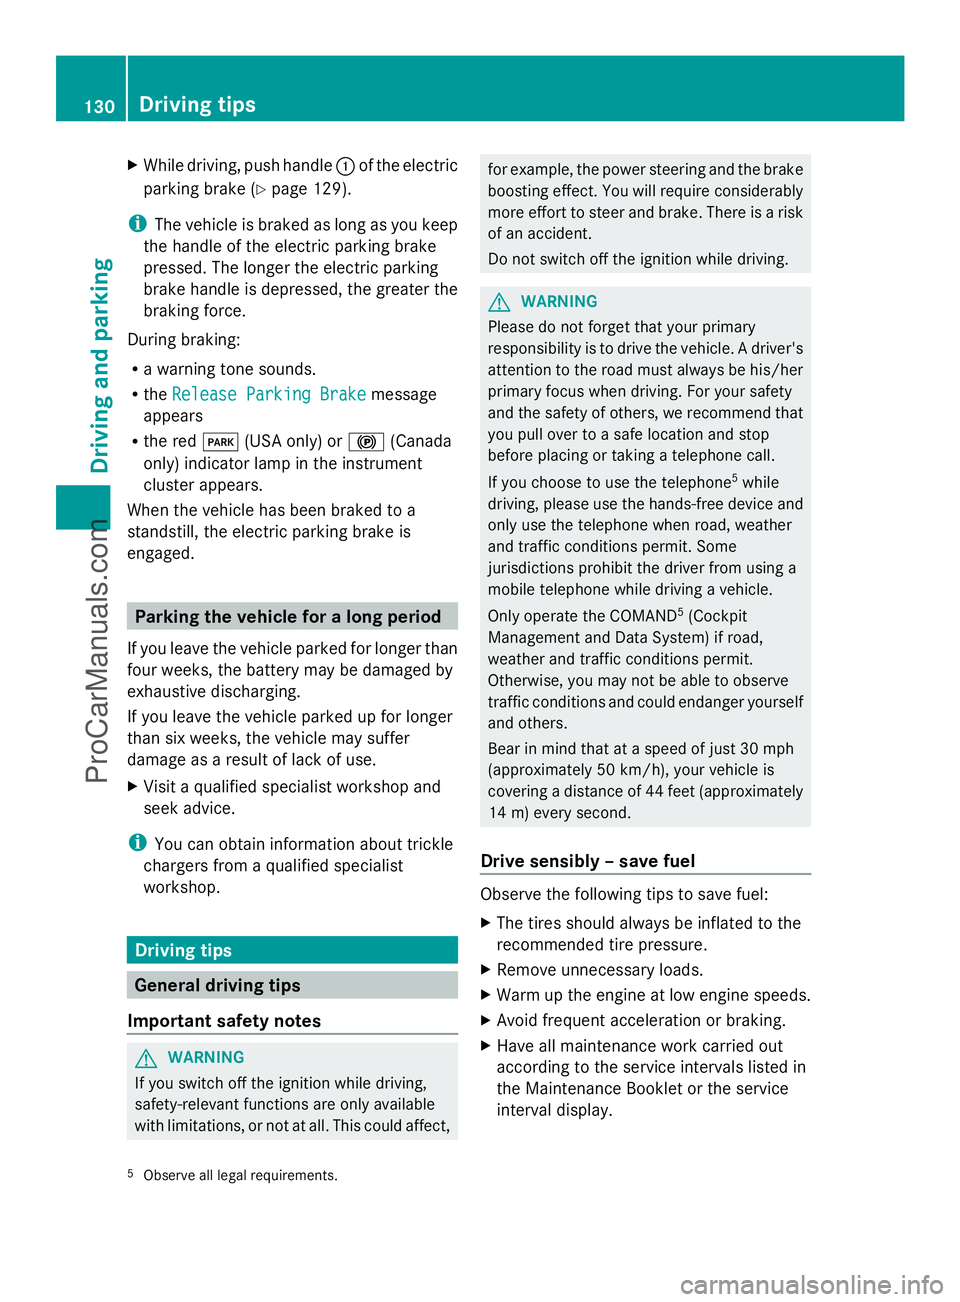
While driving, push handle :of the electric
parking brake (Y page 129).
i The vehicle is braked as long as you keep
the handle of the electric parking brake
pressed. The longer the electric parking
brake handle is depressed, the greater the
braking force.
During braking:
R a warning tone sounds.
R the Release Parking Brake
Release Parking Brake message
appears
R the red F(USA only) or !(Canada
only) indicator lamp in the instrument
cluster appears.
When the vehicle has been braked to a
standstill, the electric parking brake is
engaged. Parking the vehicle for a long period
If you leave the vehicle parked for longer than
four weeks, the battery may be damaged by
exhaustive discharging.
If you leave the vehicle parked up for longer
than six weeks, the vehicle may suffer
damage as a result of lack of use.
X Visit a qualified specialist workshop and
seek advice.
i You can obtain information about trickle
chargers from a qualified specialist
workshop. Driving tips
General driving tips
Important safety notes G
WARNING
If you switch off the ignition while driving,
safety-relevant functions are only available
with limitations, or not at all. This could affect, for example, the power steering and the brake
boosting effect. You will require considerably
more effort to steer and brake. There is a risk
of an accident.
Do not switch off the ignition while driving. G
WARNING
Please do not forget that your primary
responsibility is to drive the vehicle. A driver's
attention to the road must always be his/her
primary focus when driving. For your safety
and the safety of others, we recommend that
you pull over to a safe location and stop
before placing or taking a telephone call.
If you choose to use the telephone 5
while
driving, please use the hands-free device and
only use the telephone when road, weather
and traffic conditions permit. Some
jurisdictions prohibit the driver from using a
mobile telephone while driving a vehicle.
Only operate the COMAND 5
(Cockpit
Management and Data System) if road,
weather and traffic conditions permit.
Otherwise, you may not be able to observe
traffic conditions and could endanger yourself
and others.
Bear in mind that at a speed of just 30 mph
(approximately 50 km/h), your vehicle is
covering a distance of 44 feet (approximately
14 m) every second.
Drive sensibly – save fuel Observe the following tips to save fuel:
X
The tires should always be inflated to the
recommended tire pressure.
X Remove unnecessary loads.
X Warm up the engine at low engine speeds.
X Avoid frequent acceleration or braking.
X Have all maintenance work carried out
according to the service intervals listed in
the Maintenance Booklet or the service
interval display.
5 Observe all legal requirements. 130
Driving tipsDriving and parking
ProCarManuals.com
Page 179 of 286

Display messages Possible causes/consequences and
M
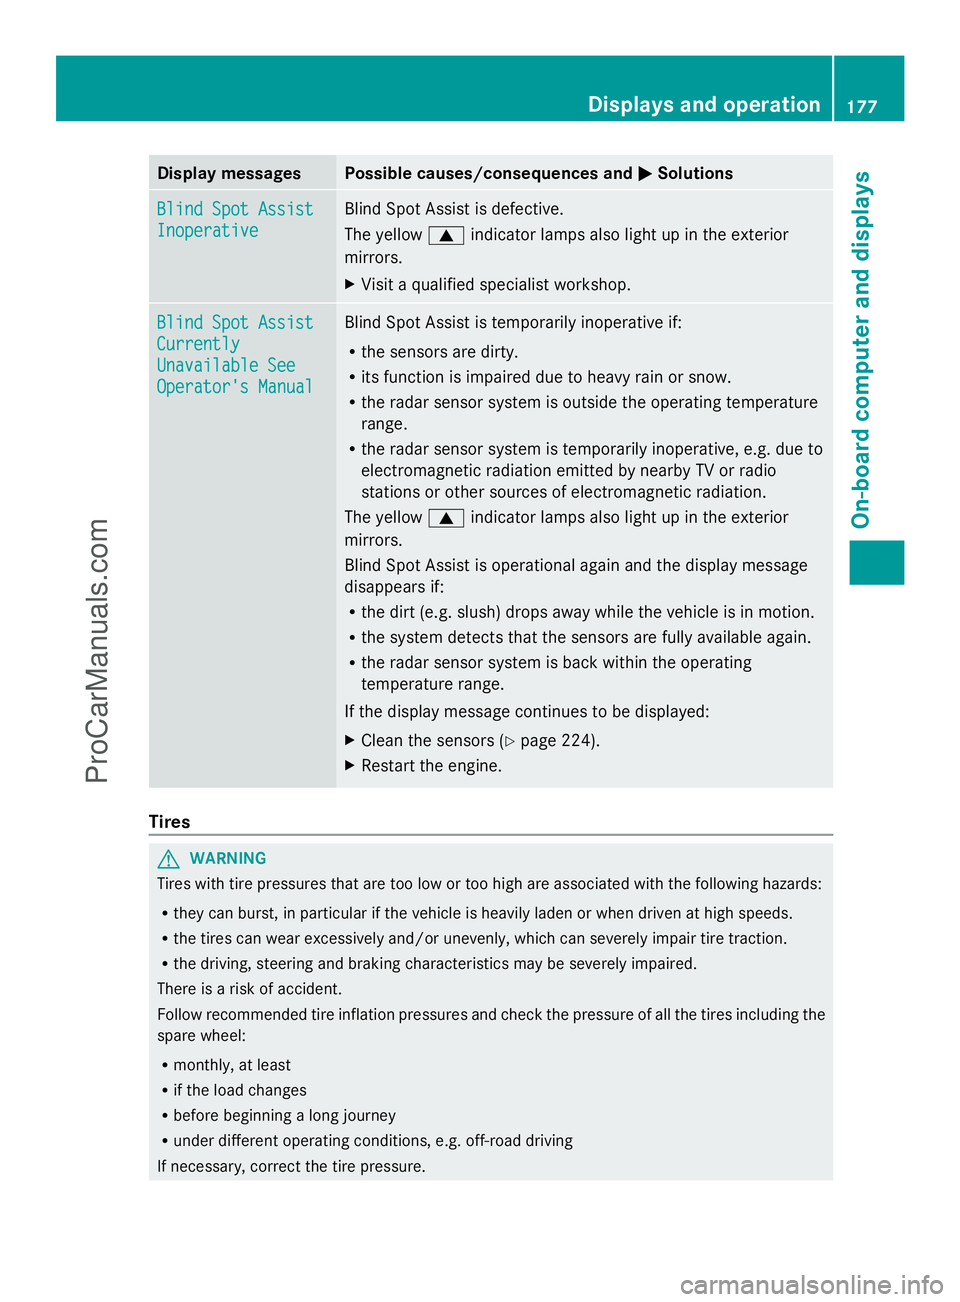
MSolutions Blind Spot Assist
Blind Spot Assist
Inoperative Inoperative Blind Spot Assist is defective.
The yellow
9indicator lamps also light up in the exterior
mirrors.
X Visit a qualified specialist workshop. Blind Spot Assist Blind Spot Assist
Currently Currently
Unavailable See Unavailable See
Operator's Manual Operator's Manual Blind Spot Assist is temporarily inoperative if:
R
the sensors are dirty.
R its function is impaired due to heavy rain or snow.
R the radar sensor system is outside the operating temperature
range.
R the radar sensor system is temporarily inoperative, e.g. due to
electromagnetic radiation emitted by nearby TV or radio
stations or other sources of electromagnetic radiation.
The yellow 9indicator lamps also light up in the exterior
mirrors.
Blind Spot Assist is operational again and the display message
disappears if:
R the dirt (e.g. slush) drops away while the vehicle is in motion.
R the system detects that the sensors are fully available again.
R the radar sensor system is back within the operating
temperature range.
If the display message continues to be displayed:
X Clean the sensors (Y page 224).
X Restart the engine. Tires
G
WARNING
Tires with tire pressures that are too low or too high are associated with the following hazards:
R they can burst, in particular if the vehicle is heavily laden or when driven at high speeds.
R the tires can wear excessively and/or unevenly, which can severely impair tire traction.
R the driving, steering and braking characteristics may be severely impaired.
There is a risk of accident.
Follow recommended tire inflation pressures and check the pressure of all the tires including the
spare wheel:
R monthly, at least
R if the load changes
R before beginning a long journey
R under different operating conditions, e.g. off-road driving
If necessary, correct the tire pressure. Displays and operation
177On-board computer and displays Z
ProCarManuals.com
Page 195 of 286

Tires
Problem Possible causes/consequences and
M
MSolutions h
USA only:
The yellow tire pressure
monitor warning lamp
(pressure loss/
malfunction) is lit.
Canada only:
The yellow tire pressure
monitor warning lamp
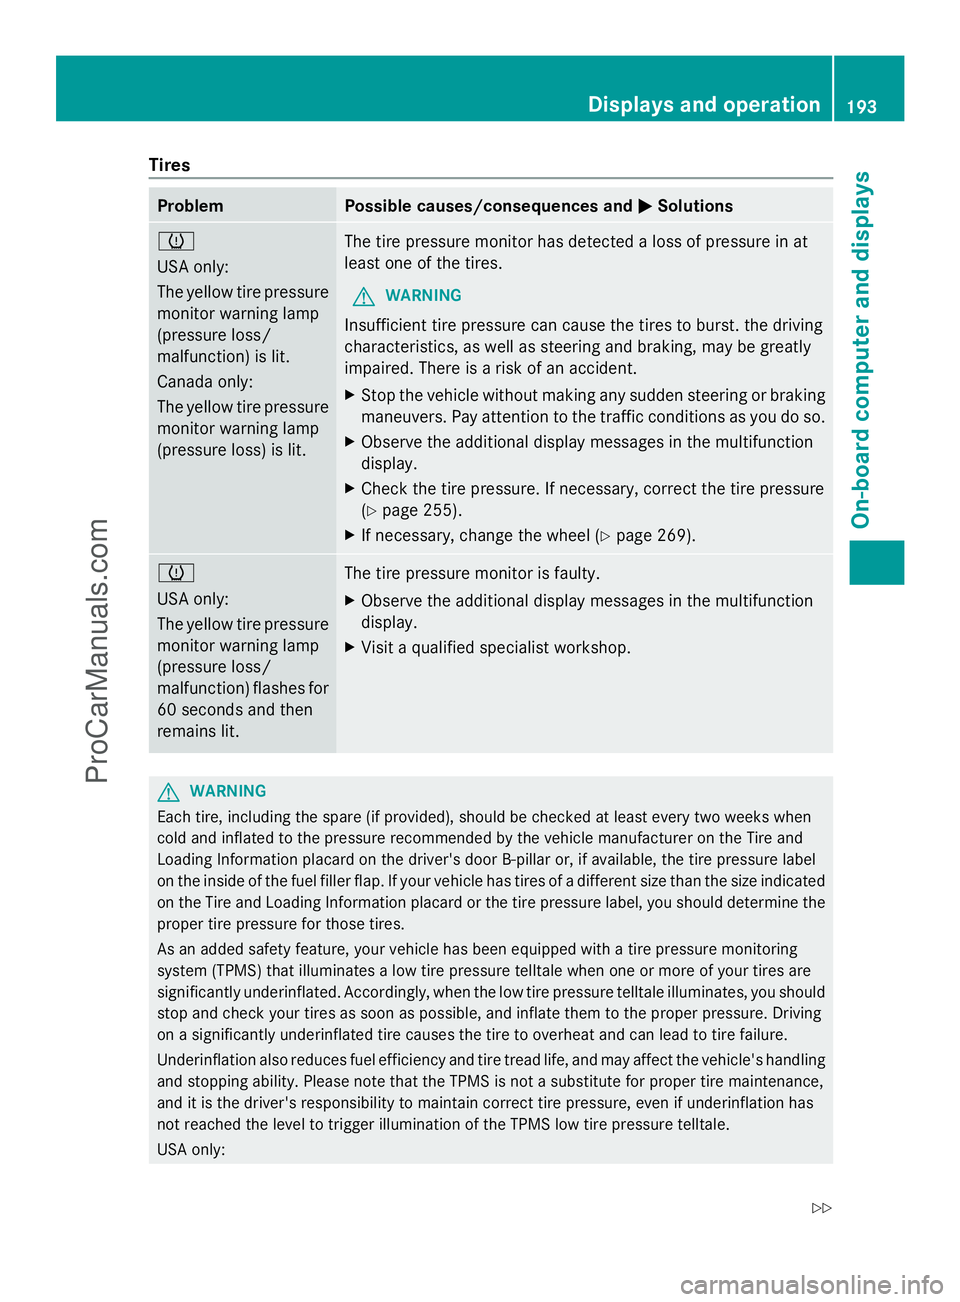
(pressure loss) is lit. The tire pressure monitor has detected a loss of pressure in at
least one of the tires.
G WARNING
Insufficient tire pressure can cause the tires to burst. the driving
characteristics, as well as steering and braking, may be greatly
impaired. There is a risk of an accident.
X Stop the vehicle without making any sudden steering or braking
maneuvers. Pay attention to the traffic conditions as you do so.
X Observe the additional display messages in the multifunction
display.
X Check the tire pressure. If necessary, correct the tire pressure
(Y page 255).
X If necessary, change the wheel (Y page 269).h
USA only:
The yellow tire pressure
monitor warning lamp
(pressure loss/
malfunction) flashes for
60 seconds and then
remains lit.
The tire pressure monitor is faulty.
X
Observe the additional display messages in the multifunction
display.
X Visit a qualified specialist workshop. G
WARNING
Each tire, including the spare (if provided), should be checked at least every two weeks when
cold and inflated to the pressure recommended by the vehicle manufacturer on the Tire and
Loading Information placard on the driver's door B-pillar or, if available, the tire pressure label
on the inside of the fuel filler flap. If your vehicle has tires of a different size than the size indicated
on the Tire and Loading Information placard or the tire pressure label, you should determine the
proper tire pressure for those tires.
As an added safety feature, your vehicle has been equipped with a tire pressure monitoring
system (TPMS) that illuminates a low tire pressure telltale when one or more of your tires are
significantly underinflated. Accordingly, when the low tire pressure telltale illuminates, you should
stop and check your tires as soon as possible, and inflate them to the proper pressure. Driving
on a significantly underinflated tire causes the tire to overheat and can lead to tire failure.
Underinflation also reduces fuel efficiency and tire tread life, and may affect the vehicle's handling
and stopping ability. Please note that the TPMS is not a substitute for proper tire maintenance,
and it is the driver's responsibility to maintain correct tire pressure, even if underinflation has
not reached the level to trigger illumination of the TPMS low tire pressure telltale.
USA only: Displays and operation
193On-boardcompu ter and displays
Z
ProCarManuals.com
Page 229 of 286

Useful information
............................228
Where will I find...? ...........................228
Flat tire .............................................. 229
Battery ............................................... 236
Jump-starting .................................... 240
Towing and tow-starting ..................242
Fuses .................................................. 244 227Breakdown assistance
ProCarManuals.com
Page 231 of 286

X
Remove the jack from the left-hand
stowage space in the trunk to allow the
stowage compartment to be opened.
X Turn fastener ;in the direction of the
arrow.
X Open stowage compartment :.
X Remove the TIREFIT kit, wheel chock,
alignment bolt and gloves. Flat tire
Preparing the vehicle
Your vehicle is equipped with a TIREFIT kit.
X Stop the vehicle on solid, non-slippery and
level ground, as far away as possible from
traffic.
X Switch on the hazard warning lamps.
X Apply the electric parking brake manually
(Y page 129).
X Bring the front wheels into the straight-
ahead position.
X Shift the transmission to Pwith the button
in the center console.
X Switch off the engine.
X Remove the SmartKey from the ignition
lock.
X All occupants must get out of the vehicle.
Make sure that they are not endangered as
they do so.
X Make sure that no one is near the danger
area while a wheel is being changed.
Anyone who is not directly assisting in the
wheel change should, for example, stand
behind the barrier.
X Get out of the vehicle. Pay attention to
traffic conditions when doing so.
X Close the driver's door. TIREFIT kit
Using the TIREFIT kit G
WARNING
TIREFIT is a limited repair device. TIREFIT
cannot be used for cuts or punctures larger
than approximately 0.16 in (4 mm) and tire
damage caused by driving with extremely low
tire inflation pressure, or on a flat tire, or a
damaged wheel.
Do not drive the vehicle under such
circumstances.
Contact the nearest authorized Mercedes-
Benz Center for assistance or call Roadside
Assistance. G
WARNING
Take care not to allow the contents of TIREFIT
to come in contact with hair, eyes or clothing.
TIREFIT is harmful if inhaled, swallowed or
absorbed through the skin - causes skin, eye
and respiratory irritation.
Any contact with eyes or skin should be
flushed immediately with plenty of water.
If clothing comes in contact with TIREFIT,
change clothing as soon as possible.
In case of allergic reaction or rash, consult a
physician immediately. G
WARNING
Keep TIREFIT away from children. If
swallowed, rinse mouth immediately with
plenty of water and drink plenty of water.
Do not induce vomiting.
Consult a doctor immediately.
Keep away from open flame or heat source.
You can use the TIREFIT kit to seal small
punctures, particularly those in the tire tread.
You can use TIREFIT at outside temperatures
down to -40 †. Flat ti
re
229Breakdo wn assis tance Z
ProCarManuals.com