2013 MERCEDES-BENZ SLS AMG COUPE warning message
[x] Cancel search: warning messagePage 219 of 286

X
Set the Start/Stop button to key position
2.
X Check the coolant temperature display in
the "AMG" menu (Y page 157).
The coolant temperature must be below
158 ‡ (70 †). X
Slowly turn cap 0043half a turn counter-
clockwise and allow excess pressure to
escape.
X Turn cap 0043further counter-clockwise and
remove it.
If the coolant is at the level of the marker
bar in the filler neck when cold, there is
enough coolant in coolant expansion
tank 0044.
If the coolant level is approximately 0.6 in
(1.5 cm) above the marker bar in the filler
neck when warm, there is enough coolant
in coolant expansion tank 0044.
X If necessary, add coolant that has been
tested and approved by Mercedes-Benz.
X Replace cap 0043and turn it clockwise as far
as it will go.
You will find further information about coolant
in the "Technical data" section
(Y page 280).
Windshield washer system and
headlamp cleaning system G
WARNING
If antifreeze comes into contact with hot
components in the engine compartment, it
may ignite. There is a risk of fire and injury. Let the engine cool down before you add
antifreeze. Make sure that antifreeze is not
spilled next to the filler neck. Thoroughly
clean the antifreeze from components before
starting the engine.
G
WARNING
Windshield washer concentrate is highly
flammable. If it comes into contact with hot
engine components or the exhaust system it
could ignite. There is a risk of fire and injury.
Make sure that no windshield washer
concentrate is spilled next to the filler neck.
The washer fluid reservoir is used for both the
windshield washer system and the headlamp
cleaning system. X
To open: pull cap0043upwards by the tab.
X Add the premixed washer fluid.
X To close: press cap 0043onto the filler neck
until it engages.
Further information on windshield washer
fluid/antifreeze (Y page 281). Maintenance
Service interval display
Service messages Information on the type of service and service
intervals (see the separate Maintenance
Booklet). Maintenance
217Maintenance and care Z
Page 220 of 286

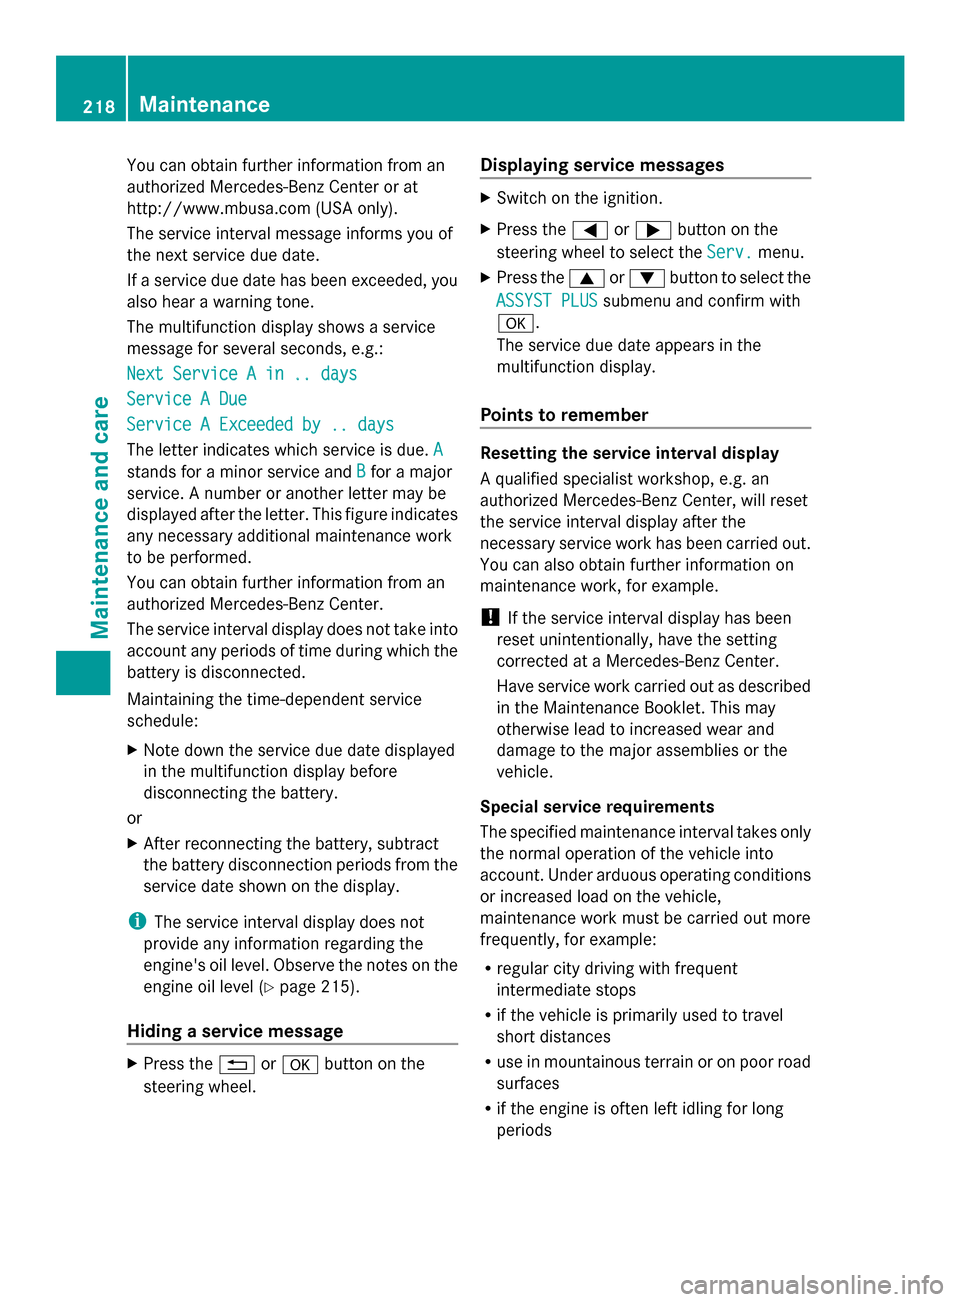
You can obtain further information from an
authorized Mercedes-Benz Center or at
http://www.mbusa.com (USA only).
The service interval message informs you of
the next service due date.
If a service due date has been exceeded, you
also hear a warning tone.
The multifunction display shows a service
message for several seconds, e.g.:
Next Service A in .. days
Next Service A in .. days
Service A Due Service A Due
Service A Exceeded by .. days Service A Exceeded by .. days
The letter indicates which service is due. A A
stands for a minor service and B
Bfor a major
service. A number or another letter may be
displayed after the letter. This figure indicates
any necessary additional maintenance work
to be performed.
You can obtain further information from an
authorized Mercedes-Benz Center.
The service interval display does not take into
account any periods of time during which the
battery is disconnected.
Maintaining the time-dependent service
schedule:
X Note down the service due date displayed
in the multifunction display before
disconnecting the battery.
or
X After reconnecting the battery, subtract
the battery disconnection periods from the
service date shown on the display.
i The service interval display does not
provide any information regarding the
engine's oil level. Observe the notes on the
engine oil level (Y page 215).
Hiding a service message X
Press the 0041or0076 button on the
steering wheel. Displaying service messages X
Switch on the ignition.
X Press the 0059or0065 button on the
steering wheel to select the Serv. Serv.menu.
X Press the 0063or0064 button to select the
ASSYST PLUS
ASSYST PLUS submenu and confirm with
0076.
The service due date appears in the
multifunction display.
Points to remember Resetting the service interval display
A qualified specialist workshop, e.g. an
authorized Mercedes-Benz Center, will reset
the service interval display after the
necessary service work has been carried out.
You can also obtain further information on
maintenance work, for example.
!
If the service interval display has been
reset unintentionally, have the setting
corrected at a Mercedes-Benz Center.
Have service work carried out as described
in the Maintenance Booklet. This may
otherwise lead to increased wear and
damage to the major assemblies or the
vehicle.
Special service requirements
The specified maintenance interval takes only
the normal operation of the vehicle into
account. Under arduous operating conditions
or increased load on the vehicle,
maintenance work must be carried out more
frequently, for example:
R regular city driving with frequent
intermediate stops
R if the vehicle is primarily used to travel
short distances
R use in mountainous terrain or on poor road
surfaces
R if the engine is often left idling for long
periods 218
MaintenanceMaintenance and care
Page 234 of 286

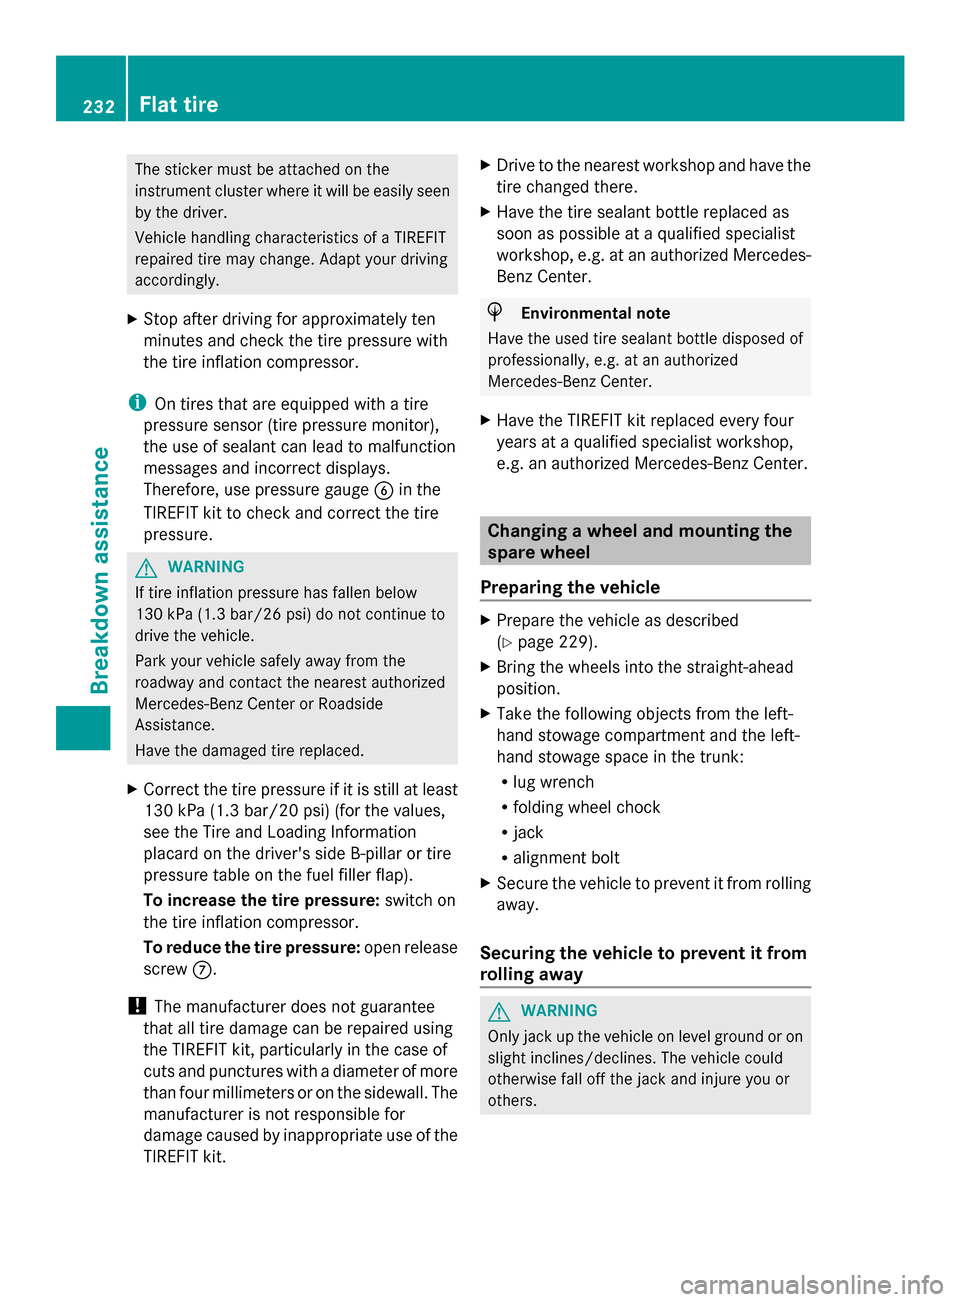
The sticker must be attached on the
instrument cluster where it will be easily seen
by the driver.
Vehicle handling characteristics of a TIREFIT
repaired tire may change. Adapt your driving
accordingly.
X Stop after driving for approximately ten
minutes and check the tire pressure with
the tire inflation compressor.
i On tires that are equipped with a tire
pressure sensor (tire pressure monitor),
the use of sealant can lead to malfunction
messages and incorrect displays.
Therefore, use pressure gauge 0084in the
TIREFIT kit to check and correct the tire
pressure. G
WARNING
If tire inflation pressure has fallen below
130 kPa (1.3 bar/26 psi) do not continue to
drive the vehicle.
Park your vehicle safely away from the
roadway and contact the nearest authorized
Mercedes-Benz Center or Roadside
Assistance.
Have the damaged tire replaced.
X Correct the tire pressure if it is still at least
130 kPa (1.3 bar/20 psi) (for the values,
see the Tire and Loading Information
placard on the driver's side B-pillar or tire
pressure table on the fuel filler flap).
To increase the tire pressure: switch on
the tire inflation compressor.
To reduce the tire pressure: open release
screw 006B.
! The manufacturer does not guarantee
that all tire damage can be repaired using
the TIREFIT kit, particularly in the case of
cuts and punctures with a diameter of more
than four millimeters or on the sidewall. The
manufacturer is not responsible for
damage caused by inappropriate use of the
TIREFIT kit. X
Drive to the nearest workshop and have the
tire changed there.
X Have the tire sealant bottle replaced as
soon as possible at a qualified specialist
workshop, e.g. at an authorized Mercedes-
Benz Center. H
Environmental note
Have the used tire sealant bottle disposed of
professionally, e.g. at an authorized
Mercedes-Benz Center.
X Have the TIREFIT kit replaced every four
years at a qualified specialist workshop,
e.g. an authorized Mercedes-Benz Center. Changing a wheel and mounting the
spare wheel
Preparing the vehicle X
Prepare the vehicle as described
(Y page 229).
X Bring the wheels into the straight-ahead
position.
X Take the following objects from the left-
hand stowage compartment and the left-
hand stowage space in the trunk:
R
lug wrench
R folding wheel chock
R jack
R alignment bolt
X Secure the vehicle to prevent it from rolling
away.
Securing the vehicle to prevent it from
rolling away G
WARNING
Only jack up the vehicle on level ground or on
slight inclines/declines. The vehicle could
otherwise fall off the jack and injure you or
others. 232
Flat tireBreakdown assistance
Page 259 of 286

The current tire pressure for each wheel will
be displayed in the multifunction display.
If the vehicle is parked for longer than
20 minutes and you then drive at less than
25 km/h, the Tire pressures will be
Tire pressures will be
displayed after driving a few displayed after driving a few
minutes minutes message appears.
After a teach-in period, the tire pressure
monitor automatically recognizes new wheels
or new sensors. As long as a clear allocation
of the tire pressure values to the individual
wheels is not possible, the Tire Pressure
Tire Pressure
Monitor Active Monitor Active display message is shown
instead of the tire pressure display. The tire
pressures are already being monitored.
Tire pressure monitor warning
messages If the tire pressure monitor detects a
significant pressure loss on one or more tires,
a warning message is shown in the
multifunction display. A warning tone also
sounds and the tire pressure warning lamp
lights up in the instrument cluster.
Each tire that is affected by a significant loss
of pressure is highlighted with a color.
If the following message appears in the
multifunction display: Correct Tire
Correct Tire
Pressure Pressure
X Check the tire pressure on all four wheels
and correct it if necessary.
i If the wheel positions on the vehicle are
interchanged, the tire pressures may be
displayed for the wrong positions for a
short time. This is rectified after a few
minutes of driving, and the tire pressures
are displayed for the correct positions.
Restarting the tire pressure monitor When you restart the tire pressure monitor,
all existing warning messages are deleted and
the warning lamps go out. The monitor uses
the currently set tire pressures as the
specified values for monitoring. In most cases, the tire pressure monitor will
automatically detect the new reference
values, e.g. if you have:
R
changed the tire pressure
R changed the wheels or tires
R mounted new wheels or tires
If you are defining the new reference values
manually:
X Use the table on the inside of the fuel filler
flap to ensure that the tire pressure is set
correctly in all four tires for the current
operating conditions.
Also observe the notes in the section on tire
pressures (Y page 251).
X Select key position 2with the Start/Stop
button.
X Press the 0059or0065 button to select the
Service Service menu.
X Press the 0063or0064 button to select
TIRE PRESS.
TIRE PRESS. .
X Press the 0076button.
The display shows either the current tire
pressure for the individual tires or the
Tire pressures will be displayed Tire pressures will be displayed
after driving a few minutes after driving a few minutes
message.
X Press the 0064button.
The Use Current Pressures as New Use Current Pressures as New
Reference Values
Reference Values message appears in
the multifunction display.
X Press the 0076button.
The Tire Press. Monitor Restarted
Tire Press. Monitor Restarted
message appears in the multifunction
display.
After a few minutes of driving, the current
pressures are adopted as the new
monitoring values.
Canceling the restart X
Press the 0041button.
or
X Press the 0063button to leave the menu. Tire pressure
257Wheels and tires Z