2013 MERCEDES-BENZ SLS AMG COUPE GT radio
[x] Cancel search: radioPage 183 of 286

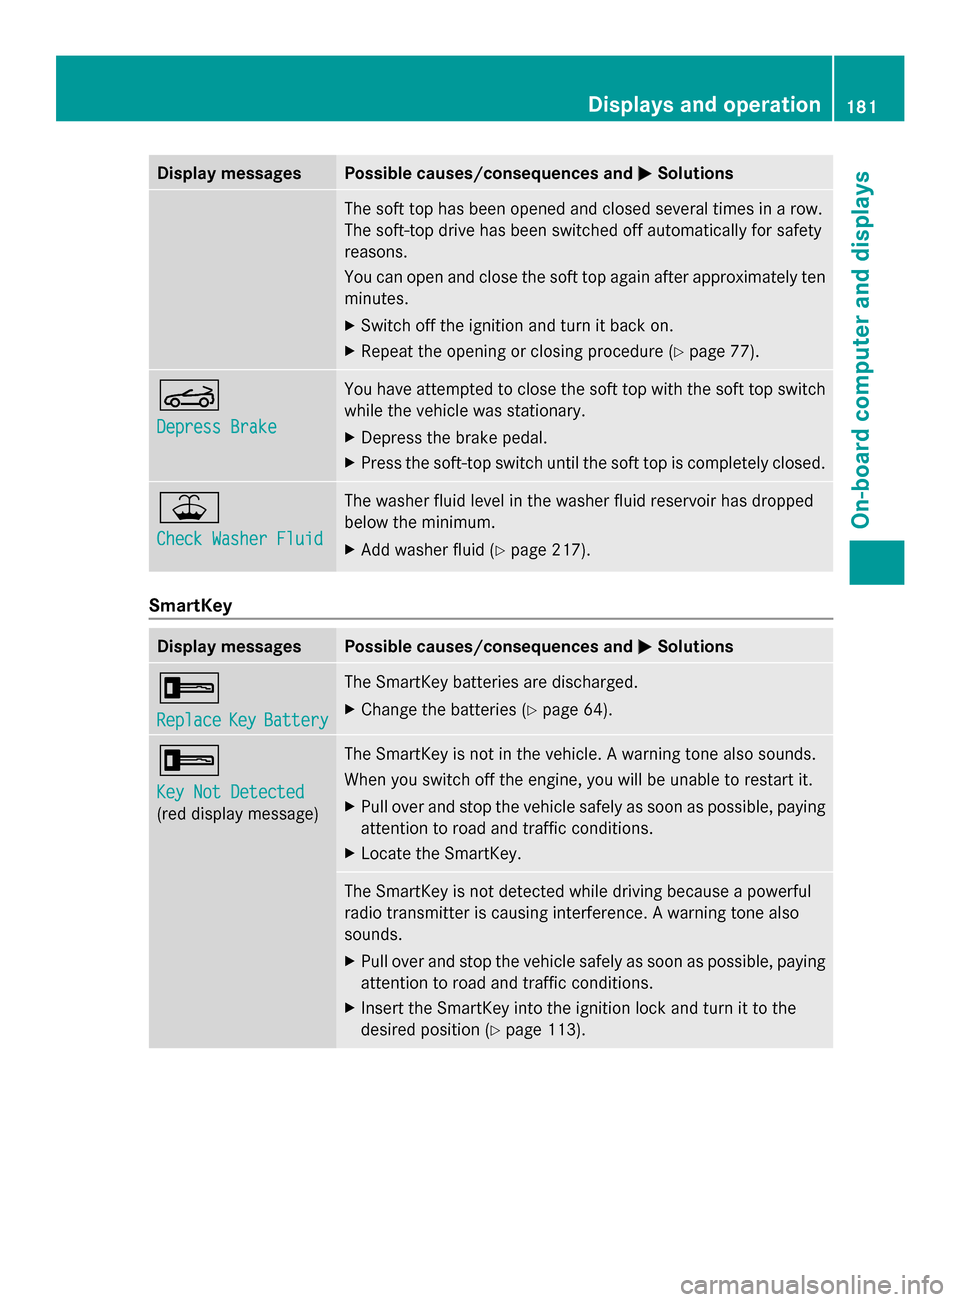
Display messages Possible causes/consequences and
0050
0050Solutions The soft top has been opened and closed several times in a row.
The soft-top drive has been switched off automatically for safety
reasons.
You can open and close the soft top again after approximately ten
minutes.
X
Switch off the ignition and turn it back on.
X Repeat the opening or closing procedure (Y page 77).0059
Depress Brake Depress Brake You have attempted to close the soft top with the soft top switch
while the vehicle was stationary.
X
Depress the brake pedal.
X Press the soft-top switch until the soft top is completely closed. 00B2
Check Washer Fluid Check Washer Fluid The washer fluid level in the washer fluid reservoir has dropped
below the minimum.
X
Add washer fluid ( Ypage 217). SmartKey
Display messages Possible causes/consequences and
0050 0050Solutions 0039
Replace Replace
Key
KeyBattery
Battery The SmartKey batteries are discharged.
X
Change the batteries ( Ypage 64). 0039
Key Not Detected Key Not Detected
(red display message) The SmartKey is not in the vehicle. A warning tone also sounds.
When you switch off the engine, you will be unable to restart it.
X
Pull over and stop the vehicle safely as soon as possible, paying
attention to road and traffic conditions.
X Locate the SmartKey. The SmartKey is not detected while driving because a powerful
radio transmitter is causing interference. A warning tone also
sounds.
X
Pull over and stop the vehicle safely as soon as possible, paying
attention to road and traffic conditions.
X Insert the SmartKey into the ignition lock and turn it to the
desired position ( Ypage 113). Displays and operation
181On-board computer and displays Z
Page 212 of 286

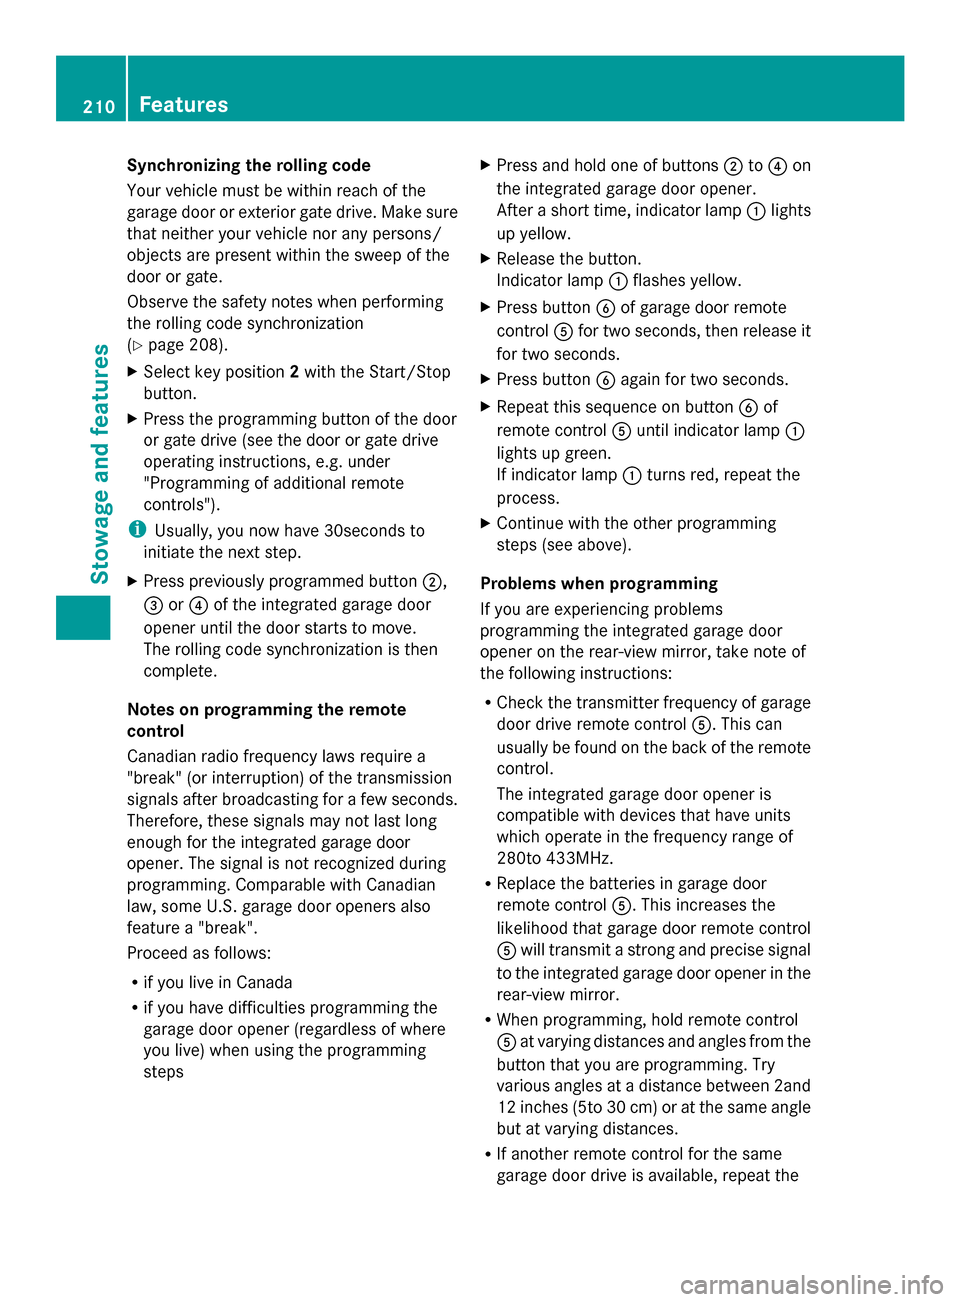
Synchronizing the rolling code
Your vehicle must be within reach of the
garage door or exterior gate drive. Make sure
that neither your vehicle nor any persons/
objects are present within the sweep of the
door or gate.
Observe the safety notes when performing
the rolling code synchronization
(Y page 208).
X Select key position 2with the Start/Stop
button.
X Press the programming button of the door
or gate drive (see the door or gate drive
operating instructions, e.g. under
"Programming of additional remote
controls").
i Usually, you now have 30seconds to
initiate the next step.
X Press previously programmed button 0044,
0087 or0085 of the integrated garage door
opener until the door starts to move.
The rolling code synchronization is then
complete.
Notes on programming the remote
control
Canadian radio frequency laws require a
"break" (or interruption) of the transmission
signals after broadcasting for a few seconds.
Therefore, these signals may not last long
enough for the integrated garage door
opener. The signal is not recognized during
programming. Comparable with Canadian
law, some U.S. garage door openers also
feature a "break".
Proceed as follows:
R if you live in Canada
R if you have difficulties programming the
garage door opener (regardless of where
you live) when using the programming
steps X
Press and hold one of buttons 0044to0085 on
the integrated garage door opener.
After a short time, indicator lamp 0043lights
up yellow.
X Release the button.
Indicator lamp 0043flashes yellow.
X Press button 0084of garage door remote
control 0083for two seconds, then release it
for two seconds.
X Press button 0084again for two seconds.
X Repeat this sequence on button 0084of
remote control 0083until indicator lamp 0043
lights up green.
If indicator lamp 0043turns red, repeat the
process.
X Continue with the other programming
steps (see above).
Problems when programming
If you are experiencing problems
programming the integrated garage door
opener on the rear-view mirror, take note of
the following instructions:
R Check the transmitter frequency of garage
door drive remote control 0083. This can
usually be found on the back of the remote
control.
The integrated garage door opener is
compatible with devices that have units
which operate in the frequency range of
280to 433MHz.
R Replace the batteries in garage door
remote control 0083. This increases the
likelihood that garage door remote control
0083 will transmit a strong and precise signal
to the integrated garage door opener in the
rear-view mirror.
R When programming, hold remote control
0083 at varying distances and angles from the
button that you are programming. Try
various angles at a distance between 2and
12 inches (5to 30 cm) or at the same angle
but at varying distances.
R If another remote control for the same
garage door drive is available, repeat the 210
FeaturesStowage and features
Page 243 of 286

R
Do not start the engine if the battery is frozen. Let the battery thaw first.
R Only jump-start from batteries with a 12 V voltage rating.
R Only use jumper cables which have a sufficient cross-section and insulated terminal clamps.
R If the battery is fully discharged, leave the battery that is being used to jump-start connected
for a few minutes before attempting to start. This charges the battery slightly.
R Make sure that the two vehicles do not touch.
Make sure that:
R the jumper cables are not damaged.
R when the jumper cables are connected to the battery, uninsulated sections of the terminal
clamp do not come into contact with other metal sections.
R the jumper cables cannot come into contact with parts such as the V-belt pulley or the fan.
These parts move when the engine is started and while it is running.
X Press the electric parking brake handle.
X Shift the transmission to Pwith the button in the center console.
X Remove the SmartKey from the ignition lock.
X Switch off all electrical consumers (e.g. radio, blower, etc.).
X Open the hood (Y page 214). Position number
0084identifies the charged battery of the other vehicle or an equivalent jump-
starting device.
X Slide cover 0083of positive terminal 0043in the direction of the arrow.
X Connect positive terminal 0043on your vehicle to positive terminal 0044of donor battery 0084
using the jumper cable, beginning with your own battery.
X Start the engine of the donor vehicle and run it at idling speed. Jump-starting
241Breakdown assistance Z
Page 258 of 286

reached the level to trigger illumination of the
TPMS low tire pressure telltale.
USA only:
Your vehicle has also been equipped with a
TPMS malfunction indicator to indicate when
the system is not operating properly. The
TPMS malfunction indicator is combined with
the low tire pressure telltale. When the
system detects a malfunction, the telltale will
flash for approximately 1 minute and then
remain continuously illuminated. This
sequence will continue upon subsequent
vehicle start-ups as long as the malfunction
exists. When the malfunction indicator is
illuminated, the system may not be able to
detect or signal low tire pressure as intended.
TPMS malfunctions may occur for a variety of
reasons, including the installation of
incompatible replacement or alternate tires
or wheels on the vehicle that prevent the
TPMS from functioning properly. Always
check the TPMS malfunction telltale after
replacing one or more tires or wheels on your
vehicle to ensure that the replacement or
alternate tires and wheels allow the TPMS to
continue to function properly.
i USA only:
If the tire pressure monitor is
malfunctioning, it may take more than
10 minutes for the tire pressure warning
lamp to inform you of the malfunction by
flashing for 60 seconds and then remaining
lit.
When the malfunction has been rectified,
the tire pressure warning lamp goes out
after a few minutes of driving.
Information on tire pressures is displayed in
the multifunction display. After a few minutes
of driving, the current tire pressure of each
tire is shown in the multifunction display.
i The tire pressure values indicated by the
on-board computer may differ from those
measured at a gas station with a pressure
gauge. The tire pressures shown by the on-
board computer refer to those measured at sea level. At high altitudes, the tire pressure
values indicated by a pressure gauge are
higher than those shown by the on-board
computer. In this case, do not reduce the
tire pressures.
i The operation of the tire pressure monitor
can be affected by interference from radio
transmitting equipment (e.g. radio
headphones, two-way radios) that may be
being operated in or near the vehicle.
i USA only:
This device complies with Part 15 of the
FCC Rules. Operation is subject to the
following two conditions:
1. This device may not cause interference,
and
2. this device must accept any interference
received, including interference that may
cause undesired operation.
Any unauthorized modification to this
device could void the user’s authority to
operate the equipment.
i Canada only:
This device complies with RSS-210 of
Industry Canada. Operation is subject to
the following two conditions:
1. This device may not cause interference,
and
2. this device must accept any interference
received, including interference that may
cause undesired operation of the device.
Any unauthorized modification to this
device could void the user’s authority to
operate the equipment.
Checking tire pressure electronically X
Select key position 2with the Start/Stop
button (Y page 113).
X Press the 0059or0065 button to select the
Service
Service menu.
X Press the 0063or0064 button to select
TIRE PRESS. TIRE PRESS. .
X Press the 0076button. 256
Tire pressureWheels and tires