2013 MERCEDES-BENZ GLA SUV oil reset
[x] Cancel search: oil resetPage 20 of 401

Roller sunblind
Opening/closing ............................ 104
Panorama sliding sunroof .............. 103
Roof carrier ........................................ 307
Roof lining and carpets (cleaning
instructions) ...................................... 329
Roof load (maximum) ........................ 391
Route (navigation)
see Route guidance (navigation)
Route guidance (navigation) ............ 239S
Safety Automatic front-passenger front
airbag deactivation system .............. 51
Child restraint systems .................... 60
Children in the vehicle ..................... 59
Safety system
see Driving safety systems
Seat
Adjusting (Performance Seat) ........ 113
Seat belt
Correct usage .................................. 46
Switching belt adjustment on/off
(on-board computer) ...................... 250
Seat belts
Adjusting the driver's and front-
passenger seat bel t......................... 47
Adjusting the height ......................... 46
Cleaning ......................................... 329
Display message ............................ 263
Fastening ......................................... 46
Important safety guidelines ............. 44
Introduction ..................................... 44
Rear seat belt status indicator ......... 48
Releasing ......................................... 47
Warning lamp ................................. 288
Warning lamp (function) ................... 47
Seats
Adjusting (electrically) ................... 110
Adjusting (manually) ...................... 110
Adjusting the 4-way lumbar sup-
port ................................................ 112
Adjusting the head restraint .......... 111
Cleaning the cover ......................... 328
Correct driver's seat position ........ 108
Important safety notes .................. 109 Seat heating problem .................... 114
Storing settings (memory func-
tion) ............................................... 117
Switching seat heating on/of
f....... 113
Sensors (cleaning instructions) ....... 326
Service
see ASSYST PLUS
Service Centre
see Qualified specialist workshop
Service menu (on-board com-
puter) .................................................. 245
Service products
Brake fluid ..................................... 390
Coolant (engine) ............................ 390
Engine oil ....................................... 388
Fuel ................................................ 385
Important safety notes .................. 384
Washer fluid ................................... 391
Setting the air distribution ............... 145
Setting the airflow ............................ 145
Settings
Factory (on-board computer) ......... 251
On-board compute r....................... 245
SETUP (on-board computer) ............. 251
Shifting to neutral (manual trans-
mission) ............................................. 167
Side lamps
Switching on/of f........................... 122
Side windows
Convenience closing ........................ 99
Convenience opening ...................... 99
Important safety notes .................... 98
Opening/closing .............................. 98
Problem (malfunction) ................... 101
Resetting ....................................... 100
Sidebag ................................................ 50
Sliding sunroof
see Panorama sliding sunroof
Snow chains ...................................... 355
Socket
Luggage compartment ................... 312
Points to observe before use ......... 311
Sockets
Centre console .............................. 311
Rear compartment ......................... 311
Specialist workshop ............................ 25
Spectacles compartment ................. 301 Index
17
Page 22 of 401

Rediallin
g....................................... 242
Rejecting/ending a call ................. 242
Telephone compartment ................ 302
Temperature
Coolant .......................................... 234
Coolant (on-board computer) ......... 251
Engine oil (on-board computer) ...... 251
Outside temperature ...................... 235
Setting (climate control )................ 144
TEMPOMAT
Function/note s............................. 188
Theft-deterrent system
ATA (Anti-Theft Alarm system) ......... 81
Immobiliser ...................................... 81
Through-loading ................................ 303
Time
see Separate Owner's manual
Timing (RACETIMER) ......................... 251
TIREFIT kit .......................................... 335
Top Tether ............................................ 62
Tow-away protection
Activating ......................................... 82
Deactivating ..................................... 82
Function ........................................... 81
Tow-starting
Emergency engine starting ............ 348
Fitting the towing eye .................... 346
Important safety notes .................. 344
Removing the towing eye ............... 346
Towing
Important safety notes .................. 344
Notes for 4MATIC vehicles ............ 347
Towing a trailer
Active Parking Assist ..................... 215
Axle load, permissibl e.................... 394
Bulb failure indicator for LED
lamps ............................................. 230
ESP® (Electronic Stability Pro-
gram) ............................................... 80
Pulling away with a traile r.............. 161
Trailer tow hitch display message .. 286
Towing away
Fitting the towing eye .................... 346
Removing the towing eye ............... 346
With both axles on the ground ....... 347
With front axle raised ..................... 346
Trailer coupling
see Towing a trailer Trailer towing
7-pin connecto r............................. 230
Blind Spot Assist ............................ 224
Cleaning the trailer tow hitch ......... 327
Coupling up a traile r...................... 229
Decoupling a trailer ....................... 229
Driving tips .................................... 225
Folding in the ball coupling ............ 229
Folding out the ball coupling .......... 228
Important safety notes .................. 225
Lights display message .................. 269
Mounting dimensions .................... 393
Parktronic ...................................... 209
Power supply ................................. 230
Trailer load s................................... 394
Transmission
see Automatic transmission
see Manual transmission
Transmission position display
(DIRECT SELECT lever) ...................... 168
Transporting the vehicle .................. 347
Travelling uphill
Brow of hill ..................................... 188
Driving downhill ............................. 188
Maximum gradient-climbing capa-
bility ............................................... 188
Trim pieces (cleaning instruc-
tions) .................................................. 328
Trip computer (on-board com-
puter) .................................................. 237
Trip meter
Calling up ....................................... 237
Resetting (on-board computer) ...... 238
Turn signals
Changing bulbs (front) ................... 130
Changing bulbs (rear) .................... 131
Switching on/of f........................... 123
Two-way radio
Frequencies ................................... 382
Installation ..................................... 382
Transmission output (maximum) .... 382
Type identification plate
see Vehicle identification plate
Tyre pressure
Calling up (on-board computer) ..... 358
Display message ............................ 280
Important safety notes .................. 358
Not reached (TIREFIT) .................... 337 Index
19
Page 254 of 401

Resetting to factory settings
X
Press the =or; button on the steer-
ing wheel to select the Settings
Settings menu.
X Press the :or9 button to select the
Factory setting
Factory setting submenu.
X Press ato confirm.
The Reset all settings?
Reset all settings? message
appears.
X Press the :or9 button to select No
No
or Yes
Yes.
X Press the abutton to confirm the selec-
tion.
If you have selected Yes Yes, the multifunction
display shows a confirmation message.
For safety reasons, not all functions are reset: the Limit
Limit speed
speed(winter
(winter tyres)
tyres)function
in permanent SPEEDTRONIC can only be set
in the Vehicle
Vehicle submenu. If you want to reset
the Daytime
Daytime driving
drivinglights
lightsin theLights
Lights
submenu, you must turn the key to position 1
in the ignition lock. AMG menu in AMG vehicles
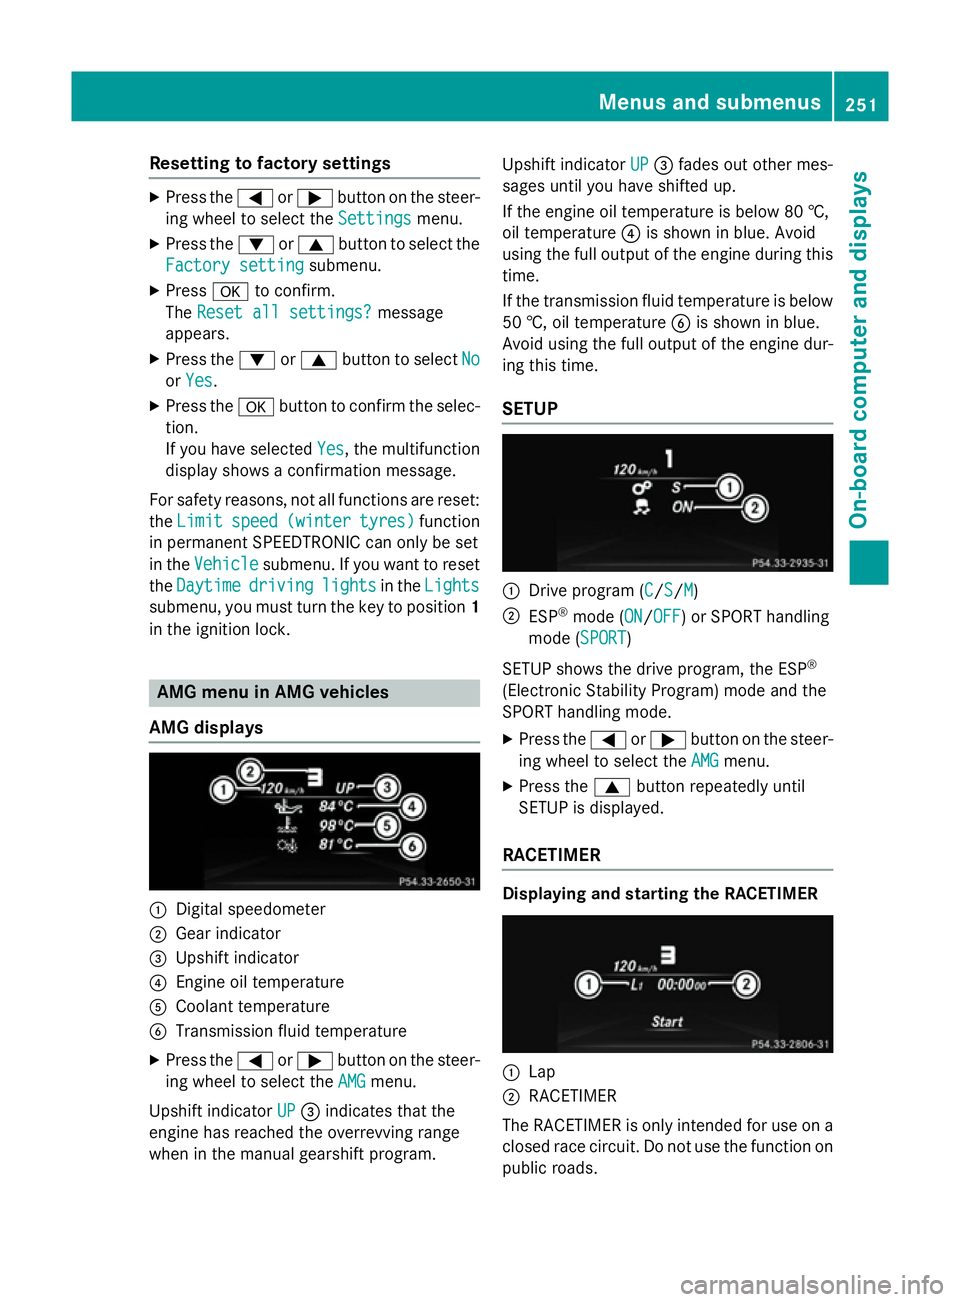
AMG displays :
Digital speedometer
; Gear indicator
= Upshift indicator
? Engine oil temperature
A Coolant temperature
B Transmission fluid temperature
X Press the =or; button on the steer-
ing wheel to select the AMG
AMG menu.
Upshift indicator UP
UP = indicates that the
engine has reached the overrevving range
when in the manual gearshift program. Upshift indicator
UP UP= fades out other mes-
sages until you have shifted up.
If the engine oil temperature is below 80 †,
oil temperature ?is shown in blue. Avoid
using the full output of the engine during this time.
If the transmission fluid temperature is below
50 †, oil temperature Bis shown in blue.
Avoid using the full output of the engine dur-
ing this time.
SETUP :
Drive program (C C/SS/MM)
; ESP ®
mode (ON ON/OFFOFF) or SPORT handling
mode (SPORT SPORT)
SETUP shows the drive program, the ESP ®
(Electronic Stability Program) mode and the
SPORT handling mode. X Press the =or; button on the steer-
ing wheel to select the AMG AMGmenu.
X Press the 9button repeatedly until
SETUP is displayed.
RACETIMER Displaying and starting the RACETIMER
:
Lap
; RACETIMER
The RACETIMER is only intended for use on a closed race circuit. Do not use the function on
public roads. Menus and submenus
251On-board computer and displays Z
Page 325 of 401

The multifunction display shows a service
message for a few seconds, e.g.:
R Service A in .. days
Service A in .. days
R Service A due
Service A due
R Service A overdue by .. days
Service A overdue by .. days
Depending on the operating conditions of the vehicle, the remaining time or distance until
the next service due date is displayed.
The letter indicates which service is due. A A
stands for a minor service and B
Bfor a major
service. A number or another letter may be
displayed after the letter.
Only for certain countries: the position after
the letter A
A or B Bindicates any necessary addi-
tional maintenance work to be performed. If
you notify a qualified specialist workshop of
this display, you will receive a statement on
the associated costs.
The ASSYST PLUS service interval display
does not take into account any periods of
time during which the battery is disconnec-
ted.
Maintaining the time-dependent service
schedule:
X Note down the service due date displayed
in the multifunction display before discon-
necting the battery.
or X After reconnecting the battery, subtract
the battery disconnection periods from the service date shown on the display.
Hiding service messages X
Press the aor% button on the steer-
ing wheel. Displaying service messages X
Switch the ignition on.
X Press the =or; button to select the
Serv. Serv. menu.
X Press the 9or: button to select the
ASSYST PLUS ASSYST PLUS submenu and confirm by
pressing the abutton.
The service due date appears in the multi-
function display.
Information about Service Resetting the ASSYST PLUS service inter-
val display
! If the ASSYST PLUS service interval dis-
play has been inadvertently reset, this set-
ting can be corrected at a qualified special-
ist workshop.
Have service work carried out as described in the Service Booklet. This may otherwise
lead to increased wear and damage to the
major assemblies or the vehicle.
A qualified specialist workshop, e.g. a
Mercedes-Benz Service Centre, will reset the ASSYST PLUS service interval display after
the service work has been carried out. You
can also obtain further information on main-
tenance work, for example.
Special service requirements
The prescribed service interval is based on
normal operation of the vehicle. Service work
will need to be performed more often if the
vehicle is operated under arduous conditions or increased loads, for example:
R regular city driving with frequent intermedi-
ate stops
R if the vehicle is primarily used to travel
short distances
R for frequent operation in mountainous ter-
rain or on poor road surfaces
R if the engine is often left idling for long peri-
ods
In these or similar operating conditions, have
the air filter, engine oil and oil filter, for exam- 322
ServiceMaintenance and care