2013 MERCEDES-BENZ GLA SUV ESP
[x] Cancel search: ESPPage 296 of 401
Problem
Possible causes/consequences and
M
MSolutions ֌
The yellow ESP
®
and
ESP ®
OFF warning
lamps are lit while the
engine is running. ESP
®
, BAS, COLLISION PREVENTION ASSIST, COLLISION PRE-
VENTION ASSIST PLUS, PRE ‑SAFE®
, the HOLD function, hill start
assist, the adaptive brake lights and ESP ®
trailer stabilisation are
not available due to a malfunction.
ATTENTION ASSIST is deactivated.
G WARNING
The brake system continues to function normally, but without the functions listed above.
The braking distance may thus increase in an emergency braking
situation.
If ESP ®
is not operational, ESP ®
is unable to stabilise the vehicle.
There is an increased danger of skidding and risk of an accident.
X Observe the additional display messages in the multifunction
display.
X Drive on carefully.
X Visit a qualified specialist workshop. ֌
The yellow ESP
®
and
ESP ®
OFF warning
lamps are lit while the
engine is running. ESP
®
, BAS, PRE-SAFE ®
, the HOLD function, hill start assist and
ESP ®
trailer stabilisation are temporarily unavailable.
The adaptive brake lights and COLLISION PREVENTION ASSIST/
COLLISION PREVENTION ASSIST PLUS may also have failed.
ATTENTION ASSIST is deactivated.
Self-diagnosis is not yet complete.
G WARNING
The brake system continues to function normally, but without the functions listed above.
The braking distance may thus increase in an emergency braking
situation.
If ESP ®
is not operational, ESP ®
is unable to stabilise the vehicle.
There is an increased danger of skidding and risk of an accident.
X Carefully drive on a suitable stretch of road making slight steer-
ing movements at a speed above 20 km/h.
The functions mentioned above are available again when the
warning lamp goes out.
If the warning lamp is still on:
X Observe the additional display messages in the multifunction
display.
X Drive on carefully.
X Visit a qualified specialist workshop. Warning and indicator lamps in the instrument cluster
293On-board computer and displays Z
Page 301 of 401

Tyres
Problem
Possible causes/consequences and
M
MSolutions h
The yellow tyre pres-
sure monitor warning
lamp (pressure loss/
malfunction) is lit.
The tyre pressure monitor has detected a loss of pressure in at
least one of the tyres.
G WARNING
With tyre pressures which are too low, there is a risk of the fol-
lowing hazards: R the tyres may burst, especially as the load and vehicle speed
increase
R the tyres may wear excessively and/or unevenly, which may
greatly impair tyre traction
R the driving characteristics, as well as steering and braking, may
be greatly impaired
There is a risk of an accident.
X Stop the vehicle without making any sudden steering or braking
manoeuvres. Pay attention to the traffic conditions as you do so.
X Secure the vehicle against rolling away (Y page 179).
X Observe the additional display messages in the multifunction
display.
X Check the tyres and, if necessary, follow the instructions for a
flat tyre (Y page 334).
X Check the tyre pressure (Y page 358).
X If necessary, correct the tyre pressure. h
The yellow tyre pres-
sure monitor warning
lamp (pressure loss/
malfunction) flashes for
approximately one
minute and then
remains lit. The tyre pressure monitor is faulty.
G WARNING
The system is possibly unable to recognise or register low tyre
pressure.
There is a risk of an accident. X Observe the additional display messages in the multifunction
display.
X Visit a qualified specialist workshop. 298
Warning and indicator lamps in the instrument clusterOn-board computer and displays
Page 303 of 401
Useful information
i This Owner's Manual describes all mod-
els, series and optional equipment for your
vehicle that were available at the time of
going to press. National variations are pos- sible. Note that your vehicle may not be
equipped with all of the functions descri-
bed. This is also the case for systems and
functions relevant to safety.
i Read the information on qualified special-
ist workshops: (Y page 25). Loading guidelines
G
WARNING
If objects, luggage or loads are not secured or not secured sufficiently, they could slip, tip
over or be flung around and thereby hit vehicle
occupants. There is a risk of injury, especially when braking or abruptly changing directions.
Always store objects so that they cannot be
flung around. Secure objects, luggage or
loads against slipping or tipping before the
journey. G
WARNING
Combustion engines emit poisonous exhaust
gases such as carbon monoxide. If the tailgate is open when the engine is running, particu-
larly if the vehicle is moving, exhaust fumes
could enter the passenger compartment.
There is a risk of poisoning.
Turn off the engine before opening the tail-
gate. Never drive with the tailgate open. The handling characteristics of a laden vehi-
cle are dependent on the distribution of the
load within the vehicle. For this reason, you
should observe the following notes when
transporting a load:
R never exceed the maximum permissible
gross vehicle weight or the permissible axle
loads for the vehicle (including occupants).
R the luggage compartment is the preferred
place to carry objects.
R position heavy loads as far forwards as pos-
sible and as low down in the luggage com-
partment as possible.
R the load must not protrude above the upper
edge of the seat backrests.
R always place the load against the rear or
front seat backrests. Make sure that the
seat backrests are securely locked into
place.
R always place the load behind unoccupied
seats if possible.
R use the lashing eyelets and the luggage
nets to transport loads and luggage.
R only use lashing eyelets and fastening com-
ponents that are suitable for the weight and
size of the load.
R the maximum load capacity of the stowage
well under the luggage compartment floor
is 25 kg.
R secure the load with sufficiently strong and
wear-resistant lashing material. pad sharp
edges for protection.
i Lashing material is available at any quali-
fied specialist workshop.
! Do not position the load on one part of the
folding luggage compartment floor only.
The maximum load capacity of the folding
luggage compartment floor is 100 kg.
Spread the weight evenly to avoid damag-
ing the luggage compartment floor. Place a solid board under the load if necessary.
Please note that the load on the luggage
compartment floor will be increased when
the load is lashed down. 300
Loading guidelinesStowing and features
Page 304 of 401

Stowage areas
Stowage spaces
Important safety notes G
WARNING
If you do not correctly store objects in the
vehicle interior, they can slip or be flung
around, thus striking vehicle occupants.
There is a risk of injury, especially when brak- ing or abruptly changing directions.
R Always store objects so that they cannot be
flung around in these or in similar situa-
tions.
R Always make sure that objects do not pro-
trude from stowage compartments, lug-
gage nets or stowage nets.
R Close lockable stowage compartments
while driving.
R Stow and secure objects that are heavy,
hard, pointy, sharp-edged, fragile or too
large in the luggage compartment.
Observe the loading guidelines (Y page 300).
Front stowage compartments Glove compartment
X
To open: pull handle :and open glove
compartment flap ;.
X To close: fold glove compartment flap ;
upwards until it engages.
i There is a pen holder at the top of the
glove compartment flap. Spectacles compartment
X
To open: press marking :.
Make sure that the spectacles compartment
is always closed while the vehicle is in motion.
Stowage compartment in the centre con-
sole Illustration: vehicles with DIRECT SELECT lever
X To open: press the marking on cover :.
i Depending on the vehicle's equipment,
there is an open instead of a closed stow-
age compartment or an ashtray in the
centre console. Stowage areas
301Stowing and features Z
Page 307 of 401
X
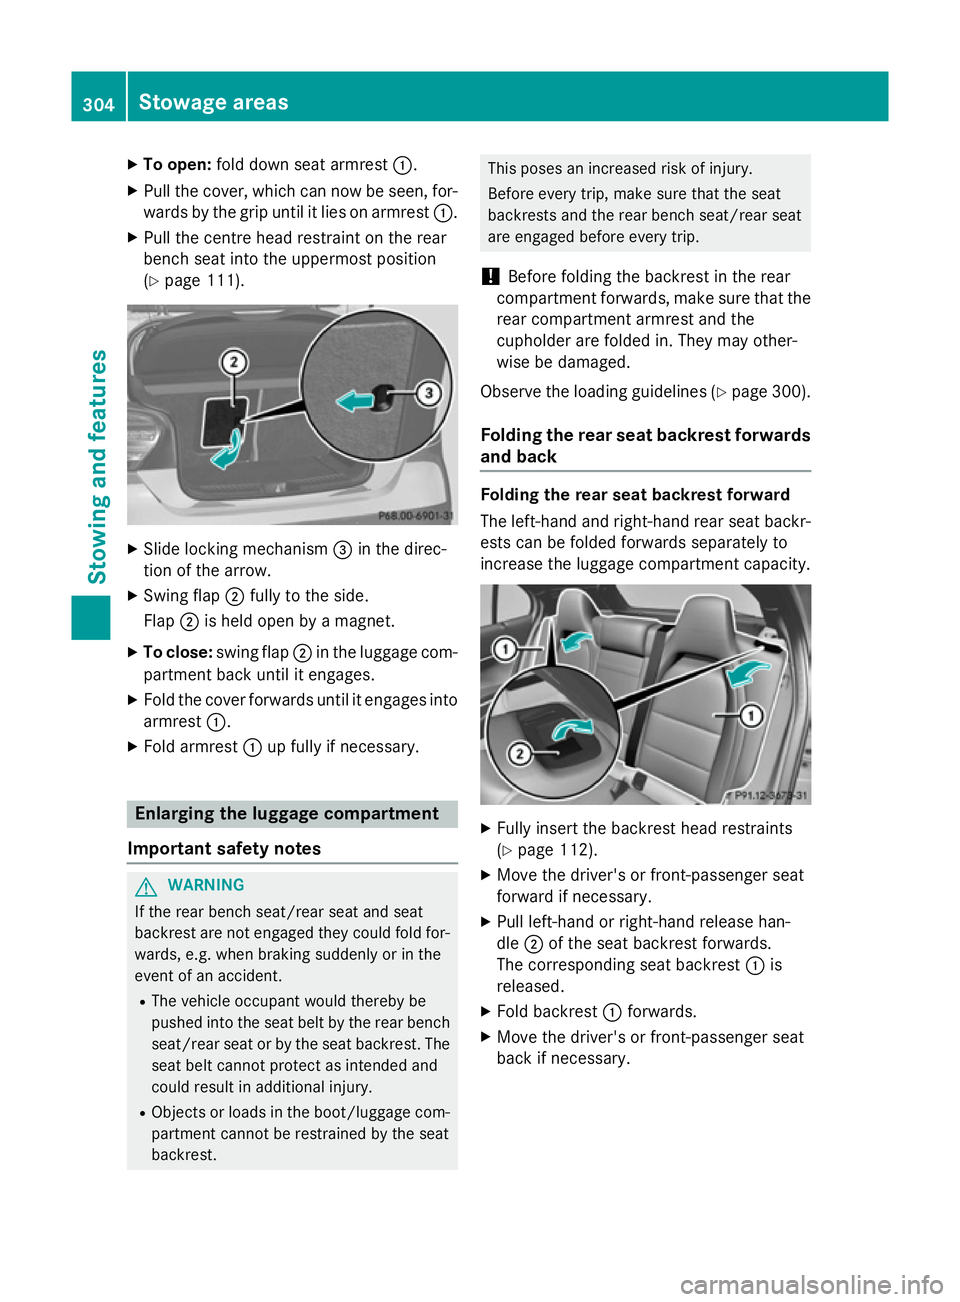
To open: fold down seat armrest :.
X Pull the cover, which can now be seen, for-
wards by the grip until it lies on armrest :.
X Pull the centre head restraint on the rear
bench seat into the uppermost position
(Y page 111). X
Slide locking mechanism =in the direc-
tion of the arrow.
X Swing flap ;fully to the side.
Flap ;is held open by a magnet.
X To close: swing flap ;in the luggage com-
partment back until it engages.
X Fold the cover forwards until it engages into
armrest :.
X Fold armrest :up fully if necessary. Enlarging the luggage compartment
Important safety notes G
WARNING
If the rear bench seat/rear seat and seat
backrest are not engaged they could fold for- wards, e.g. when braking suddenly or in the
event of an accident.
R The vehicle occupant would thereby be
pushed into the seat belt by the rear bench
seat/rear seat or by the seat backrest. The
seat belt cannot protect as intended and
could result in additional injury.
R Objects or loads in the boot/luggage com-
partment cannot be restrained by the seat
backrest. This poses an increased risk of injury.
Before every trip, make sure that the seat
backrests and the rear bench seat/rear seat
are engaged before every trip.
! Before folding the backrest in the rear
compartment forwards, make sure that the
rear compartment armrest and the
cupholder are folded in. They may other-
wise be damaged.
Observe the loading guidelines (Y page 300).
Folding the rear seat backrest forwards and back Folding the rear seat backrest forward
The left-hand and right-hand rear seat backr-
ests can be folded forwards separately to
increase the luggage compartment capacity. X
Fully insert the backrest head restraints
(Y page 112).
X Move the driver's or front-passenger seat
forward if necessary.
X Pull left-hand or right-hand release han-
dle ;of the seat backrest forwards.
The corresponding seat backrest :is
released.
X Fold backrest :forwards.
X Move the driver's or front-passenger seat
back if necessary. 304
Stowage areasSto
wing an d features
Page 308 of 401
X
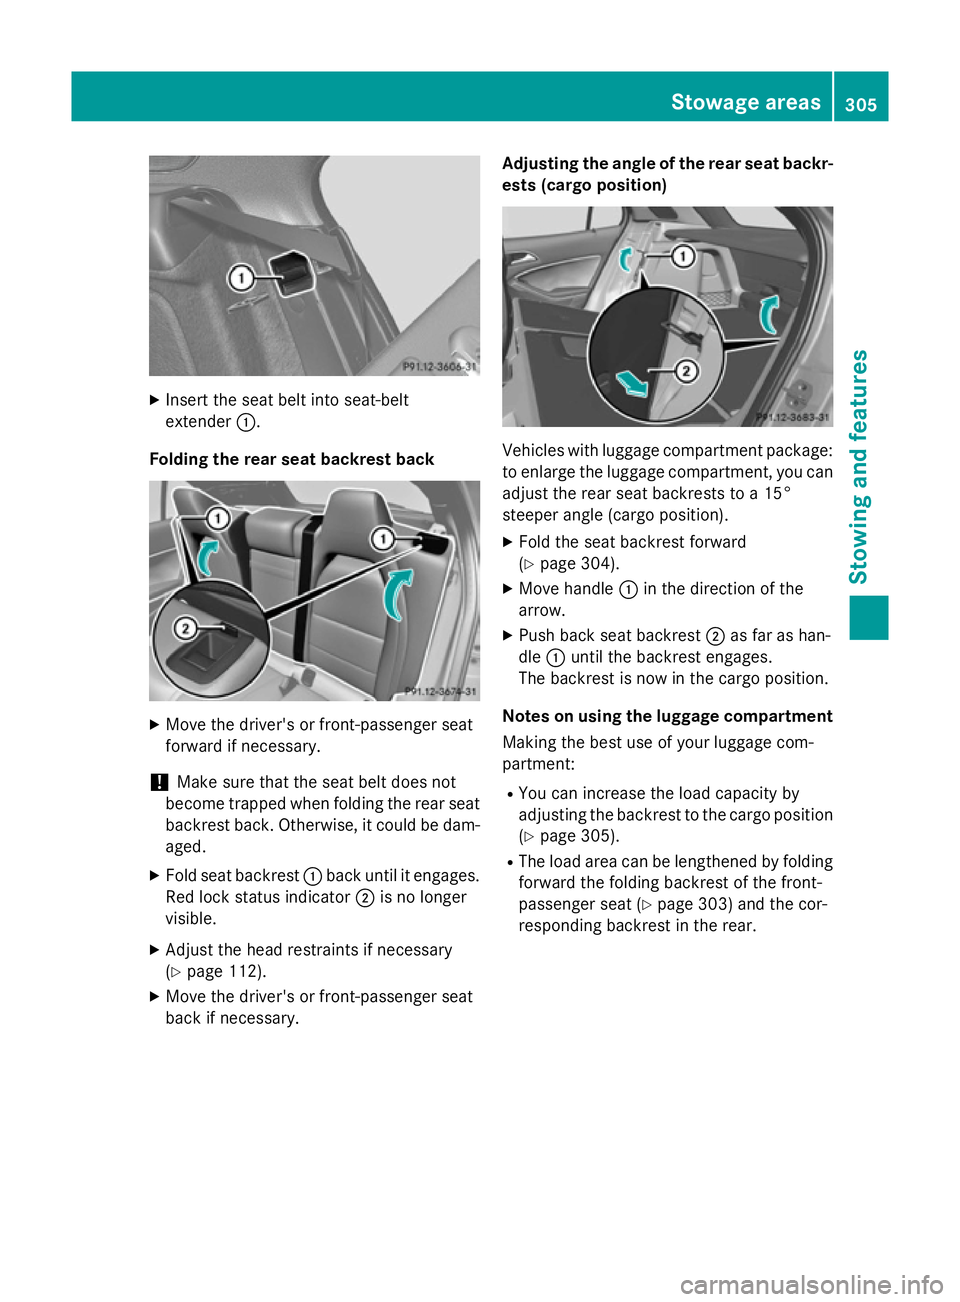
Insert the seat belt into seat-belt
extender :.
Folding the rear seat backrest back X
Move the driver's or front-passenger seat
forward if necessary.
! Make sure that the seat belt does not
become trapped when folding the rear seat backrest back. Otherwise, it could be dam-
aged.
X Fold seat backrest :back until it engages.
Red lock status indicator ;is no longer
visible.
X Adjust the head restraints if necessary
(Y page 112).
X Move the driver's or front-passenger seat
back if necessary. Adjusting the angle of the rear seat backr-
ests (cargo position) Vehicles with luggage compartment package:
to enlarge the luggage compartment, you canadjust the rear seat backrests to a 15°
steeper angle (cargo position).
X Fold the seat backrest forward
(Y page 304).
X Move handle :in the direction of the
arrow.
X Push back seat backrest ;as far as han-
dle :until the backrest engages.
The backrest is now in the cargo position.
Notes on using the luggage compartment Making the best use of your luggage com-
partment:
R You can increase the load capacity by
adjusting the backrest to the cargo position
(Y page 305).
R The load area can be lengthened by folding
forward the folding backrest of the front-
passenger seat (Y page 303) and the cor-
responding backrest in the rear. Stowage areas
305Stowing and features Z
Page 310 of 401
Stowage well underneath the luggage
compartment floor
Important safety notes G
WARNING
If you drive when the luggage compartment
floor is open, objects could be flung around,
thus striking vehicle occupants. There is a risk of injury, especially when braking or abruptly
changing directions.
Always close the luggage compartment floor
before a journey.
! The maximum load capacity of the stow-
age well under the luggage compartment
floor is 25 kg.
Opening/closing the luggage compart-
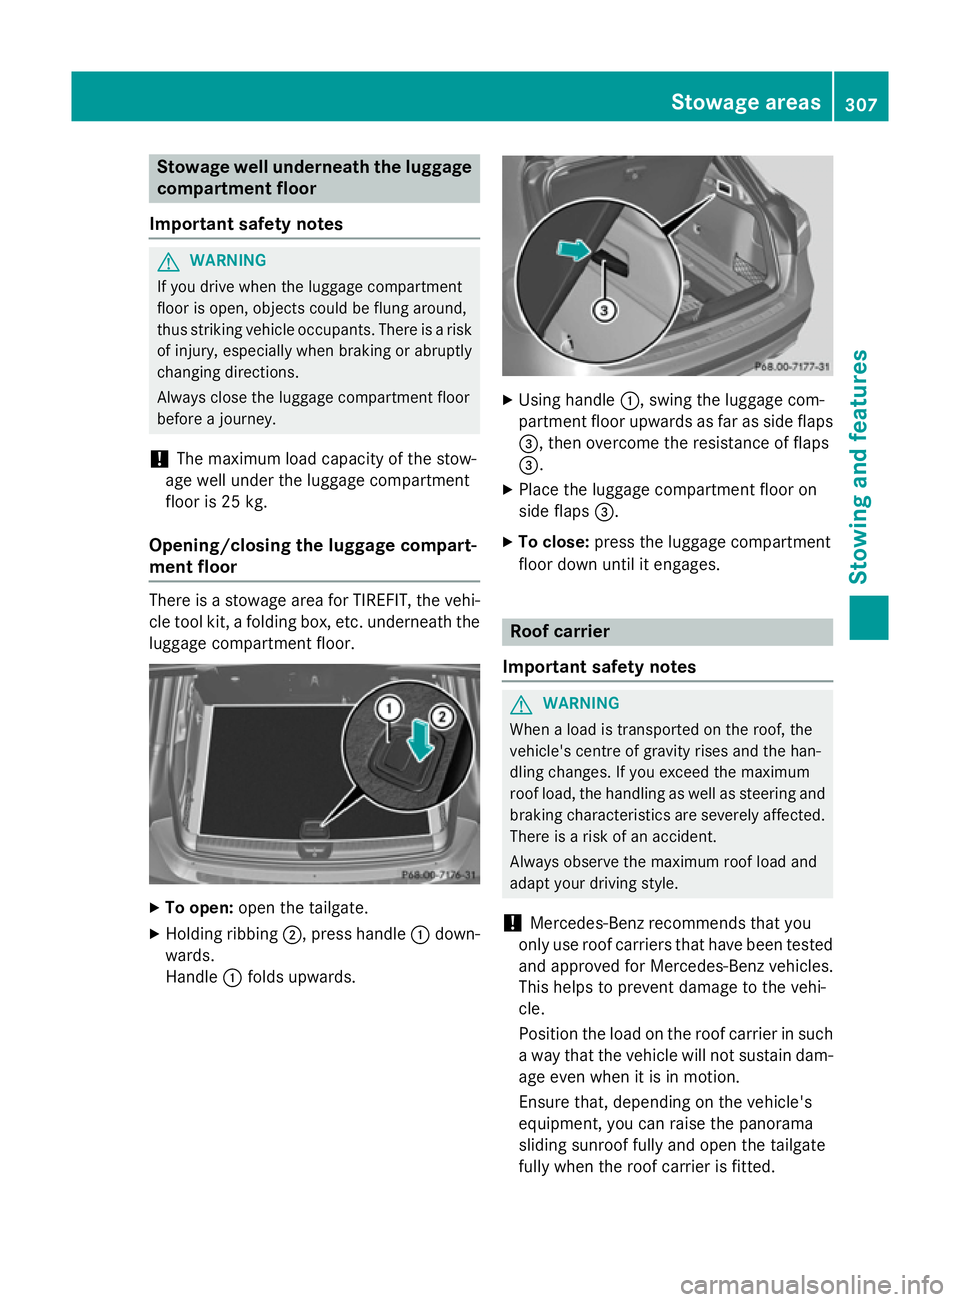
ment floor There is a stowage area for TIREFIT, the vehi-
cle tool kit, a folding box, etc. underneath the
luggage compartment floor. X
To open: open the tailgate.
X Holding ribbing ;, press handle :down-
wards.
Handle :folds upwards. X
Using handle :, swing the luggage com-
partment floor upwards as far as side flaps =, then overcome the resistance of flaps
=.
X Place the luggage compartment floor on
side flaps =.
X To close: press the luggage compartment
floor down until it engages. Roof carrier
Important safety notes G
WARNING
When a load is transported on the roof, the
vehicle's centre of gravity rises and the han-
dling changes. If you exceed the maximum
roof load, the handling as well as steering and braking characteristics are severely affected.
There is a risk of an accident.
Always observe the maximum roof load and
adapt your driving style.
! Mercedes-Benz recommends that you
only use roof carriers that have been tested and approved for Mercedes-Benz vehicles.
This helps to prevent damage to the vehi-
cle.
Position the load on the roof carrier in such
a way that the vehicle will not sustain dam-
age even when it is in motion.
Ensure that, depending on the vehicle's
equipment, you can raise the panorama
sliding sunroof fully and open the tailgate
fully when the roof carrier is fitted. Stowage areas
307Stowing and features Z
Page 311 of 401
You will find information about the maximum
roof load in the "Technical data" section
(Y page 391).
You will find information about the maximum roof load in the "Technical data" section
(Y page 391).
An incorrectly secured roof carrier or roof
load may become detached from the vehicle.
You must therefore ensure that you observe
the roof carrier manufacturer's installation
instructions.
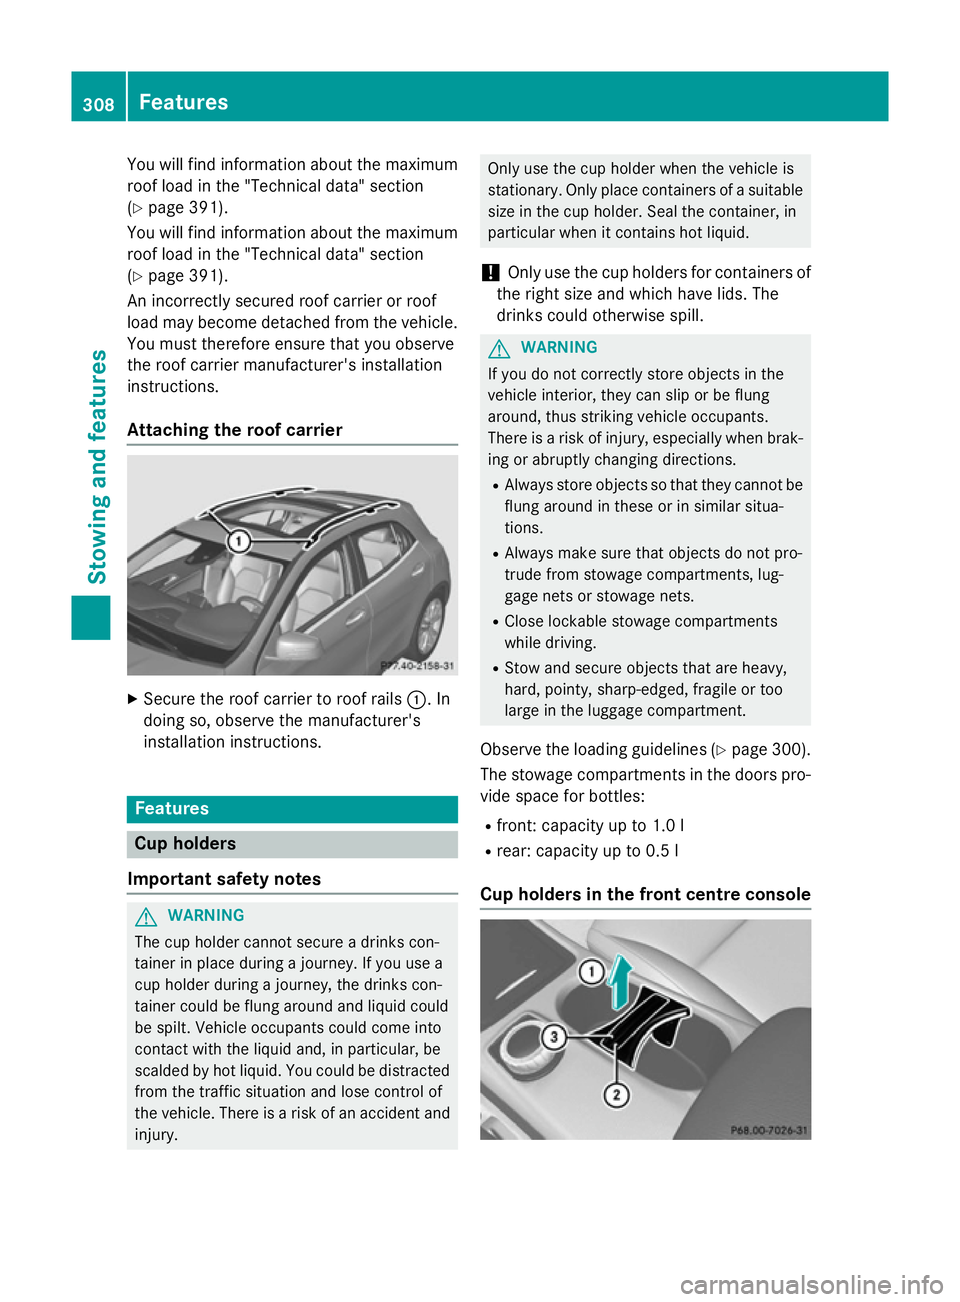
Attaching the roof carrier X
Secure the roof carrier to roof rails :. In
doing so, observe the manufacturer's
installation instructions. Features
Cup holders
Important safety notes G
WARNING
The cup holder cannot secure a drinks con-
tainer in place during a journey. If you use a
cup holder during a journey, the drinks con-
tainer could be flung around and liquid could
be spilt. Vehicle occupants could come into
contact with the liquid and, in particular, be
scalded by hot liquid. You could be distracted
from the traffic situation and lose control of
the vehicle. There is a risk of an accident and
injury. Only use the cup holder when the vehicle is
stationary. Only place containers of a suitable size in the cup holder. Seal the container, in
particular when it contains hot liquid.
! Only use the cup holders for containers of
the right size and which have lids. The
drinks could otherwise spill. G
WARNING
If you do not correctly store objects in the
vehicle interior, they can slip or be flung
around, thus striking vehicle occupants.
There is a risk of injury, especially when brak- ing or abruptly changing directions.
R Always store objects so that they cannot be
flung around in these or in similar situa-
tions.
R Always make sure that objects do not pro-
trude from stowage compartments, lug-
gage nets or stowage nets.
R Close lockable stowage compartments
while driving.
R Stow and secure objects that are heavy,
hard, pointy, sharp-edged, fragile or too
large in the luggage compartment.
Observe the loading guidelines (Y page 300).
The stowage compartments in the doors pro- vide space for bottles:
R front: capacity up to 1.0 l
R rear: capacity up to 0.5 l
Cup holders in the front centre console 308
FeaturesStowing and features