2013 MERCEDES-BENZ CLA window
[x] Cancel search: windowPage 135 of 352
Rear window heating
Switching on/off
The rear window heating has a high current
draw. You should therefore switch it off as
soon as the window is clear. It otherwise
switches off automatically after several
minutes.
If the battery voltage is too low, the rear win-
dow heating may switch off.
XTurn the key to position 2 in the ignition
lock ( Y page 145).XPress the ¤ button.
The indicator lamp in the ¤ button lights
up or goes out.Operating the climate control system133Climate control
Page 136 of 352
Problems with the rear window heatingProblemPossible causes/consequences and M SolutionsThe rear window heat-
ing has switched off
prematurely or cannot
be activated.The battery has not been sufficiently charged.XSwitch off any consumers that are not required, e.g. reading
lamps, interior lighting or the seat heating.
When the battery is sufficiently charged, the rear window heat-
ing can be activated again.Activating/deactivating air-recircula-
tion mode
Points to observe before use
You can deactivate the flow of fresh air if
unpleasant odours are entering the vehicle
from outside. The air already inside the vehi-
cle will then be recirculated.
If you switch on air-recirculation mode, the
windows can mist up more quickly, in partic-
ular at low temperatures. Only use air-recir-
culation mode briefly to prevent the windows
misting up.
The operation of air-recirculation mode is the
same for all control panels.
Activating/deactivating
XTurn the key to position 2 in the ignition
lock ( Y page 145).XTo activate: press the e button.
The indicator lamp in the e button lights
up.
i Air-recirculation mode is activated auto-
matically at high outside temperatures.
When air-recirculation mode is activated
automatically, the indicator lamp in the
e button is not lit.
Outside air is added after about
30 minutes.
XTo deactivate: press the e button.
The indicator lamp in the e button goes
out.i Air-recirculation mode is deactivated
automatically:
R after approximately five minutes at out-
side temperatures below about 5 †
R after approximately five minutes if the
"Cooling with air dehumidification" func-
tion is deactivated
R after approximately 30 minutes at out-
side temperatures above approximately
5 † if the "Cooling with air dehumidifi-
cation" function is activated
Convenience opening/closing using
the air-recirculation button
GWARNING
When the convenience closing feature is oper-
ating, parts of the body could become trapped
in the closing area of the side window and the
sliding sunroof. There is a risk of injury.
Observe the complete closing procedure
when the convenience closing feature is oper-
ating. When closing make sure that no parts
of the body are in the closing area.
GWARNING
During convenience opening parts of the body
could be drawn in or become trapped
between the side window and window frame.
There is a risk of injury.
When opening, make sure that nobody is
touching the side window. If someone
becomes trapped, press the W switch
immediately to open/close the side window
134Operating the climate control systemClimate control
Page 137 of 352
in the door. The side window stops. To con-
tinue closing the side window, pull on the
W switch.XConvenience closing feature: press and
hold the e button until the side win-
dows and the panorama sliding sunroof are
closed.
The indicator lamp in the e button lights
up. Air-recirculation mode is activated.
If parts of the body are in the closing area
during convenience closing, proceed as fol-
lows:
XTo open/close the side window, press the
W button.
The side window stops.XTo then open the side window, press the
W button again.
or
XPress and hold the e button again for
at least two seconds.
The side windows move in the opposite
direction.XPress the 3 button for opening/closing
the panorama sliding sunroof.
The panorama sliding sunroof stops.XTo then open the panorama sliding sunroof,
press the 3 button again.
iNotes on the automatic reversing func-
tion for:
R the side window ( Y page 87)
R the panorama sliding sunroof
( Y page 90)
XConvenience opening feature: press and
hold the e button until the side win-
dows and the panorama sliding sunroof
have opened. The side windows and the
panorama sliding sunroof move back to
their original position.
The indicator lamp in the e button goes
out. Air-recirculation mode is deactivated.
i If you open the side windows or the pan-
orama sliding sunroof manually after clos-
ing with the convenience closing feature,
they will remain in this position when
opened using the convenience opening fea-
ture.
Activating/deactivating the residual
heat function
The residual heat function is only available
with THERMOTRONIC automatic climate con-
trol.
It is possible to make use of the residual heat
of the engine to continue heating the vehicle
for approximately 30 minutes after the engine
has been switched off. The heating time
depends on the temperature that has been
set for the vehicle interior.
i The blower will run at a low speed regard-
less of the airflow setting.
i If you activate the residual heat function
at high temperatures, only the ventilation
will be activated. The blower runs at
medium speed.
XTurn the key to position 0 in the ignition
lock or remove it ( Y page 145).XTo activate: press the Ì button.
The indicator lamp in the Ì button lights
up.XTo deactivate: press the Ì button.
The indicator lamp in the Ì button goes
out.
i Residual heat is deactivated automati-
cally:
R after approximately 30 minutes
R when the ignition is switched on
R if the battery voltage drops
R when the auxiliary heating is switched on
Operating the climate control system135Climate controlZ
Page 138 of 352

Auxiliary heating
Important safety notesGDANGER
If the exhaust pipe is blocked or sufficient
ventilation is not possible, toxic exhaust
fumes can enter the vehicle, especially car-
bon monoxide. This is the case, e.g. in
enclosed spaces, or if the vehicle is stuck in
snow. There is a risk of fatal injuries.
You should switch off the auxiliary heating in
enclosed spaces which do not have an extrac-
tion system, e.g. a garage. If the vehicle is
stuck in snow and you must leave the auxiliary
heating running, keep the exhaust pipe and
the area around the vehicle clear of snow. To
guarantee a sufficient supply of fresh air, open
a window on the side of the vehicle away from
the wind.
GWARNING
When the auxiliary heating is switched on,
parts of the vehicle can become very hot.
Flammable material such as leaves, grass or
twigs may ignite if they come into contact with
hot parts of the exhaust system for extended
periods. There is a risk of fire.
When the auxiliary heating is switched on,
make sure that no flammable material can
come into contact with hot vehicle compo-
nents.
! Operating the auxiliary heating/ventila-
tion draws on the vehicle battery. After you
have heated or ventilated the vehicle a
maximum of two times, drive for a longer
distance.
i Switch the auxiliary heating on regularly
once a month for about ten minutes.
The auxiliary heating heats the air in the vehi-
cle interior to the set temperature. This
occurs without using the heat of the running
engine. The auxiliary heating is operated
directly using the vehicle's fuel. For this rea-
son, the fuel tank must be at least ¼ full to
ensure that the auxiliary heating functions.
The auxiliary heating/ventilation automati-
cally adjusts to changes in temperature and
weather conditions. For this reason, the aux-
iliary heating could switch from ventilation
mode to heating mode or from heating mode
to ventilation mode.
The auxiliary heating switches off when the
engine is switched off. The auxiliary ventila-
tion switches off when you turn the key to key
position 2(Y page 145).
The auxiliary heating switches off automati-
cally after 30 minutes.
You cannot use the auxiliary ventilation to
cool the vehicle interior to a temperature
lower than the outside temperature.
Before switching onXTurn the key to position 2 in the ignition
lock ( Y page 145).XSet the desired temperature.
Auxiliary heating or ventilation can also be
switched on if the manually set climate con-
trol is activated. Optimum comfort can be
attained when the system is set to automatic
mode. Set the temperature to 22 †.
The auxiliary heating/ventilation can be acti-
vated or deactivated using the remote control
or the button on the centre console.
The on-board computer can be used to spec-
ify up to three departure times, one of which
may be preselected ( Y page 224).
136Operating the climate control systemClimate control
Page 144 of 352
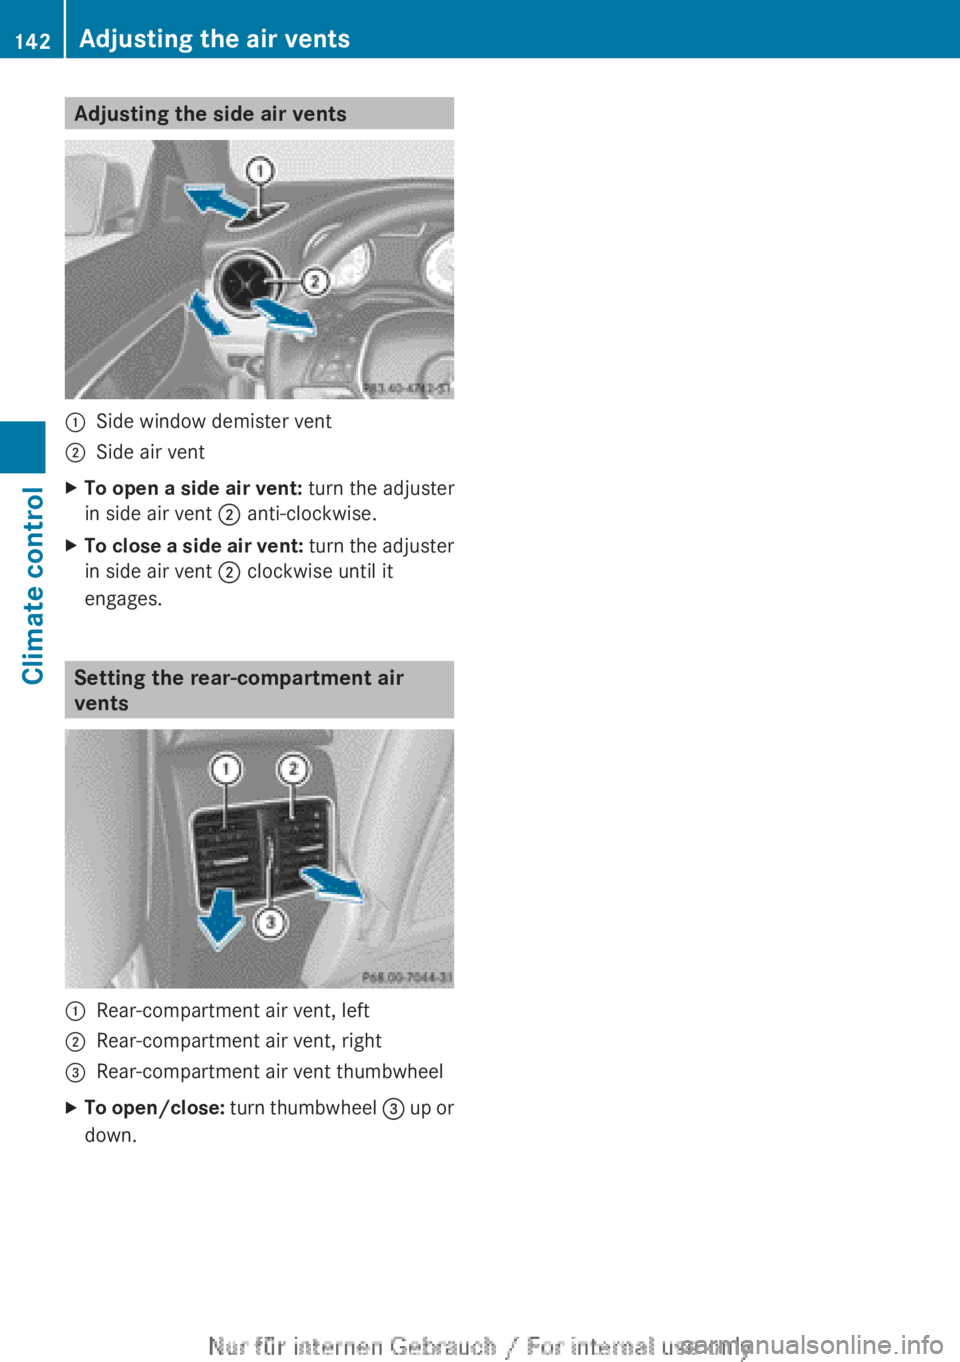
Adjusting the side air vents:Side window demister vent;Side air ventXTo open a side air vent: turn the adjuster
in side air vent ; anti-clockwise.XTo close a side air vent: turn the adjuster
in side air vent ; clockwise until it
engages.
Setting the rear-compartment air
vents
:Rear-compartment air vent, left;Rear-compartment air vent, right=Rear-compartment air vent thumbwheelXTo open/close: turn thumbwheel = up or
down.142Adjusting the air ventsClimate control
Page 169 of 352
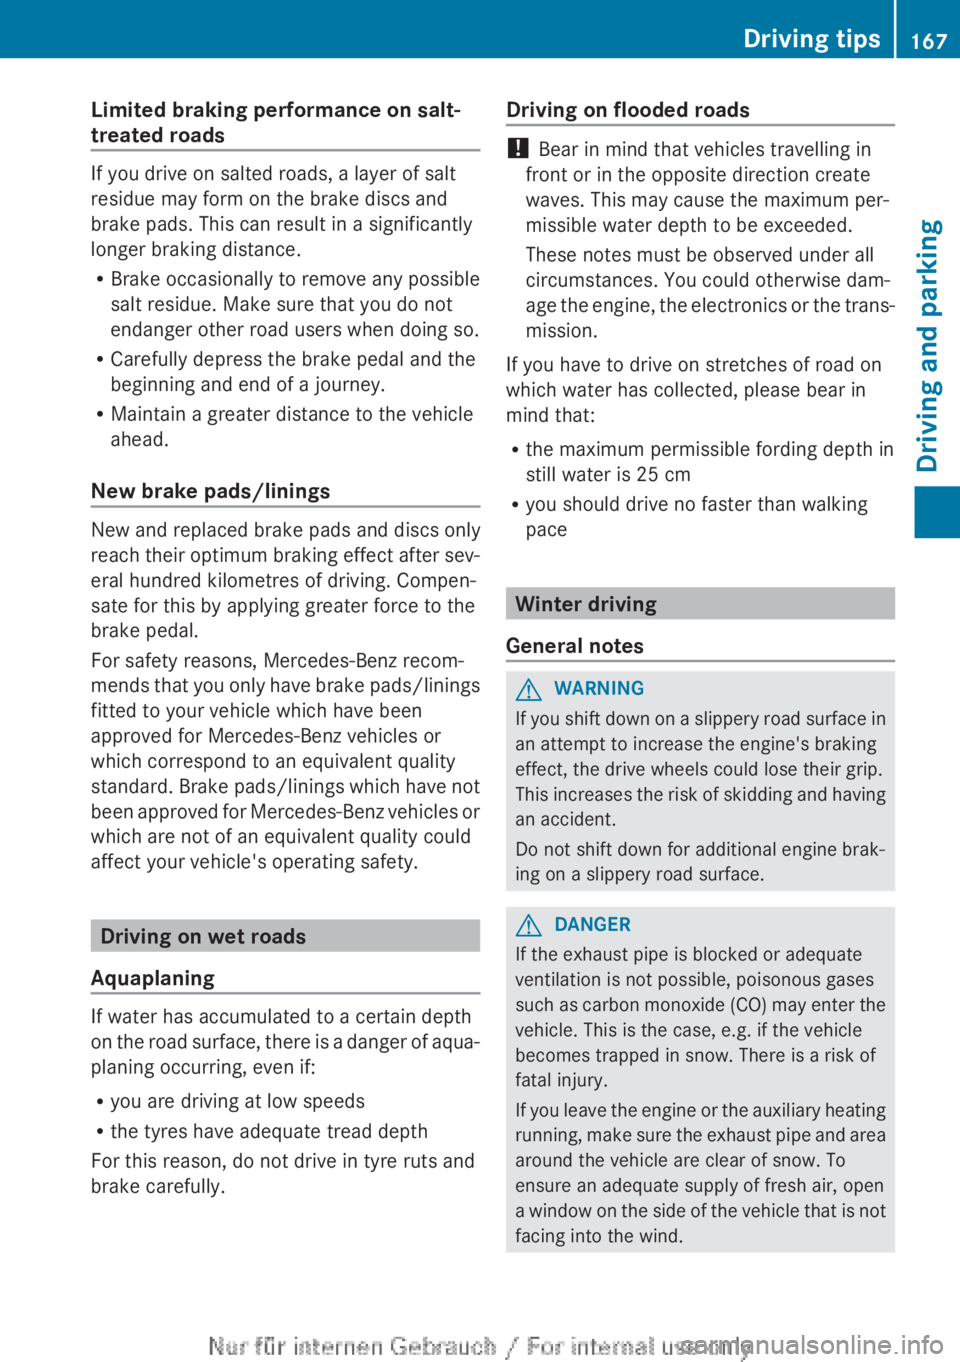
Limited braking performance on salt-
treated roads
If you drive on salted roads, a layer of salt
residue may form on the brake discs and
brake pads. This can result in a significantly
longer braking distance.
R Brake occasionally to remove any possible
salt residue. Make sure that you do not
endanger other road users when doing so.
R Carefully depress the brake pedal and the
beginning and end of a journey.
R Maintain a greater distance to the vehicle
ahead.
New brake pads/linings
New and replaced brake pads and discs only
reach their optimum braking effect after sev-
eral hundred kilometres of driving. Compen-
sate for this by applying greater force to the
brake pedal.
For safety reasons, Mercedes-Benz recom-
mends that you only have brake pads/linings
fitted to your vehicle which have been
approved for Mercedes-Benz vehicles or
which correspond to an equivalent quality
standard. Brake pads/linings which have not
been approved for Mercedes-Benz vehicles or
which are not of an equivalent quality could
affect your vehicle's operating safety.
Driving on wet roads
Aquaplaning
If water has accumulated to a certain depth
on the road surface, there is a danger of aqua-
planing occurring, even if:
R you are driving at low speeds
R the tyres have adequate tread depth
For this reason, do not drive in tyre ruts and
brake carefully.
Driving on flooded roads
! Bear in mind that vehicles travelling in
front or in the opposite direction create
waves. This may cause the maximum per-
missible water depth to be exceeded.
These notes must be observed under all
circumstances. You could otherwise dam-
age the engine, the electronics or the trans-
mission.
If you have to drive on stretches of road on
which water has collected, please bear in
mind that:
R the maximum permissible fording depth in
still water is 25 cm
R you should drive no faster than walking
pace
Winter driving
General notes
GWARNING
If you shift down on a slippery road surface in
an attempt to increase the engine's braking
effect, the drive wheels could lose their grip.
This increases the risk of skidding and having
an accident.
Do not shift down for additional engine brak-
ing on a slippery road surface.
GDANGER
If the exhaust pipe is blocked or adequate
ventilation is not possible, poisonous gases
such as carbon monoxide (CO) may enter the
vehicle. This is the case, e.g. if the vehicle
becomes trapped in snow. There is a risk of
fatal injury.
If you leave the engine or the auxiliary heating
running, make sure the exhaust pipe and area
around the vehicle are clear of snow. To
ensure an adequate supply of fresh air, open
a window on the side of the vehicle that is not
facing into the wind.
Driving tips167Driving and parkingZ
Page 226 of 352
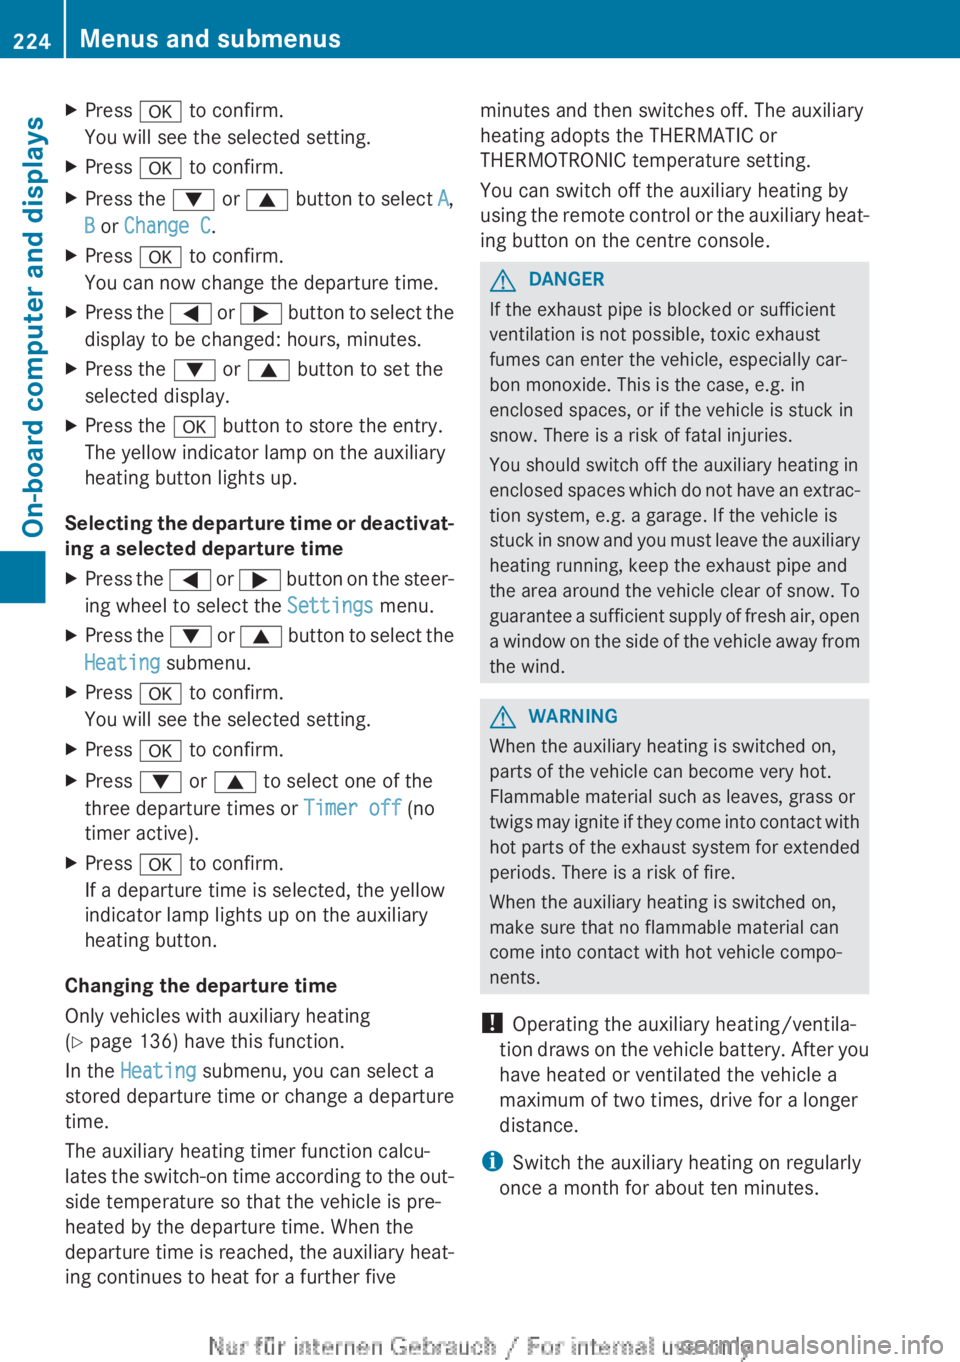
XPress a to confirm.
You will see the selected setting.XPress a to confirm.XPress the : or 9 button to select A,
B or Change C .XPress a to confirm.
You can now change the departure time.XPress the = or ; button to select the
display to be changed: hours, minutes.XPress the : or 9 button to set the
selected display.XPress the a button to store the entry.
The yellow indicator lamp on the auxiliary
heating button lights up.
Selecting the departure time or deactivat-
ing a selected departure time
XPress the = or ; button on the steer-
ing wheel to select the Settings menu.XPress the : or 9 button to select the
Heating submenu.XPress a to confirm.
You will see the selected setting.XPress a to confirm.XPress : or 9 to select one of the
three departure times or Timer off (no
timer active).XPress a to confirm.
If a departure time is selected, the yellow
indicator lamp lights up on the auxiliary
heating button.
Changing the departure time
Only vehicles with auxiliary heating
( Y page 136) have this function.
In the Heating submenu, you can select a
stored departure time or change a departure
time.
The auxiliary heating timer function calcu-
lates the switch-on time according to the out-
side temperature so that the vehicle is pre-
heated by the departure time. When the
departure time is reached, the auxiliary heat-
ing continues to heat for a further five
minutes and then switches off. The auxiliary
heating adopts the THERMATIC or
THERMOTRONIC temperature setting.
You can switch off the auxiliary heating by
using the remote control or the auxiliary heat-
ing button on the centre console.GDANGER
If the exhaust pipe is blocked or sufficient
ventilation is not possible, toxic exhaust
fumes can enter the vehicle, especially car-
bon monoxide. This is the case, e.g. in
enclosed spaces, or if the vehicle is stuck in
snow. There is a risk of fatal injuries.
You should switch off the auxiliary heating in
enclosed spaces which do not have an extrac-
tion system, e.g. a garage. If the vehicle is
stuck in snow and you must leave the auxiliary
heating running, keep the exhaust pipe and
the area around the vehicle clear of snow. To
guarantee a sufficient supply of fresh air, open
a window on the side of the vehicle away from
the wind.
GWARNING
When the auxiliary heating is switched on,
parts of the vehicle can become very hot.
Flammable material such as leaves, grass or
twigs may ignite if they come into contact with
hot parts of the exhaust system for extended
periods. There is a risk of fire.
When the auxiliary heating is switched on,
make sure that no flammable material can
come into contact with hot vehicle compo-
nents.
! Operating the auxiliary heating/ventila-
tion draws on the vehicle battery. After you
have heated or ventilated the vehicle a
maximum of two times, drive for a longer
distance.
i Switch the auxiliary heating on regularly
once a month for about ten minutes.
224Menus and submenusOn-board computer and displays
Page 238 of 352
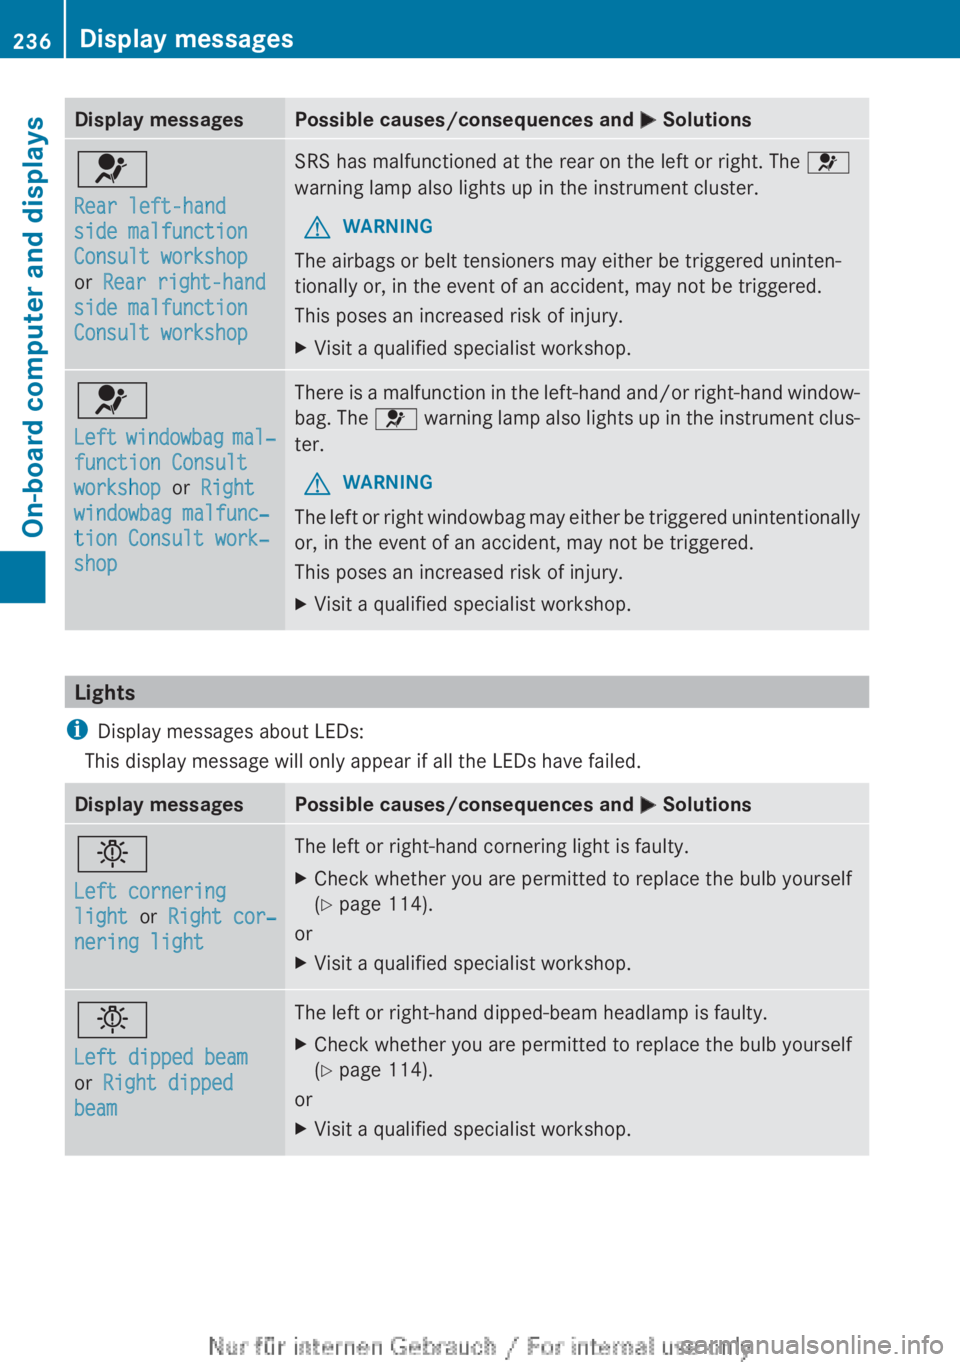
Display messagesPossible causes/consequences and M Solutions6
Rear left-hand
side malfunction
Consult workshop
or Rear right-hand
side malfunction
Consult workshopSRS has malfunctioned at the rear on the left or right. The 6
warning lamp also lights up in the instrument cluster.GWARNING
The airbags or belt tensioners may either be triggered uninten-
tionally or, in the event of an accident, may not be triggered.
This poses an increased risk of injury.
XVisit a qualified specialist workshop.6
Left windowbag mal‐
function Consult
workshop or Right
windowbag malfunc‐
tion Consult work‐
shopThere is a malfunction in the left-hand and/or right-hand window-
bag. The 6 warning lamp also lights up in the instrument clus-
ter.GWARNING
The left or right windowbag may either be triggered unintentionally
or, in the event of an accident, may not be triggered.
This poses an increased risk of injury.
XVisit a qualified specialist workshop.
Lights
i Display messages about LEDs:
This display message will only appear if all the LEDs have failed.
Display messagesPossible causes/consequences and M Solutionsb
Left cornering
light or Right cor‐
nering lightThe left or right-hand cornering light is faulty.XCheck whether you are permitted to replace the bulb yourself
( Y page 114).
or
XVisit a qualified specialist workshop.b
Left dipped beam
or Right dipped
beamThe left or right-hand dipped-beam headlamp is faulty.XCheck whether you are permitted to replace the bulb yourself
( Y page 114).
or
XVisit a qualified specialist workshop.236Display messagesOn-board computer and displays