2013 MAZDA MODEL MAZDASPEED 3 buttons
[x] Cancel search: buttonsPage 310 of 611

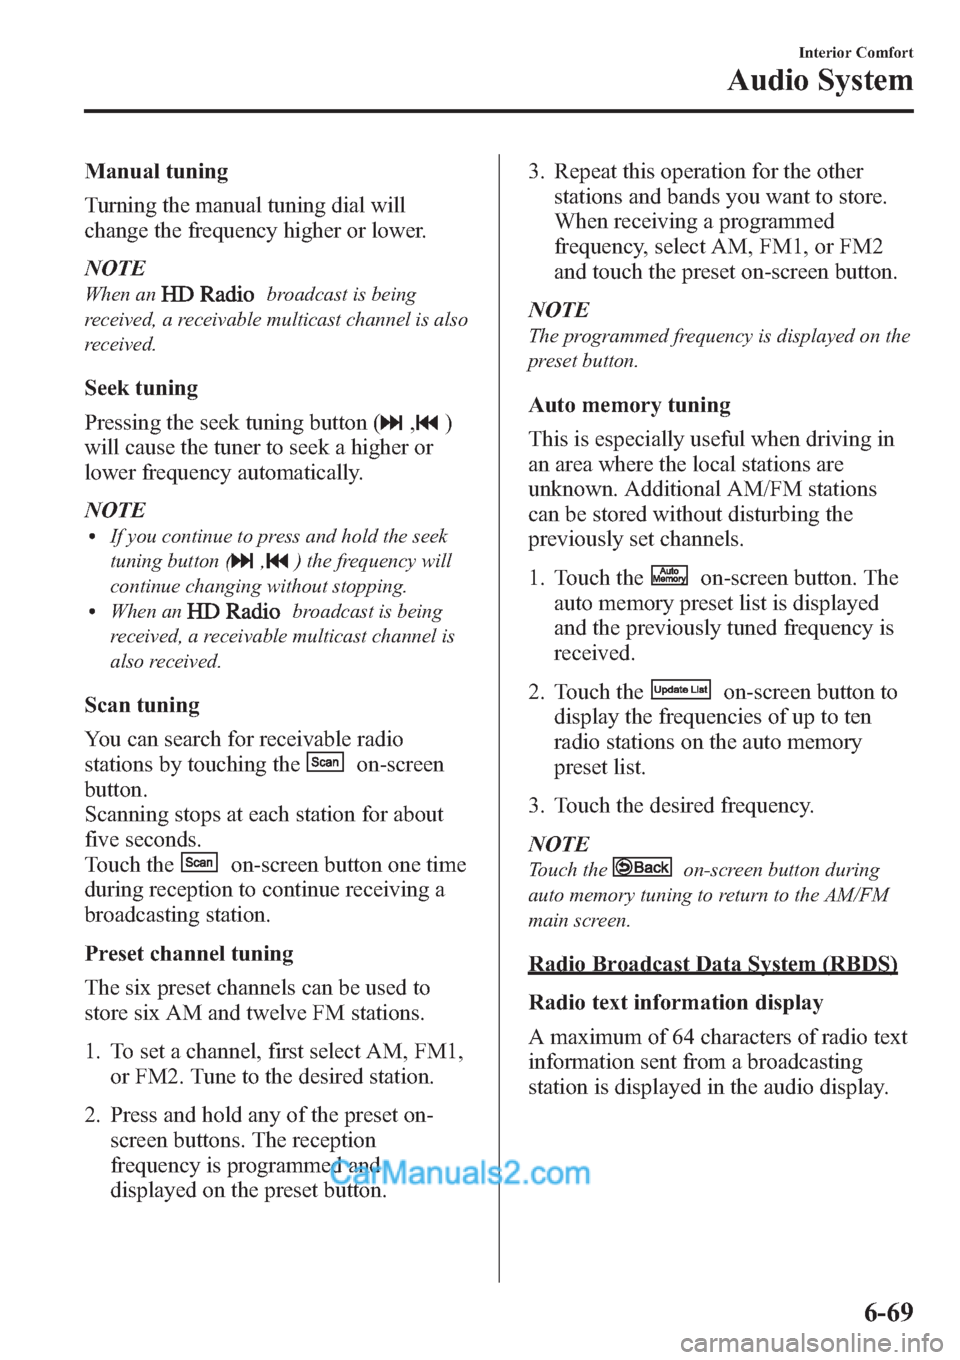
Manual tuning
Turning the manual tuning dial will
change the frequency higher or lower.
NOTE
When anbroadcast is being
received, a receivable multicast channel is also
received.
Seek tuning
Pressing the seek tuning button (
,)
will cause the tuner to seek a higher or
lower frequency automatically.
NOTE
lIf you continue to press and hold the seek
tuning button (
,) the frequency will
continue changing without stopping.
lWhen anbroadcast is being
received, a receivable multicast channel is
also received.
Scan tuning
You can search for receivable radio
stations by touching the
on-screen
button.
Scanning stops at each station for about
five seconds.
Touch the
on-screen button one time
during reception to continue receiving a
broadcasting station.
Preset channel tuning
The six preset channels can be used to
store six AM and twelve FM stations.
1. To set a channel, first select AM, FM1,
or FM2. Tune to the desired station.
2. Press and hold any of the preset on-
screen buttons. The reception
frequency is programmed and
displayed on the preset button.3. Repeat this operation for the other
stations and bands you want to store.
When receiving a programmed
frequency, select AM, FM1, or FM2
and touch the preset on-screen button.
NOTE
The programmed frequency is displayed on the
preset button.
Auto memory tuning
This is especially useful when driving in
an area where the local stations are
unknown. Additional AM/FM stations
can be stored without disturbing the
previously set channels.
1. Touch the
on-screen button. The
auto memory preset list is displayed
and the previously tuned frequency is
received.
2. Touch the
on-screen button to
display the frequencies of up to ten
radio stations on the auto memory
preset list.
3. Touch the desired frequency.
NOTE
Touch theon-screen button during
auto memory tuning to return to the AM/FM
main screen.
Radio Broadcast Data System (RBDS)
Radio text information display
A maximum of 64 characters of radio text
information sent from a broadcasting
station is displayed in the audio display.
Interior Comfort
Audio System
6-69
Page 312 of 611

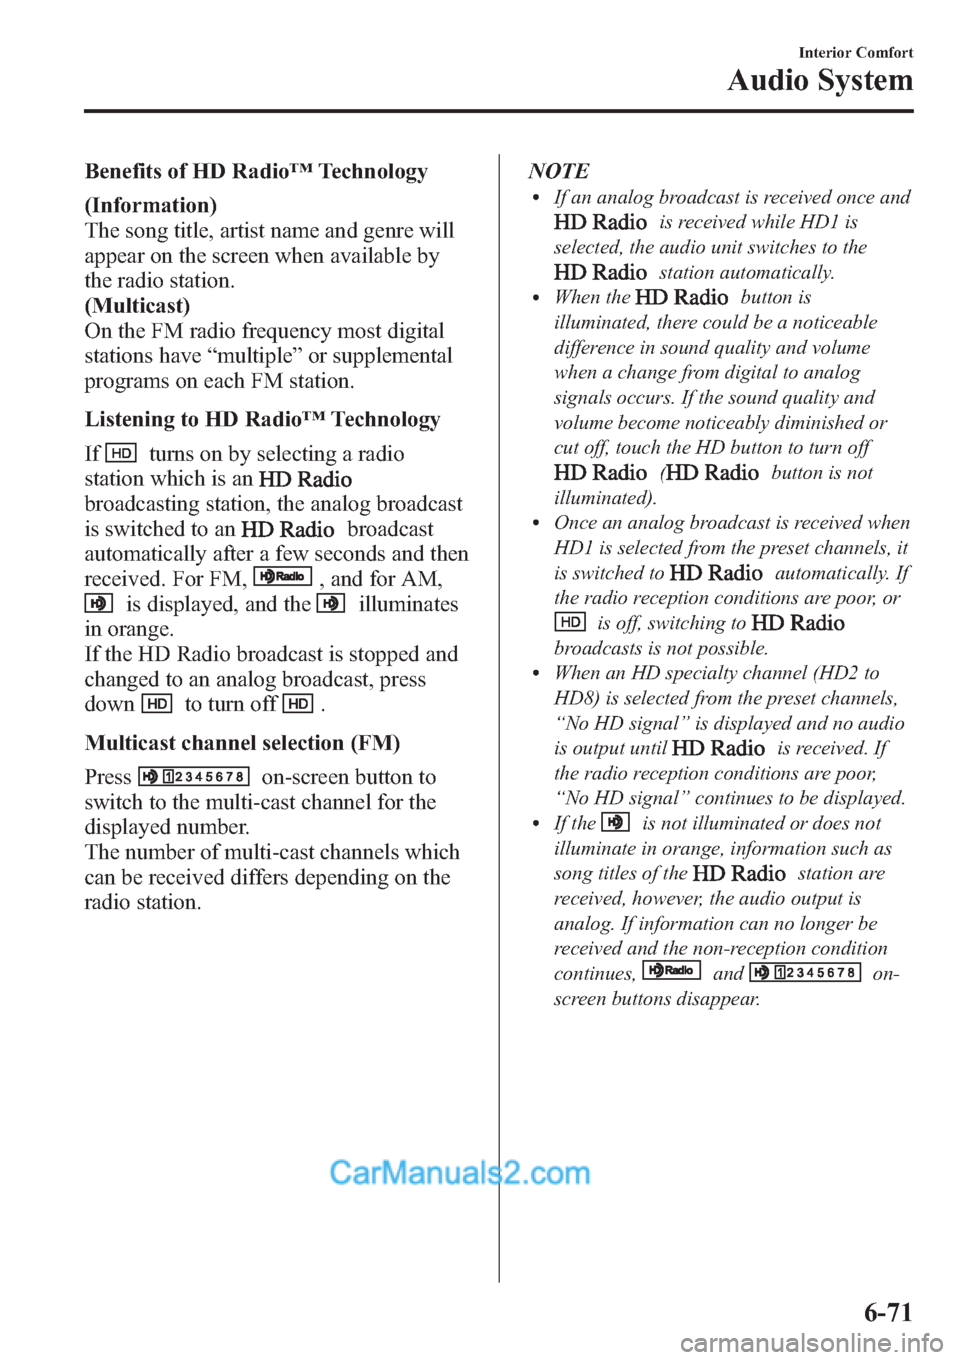
Benefits of HD Radio™Technology
(Information)
The song title, artist name and genre will
appear on the screen when available by
the radio station.
(Multicast)
On the FM radio frequency most digital
stations have“multiple”or supplemental
programs on each FM station.
Listening to HD Radio™Technology
If
turns on by selecting a radio
station which is an
broadcasting station, the analog broadcast
is switched to an
broadcast
automatically after a few seconds and then
received. For FM,
, and for AM,
is displayed, and theilluminates
in orange.
If the HD Radio broadcast is stopped and
changed to an analog broadcast, press
down
to turn off.
Multicast channel selection (FM)
Press
on-screen button to
switch to the multi-cast channel for the
displayed number.
The number of multi-cast channels which
can be received differs depending on the
radio station.NOTE
lIf an analog broadcast is received once and
is received while HD1 is
selected, the audio unit switches to the
station automatically.lWhen thebutton is
illuminated, there could be a noticeable
difference in sound quality and volume
when a change from digital to analog
signals occurs. If the sound quality and
volume become noticeably diminished or
cut off, touch the HD button to turn off
(button is not
illuminated).
lOnce an analog broadcast is received when
HD1 is selected from the preset channels, it
is switched to
automatically. If
the radio reception conditions are poor, or
is off, switching to
broadcasts is not possible.lWhen an HD specialty channel (HD2 to
HD8) is selected from the preset channels,
“No HD signal”is displayed and no audio
is output until
is received. If
the radio reception conditions are poor,
“No HD signal”continues to be displayed.
lIf theis not illuminated or does not
illuminate in orange, information such as
song titles of the
station are
received, however, the audio output is
analog. If information can no longer be
received and the non-reception condition
continues,
andon-
screen buttons disappear.
Interior Comfort
Audio System
6-71
Page 313 of 611

qOperating the Satellite Radioí
Audio button
Seek tuning
buttons
Manual tuning
dial
NOTE
This equipment has been tested and found to
comply with the limits for a Class B digital
device, pursuant to Part 15 of the FCC Rules.
These limits are designed to provide
reasonable protection against harmful
interference in a residential installation. This
equipment generates, uses, and can radiate
radio frequency energy and if not installed and
used in accordance with the instructions, may
cause harmful interference to radio
communications. However, there is no
guarantee that interference will not occur in a
particular installation. If this equipment does
cause harmful interference to radio or
television reception, which can be determined
by turning the equipment off and on, the user
is encouraged to try to correct the interference
by one or more of the following measures:
- Increase the separation between the
equipment and tuner.
- Connect the equipment into an outlet on a
circuit different from that to which the tuner is
connected.
- Consult the dealer or an experienced radio/
TV technician for help.
What is satellite radio?
With over 130 channels, SIRIUS Satellite
Radio brings you more of what you love.
Get channels and channels of commercial-
free music, plus sports, news, talk,
entertainment and more.
Commercial-free music from nearly
every genre―rock to pop, hip-hop to
country, jazz, classical and more. Plus live
performances and artist-dedicated
channels.
Live sports Play-by-Play & Expert Talk
―every NFL game, every NASCAR
®
race, 24/7 sports talk, college sports and
more.
Exclusive entertainment, comedy and
talk―The biggest names, compelling
talk, hilarious comedy.
World-class news plus local traffic and
weather.
Sign up for SIRIUS Satellite Radio today!
6-72
Interior Comfort
íSome models.
Audio System
Page 315 of 611

NOTE
Do not perform the following operation while
“Updating Channels XXX %”,
“Updating Receiver”is displayed. Otherwise,
the updating procedure will be canceled.
lTurning off the audio powerlSwitching to other modeslSwitching the ignition off
When the SIRIUS mode is switched to
another mode, or when the power is
turned off, the present channel which is
being received is stored as the last
channel.
Channel up
Turn the manual tuning dial to the right or
press the seek up button (
).
Channel down
Turn the manual tuning dial to the left or
press the seek down button (
).
NOTE
The channel is continuously switched to the
next or previous channel while the seek tuning
button (
,) is continuously pressed.
Unsubscribed channel
When a channel which has been preset
becomes unsubscribed or the current
channel being listened to becomes
unsubscribed, the following is displayed:
“Call 888-539-SIRIUS”
“to subscribe”
NOTE
When the subscription contract is canceled, all
of the channels including channel 184 appear
as unsubscribed.
Preset channel programming
1. Select the desired channel to be
programmed.2. Long-press any of the preset on-screen
buttons.
NOTE
Six stations can be stored in each bank,
SIRIUS1, SIRIUS2 and SIRIUS3 for
convenient access to your favorite stations.
Preset channel call-up
Touch the preset on-screen button for the
channel which you want to select.
NOTE
In the initial setting, all channels are preset to
184.
Selection from channel list
Receivable channels can be displayed on
the channel list screen. You can easily
select the channel you want to listen from
the list. Each category can be also
displayed.
1. Touch the
on-screen button.
2. Touch the channel you want to listen
from the list.
NOTE
Currently available channels (including
parental locked channels) are all displayed in
the list.
(Select from category list)
1. Touch the
on-screen
button on the channel list screen.
2. Touch the category name which you
want to select from the list.
NOTE
A category can be set only when a channel
which belongs to a category is being received.
6-74
Interior Comfort
Audio System
Page 333 of 611

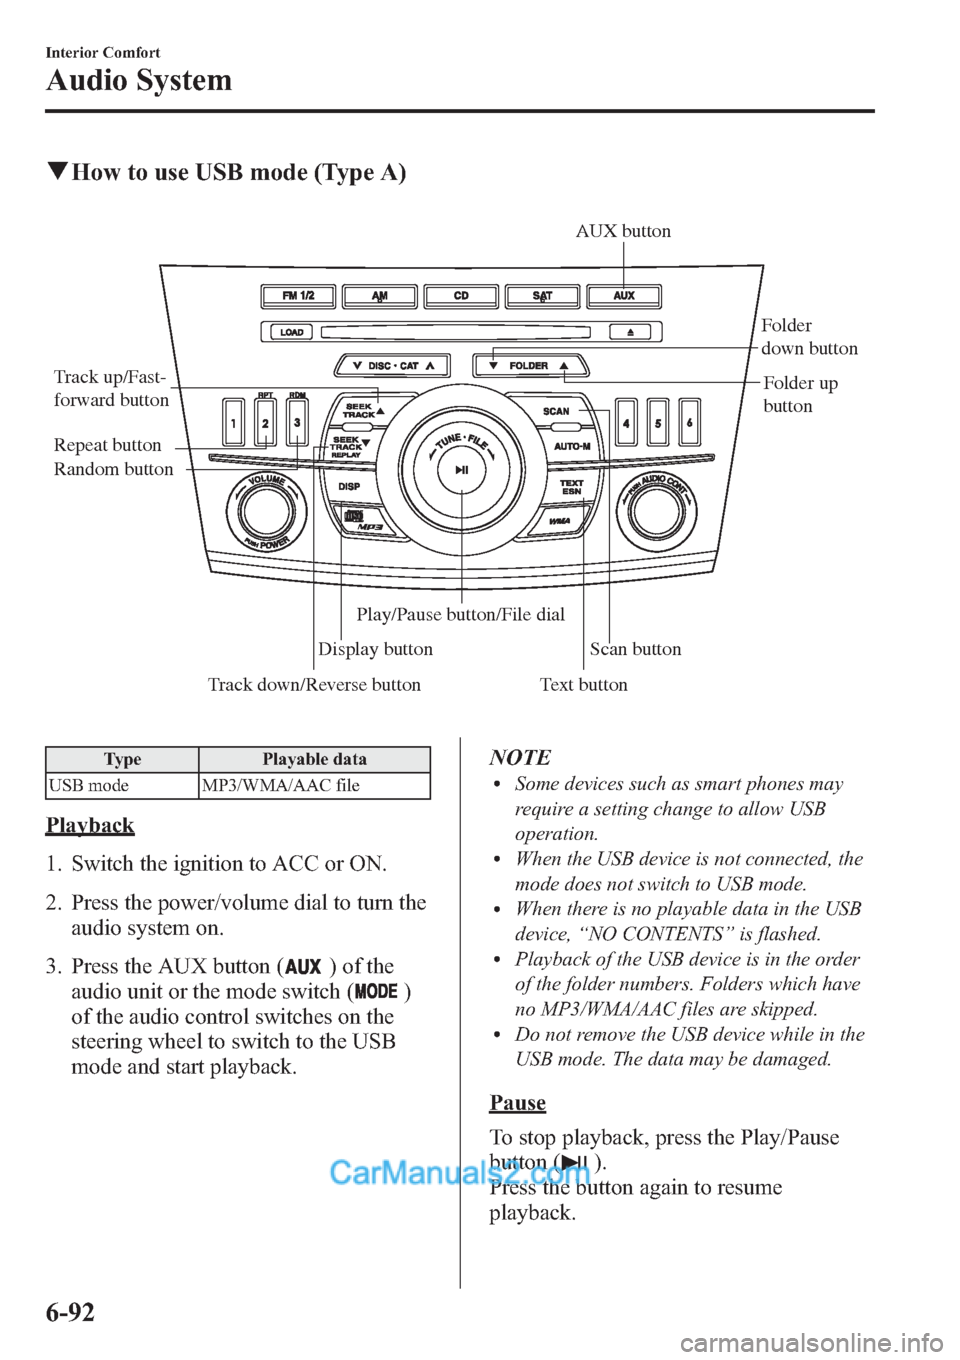
qHow to use USB mode (Type A)
Track down/Reverse button Track up/Fast-
forward button
Display buttonFolder
down button
Folder up
button
Random button Repeat button
Text buttonScan button AUX button
Play/Pause button/File dial
Type Playable data
USB mode MP3/WMA/AAC file
Playback
1. Switch the ignition to ACC or ON.
2. Press the power/volume dial to turn the
audio system on.
3. Press the AUX button (
) of the
audio unit or the mode switch (
)
of the audio control switches on the
steering wheel to switch to the USB
mode and start playback.NOTE
lSome devices such as smart phones may
require a setting change to allow USB
operation.
lWhen the USB device is not connected, the
mode does not switch to USB mode.
lWhen there is no playable data in the USB
device,“NO CONTENTS”is flashed.
lPlayback of the USB device is in the order
of the folder numbers. Folders which have
no MP3/WMA/AAC files are skipped.
lDo not remove the USB device while in the
USB mode. The data may be damaged.
Pause
To stop playback, press the Play/Pause
button (
).
Press the button again to resume
playback.
6-92
Interior Comfort
Audio System
Page 353 of 611

2. Press the audio control dial to
determine the mode.
After“ENTER PIN”is displayed on
the information display for three
seconds,“PIN 0000”is displayed and
the PIN code can be input.
3. Input the PIN code of your Bluetooth
®
audio device by pressing channel
preset buttons 1 to 4 while“PIN 0000”
is displayed.
Press channel preset button 1 to input
the first digit, 2 for the second, 3 for
the third, and 4 for the forth. For
example, if the PIN code were“4213”,
press channel preset button 1 four
times (1, 2, 3, 4), button 2 twice (1, 2),
button 3 once (1), and button 4 three
times (1, 2, 3). If the“PIN 0000”
display disappears before finishing the
PIN code input, repeat the procedure
from Step 1.
NOTE
Some devices accept only a particular pairing
code (Usually,“0000”or“1234”).
If pairing cannot be completed, refer to the
owner's manual of your mobile device, and try
those numbers if necessary.
4. Press the audio control dial while the
input PIN code is displayed.
“PAIRING”flashes on the display.
5. Operate the Bluetooth
®audio device
and set it to the program mode while
“PAIRING”is flashing.
6. When the programming is completed,
“
”and“PAIR SUCCESS”are
displayed after about 10-30 seconds,
after which“PAIR SUCCESS”
continues to be displayed for three
seconds, and then the unit returns to the
normal display.NOTE
lSome Bluetooth®audio devices need a
certain amount of time before the“
”
symbol is displayed.
lIf the programming failed,“Err”flashes
for three seconds.
lProgramming cannot be performed while
the vehicle is moving. If you attempt to
perform programming while the vehicle is
moving,“PAIR DISABLE”is displayed.
lIf seven Bluetooth®audio devices have
already been programmed to the vehicle,
programming cannot be performed and
“MEMORY FULL”is displayed. Delete
one programmed device to program
another one.
Programming a Bluetooth®audio
device which does not have a four-digit
PIN code
1. Using the audio control dial, select the
pairing program mode
“PAIR DEVICE”in the“BT SETUP”
mode. (Refer to“Bluetooth
®audio set
up”for details.)
2. Press the audio control dial to
determine the mode.
After“ENTER PIN”is displayed on
the information display for three
seconds,“PIN 0000”is displayed and
the PIN code can be input.
3. Press the audio control dial while
“PIN 0000”is displayed.
“PAIRING”flashes on the display.
4. Operate the Bluetooth
®audio device
and set it to the program mode while
“PAIRING”is flashing.
5. As the Bluetooth
®audio device
requires a PIN code, input“0000”.
6-112
Interior Comfort
Bluetooth® Audio (Type A)
Page 419 of 611

Information Display
ClockAudio display
Audio display
Ambient temperature display Climate control display
Climate control displayHands-free display Without multi
information
display
With multi
information
display
Clock adjustment
buttons
qInformation Display Functions
The information display has the following functions:lClockí
lAmbient Temperature Display (Outside Temperature Display)í
lClimate Control Display (Fully Automatic Type Air Conditioning System)lAudio DisplaylBluetooth®Hands-Free DisplayíRefer to Bluetooth® Hands-Free (Type A) on page
6-118.
6-178
Interior Comfort
íSome models.
Interior Equipment
Page 420 of 611

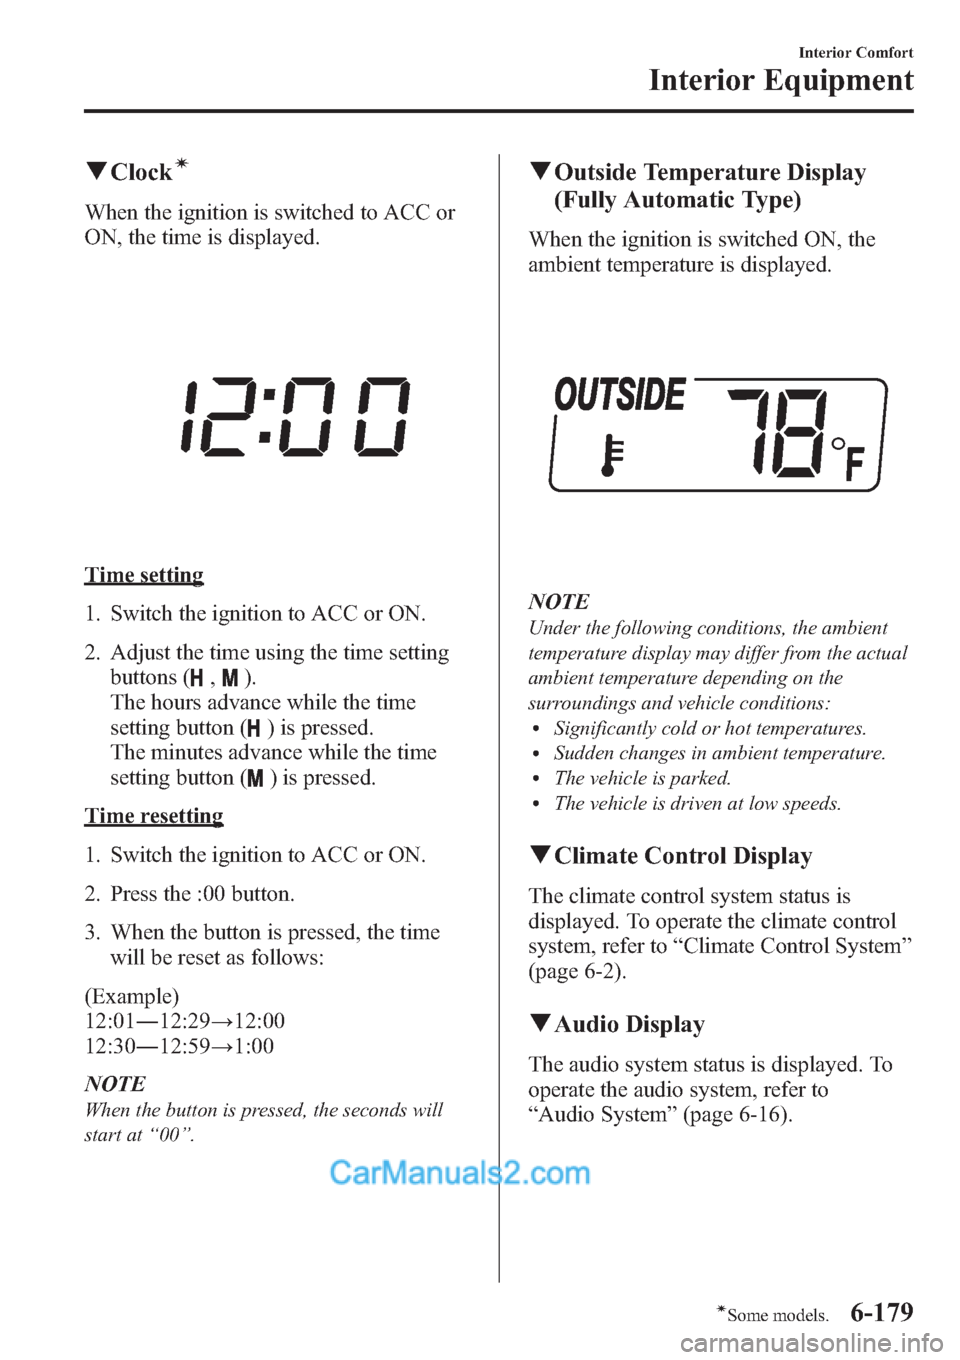
qClockí
When the ignition is switched to ACC or
ON, the time is displayed.
Time setting
1. Switch the ignition to ACC or ON.
2. Adjust the time using the time setting
buttons (
,).
The hours advance while the time
setting button (
) is pressed.
The minutes advance while the time
setting button (
) is pressed.
Time resetting
1. Switch the ignition to ACC or ON.
2. Press the :00 button.
3. When the button is pressed, the time
will be reset as follows:
(Example)
12:01―12:29→12:00
12:30―12:59→1:00
NOTE
When the button is pressed, the seconds will
start at“00”.
qOutside Temperature Display
(Fully Automatic Type)
When the ignition is switched ON, the
ambient temperature is displayed.
NOTE
Under the following conditions, the ambient
temperature display may differ from the actual
ambient temperature depending on the
surroundings and vehicle conditions:
lSignificantly cold or hot temperatures.lSudden changes in ambient temperature.lThe vehicle is parked.lThe vehicle is driven at low speeds.
qClimate Control Display
The climate control system status is
displayed. To operate the climate control
system, refer to“Climate Control System”
(page 6-2).
qAudio Display
The audio system status is displayed. To
operate the audio system, refer to
“Audio System”(page 6-16).
Interior Comfort
Interior Equipment
6-179íSome models.